Keeping your electric kettle clean isn’t just about looks—it’s essential for performance, taste, and safety. Over time, mineral buildup, stains, and odors can affect your kettle’s efficiency and the flavor of your tea or coffee. With the right cleaning routine and household ingredients, you can restore your kettle to like-new condition in minutes.
Key Takeaways
- Regular cleaning prevents limescale buildup: Hard water leaves mineral deposits that reduce heating efficiency and affect taste—clean weekly if you live in a hard water area.
- Vinegar is a powerful natural cleaner: A 50/50 mix of white vinegar and water dissolves limescale quickly and safely without harsh chemicals.
- Baking soda tackles stubborn stains and odors: Use it as a gentle abrasive paste for scrubbing the interior and exterior surfaces.
- Never submerge the base or heating element: Only the kettle’s removable parts should get wet—always unplug and cool before cleaning.
- Rinse thoroughly after cleaning: Leftover vinegar or cleaning residue can affect water taste—always run 2–3 cycles with clean water afterward.
- Clean the exterior and lid too: Wipe down handles, buttons, and the lid to remove fingerprints, dust, and grease for a spotless finish.
- Prevent future buildup with filtered water: Using filtered or distilled water reduces mineral deposits and extends time between deep cleans.
📑 Table of Contents
- Why Cleaning Your Electric Kettle Matters
- Signs It’s Time to Clean Your Electric Kettle
- How to Clean Electric Kettle: Step-by-Step Guide
- Alternative Cleaning Methods
- Cleaning the Exterior and Accessories
- How Often Should You Clean Your Electric Kettle?
- Tips to Prevent Buildup and Extend Kettle Life
- Conclusion
Why Cleaning Your Electric Kettle Matters
You probably use your electric kettle every day—maybe even multiple times a day. Whether you’re brewing morning coffee, steeping afternoon tea, or heating water for instant noodles, that little appliance works hard. But what you might not realize is that over time, your kettle can silently accumulate gunk, stains, and even bacteria. And if you’ve ever noticed a funny taste in your water or seen a chalky white film inside the kettle, that’s a clear sign it’s time to clean.
Cleaning your electric kettle isn’t just about aesthetics. Mineral deposits from hard water—especially calcium and magnesium—can build up on the heating element and interior walls. This limescale acts as an insulator, making your kettle work harder and use more energy to heat water. In extreme cases, it can even shorten the lifespan of your appliance. Plus, leftover residue from tea, coffee, or flavored drinks can leave behind odors and discoloration. Nobody wants their morning tea to taste like yesterday’s chamomile and lemon mix.
But here’s the good news: cleaning an electric kettle is quick, easy, and doesn’t require expensive tools or chemicals. With a few common household ingredients and a little know-how, you can keep your kettle sparkling clean and performing at its best. In this guide, we’ll walk you through everything you need to know—from spotting the signs it’s time to clean, to step-by-step methods for deep cleaning, and tips for maintaining a fresh, efficient kettle long-term.
Signs It’s Time to Clean Your Electric Kettle
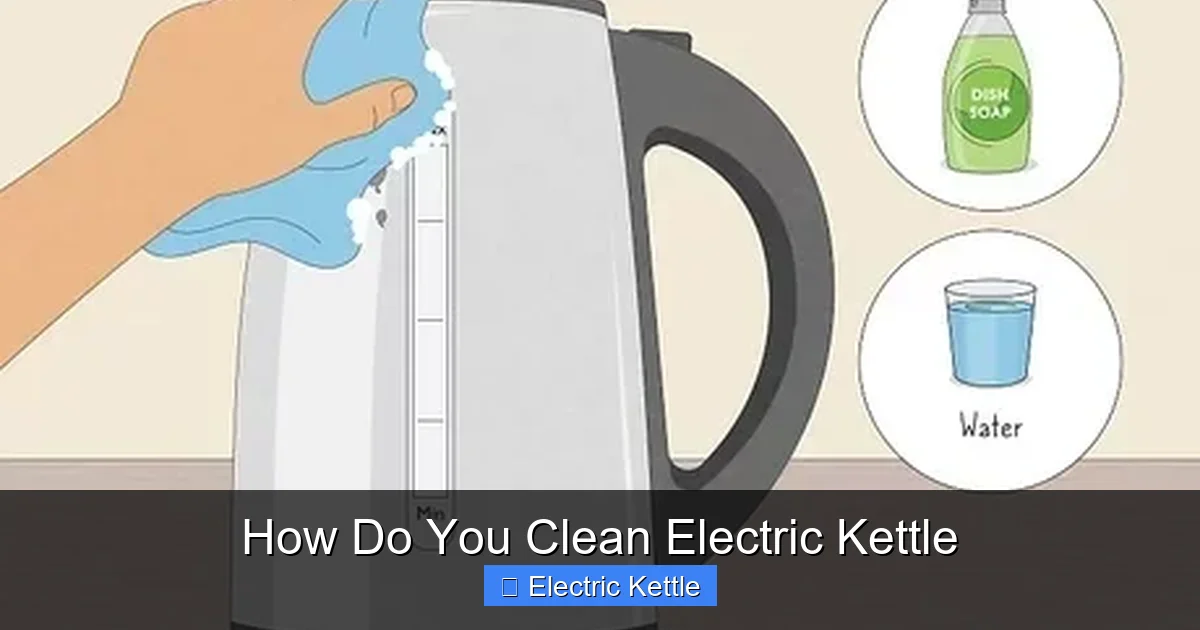
Visual guide about How Do You Clean Electric Kettle
Image source: wikihow.com
You don’t need to wait until your kettle looks like a science experiment to give it a clean. In fact, regular maintenance is key to preventing major buildup. But how do you know when it’s time? Here are some telltale signs that your electric kettle needs attention.
First, look inside. If you see a white, chalky film or crusty deposits along the walls or around the heating element, that’s limescale. It’s most common in areas with hard water, but even soft water can leave behind mineral traces over time. Limescale not only affects the taste of your water but can also reduce heating efficiency. You might notice your kettle takes longer to boil or doesn’t get as hot as it used to.
Another sign is odor. If your water or tea starts tasting “off” or has a metallic, sour, or musty smell, it could be due to residue buildup or bacterial growth. This is especially common if you frequently brew flavored teas or add honey, lemon, or spices directly into the kettle. These organic materials can cling to the interior and create a breeding ground for bacteria if not cleaned regularly.
Discoloration is another red flag. Over time, the interior of your kettle may develop brown, yellow, or rust-like stains. While these aren’t always harmful, they can affect the taste and appearance of your drinks. And if you notice your kettle making unusual noises—like crackling or popping—during heating, that could be limescale interfering with the heating element.
Finally, if it’s been more than two weeks since your last clean (or one week if you use your kettle heavily or live in a hard water area), it’s time for a refresh. Prevention is always easier than a deep clean, so staying on top of maintenance will save you time and effort in the long run.
How to Clean Electric Kettle: Step-by-Step Guide
Now that you know why and when to clean your electric kettle, let’s get into the how. The good news? You don’t need special tools or expensive cleaners. Most of what you need is probably already in your kitchen. Below is a simple, effective method using white vinegar—a natural, non-toxic cleaner that dissolves limescale and eliminates odors.
What You’ll Need
Before you start, gather these supplies:
- White distilled vinegar (the most effective for descaling)
- Water
- A soft sponge or cloth (avoid abrasive scrubbers that can scratch)
- A toothbrush (for tight spots and around the spout)
- A clean towel or paper towels
Step 1: Unplug and Cool Down
Safety first! Always unplug your electric kettle and let it cool completely before cleaning. Never attempt to clean a hot or recently used kettle—this can cause burns or damage the appliance. Give it at least 30 minutes to cool down.
Step 2: Empty and Rinse
Pour out any remaining water and give the kettle a quick rinse with warm water to remove loose debris. This helps the cleaning solution work more effectively.
Step 3: Prepare the Vinegar Solution
Mix equal parts white vinegar and water. For most kettles, a 50/50 ratio works best. For example, if your kettle holds 1 liter, use 500ml vinegar and 500ml water. If your kettle has heavy limescale, you can increase the vinegar ratio to 70/30 (70% vinegar, 30% water).
Step 4: Fill and Soak
Pour the vinegar solution into the kettle, making sure it covers the areas with buildup—especially the heating element and interior walls. Let it sit for at least 30 minutes. For tough limescale, you can leave it for up to an hour. The vinegar will begin to dissolve the mineral deposits, and you may see bubbles forming as the reaction takes place.
Step 5: Boil the Solution (Optional but Effective)
For even better results, plug in the kettle and bring the vinegar solution to a boil. Let it boil for 5–10 minutes, then turn it off and let it cool. This step helps break down stubborn deposits and ensures the solution reaches all areas. Be cautious when handling the hot kettle—use oven mitts if needed.
Step 6: Scrub Gently
After soaking (and boiling, if you chose that step), pour out the vinegar solution. Use a soft sponge or cloth to wipe the interior. For hard-to-reach spots like the spout or around the heating element, use an old toothbrush. Avoid metal scrubbers or steel wool—they can scratch the surface and damage the kettle.
Step 7: Rinse Thoroughly
Rinse the kettle several times with clean water to remove all traces of vinegar. Any leftover residue can affect the taste of your water, so don’t skip this step. Fill the kettle with fresh water, swish it around, and pour it out. Repeat 2–3 times.
Step 8: Run a Clean Water Cycle
Fill the kettle with clean water and boil it once or twice. This helps flush out any remaining vinegar taste and ensures your next cup of tea or coffee tastes fresh. After the final boil, empty the kettle and wipe the exterior with a damp cloth.
Step 9: Dry and Store
Use a clean towel to dry the exterior and lid. Leave the kettle open to air-dry completely before storing or using again. This prevents moisture buildup, which can lead to mold or mildew.
Alternative Cleaning Methods
While vinegar is the gold standard for cleaning electric kettles, it’s not the only option. Some people prefer alternatives due to the strong smell of vinegar or simply want to use what they have on hand. Here are a few effective alternatives.
Baking Soda for Stains and Odors
Baking soda is a gentle abrasive that works well for scrubbing away stains and neutralizing odors. To use it, mix 1–2 tablespoons of baking soda with a small amount of water to form a thick paste. Apply the paste to the interior of the kettle, focusing on stained or discolored areas. Let it sit for 15–20 minutes, then scrub with a soft sponge or toothbrush. Rinse thoroughly and run a clean water cycle.
Baking soda is especially useful for removing tea or coffee stains and eliminating lingering smells. It’s also safe for most kettle materials, including stainless steel and glass. However, it’s less effective than vinegar for heavy limescale, so you may need to combine it with another method for tough buildup.
Lemon Juice for a Fresh Scent
Lemon juice is another natural cleaner that can help dissolve limescale and leave your kettle smelling fresh. Use fresh-squeezed lemon juice or bottled lemon juice (make sure it’s 100% juice with no added sugars). Mix equal parts lemon juice and water, then follow the same steps as the vinegar method: soak, boil (optional), scrub, and rinse.
Lemon juice works similarly to vinegar because it’s acidic, but it has a milder scent. Some people prefer it because it leaves a pleasant citrus aroma. Just be aware that lemon juice may not be as strong as vinegar for severe limescale, so you might need to repeat the process or use a higher concentration.
Commercial Descaling Solutions
If you prefer a ready-made solution, there are commercial descaling products designed specifically for kettles and coffee makers. These are often citric acid-based and come in powder or liquid form. Follow the manufacturer’s instructions carefully—typically, you dissolve the product in water, run a cycle, and rinse thoroughly.
Commercial descalers are convenient and often more concentrated than vinegar, making them effective for heavy buildup. However, they can be more expensive and may contain additives. If you choose this route, look for eco-friendly, non-toxic options and avoid products with harsh chemicals.
Pre-Mixed Cleaning Tablets
Some brands offer cleaning tablets that you drop into your kettle and run through a cycle. These are especially popular for coffee makers but can work for kettles too. They’re easy to use and often leave no residue, but they’re the most expensive option and may not be necessary for regular maintenance.
Cleaning the Exterior and Accessories
While the interior gets the most attention, don’t forget the outside of your kettle. The exterior, lid, handle, and base can collect dust, fingerprints, grease, and water spots—especially if you use your kettle frequently.
Wiping Down the Exterior
Use a soft, damp cloth to wipe the outside of the kettle. For stainless steel models, a microfiber cloth works best to avoid streaks. Avoid spraying water directly onto the kettle—especially near the base or control panel. Instead, dampen the cloth and wipe gently.
For stubborn stains or grease, mix a small amount of dish soap with water and use it to clean the surface. Rinse the cloth thoroughly and wipe again to remove soap residue. Dry with a clean towel to prevent water spots.
Cleaning the Lid and Handle
The lid and handle are high-touch areas that can harbor bacteria and grime. Remove the lid if possible (check your user manual) and wash it with warm, soapy water. Use a toothbrush to clean around hinges or crevices where dirt can accumulate.
For non-removable lids, wipe the inside and outside with a damp cloth. Pay attention to the spout and any vents, as these can collect mineral deposits or mold if not cleaned regularly.
Base and Cord Care
Never submerge the base of your electric kettle in water. The heating element and electrical components must stay dry to prevent damage or electrical hazards. Instead, wipe the base with a slightly damp cloth and dry immediately. Check the cord for any signs of wear or damage—frayed wires can be dangerous.
If your kettle has a removable base or cord, follow the manufacturer’s instructions for cleaning. Some models allow you to detach the kettle from the base for easier cleaning.
Dealing with Water Spots and Hard Water Stains
Water spots on the exterior are common, especially on stainless steel or glass kettles. To remove them, use a mixture of equal parts water and white vinegar. Apply it with a cloth, let it sit for a few minutes, then wipe clean. For extra shine, buff with a dry microfiber cloth.
Avoid using abrasive cleaners or scrubbers on the exterior, as they can scratch the surface. Stick to gentle, non-abrasive methods to keep your kettle looking new.
How Often Should You Clean Your Electric Kettle?
The frequency of cleaning depends on several factors, including how often you use your kettle, the quality of your water, and the material of your kettle. Here’s a general guideline to help you stay on track.
Weekly Cleaning (Recommended for Hard Water Areas)
If you live in an area with hard water or use your kettle multiple times a day, aim to clean it once a week. This prevents limescale from building up and keeps your water tasting fresh. A quick vinegar soak or lemon juice cycle once a week is usually sufficient.
Bi-Weekly Cleaning (For Moderate Use)
If you use your kettle a few times a week and have moderately hard water, cleaning every two weeks should be enough. This helps maintain performance and prevents odor buildup.
Monthly Deep Clean (For Light Use or Soft Water)
If you only use your kettle occasionally or have very soft water, a monthly deep clean is usually adequate. However, always inspect the interior regularly—if you notice any buildup or odor, clean it right away.
After Using Flavored or Sweetened Beverages
If you frequently brew herbal teas, add honey, lemon, or spices to your kettle, clean it after each use. These ingredients can leave behind sticky residue or promote bacterial growth. A quick rinse isn’t enough—give it a proper clean to avoid contamination.
Seasonal Maintenance
Even if your kettle looks clean, it’s a good idea to do a thorough deep clean every season. This ensures any hidden buildup is removed and keeps your appliance in top condition year-round.
Tips to Prevent Buildup and Extend Kettle Life
Cleaning is important, but prevention is even better. With a few simple habits, you can reduce the need for frequent deep cleans and keep your electric kettle running smoothly for years.
Use Filtered or Distilled Water
The easiest way to prevent limescale is to use filtered or distilled water. These types of water have fewer minerals, so they won’t leave behind deposits. If you don’t want to buy bottled water, consider installing a water filter on your tap or using a pitcher filter.
Empty the Kettle After Each Use
Don’t let water sit in your kettle for long periods. Stagnant water encourages mineral buildup and can lead to odors. After each use, pour out any leftover water and leave the lid open to air-dry.
Wipe the Interior Weekly
Even if you don’t do a full clean, wipe the interior with a damp cloth once a week. This removes surface residue and prevents buildup from getting worse.
Avoid Overfilling
Filling your kettle beyond the maximum line can cause water to splash onto the base or heating element, leading to damage or electrical issues. Always stay within the recommended fill level.
Store Properly
When not in use, store your kettle in a dry, cool place with the lid off. This allows air circulation and prevents moisture buildup, which can lead to mold or rust.
Check the Manufacturer’s Instructions
Every kettle is different. Some models have specific cleaning recommendations or restrictions. Always refer to your user manual for guidance on cleaning methods, compatible cleaners, and maintenance tips.
Conclusion
Cleaning your electric kettle might not be the most exciting chore, but it’s one of the most important. A clean kettle means better-tasting water, faster boiling times, and a longer lifespan for your appliance. With simple ingredients like vinegar and baking soda, you can tackle limescale, odors, and stains in just a few minutes.
By following a regular cleaning schedule and adopting preventive habits, you’ll keep your kettle in peak condition without hassle. Whether you’re a tea lover, coffee enthusiast, or just someone who likes hot water on demand, a clean kettle ensures every cup is as fresh and flavorful as the first.
So the next time you notice that chalky film or odd taste, don’t ignore it—grab that vinegar and give your kettle the care it deserves. Your taste buds (and your kettle) will thank you.
Frequently Asked Questions
Can I use apple cider vinegar to clean my electric kettle?
While apple cider vinegar is acidic and can help with cleaning, it’s not ideal for electric kettles. It contains sugars and other compounds that can leave a residue or stain the interior. Stick to white distilled vinegar for the best results.
Is it safe to boil vinegar in my kettle?
Yes, it’s safe to boil a 50/50 vinegar and water solution in your electric kettle. The boiling process helps dissolve limescale more effectively. Just be sure to rinse thoroughly afterward to remove any vinegar taste.
How do I get rid of a vinegar smell after cleaning?
Run 2–3 cycles with clean water after cleaning. You can also add a slice of lemon or a teaspoon of baking soda to the final rinse to neutralize any lingering odor.
Can I clean my kettle with bleach?
No, never use bleach to clean an electric kettle. It’s too harsh and can leave toxic residues that are dangerous if ingested. Stick to natural cleaners like vinegar, baking soda, or lemon juice.
What if my kettle has a non-stick coating?
Avoid abrasive scrubbers or harsh chemicals that can damage the coating. Use a soft sponge and mild cleaners like vinegar or baking soda. Always check the manufacturer’s guidelines for specific care instructions.
How do I clean a glass electric kettle?
Glass kettles can be cleaned the same way as metal ones—using vinegar or lemon juice. Be extra gentle when scrubbing to avoid scratching the glass. A soft sponge or cloth works best.