Mineral buildup in your electric kettle can affect taste, performance, and safety. This guide shows you simple, natural ways to remove limescale and keep your kettle running smoothly with easy step-by-step instructions.
Key Takeaways
- Regular cleaning prevents limescale buildup: Cleaning your electric kettle every 2–4 weeks helps maintain efficiency and water taste.
- Vinegar is a powerful natural cleaner: A 50/50 mix of white vinegar and water effectively dissolves mineral deposits without harsh chemicals.
- Lemon juice offers a fresh alternative: Lemon’s citric acid breaks down limescale and leaves a pleasant scent.
- Never submerge the base: Only the kettle’s interior and removable parts should be cleaned—never immerse the electrical base in water.
- Rinse thoroughly after cleaning: Always run multiple cycles with clean water to remove any cleaning solution residue.
- Use filtered water to reduce future buildup: Hard water causes faster scaling; filtered or distilled water extends cleaning intervals.
- Check manufacturer guidelines: Some kettles have specific cleaning instructions—always refer to the user manual first.
📑 Table of Contents
- Why Cleaning Your Electric Kettle Matters
- What Causes Buildup in Electric Kettles?
- Natural Methods to Clean Build Up in Electric Kettle
- Step-by-Step Guide to Deep Cleaning Your Electric Kettle
- Preventing Future Buildup in Your Electric Kettle
- Common Mistakes to Avoid When Cleaning Your Kettle
- When to Replace Your Electric Kettle
- Conclusion
Why Cleaning Your Electric Kettle Matters
Your electric kettle is one of the most used appliances in the kitchen. Whether you’re brewing morning coffee, steeping afternoon tea, or preparing instant oatmeal, you rely on it daily. But what you might not see—floating invisibly in your water or clinging to the heating element—is mineral buildup. Over time, this buildup, known as limescale, can affect everything from taste to performance.
Limescale forms when hard water is heated repeatedly. Minerals like calcium and magnesium, which are naturally present in tap water, precipitate out and stick to the inside of your kettle. At first, it might look like a thin white film. But if left unchecked, it can harden into thick, chalky layers that reduce heating efficiency, increase energy use, and even shorten the lifespan of your kettle. Worse, it can alter the flavor of your drinks, giving them a slightly metallic or bitter aftertaste.
Beyond taste and performance, there’s a hygiene factor. While limescale itself isn’t harmful, it can trap bacteria and mold in its porous surface, especially in hard-to-reach areas like the spout or under the lid. That’s why regular cleaning isn’t just about maintenance—it’s about health and safety. Fortunately, cleaning build up in electric kettle is simple, affordable, and doesn’t require harsh chemicals. With a few household ingredients and a little time, you can keep your kettle sparkling clean and your drinks tasting fresh.
What Causes Buildup in Electric Kettles?
The main culprit behind buildup in electric kettles is hard water. Hard water contains high levels of dissolved minerals, particularly calcium and magnesium. When you heat water in your kettle, these minerals don’t evaporate—they settle and form a crusty residue known as limescale. The hotter the water and the more frequently you use the kettle, the faster this buildup accumulates.
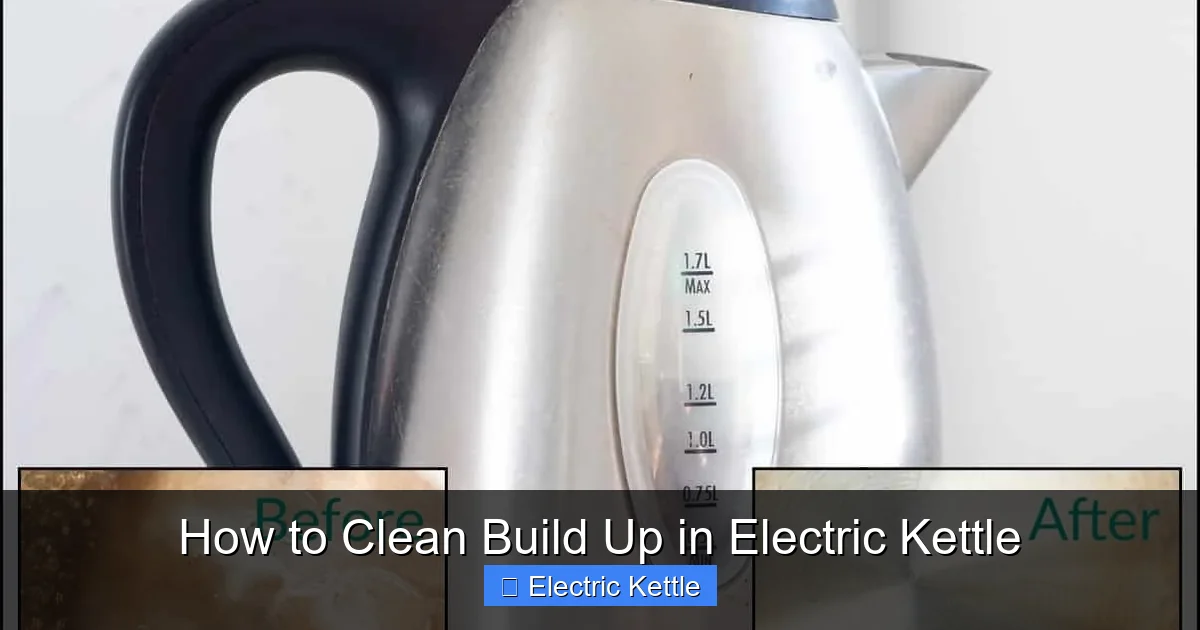
Visual guide about How to Clean Build Up in Electric Kettle
Image source: easylifeelectronic.com
How Hard Water Affects Your Kettle
In areas with very hard water, you might notice limescale forming within just a few weeks of regular use. It often starts as a faint white haze on the heating coil or the bottom of the kettle. Over time, it thickens into a rough, scaly layer that can insulate the heating element. This insulation forces the kettle to work harder to heat water, which increases energy consumption and can lead to overheating or premature failure.
Additionally, limescale can flake off into your water, especially when boiling. While ingesting small amounts isn’t dangerous, it’s unappetizing and can affect the clarity and taste of your beverages. For example, tea might look cloudy, and coffee could taste off. In extreme cases, heavy buildup can block the spout or interfere with the kettle’s automatic shut-off mechanism, posing a safety risk.
Other Contributing Factors
Beyond water hardness, several habits can accelerate buildup. Leaving water sitting in the kettle for long periods allows minerals to settle and bond to surfaces. Using unfiltered tap water consistently increases mineral intake. And skipping regular cleaning lets minor deposits grow into major problems. Even kettles with built-in filters aren’t immune—filters reduce sediment but don’t eliminate mineral content.
Interestingly, the material of your kettle also plays a role. Stainless steel and glass kettles show limescale more visibly, while plastic models may hide it—but the buildup is still there. Regardless of material, all electric kettles benefit from routine descaling. The good news? You don’t need professional tools or expensive cleaners. Simple, natural solutions work just as well—and are safer for you and your appliance.
Natural Methods to Clean Build Up in Electric Kettle
When it comes to cleaning build up in electric kettle, you don’t need harsh chemicals or specialty products. In fact, some of the most effective solutions are already in your pantry. Natural cleaners like white vinegar and lemon juice are powerful, affordable, and eco-friendly. They break down limescale safely without damaging your kettle or leaving toxic residues.
Vinegar Solution: The Gold Standard
White vinegar is the most popular and effective method for descaling electric kettles. Its acetic acid content dissolves mineral deposits quickly and thoroughly. To use it, mix equal parts white vinegar and water—typically 1 cup of each for a standard 1-liter kettle. Pour the solution into the kettle, making sure it covers the affected areas, especially the heating element.
Let the mixture sit for at least 30 minutes. For heavy buildup, you can leave it overnight. After soaking, turn on the kettle and bring the solution to a boil. This helps loosen stubborn deposits. Once boiled, turn off the kettle and let it cool slightly. Then, use a soft sponge or brush to gently scrub the interior. Avoid abrasive pads, which can scratch surfaces. Finally, discard the vinegar solution and rinse the kettle thoroughly with clean water.
To ensure no vinegar taste remains, fill the kettle with fresh water, boil it, and pour it out. Repeat this rinse cycle 2–3 times. Your kettle should be odor-free and ready to use. Many users report that their water tastes noticeably cleaner after a vinegar clean.
Lemon Juice: A Fresh Alternative
If you’re not a fan of vinegar’s smell, lemon juice is an excellent alternative. Like vinegar, lemon contains natural acids—citric acid—that dissolve limescale effectively. It also leaves a fresh, citrusy scent that many people prefer.
To use lemon juice, squeeze the juice of one large lemon into your kettle and add enough water to fill it halfway. For extra power, you can add the lemon rinds as well—they contain additional citric acid. Let the mixture sit for 30 minutes to an hour, then bring it to a boil. Allow it to cool, then scrub gently with a soft brush or sponge. Rinse thoroughly with clean water, repeating the boil-and-rinse process 2–3 times to remove any lemon residue.
Lemon juice works best on moderate buildup. For very thick limescale, you might need to repeat the process or combine it with vinegar. Some people mix equal parts lemon juice and vinegar for a powerful, aromatic cleaner. Just be sure to rinse well afterward to avoid any sour aftertaste.
Baking Soda for Stubborn Stains
While vinegar and lemon are best for limescale, baking soda can help with surface stains or odors. It’s mildly abrasive and alkaline, making it useful for scrubbing without scratching. To use it, mix 1–2 tablespoons of baking soda with a small amount of water to form a paste.
Apply the paste to stained areas using a soft cloth or sponge. Gently scrub in circular motions, focusing on the spout, lid, and exterior. For interior stains, you can dissolve 1 tablespoon of baking soda in warm water, let it sit for 15–20 minutes, then scrub and rinse. Baking soda won’t dissolve heavy limescale like vinegar, but it’s great for maintenance cleaning between deep descaling sessions.
One tip: never mix vinegar and baking soda in the kettle at the same time. While the fizzing reaction is fun to watch, it neutralizes both ingredients, reducing their effectiveness. Use them separately for best results.
Step-by-Step Guide to Deep Cleaning Your Electric Kettle
Now that you know the best cleaning methods, let’s walk through a complete deep-cleaning routine. This step-by-step guide ensures you remove all buildup safely and thoroughly, without damaging your kettle. Follow these instructions every 2–4 weeks, or more often if you live in a hard water area.
Step 1: Unplug and Cool Down
Before you start, make sure your kettle is completely unplugged and cooled down. Never attempt to clean a hot or recently used kettle—this can cause burns or damage the appliance. Give it at least 30 minutes to cool if you’ve just boiled water.
Step 2: Empty and Inspect
Pour out any remaining water and inspect the interior. Look for white or gray deposits on the heating element, walls, or bottom. Check the spout and lid for clogs or residue. If you see thick buildup, you’ll need a longer soak. Light film can often be removed with a shorter treatment.
Step 3: Prepare Your Cleaning Solution
Choose your preferred cleaner—vinegar, lemon juice, or a combination. For most kettles, a 50/50 mix of white vinegar and water works best. Fill the kettle so the solution covers all affected areas. If your kettle has a removable limescale filter, take it out and soak it separately in the same solution.
Step 4: Soak and Boil
Let the solution sit for 30 minutes to 1 hour. For heavy buildup, extend the soak to 2–4 hours or overnight. After soaking, plug in the kettle and bring the solution to a full boil. This helps break down stubborn deposits. Once boiled, unplug the kettle and let it cool for 10–15 minutes.
Step 5: Scrub Gently
Use a soft sponge, brush, or cloth to scrub the interior. Focus on the heating element, bottom, and spout. Avoid metal scouring pads or harsh brushes—they can scratch stainless steel or damage non-stick coatings. For tight spots, a toothbrush works well.
Step 6: Rinse Thoroughly
Pour out the cleaning solution and rinse the kettle with clean water. Fill it with fresh water, boil it, and pour it out. Repeat this process 2–3 times to ensure no cleaning residue remains. This step is crucial—any leftover vinegar or lemon can affect the taste of your next cup of tea.
Step 7: Dry and Reassemble
Wipe the exterior with a damp cloth and dry it completely. If you removed the filter, rinse it well and reinstall it. Plug in your kettle and run one final cycle with fresh water to confirm it’s clean and odor-free.
By following these steps regularly, you’ll keep your kettle in top condition. Not only will your drinks taste better, but your kettle will heat faster and last longer.
Preventing Future Buildup in Your Electric Kettle
Cleaning your kettle is important, but prevention is even better. With a few simple habits, you can significantly reduce the rate of limescale formation and extend the time between deep cleans. Here’s how to keep your kettle cleaner, longer.
Use Filtered or Distilled Water
The easiest way to prevent buildup is to use softer water. If your tap water is hard, consider using filtered water instead. A simple pitcher filter or under-sink system can remove many of the minerals that cause limescale. Alternatively, distilled water is mineral-free and ideal for kettles—though it’s more expensive for daily use.
Even switching to filtered water a few times a week can make a noticeable difference. You’ll see less scaling, and your kettle will require less frequent cleaning. Plus, your drinks will taste cleaner and more consistent.
Empty the Kettle After Each Use
Don’t let water sit in your kettle for long periods. After boiling, pour out any unused water. Standing water allows minerals to settle and bond to surfaces, accelerating buildup. This is especially important overnight or between uses.
If you’re making multiple hot drinks in a row, it’s fine to keep water in the kettle—but try to empty it by the end of the day. A quick rinse with fresh water can also help remove residual minerals.
Wipe Down the Interior Weekly
Once a week, give your kettle a quick wipe with a damp cloth. This removes light film before it hardens into limescale. You can also use a mild soap solution for the exterior, but avoid getting soap inside unless you rinse thoroughly.
For glass kettles, a vinegar-soaked cloth can be used to wipe the inside without filling the entire kettle. This is a great way to maintain cleanliness between deep cleans.
Descale Regularly
Even with prevention, some buildup is inevitable. Make descaling a part of your routine—every 2–4 weeks, depending on usage and water hardness. Set a reminder on your phone or calendar to stay consistent. Regular maintenance prevents major problems and keeps your kettle running efficiently.
Some modern kettles have built-in descaling indicators or filters. If yours does, follow the manufacturer’s recommendations. These features help, but they don’t replace manual cleaning entirely.
Common Mistakes to Avoid When Cleaning Your Kettle
Even with the best intentions, it’s easy to make mistakes when cleaning your electric kettle. These errors can damage your appliance, reduce its lifespan, or leave behind unpleasant tastes. Here are the most common pitfalls—and how to avoid them.
Submerging the Base in Water
Never, ever submerge the electrical base of your kettle in water. This includes soaking it in a sink or running water over it. Water can seep into the motor or electrical components, causing short circuits, malfunctions, or even electric shocks. Only clean the removable parts and interior bowl.
If the base gets wet, unplug it immediately and let it dry completely before use. Wipe it with a damp cloth and dry thoroughly.
Using Harsh Chemicals
Avoid commercial descalers with strong acids or bleach unless specifically recommended by the manufacturer. These can corrode metal parts, damage seals, or leave toxic residues. Stick to natural cleaners like vinegar and lemon—they’re safe, effective, and inexpensive.
If you do use a commercial product, read the label carefully and rinse the kettle multiple times afterward.
Skipping the Rinse Cycle
One of the biggest mistakes is not rinsing thoroughly after cleaning. Vinegar and lemon can leave a strong taste or smell if not fully removed. Always run 2–3 cycles of clean water through the kettle after descaling. Taste the water after the final rinse—if it still smells or tastes off, rinse again.
Using Abrasive Tools
Scrubbing with steel wool, wire brushes, or harsh sponges can scratch the interior surface. These scratches create grooves where limescale can accumulate more easily. Always use soft cloths, sponges, or non-abrasive brushes.
For stubborn spots, soak longer instead of scrubbing harder. Patience pays off.
Ignoring the Filter
If your kettle has a removable limescale filter, clean it regularly. A clogged filter reduces water flow and can cause overheating. Soak it in vinegar or lemon solution, then rinse and reinstall. Don’t forget this step—it’s often overlooked but essential for performance.
When to Replace Your Electric Kettle
Even with excellent care, electric kettles don’t last forever. Over time, wear and tear, repeated heating, and mineral exposure can degrade components. Knowing when to replace your kettle ensures safety, efficiency, and great-tasting drinks.
Signs It’s Time for a New Kettle
If your kettle takes longer to boil water than it used to, it may be struggling with heavy limescale or a failing heating element. Frequent overheating, strange noises, or inconsistent heating are also red flags. If the exterior is cracked, the lid doesn’t seal properly, or the cord is frayed, replace it immediately for safety.
Another sign is persistent bad taste or odor, even after thorough cleaning. This could indicate internal corrosion or mold growth that can’t be removed. When cleaning no longer restores performance or taste, it’s time for an upgrade.
How Long Should a Kettle Last?
With proper care, most electric kettles last 3–5 years. High-quality models with stainless steel interiors and durable components may last longer. Cheaper plastic kettles may degrade faster, especially with hard water. Regular cleaning and using filtered water can extend lifespan significantly.
When shopping for a new kettle, look for features like removable filters, easy-clean interiors, and descaling indicators. These make maintenance simpler and help prevent buildup.
Conclusion
Cleaning build up in electric kettle is a simple but essential task that affects taste, performance, and safety. With natural solutions like vinegar and lemon, you can remove limescale effectively without harsh chemicals. Regular maintenance—every 2–4 weeks—keeps your kettle running efficiently and your drinks tasting fresh.
By understanding the causes of buildup, using the right cleaning methods, and adopting preventive habits, you can extend the life of your kettle and enjoy better-tasting beverages every day. Don’t wait for thick scale to form—stay ahead of the problem with consistent care. Your kettle—and your morning tea—will thank you.
Frequently Asked Questions
How often should I clean my electric kettle?
Clean your electric kettle every 2–4 weeks, depending on usage and water hardness. If you live in an area with very hard water, you may need to clean it weekly.
Can I use apple cider vinegar instead of white vinegar?
It’s best to use white vinegar because it’s clear and won’t stain or leave odors. Apple cider vinegar is darker and may leave a residue or smell.
Is it safe to drink water after cleaning with vinegar?
Yes, as long as you rinse the kettle thoroughly with clean water and run 2–3 boil cycles afterward. Any vinegar taste or smell will be completely removed.
Can I clean my kettle with bleach?
No, avoid bleach and other harsh chemicals. They can damage the kettle and leave toxic residues. Stick to natural cleaners like vinegar or lemon juice.
What if my kettle has a non-stick coating?
Use extra care—avoid abrasive tools and harsh scrubbing. Vinegar and lemon are safe for most non-stick surfaces, but always check the manufacturer’s guidelines.
My kettle still smells after cleaning. What should I do?
Run additional rinse cycles with fresh water. If the smell persists, try a baking soda rinse (1 tbsp in water, boil, then rinse) to neutralize odors.