Keeping your Hamilton Beach glass electric kettle sparkling clean is easier than you think. With regular maintenance and the right cleaning techniques, you can prevent limescale buildup, maintain optimal performance, and enjoy better-tasting water every time you boil.
Key Takeaways
- Clean regularly to prevent limescale: Hard water leaves mineral deposits that affect taste and heating efficiency—clean your kettle every 2–4 weeks.
- Use vinegar for deep cleaning: A 50/50 mix of white vinegar and water dissolves stubborn limescale without harsh chemicals.
- Never submerge the base: The heating element and electrical components must stay dry—only clean the glass and removable parts.
- Rinse thoroughly after cleaning: Leftover vinegar or cleaning solution can affect water taste—always rinse multiple times.
- Use a soft sponge or cloth: Avoid abrasive scrubbers that can scratch the glass or damage the interior coating.
- Descale with baking soda for mild buildup: Great for routine maintenance when vinegar isn’t needed.
- Store with the lid open: Allows moisture to escape and prevents musty odors between uses.
📑 Table of Contents
- Why Cleaning Your Hamilton Beach Glass Electric Kettle Matters
- Understanding Your Hamilton Beach Glass Electric Kettle
- Daily and Weekly Maintenance Tips
- How to Deep Clean with Vinegar (The Best Method)
- Alternative Cleaning Methods
- Cleaning the Exterior and Handle
- Preventing Future Buildup and Extending Lifespan
- Troubleshooting Common Cleaning Issues
- Conclusion
Why Cleaning Your Hamilton Beach Glass Electric Kettle Matters
If you’re like most people, your Hamilton Beach glass electric kettle is one of those appliances you use daily—maybe even multiple times a day. Whether you’re brewing your morning coffee, steeping a soothing cup of tea, or heating water for instant oatmeal, that kettle works hard. But have you ever stopped to think about what’s building up inside it?
Over time, minerals from hard water—like calcium and magnesium—accumulate on the heating element and inside the glass walls. This white, chalky residue is called limescale, and it’s more than just an eyesore. It can slow down heating times, reduce energy efficiency, and even affect the taste of your water. In severe cases, it can cause the kettle to malfunction or shorten its lifespan. That’s why regular cleaning isn’t just about aesthetics—it’s about performance, safety, and longevity.
The good news? Cleaning your Hamilton Beach glass electric kettle is simple, safe, and takes just a few minutes. With the right approach, you can keep it looking brand new and functioning at its best. In this guide, we’ll walk you through everything you need to know—from daily maintenance to deep-cleaning methods—so you can enjoy pure, great-tasting water every time you press that boil button.
Understanding Your Hamilton Beach Glass Electric Kettle
Before diving into cleaning, it helps to understand what makes your Hamilton Beach glass electric kettle unique. Unlike plastic kettles, the glass body offers a clear view of the water level and any buildup inside. This transparency is great for spotting limescale early, but it also means scratches and cloudiness are more visible.
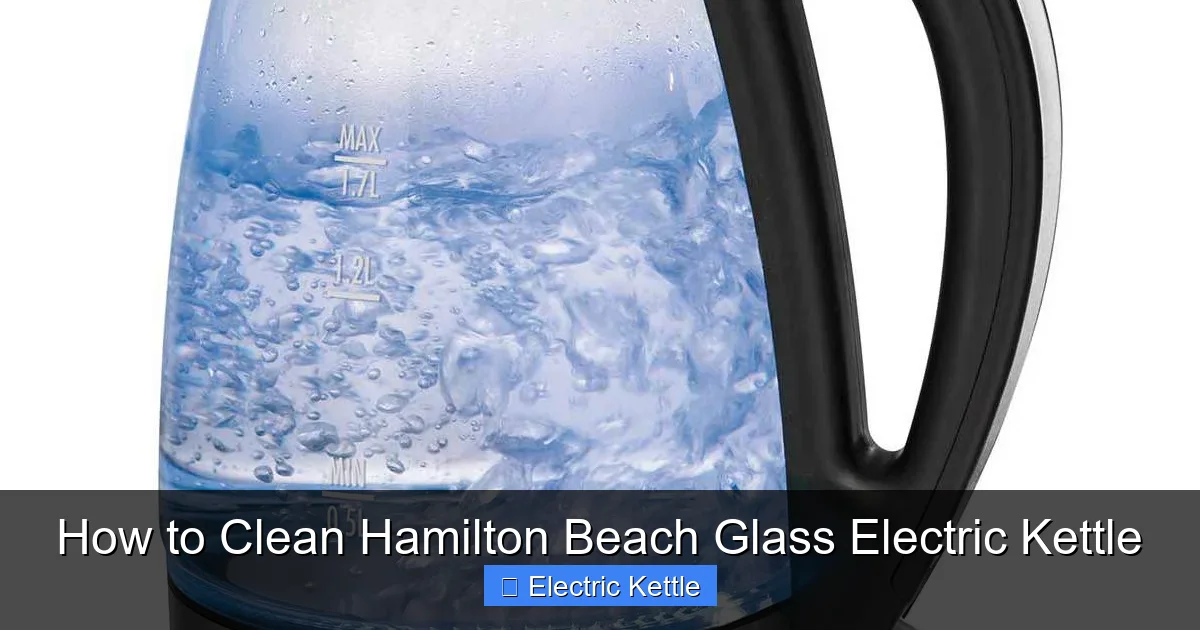
Visual guide about How to Clean Hamilton Beach Glass Electric Kettle
Image source: hamiltonbeach.com
Key Features to Keep in Mind
Most Hamilton Beach glass electric kettles come with a removable filter near the spout, a concealed heating element (usually under a stainless steel plate), and a cordless design for easy pouring. The base contains the electrical components and must never be submerged in water. The glass itself is typically heat-resistant borosilicate, which can handle rapid temperature changes—but it’s not indestructible.
Common Problem Areas
Limescale tends to build up in three main areas: the heating element, the interior glass walls, and the spout filter. The heating element is especially vulnerable because it’s in constant contact with water. If you live in an area with hard water, you might notice a white film or crust forming around the base of the element. The filter can also get clogged with mineral deposits, reducing water flow and causing sputtering during boiling.
Another issue is odor. If your kettle sits unused for days, stagnant water or residue from previous use can lead to a musty or metallic smell. This isn’t harmful, but it’s definitely unappealing. Regular cleaning prevents both limescale and odor, keeping your kettle fresh and efficient.
Daily and Weekly Maintenance Tips
You don’t need to deep-clean your kettle every day, but a few quick habits can make a big difference. Think of it like brushing your teeth—small, consistent actions prevent bigger problems down the line.
Empty and Rinse After Each Use
After boiling water, pour out any leftover liquid. Standing water encourages mineral buildup and can lead to stains or odors. Give the interior a quick rinse with clean water to remove any residual minerals or tea/coffee particles. This simple step takes 10 seconds but significantly reduces the need for frequent deep cleaning.
Wipe the Exterior Regularly
Spills, fingerprints, and water droplets can leave marks on the glass and base. Use a soft, damp cloth to wipe down the exterior after each use. For tougher spots, a mild soap solution works well—just avoid harsh chemicals or abrasive pads that could scratch the surface.
Check and Clean the Filter Weekly
The spout filter traps sediment and mineral particles. Over time, it can become clogged, especially if you use unfiltered tap water. To clean it, remove the filter (usually by twisting or pulling it out), rinse it under warm water, and use a soft brush (like an old toothbrush) to gently scrub away debris. Reinsert it securely before your next use.
Leave the Lid Open When Not in Use
This allows moisture to evaporate and prevents musty smells. It also reduces the chance of mold or mildew forming inside the kettle. If you store your kettle in a cabinet, consider leaving it on the counter with the lid open between uses.
Use Filtered Water When Possible
If your tap water is particularly hard, consider using filtered or distilled water. This reduces mineral content and slows limescale formation. While it’s not always practical, even using filtered water a few times a week can help.
How to Deep Clean with Vinegar (The Best Method)
When limescale starts to build up—usually every 2 to 4 weeks, depending on water hardness—it’s time for a deep clean. The most effective and eco-friendly method uses white distilled vinegar. It’s cheap, non-toxic, and breaks down mineral deposits naturally.
What You’ll Need
- White distilled vinegar
- Water
- Soft sponge or cloth
- Old toothbrush (optional)
- Measuring cup
Step-by-Step Vinegar Cleaning Process
- Mix the solution: Combine equal parts white vinegar and water. For a standard 1-liter kettle, use ½ cup vinegar and ½ cup water. If your kettle is larger, adjust accordingly—just keep the 50/50 ratio.
- Pour into the kettle: Carefully pour the mixture into the kettle, making sure it covers the heating element and any visible limescale.
- Let it sit: Allow the solution to sit for at least 30 minutes. For heavy buildup, you can leave it overnight. The vinegar will dissolve the minerals, turning the water cloudy or foamy.
- Boil the solution (optional but recommended): Turn on the kettle and bring the vinegar mixture to a boil. This helps loosen stubborn deposits. Let it boil for 5–10 minutes, then turn off and unplug the kettle.
- Scrub gently: Use a soft sponge or cloth to wipe the interior. For tight spots around the heating element, dip an old toothbrush in the vinegar solution and gently scrub.
- Rinse thoroughly: Pour out the vinegar solution and rinse the kettle 3–4 times with clean water. Any leftover vinegar can affect the taste of your next brew.
- Boil fresh water: Fill the kettle with clean water, boil it once, and discard the water. This ensures all vinegar residue is gone.
Tips for Best Results
- If limescale is severe, repeat the process once more.
- Never use vinegar on the exterior glass unless diluted—it can leave streaks.
- For kettles with a strong vinegar smell after cleaning, boil a mixture of water and a slice of lemon to neutralize odors.
Alternative Cleaning Methods
While vinegar is the gold standard, there are other options if you prefer not to use it—or if you’ve run out.
Baking Soda for Mild Buildup
Baking soda is a gentle abrasive that works well for light limescale or routine maintenance. Mix 1–2 tablespoons of baking soda with a small amount of water to form a paste. Apply it to the affected areas with a soft cloth or sponge, let it sit for 15–20 minutes, then scrub and rinse thoroughly. This method is less effective for heavy buildup but great for weekly touch-ups.
Lemon Juice for Natural Cleaning
Fresh lemon juice contains citric acid, which dissolves minerals similarly to vinegar. Cut a lemon in half, squeeze the juice into the kettle, and add water to cover the heating element. Let it sit for 30 minutes, then boil the mixture for 5–10 minutes. Scrub, rinse, and boil fresh water to remove any lemon taste. This method also leaves a fresh scent.
Commercial Descaling Solutions
If you prefer a ready-made product, look for electric kettle descalers (like Durgol or Urnex). These are formulated specifically for kettles and are safe for glass and heating elements. Follow the instructions on the package—usually involving mixing with water, boiling, and rinsing. While effective, they’re more expensive than vinegar and may contain chemicals you’d rather avoid.
What to Avoid
- Harsh chemicals: Bleach, ammonia, or abrasive cleaners can damage the glass or leave toxic residues.
- Steel wool or scouring pads: These scratch the glass and can create spots for future buildup.
- Submerging the base: Water can damage the electrical components and pose a shock hazard.
Cleaning the Exterior and Handle
While the interior gets the most attention, the outside of your kettle deserves care too. A clean exterior not only looks better but also prevents grime from transferring to your hands or countertops.
Wiping Down the Glass
Use a microfiber cloth dampened with water or a mild soap solution. For water spots or hard water stains, a 50/50 vinegar-water spray can help—just wipe immediately to avoid streaks. Avoid spraying directly onto the kettle; instead, apply to the cloth first.
Cleaning the Handle and Lid
The handle and lid can collect oils, dust, and water droplets. Wipe them with a damp cloth after each use. For sticky residues, use a bit of dish soap. Make sure the lid hinge area is dry before closing to prevent mold.
Maintaining the Base
The base should never get wet. Wipe it with a dry or slightly damp cloth only. If water spills on the base, unplug the kettle immediately and let it dry completely before using again. Never place the kettle back on the base if it’s wet underneath.
Preventing Future Buildup and Extending Lifespan
Cleaning is important, but prevention is even better. With a few smart habits, you can keep your Hamilton Beach glass electric kettle in top shape for years.
Use Filtered Water
As mentioned earlier, filtered water reduces mineral content. If you don’t have a filter, consider buying a water pitcher with a built-in filter or using distilled water occasionally.
Descale Regularly
Don’t wait until you see thick limescale. Set a reminder to deep-clean your kettle every 3–4 weeks, especially if you live in a hard water area. Prevention is faster and easier than removal.
Avoid Overfilling
Filling beyond the maximum line can cause water to splash onto the heating element or electrical parts, increasing the risk of damage. It also leads to more mineral concentration as water evaporates.
Unplug When Not in Use
This saves energy and reduces wear on the heating element. It’s also a safety precaution, especially if you have children or pets.
Store Properly
Keep your kettle in a dry, cool place. Avoid stacking heavy items on top of it, as glass can crack under pressure. If you’re storing it long-term, make sure it’s completely dry and the lid is off.
Troubleshooting Common Cleaning Issues
Even with regular care, you might run into a few hiccups. Here’s how to handle them.
Stubborn Limescale That Won’t Come Off
If vinegar doesn’t work, try a longer soak—up to 24 hours. You can also boil the vinegar solution multiple times, letting it cool between boils. For extreme cases, a commercial descaler may be necessary.
Vinegar Smell Lingers After Cleaning
This is common but fixable. Boil fresh water 2–3 times, discarding it each time. Adding a slice of lemon or a teaspoon of baking soda to the final rinse can help neutralize odors.
Cloudy or Scratched Glass
Cloudiness is usually due to mineral deposits and can be cleaned with vinegar. Scratches, however, are permanent. Prevent them by using only soft cloths and avoiding abrasive tools.
Kettle Still Tastes Metallic
This could be from old limescale or a dirty filter. Deep-clean the kettle and replace the filter if it’s worn out. If the problem persists, the heating element may be corroded—consider contacting Hamilton Beach support.
Conclusion
Your Hamilton Beach glass electric kettle is a reliable kitchen companion, but like any appliance, it needs a little TLC to keep performing at its best. Regular cleaning prevents limescale, maintains water quality, and extends the life of your kettle. With simple methods like vinegar soaks, baking soda scrubs, and daily rinsing, you can keep it sparkling clean without harsh chemicals or expensive tools.
Remember: consistency is key. A few minutes of maintenance every week can save you hours of deep cleaning later. And by following the tips in this guide—like using filtered water, cleaning the filter, and storing with the lid open—you’ll enjoy faster boiling times, better-tasting beverages, and a kettle that looks as good as new for years to come. So go ahead, give your kettle the care it deserves. Your morning tea will thank you.
Frequently Asked Questions
Can I use apple cider vinegar to clean my Hamilton Beach kettle?
It’s not recommended. Apple cider vinegar is less acidic than white distilled vinegar and may leave a sticky residue or strong smell. Stick with white vinegar for best results.
How often should I clean my electric kettle?
For most users, deep cleaning every 2–4 weeks is sufficient. If you use your kettle daily or have hard water, aim for every 2 weeks.
Is it safe to boil vinegar in my kettle?
Yes, boiling vinegar is safe and effective for removing limescale. Just make sure to rinse thoroughly afterward to avoid affecting the taste of your water.
Can I put my Hamilton Beach kettle in the dishwasher?
No. The glass body may be dishwasher-safe in some models, but the base and electrical components must never get wet. Always hand-wash and dry completely.
Why does my kettle smell after cleaning?
This is usually due to leftover vinegar or baking soda. Boil fresh water 2–3 times and discard it to remove any residual odor.
What should I do if my kettle stops heating after cleaning?
Ensure the base is completely dry and the kettle is properly seated on the base. If it still doesn’t work, unplug it for 10 minutes, then try again. If the problem persists, contact Hamilton Beach customer support.