Keeping your electric kettle clean inside is essential for great-tasting water and long appliance life. This guide shows you easy, safe methods using vinegar, lemon, or baking soda to remove limescale and buildup without damaging your kettle.
Key Takeaways
- Regular cleaning prevents limescale buildup: Hard water leaves mineral deposits that affect taste and heating efficiency—clean your kettle every 2–4 weeks.
- Vinegar is a powerful natural cleaner: A 50/50 mix of white vinegar and water dissolves limescale safely without harsh chemicals.
- Lemon juice offers a fresh alternative: Natural citric acid in lemon breaks down deposits and leaves a pleasant scent.
- Never submerge the base or electrical parts: Only the interior chamber should be cleaned—avoid water near the heating element or cord.
- Rinse thoroughly after cleaning: Multiple rinses ensure no cleaning residue remains, keeping your water pure and safe.
- Use a soft brush for stubborn spots: A bottle brush or toothbrush helps reach tight corners without scratching surfaces.
- Prevent future buildup with filtered water: Using filtered or softened water reduces mineral content and extends cleaning intervals.
📑 Table of Contents
- Why Cleaning the Inside of Your Electric Kettle Matters
- Signs Your Electric Kettle Needs Cleaning
- What You’ll Need to Clean Your Electric Kettle
- Step-by-Step Guide: How to Clean Inside an Electric Kettle with Vinegar
- Alternative Methods: Lemon Juice and Baking Soda
- Tips for Maintaining a Clean Electric Kettle
- Common Mistakes to Avoid When Cleaning Your Kettle
- When to Replace Your Electric Kettle
- Conclusion
Why Cleaning the Inside of Your Electric Kettle Matters
You probably use your electric kettle daily—maybe even multiple times a day. Whether it’s for your morning coffee, afternoon tea, or instant noodles, that little appliance works hard. But have you ever looked inside? If you live in an area with hard water, you might be surprised by what you see: a chalky white or grayish crust lining the walls and base. That’s limescale, and it’s more than just unsightly.
Limescale forms when minerals like calcium and magnesium in hard water are heated repeatedly. Over time, these minerals settle and harden, creating a layer that can affect how your kettle performs. It can slow down heating, reduce energy efficiency, and even give your water a slightly metallic or stale taste. In severe cases, thick buildup can trap bacteria or mold in tiny crevices, especially around the spout or under the lid. That’s not just gross—it’s a potential health concern.
But it’s not just about taste and hygiene. A dirty kettle can also become a fire hazard. When limescale coats the heating element, it insulates the metal, causing the element to overheat. This can shorten the lifespan of your kettle or, in rare cases, lead to electrical issues. Regular cleaning helps prevent these problems and keeps your kettle running smoothly for years.
Think of cleaning your electric kettle like changing the oil in your car. It’s a simple maintenance task that pays off in performance, safety, and longevity. And the good news? It’s incredibly easy to do. You don’t need special tools or expensive cleaners. With a few household ingredients and 15–30 minutes of your time, you can restore your kettle to like-new condition.
Signs Your Electric Kettle Needs Cleaning
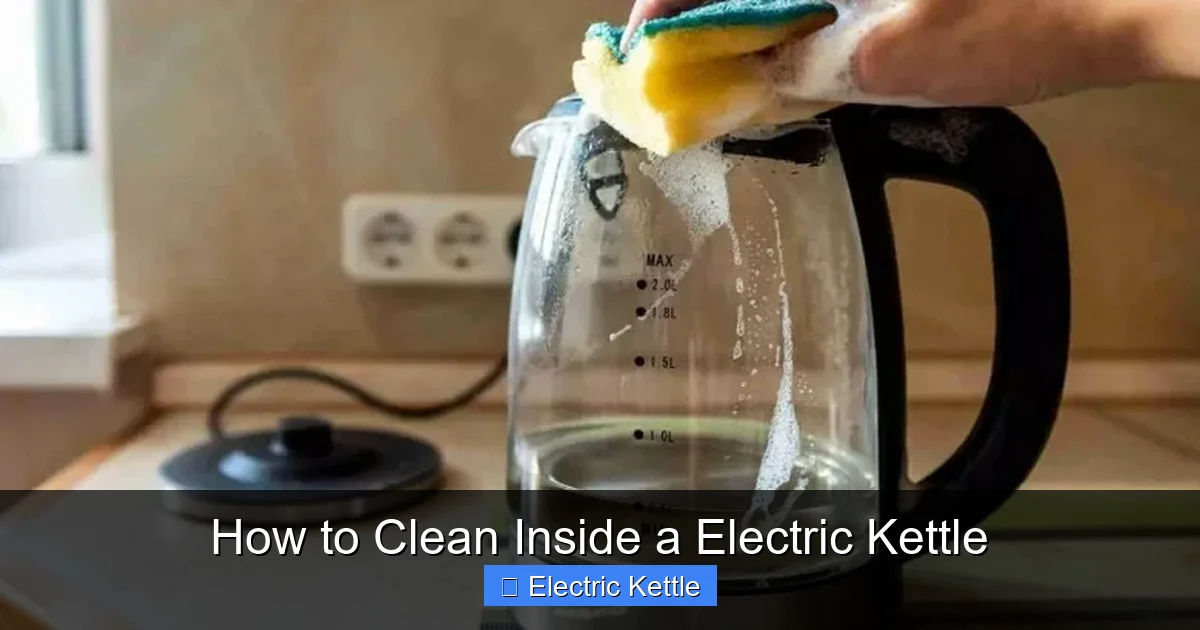
Visual guide about How to Clean Inside a Electric Kettle
Image source: irrorwxhiqijjr5q.ldycdn.com
So how do you know when it’s time to clean your kettle? You don’t always need to wait for visible buildup. There are several telltale signs that your kettle is due for a deep clean.
One of the most obvious is the appearance of limescale. If you see white, flaky deposits on the interior walls, around the heating element, or near the water level line, it’s time to act. These deposits may start small but can grow quickly, especially if you use your kettle frequently.
Another sign is longer boiling times. If your kettle used to boil water in under two minutes but now takes noticeably longer, mineral buildup could be insulating the heating element. This not only wastes energy but also puts extra strain on the appliance.
You might also notice a change in the taste or smell of your water. Even if you can’t see limescale, dissolved minerals can leave a faint metallic or chalky flavor. Some people describe it as “stale” or “off.” If your tea or coffee suddenly tastes different, your kettle could be the culprit.
In some cases, you might hear unusual noises—like popping, crackling, or sizzling—during heating. This can happen when water gets trapped under layers of limescale and boils unevenly. It’s not dangerous, but it’s a clear signal that cleaning is overdue.
Finally, if you haven’t cleaned your kettle in over a month—or ever—it’s definitely time. Even if you don’t see visible buildup, regular cleaning prevents problems before they start. Think of it as part of your kitchen maintenance routine, like wiping down counters or cleaning the microwave.
What You’ll Need to Clean Your Electric Kettle
The best part about cleaning an electric kettle? You probably already have everything you need at home. No need to buy specialty cleaners or tools. Here’s a simple list of supplies:
– **White distilled vinegar** – This is the star ingredient. Its acetic acid content effectively dissolves limescale without damaging metal or plastic parts.
– **Fresh lemon** – A natural alternative to vinegar, lemon juice contains citric acid that breaks down mineral deposits and leaves a fresh scent.
– **Baking soda** – Great for scrubbing and neutralizing odors. Use it for light cleaning or as a paste for stubborn spots.
– **Water** – Always use clean, cold water for mixing and rinsing.
– **Soft sponge or cloth** – Avoid abrasive scrubbers that can scratch the interior.
– **Bottle brush or old toothbrush** – Helpful for reaching tight corners, around the spout, or under the lid.
– **Measuring cup** – To get the right vinegar-to-water ratio.
– **Kettle itself** – Obviously!
Optional but helpful:
– **Rubber gloves** – To protect your hands, especially if you have sensitive skin.
– **Microfiber cloth** – For drying and polishing the exterior.
Avoid using bleach, ammonia, or commercial descaling products unless they’re specifically labeled safe for kettles. Harsh chemicals can leave toxic residues or damage internal components. Stick to natural, food-safe options for the best results.
Step-by-Step Guide: How to Clean Inside an Electric Kettle with Vinegar
Vinegar is the most effective and widely recommended method for cleaning electric kettles. It’s cheap, safe, and works fast. Here’s how to do it properly.
Step 1: Prepare the Cleaning Solution
Start by mixing equal parts white distilled vinegar and water. For most kettles, a 1:1 ratio works best. If your kettle is small (under 1 liter), use ½ cup vinegar and ½ cup water. For larger kettles (1.5–2 liters), use 1 cup of each. Pour the mixture into the kettle, making sure it covers the areas with the most buildup—usually the bottom and lower walls.
Don’t overfill. Leave at least an inch of space at the top to prevent overflow when boiling.
Step 2: Let It Soak
Once the solution is in, let it sit for at least 30 minutes. For heavy limescale, you can leave it overnight. The longer it soaks, the more time the vinegar has to break down the mineral deposits. If you’re in a hurry, 30 minutes is usually enough for light to moderate buildup.
During this time, the vinegar will start to fizz slightly as it reacts with the limescale. This is normal and a good sign that it’s working.
Step 3: Boil the Solution
After soaking, plug in your kettle and bring the vinegar solution to a boil. Let it boil for 5–10 minutes. The heat helps accelerate the cleaning process and ensures the vinegar reaches all areas, including the heating element.
You may notice a strong vinegar smell—this is normal. Open a window or turn on a fan if the odor bothers you. The smell will disappear after rinsing.
Step 4: Scrub if Needed
Once the kettle has cooled down (never handle a hot kettle), use a soft sponge or bottle brush to gently scrub the interior. Focus on areas with visible buildup. The limescale should come off easily now that it’s been loosened by the vinegar.
For stubborn spots, dip your brush in undiluted vinegar and scrub again. Avoid using steel wool or harsh scrubbers—they can scratch the surface and create spots for future buildup.
Step 5: Rinse Thoroughly
Empty the kettle and rinse it several times with clean water. Fill it up, swish the water around, and pour it out. Repeat this at least 3–4 times to ensure all vinegar residue is gone. Any leftover vinegar can affect the taste of your next cup of tea.
After the final rinse, fill the kettle with fresh water and boil it once more. This “rinse boil” helps flush out any remaining traces and ensures your water tastes clean.
Step 6: Dry and Store
Wipe the exterior with a dry cloth and let the interior air-dry completely before using it again. Make sure no water is trapped under the lid or in the spout.
Your kettle should now look shiny and smell fresh. You’ve successfully cleaned the inside of your electric kettle!
Alternative Methods: Lemon Juice and Baking Soda
If you don’t have vinegar or prefer a more natural scent, lemon juice is an excellent alternative. It works similarly to vinegar but leaves a fresh, citrusy aroma.
Using Lemon Juice
Cut a fresh lemon in half and squeeze the juice directly into the kettle. Use about ½ to 1 whole lemon, depending on the size of your kettle. Add enough water to cover the bottom and areas with buildup—usually about 1–2 cups.
Let it soak for 30 minutes to an hour, then bring the mixture to a boil. Boil for 5–10 minutes, then let it cool. Scrub gently with a sponge or brush, rinse thoroughly, and boil a final rinse of clean water.
Lemon is especially good for light cleaning or monthly maintenance. It’s also a great choice if you’re sensitive to vinegar smells.
Using Baking Soda
Baking soda is best for light cleaning or deodorizing. It’s mild and safe for all kettle types.
Make a paste by mixing 1–2 tablespoons of baking soda with a small amount of water. Use a soft cloth or sponge to apply the paste to the interior walls and base. Gently scrub in circular motions, focusing on stained or discolored areas.
For tougher buildup, let the paste sit for 15–20 minutes before scrubbing. Then rinse thoroughly with water. You can also add 1 tablespoon of baking soda to a full kettle of water, boil it for 5 minutes, and let it soak before rinsing.
Baking soda won’t dissolve heavy limescale as effectively as vinegar or lemon, but it’s great for regular upkeep and removing odors.
Tips for Maintaining a Clean Electric Kettle
Cleaning your kettle doesn’t have to be a monthly chore. With a few simple habits, you can keep it looking and tasting fresh between deep cleans.
Use Filtered Water
The easiest way to prevent limescale is to use filtered or softened water. Hard water is the main cause of mineral buildup, so switching to filtered water can dramatically reduce how often you need to clean. Even a simple pitcher filter can make a big difference.
Empty After Each Use
Don’t let water sit in your kettle overnight. Stagnant water encourages mineral deposits and can lead to mold or bacteria growth. After each use, pour out any remaining water and leave the lid open to air-dry.
Wipe the Exterior Regularly
While we’re focused on the inside, don’t forget the outside. Wipe down the handle, base, and cord with a damp cloth to remove fingerprints, dust, and spills. This keeps your kettle looking clean and prevents grime from building up.
Check the Spout and Lid
Minerals and residue can collect in the spout and under the lid. Use a toothbrush or cotton swab dipped in vinegar to clean these hard-to-reach areas. A clean spout ensures smooth pouring and prevents clogs.
Clean Every 2–4 Weeks
Even if you don’t see buildup, aim to clean your kettle every 2–4 weeks. This prevents limescale from hardening and makes each cleaning session quicker and easier. Set a reminder on your phone or calendar to stay on track.
Avoid Overfilling
Filling your kettle beyond the maximum line can cause water to spill into the base during boiling. This can damage electrical components and create a safety hazard. Always follow the manufacturer’s fill guidelines.
Common Mistakes to Avoid When Cleaning Your Kettle
Even simple tasks can go wrong if you’re not careful. Here are some common mistakes to avoid when cleaning your electric kettle.
Submerging the Base
Never immerse the base, cord, or electrical parts in water. Only the interior chamber should be cleaned. Water can seep into the heating element or motor, causing permanent damage or electrical shock.
Using Harsh Chemicals
Avoid bleach, ammonia, or abrasive cleaners. These can corrode metal, degrade plastic, and leave toxic residues. Stick to food-safe options like vinegar, lemon, or baking soda.
Scrubbing Too Hard
Aggressive scrubbing with steel wool or harsh brushes can scratch the interior surface. Scratches create tiny grooves where minerals and bacteria can accumulate, making future cleaning harder. Always use soft tools.
Skipping the Rinse
Rinsing is just as important as cleaning. Any leftover vinegar, lemon, or baking soda can affect the taste of your water. Always rinse thoroughly and do a final boil with clean water.
Cleaning a Hot Kettle
Never add cleaning solutions to a hot or recently used kettle. The sudden temperature change can cause cracking or warping. Always let the kettle cool completely before cleaning.
Ignoring the Manufacturer’s Instructions
Some kettles have special coatings or materials that require specific care. Check your user manual for cleaning recommendations. For example, some kettles with non-stick interiors should not be scrubbed at all.
When to Replace Your Electric Kettle
No matter how well you clean it, every electric kettle has a lifespan. Most last 3–5 years with regular use. But how do you know when it’s time to replace it?
Look for signs like:
– Persistent limescale that won’t come off, even after multiple cleanings
– Rust or corrosion on the interior or heating element
– Leaks around the base or spout
– Inconsistent heating or failure to boil
– Strange noises or burning smells
If your kettle is more than 5 years old and showing any of these signs, it’s probably time for an upgrade. Newer models are often more energy-efficient, quieter, and come with features like temperature control and auto-shutoff.
When buying a replacement, look for kettles made from stainless steel or high-quality plastic. Avoid cheap models with thin walls or poor seals—they tend to wear out faster.
Conclusion
Cleaning the inside of your electric kettle is one of the simplest yet most impactful things you can do for your kitchen. It improves the taste of your water, extends the life of your appliance, and ensures safe, efficient operation. With just vinegar, lemon, or baking soda, you can tackle limescale and buildup in under 30 minutes.
Make it a habit—clean your kettle every few weeks, use filtered water when possible, and always rinse thoroughly. Your future self (and your taste buds) will thank you. A clean kettle means better coffee, tastier tea, and peace of mind knowing your appliance is in top shape.
So the next time you boil water, take a moment to appreciate your clean, well-maintained kettle. It’s a small act of care that makes a big difference in your daily routine.
Frequently Asked Questions
Can I use apple cider vinegar to clean my electric kettle?
It’s not recommended. Apple cider vinegar is less acidic than white distilled vinegar and may leave behind residue or a strong smell. Stick to white vinegar for the best results.
How often should I clean my electric kettle?
Clean it every 2–4 weeks if you use it regularly, especially with hard water. If you notice limescale or longer boiling times, clean it sooner.
Is it safe to boil vinegar in my kettle?
Yes, boiling vinegar is safe and effective for removing limescale. Just make sure to rinse the kettle thoroughly afterward to remove any vinegar taste.
Can I clean a plastic electric kettle the same way?
Yes, vinegar and lemon methods are safe for plastic kettles. Avoid abrasive scrubbers and high heat, which can warp or damage plastic over time.
What if my kettle has a built-in filter?
Remove the filter before cleaning and rinse it separately. Clean the interior as usual, then reinsert the filter after drying.
Will cleaning my kettle remove bad odors?
Yes, vinegar and lemon are excellent at neutralizing odors. A thorough clean followed by a rinse boil should leave your kettle smelling fresh.