Cleaning your new electric kettle before first use is essential to remove manufacturing residues and ensure safe, great-tasting water. This guide walks you through step-by-step methods using common household ingredients like vinegar and lemon, plus tips for ongoing maintenance to keep your kettle in top condition.
Key Takeaways
- Always clean a new electric kettle before first use: New kettles often contain dust, oils, or residues from manufacturing that can affect taste and safety.
- Use natural cleaning agents like vinegar or lemon: These are effective, non-toxic, and safe for food-contact surfaces.
- Never submerge the base or electrical components: Only the kettle’s interior and removable parts should be cleaned with liquid.
- Descale regularly to prevent mineral buildup: Hard water areas require more frequent cleaning to maintain performance and longevity.
- Rinse thoroughly after cleaning: Residual cleaning solution can alter water taste if not fully removed.
- Follow manufacturer instructions: Check your kettle’s manual for specific cleaning recommendations and warranty guidelines.
- Store properly when not in use: Keep the kettle dry and covered to prevent dust accumulation and bacterial growth.
📑 Table of Contents
- Why Cleaning Your New Electric Kettle Matters
- What’s Lurking Inside Your New Kettle?
- Step-by-Step Guide to Cleaning Your New Electric Kettle
- Cleaning Different Types of Electric Kettles
- Maintaining Your Kettle After the First Clean
- Common Mistakes to Avoid
- Eco-Friendly and Cost-Effective Cleaning Tips
- Conclusion
Why Cleaning Your New Electric Kettle Matters
So you’ve just unboxed your shiny new electric kettle—maybe it’s sleek stainless steel, modern glass, or a compact plastic model. You’re excited to brew your first cup of tea or coffee. But before you press that power button, there’s one crucial step you shouldn’t skip: cleaning it thoroughly.
Even though your kettle looks brand new, it’s likely been handled multiple times during manufacturing, packaging, and shipping. Tiny particles of metal shavings, dust, lubricants, or protective coatings may still linger inside. These residues aren’t just unappetizing—they can affect the taste of your water and, in rare cases, pose health concerns if ingested over time.
Think of it like washing a new water bottle or coffee mug before using it. The same logic applies here. Cleaning your electric kettle before its first use ensures you’re starting with a fresh, safe, and clean appliance. Plus, it sets the foundation for good maintenance habits that will keep your kettle performing well for years.
Many people assume that running a few cycles of plain water will “flush out” any impurities. While that helps, it’s not enough. A proper deep clean removes stubborn residues and prepares the interior surfaces for optimal performance. Whether you live in an area with hard water or soft water, this initial cleaning step is non-negotiable.
What’s Lurking Inside Your New Kettle?
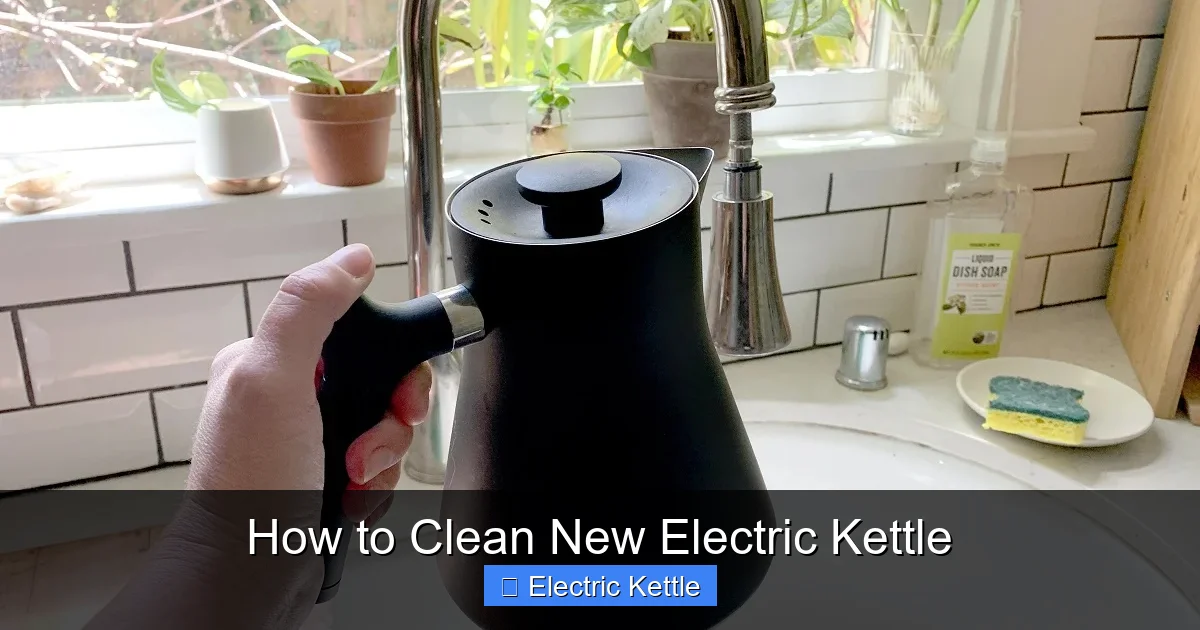
Visual guide about How to Clean New Electric Kettle
Image source: storables.com
You might be wondering—what exactly is inside my new kettle that needs cleaning? Let’s break it down.
During production, electric kettles are assembled using machinery that may leave behind microscopic metal fragments, especially in models with stainless steel interiors. These tiny shavings are harmless in small amounts but can give your water a metallic taste or appear as flecks in your cup.
Additionally, manufacturers often apply protective oils or coatings to prevent corrosion during storage and transport. These substances are food-safe but not meant to be consumed. They can leave a faint chemical smell or alter the flavor of your first few brews.
Dust and debris from packaging materials can also find their way into the kettle’s interior. Cardboard, plastic wrap, and foam inserts may shed particles that settle at the bottom or stick to the heating element.
Even if your kettle is made of glass or BPA-free plastic, it’s not immune. Glass can trap dust, and plastic components may retain manufacturing residues that release odors when heated.
Finally, some kettles come with a thin layer of machine oil used during assembly. While minimal, this oil can vaporize when the kettle is first heated, creating a strange smell or even a slight smoke—something no one wants during their morning routine.
That’s why a proper cleaning isn’t just about hygiene—it’s about ensuring your kettle delivers pure, great-tasting water from the very first use.
Step-by-Step Guide to Cleaning Your New Electric Kettle
Now that you know why cleaning matters, let’s get into the how. The good news? You don’t need special tools or expensive cleaners. Most of what you need is probably already in your kitchen.
Gather Your Supplies
Before you start, collect these items:
– White vinegar or lemon juice (both work well)
– Clean water
– A soft sponge or cloth (non-abrasive)
– A soft-bristled brush (optional, for hard-to-reach areas)
– A measuring cup
– A clean towel
Avoid using harsh chemicals, steel wool, or abrasive scrubbers. These can scratch the interior surface, especially in glass or coated kettles, and may damage the heating element over time.
Method 1: Vinegar Cleaning (Recommended)
White vinegar is a natural acid that dissolves mineral deposits and breaks down organic residues. It’s safe, effective, and inexpensive.
Step 1: Fill your kettle halfway with equal parts water and white vinegar. For example, if your kettle holds 1.7 liters, use about 425ml of water and 425ml of vinegar.
Step 2: Plug in the kettle and bring the solution to a boil. Let it boil for 5–10 minutes. This allows the vinegar to work on any residues and sanitize the interior.
Step 3: Turn off the kettle and let the solution sit for at least 30 minutes—or up to an hour for deeper cleaning. The longer it sits, the more effective it will be.
Step 4: Pour out the vinegar solution. Use a soft sponge or brush to gently scrub the interior, especially around the heating element and spout. Be careful not to scratch the surface.
Step 5: Rinse the kettle thoroughly with clean water—at least 3–4 times. Fill it, swish the water around, and pour it out. Repeat until there’s no vinegar smell or taste.
Step 6: Fill the kettle with fresh water and boil it once more. Discard this water. This final rinse ensures all traces of vinegar are gone.
Method 2: Lemon Juice Cleaning (Great for Odor Removal)
If you prefer a fresher scent or don’t have vinegar on hand, lemon juice is an excellent alternative. It’s also acidic and naturally antibacterial.
Step 1: Cut a fresh lemon in half and squeeze the juice into the kettle. Use about ½ cup of lemon juice for a standard-sized kettle.
Step 2: Add water to fill the kettle about halfway. You can also drop in a few lemon slices for extra cleaning power.
Step 3: Boil the lemon-water mixture for 5–10 minutes. The citric acid will help dissolve residues and eliminate odors.
Step 4: Let the solution sit for 30–60 minutes. For tougher residues, leave it overnight.
Step 5: Pour out the solution and scrub gently with a soft sponge. Rinse thoroughly with clean water.
Step 6: Boil a full kettle of fresh water and discard it. This removes any lingering lemon taste.
Method 3: Baking Soda Scrub (For Stubborn Stains)
If your kettle has visible stains or a strong odor, baking soda can help. It’s mildly abrasive and great for scrubbing.
Step 1: Mix 1–2 tablespoons of baking soda with a small amount of water to form a paste.
Step 2: Use a soft cloth or sponge to apply the paste to the interior surfaces. Gently scrub the bottom, walls, and around the spout.
Step 3: Let the paste sit for 15–20 minutes.
Step 4: Rinse thoroughly with water. You can follow up with a vinegar rinse if needed.
Note: Baking soda alone isn’t as effective for deep cleaning as vinegar or lemon, but it’s great for spot treatment.
Important Safety Tips
– Never submerge the base: The electrical components must stay dry. Only clean the interior and removable parts (like lids or filters) with liquid.
– Unplug the kettle: Always disconnect it from power before cleaning.
– Let it cool: If the kettle was recently used, wait until it’s completely cool before cleaning.
– Check the manual: Some kettles have specific cleaning instructions. For example, certain glass kettles may recommend avoiding vinegar to prevent clouding.
Cleaning Different Types of Electric Kettles
Not all kettles are created equal—and neither are their cleaning needs. The material and design of your kettle can affect how you clean it.
Stainless Steel Kettles
Stainless steel is durable and resistant to rust, but it can show water spots and fingerprints. It’s also prone to mineral buildup if you have hard water.
– Use vinegar or lemon for deep cleaning.
– Avoid abrasive scrubbers that can scratch the surface.
– Polish the exterior with a microfiber cloth and a drop of olive oil for shine (optional).
Glass Kettles
Glass kettles offer a modern look and let you see the water level, but they’re more fragile and can cloud over time.
– Vinegar is safe, but use it sparingly—too much acid can etch the glass.
– Rinse immediately after cleaning to prevent residue.
– Use a soft sponge only—no brushes or scrubbers.
Plastic Kettles
Plastic is lightweight and affordable, but it can absorb odors and stains over time.
– Avoid high heat when cleaning—boiling vinegar for too long can damage plastic.
– Use lemon juice or a mild baking soda solution.
– Replace plastic kettles every few years, as they degrade over time.
Kettles with Removable Filters
Many kettles have mesh filters in the spout to catch limescale and debris.
– Remove the filter after each use and rinse it under running water.
– Soak it in vinegar weekly to dissolve buildup.
– Replace the filter as recommended by the manufacturer (usually every 6–12 months).
Kettles with Hidden Heating Elements
Some models have a concealed heating element under a smooth base, making them easier to clean.
– These are ideal for vinegar or lemon cleaning since there’s no exposed coil to scrub.
– Still, rinse thoroughly to avoid residue.
Maintaining Your Kettle After the First Clean
Cleaning your new kettle once is great—but keeping it clean is what really matters. Regular maintenance prevents buildup, extends lifespan, and ensures great-tasting water.
Daily and Weekly Habits
– Empty after each use: Don’t let water sit in the kettle overnight. Stagnant water promotes bacterial growth and mineral deposits.
– Wipe the exterior: Use a damp cloth to clean the outside, including the handle and base. Dry immediately.
– Rinse the interior: After boiling, pour out the water and give the inside a quick rinse with fresh water.
– Clean the filter weekly: If your kettle has a filter, remove and rinse it under warm water. Soak in vinegar monthly.
Monthly Deep Cleaning
Even with regular use, mineral deposits (limescale) will build up over time—especially if you have hard water.
– Perform a vinegar or lemon clean once a month.
– In hard water areas (like parts of Texas, Arizona, or the UK), clean every 2–3 weeks.
– Look for signs of scaling: white flakes, cloudy water, or slower boiling times.
Signs It’s Time to Clean
You don’t always need a schedule. Watch for these clues:
– Water tastes metallic or off.
– You see white or chalky deposits inside.
– The kettle takes longer to boil.
– There’s a strange smell when heating.
– The heating element is visibly coated.
Storing Your Kettle
When not in use (like during travel or long breaks):
– Empty and dry the kettle completely.
– Leave the lid open to allow air circulation.
– Store in a cool, dry place.
– Avoid stacking heavy items on top.
Common Mistakes to Avoid
Even with the best intentions, it’s easy to make cleaning errors that can damage your kettle or reduce its efficiency.
Using Harsh Chemicals
Avoid bleach, ammonia, or commercial descalers unless specifically approved by the manufacturer. These can corrode internal components or leave toxic residues.
Submerging the Base
Never place the entire kettle in water or run water over the electrical base. This can cause short circuits, damage the motor, or create a fire hazard.
Skipping the Final Rinse
After using vinegar or lemon, always boil and discard at least one full kettle of fresh water. Residual acid can affect taste and, over time, damage the heating element.
Overheating Cleaning Solutions
Don’t boil vinegar or lemon juice for more than 10 minutes. Prolonged high heat can damage seals, coatings, or plastic parts.
Ignoring the Filter
A clogged filter reduces water flow and can cause overheating. Clean it regularly and replace it as needed.
Using Steel Wool or Scouring Pads
These can scratch stainless steel, cloud glass, or degrade plastic. Stick to soft sponges and natural cleaners.
Eco-Friendly and Cost-Effective Cleaning Tips
Cleaning your kettle doesn’t have to be expensive or harmful to the environment. With a few smart choices, you can keep it spotless while saving money and reducing waste.
Use What You Have
Vinegar, lemon, and baking soda are cheap, widely available, and biodegradable. A single bottle of vinegar can last for months and clean more than just your kettle.
Make Your Own Descaler
Instead of buying commercial descaling solutions, mix 1 part vinegar to 3 parts water. It’s just as effective and costs a fraction of the price.
Reuse Lemon Peels
After squeezing lemon juice, save the peels. Boil them in water to naturally deodorize your kettle and leave a fresh scent.
Reduce Water Waste
Use the final rinse water for plants or cleaning. Just make sure it’s free of vinegar or lemon residue.
Extend Kettle Lifespan
Regular cleaning prevents corrosion and mineral buildup, which means your kettle will last longer. That reduces the need for replacements and cuts down on electronic waste.
Conclusion
Cleaning your new electric kettle might seem like an extra step, but it’s one of the best things you can do for your health, your taste buds, and your appliance’s longevity. By removing manufacturing residues and setting up a simple maintenance routine, you ensure that every cup of tea, coffee, or instant soup tastes pure and delicious.
Whether you choose vinegar, lemon, or baking soda, the key is consistency and care. Avoid common mistakes, follow your kettle’s specific guidelines, and don’t skip the final rinse. With just a few minutes of effort, you’ll enjoy better performance, fewer odors, and a cleaner, safer brewing experience.
Remember: a clean kettle is a happy kettle—and a happy kettle makes for happier mornings. So take that first step today. Your taste buds (and your future self) will thank you.
Frequently Asked Questions
Do I really need to clean a new electric kettle before using it?
Yes, absolutely. New kettles often contain dust, oils, or residues from manufacturing that can affect taste and safety. Cleaning before first use ensures you’re starting with a fresh, safe appliance.
Can I use bleach to clean my electric kettle?
No, avoid bleach and other harsh chemicals. They can damage internal components and leave toxic residues. Stick to natural cleaners like vinegar or lemon juice.
How often should I clean my electric kettle?
Clean it before first use, then monthly for maintenance. In hard water areas, clean every 2–3 weeks to prevent limescale buildup.
Is it safe to boil vinegar in my kettle?
Yes, boiling vinegar is safe and effective for cleaning. Just don’t exceed 10 minutes and always rinse thoroughly afterward to remove any taste or smell.
Can I clean the outside of my kettle with vinegar?
Yes, but wipe it down quickly and dry immediately. Prolonged exposure to vinegar can damage certain finishes, especially on plastic or painted surfaces.
What if my kettle still smells after cleaning?
Try a second vinegar or lemon clean and let the solution sit longer. If the smell persists, check the filter or consult the manufacturer—there may be a deeper issue.