Keeping the bottom of your electric kettle clean is essential for performance, safety, and longevity. Over time, mineral deposits and residue can build up, affecting heating efficiency and even posing fire risks. With the right tools and techniques, you can easily maintain a spotless base and keep your kettle working like new.
Key Takeaways
- Regular cleaning prevents limescale buildup: Hard water leaves mineral deposits on the heating element and base, reducing efficiency and potentially damaging your kettle over time.
- Unplug before cleaning: Always disconnect the kettle from the power source before attempting any cleaning to avoid electrical hazards.
- Use natural cleaners like vinegar or lemon: These eco-friendly options dissolve mineral deposits without harsh chemicals, making them safe for both your kettle and the environment.
- Avoid abrasive tools on the base: Scrubbing with steel wool or harsh pads can scratch the surface, creating grooves where dirt and bacteria can accumulate.
- Clean both the exterior and interior base: While the visible bottom gets attention, the hidden heating plate inside also needs occasional care to maintain optimal function.
- Wipe down after every use: A quick wipe with a damp cloth prevents grime from building up and makes deep cleaning less frequent.
- Check manufacturer guidelines: Some kettles have specific cleaning recommendations—always refer to the user manual to avoid voiding warranties or causing damage.
📑 Table of Contents
Why Cleaning the Bottom of Your Electric Kettle Matters
You probably use your electric kettle daily—whether it’s for morning coffee, instant oatmeal, or a soothing cup of tea. But have you ever stopped to think about what’s happening underneath that sleek, shiny exterior? The bottom of your electric kettle might look innocent, but it’s often the most neglected part—and one of the most important when it comes to performance and safety.
Over time, especially if you live in an area with hard water, mineral deposits like calcium and magnesium begin to build up on the heating element and the base of the kettle. This limescale doesn’t just look unappealing—it acts as an insulator, forcing the heating element to work harder to heat water. That means longer boiling times, higher energy bills, and eventually, potential damage to the kettle’s internal components. In extreme cases, excessive buildup can even cause overheating or electrical faults, posing a fire risk.
But it’s not just about function. A dirty base can also harbor bacteria, mold, and residue from spills or dust. Even if you can’t see it, grime can accumulate in the crevices around the power connector or under the rubber feet. Regular cleaning ensures your kettle remains hygienic, efficient, and safe to use. Plus, a clean base simply looks better—no one wants to plug in a kettle that looks like it’s been through a mudslide.
Fortunately, cleaning the bottom of an electric kettle isn’t complicated. With a few simple tools and a little know-how, you can keep your appliance in top condition without spending hours scrubbing or buying expensive cleaning products. In this guide, we’ll walk you through everything you need to know—from identifying the signs of buildup to choosing the right cleaning method for your specific kettle.
Signs Your Electric Kettle Base Needs Cleaning
You don’t need to wait until your kettle starts smoking or making strange noises to clean it. There are several early warning signs that indicate it’s time to give the bottom of your electric kettle some attention. Catching these signs early can save you from costly repairs or even having to replace your kettle prematurely.
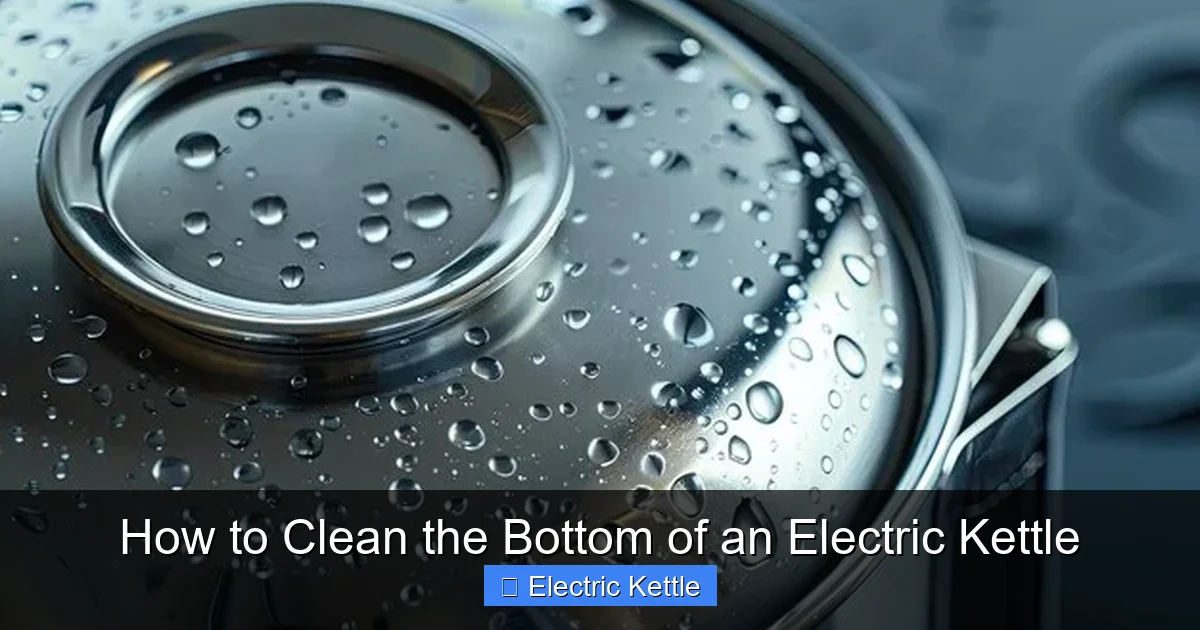
Visual guide about How to Clean the Bottom of an Electric Kettle
Image source: img.freepik.com
Visible Limescale or White Residue
The most obvious sign is the appearance of white, chalky deposits on the heating plate or around the base. These are mineral deposits left behind when hard water evaporates. If you notice a crusty layer forming, especially after boiling water multiple times, it’s a clear indicator that limescale is building up. This residue not only looks dirty but also reduces heat transfer efficiency.
Longer Boiling Times
If your kettle is taking noticeably longer to boil water than it used to, the culprit could be a dirty heating element. As limescale accumulates, it insulates the heating coil, forcing it to work harder and longer to reach the desired temperature. You might not think a few extra seconds matter, but over time, this inefficiency adds up—both in energy use and wear on the appliance.
Unusual Smells or Tastes
Have you noticed a metallic or “off” taste in your water or tea lately? That could be due to mineral buildup or bacterial growth on the kettle’s base. Even if the interior looks clean, the underside or power contact area might be harboring contaminants that transfer heat—and odors—to your water.
Discoloration or Staining
Dark spots, rust-like stains, or discoloration on the bottom of the kettle are red flags. These could indicate corrosion, overheating, or trapped moisture. While some discoloration is normal over time, sudden or widespread changes should prompt a thorough cleaning and inspection.
Sparks or Popping Sounds
If you hear popping, crackling, or see small sparks when you plug in your kettle, stop using it immediately. These sounds can indicate electrical arcing caused by moisture, dirt, or mineral buildup interfering with the power connection. This is a serious safety hazard and requires immediate cleaning—or professional inspection.
Difficulty Plugging In or Loose Connection
A wobbly or loose power connection can be a sign that debris has accumulated in the plug or base socket. Dust, water residue, or mineral deposits can interfere with the electrical contact, leading to inconsistent performance or even short circuits.
By staying alert to these signs, you can maintain your kettle proactively rather than reactively. Regular inspections—say, once a month—can help you catch issues early and keep your kettle running smoothly for years.
Tools and Supplies You’ll Need
Before you start cleaning, it’s important to gather the right tools and supplies. Using the wrong materials can damage your kettle or even pose safety risks. The good news? Most of what you need is probably already in your kitchen or cleaning cabinet.
Natural Cleaning Agents
The best cleaners for electric kettle bases are natural, non-toxic, and effective at breaking down mineral deposits. Here are the top options:
- White vinegar: A classic descaling agent, vinegar’s acetic acid dissolves limescale quickly and safely. It’s inexpensive, widely available, and leaves no harmful residues.
- Lemon juice: Fresh or bottled lemon juice works similarly to vinegar and adds a fresh scent. It’s especially good for light buildup and mild odors.
- Baking soda: When mixed with water to form a paste, baking soda is a gentle abrasive that can help scrub away stubborn stains without scratching surfaces.
- Commercial descaling solutions: Products like Durgol or Urnex are specifically designed for kettles and coffee makers. They’re effective but should be used sparingly and according to instructions.
Cleaning Tools
Choose tools that are gentle yet effective:
- Soft microfiber cloths: Ideal for wiping down the exterior base without scratching.
- Non-abrasive sponges: Look for sponges labeled “non-scratch” or “delicate surface.” Avoid steel wool or harsh scouring pads.
- Toothbrush (soft-bristled): Perfect for reaching tight spaces around the power connector or under rubber feet.
- Cotton swabs: Great for cleaning small crevices and around electrical contacts.
- Plastic scraper or old credit card: Useful for gently lifting off dried-on residue without damaging the surface.
Safety Gear
While cleaning an electric kettle isn’t dangerous if done correctly, it’s smart to take basic precautions:
- Rubber gloves: Protect your hands from cleaning agents and potential bacteria.
- Safety goggles: Optional, but recommended if you’re using strong descaling solutions or scrubbing vigorously.
- Well-ventilated area: Open a window or turn on a fan when using vinegar or commercial cleaners to avoid inhaling fumes.
Optional but Helpful Items
- Distilled water: Use for rinsing to prevent new mineral deposits from forming.
- Soft-bristled bottle brush: If your kettle has a narrow base or hard-to-reach areas.
- Flashlight: Helps you inspect dark or hidden areas for dirt or damage.
Once you’ve gathered your supplies, make sure your workspace is clean and dry. Lay down a towel to protect your countertop and keep your tools within reach. Remember: the key to effective cleaning is preparation. Having everything ready makes the process faster, safer, and more thorough.
Step-by-Step Guide to Cleaning the Bottom of an Electric Kettle
Now that you know why cleaning matters and what tools to use, let’s dive into the actual process. Follow these steps carefully to safely and effectively clean the bottom of your electric kettle. Whether you’re dealing with light dust or heavy limescale, this method works for most models.
Step 1: Unplug and Cool Down
Before you do anything, make sure your kettle is completely unplugged and has cooled down. Never attempt to clean a hot or recently used kettle—this can cause burns or electrical shock. Wait at least 30 minutes after use, or until the base is cool to the touch.
Step 2: Wipe the Exterior Base
Start with a dry microfiber cloth to remove loose dust, crumbs, or dried spills from the bottom of the kettle. Pay special attention to the area around the power connector and any rubber feet. These spots often collect grime that’s easy to miss.
Next, dampen a clean cloth with warm water and a drop of mild dish soap. Gently wipe the entire underside, avoiding direct contact with the electrical contacts. If there’s sticky residue, let the soapy cloth sit for a minute before wiping again. Rinse the cloth frequently to avoid spreading dirt.
Step 3: Tackle Limescale on the Heating Plate
If you see white, crusty buildup on the heating element (the circular plate inside the kettle), it’s time for descaling. Here’s how:
- Fill the kettle halfway with equal parts white vinegar and water.
- Plug in the kettle and bring the solution to a boil.
- Let it sit for 15–30 minutes (longer for heavy buildup).
- Unplug and pour out the solution.
- Scrub gently with a soft sponge or toothbrush.
- Rinse thoroughly with clean water and boil fresh water once to remove any vinegar taste.
For the exterior heating plate (if accessible), dip a cotton swab in vinegar and carefully clean around the edges. Avoid soaking the electrical contacts.
Step 4: Clean Around the Power Connector
The area where the kettle connects to the base is prone to dust and moisture buildup. Use a dry toothbrush or cotton swab to gently remove debris. If there’s stubborn grime, lightly dampen the swab with vinegar—never water—and wipe carefully. Make sure the area is completely dry before reusing.
Step 5: Address Stubborn Stains with Baking Soda Paste
For dark spots or sticky residue, make a paste with 2 parts baking soda and 1 part water. Apply it to the affected area with a soft cloth or toothbrush. Let it sit for 5–10 minutes, then scrub gently in circular motions. Wipe away with a damp cloth and dry thoroughly.
Step 6: Dry and Inspect
Use a dry microfiber cloth to wipe the entire base until it’s completely dry. Check for any missed spots, loose debris, or signs of damage. Plug in the kettle and run a test boil with fresh water to ensure everything is working properly.
Pro tip: After cleaning, wipe the base with a cloth dampened with distilled water to prevent new mineral deposits from forming.
Preventing Future Buildup and Maintaining Your Kettle
Cleaning your kettle is only half the battle—prevention is key to keeping it in great shape. With a few simple habits, you can minimize buildup and extend the life of your appliance.
Use Filtered or Distilled Water
The easiest way to reduce limescale is to use softer water. If your tap water is hard, consider using a water filter or buying distilled water for your kettle. This simple switch can dramatically cut down on mineral deposits.
Wipe Down After Every Use
Make it a habit to wipe the bottom of your kettle with a dry or slightly damp cloth after each use. This prevents spills, dust, and moisture from accumulating and turning into stubborn grime.
Descale Monthly
Even with filtered water, some mineral buildup is inevitable. Set a reminder to descale your kettle once a month using vinegar or a commercial solution. Regular maintenance keeps the heating element efficient and prevents major cleanups.
Store Properly
Keep your kettle in a dry, dust-free area when not in use. Avoid placing it near stovetops or sinks where it might get splashed or exposed to steam. If you have a detachable base, store it separately to protect the electrical contacts.
Inspect Regularly
Every few weeks, take a moment to inspect the base for signs of wear, discoloration, or loose parts. Catching issues early can prevent bigger problems down the line.
Common Mistakes to Avoid
Even with the best intentions, it’s easy to make mistakes when cleaning your kettle. Here are some common pitfalls and how to avoid them:
- Using abrasive cleaners or tools: Steel wool, harsh scrubbers, or bleach can scratch or corrode the base. Stick to soft cloths and natural cleaners.
- Submerging the base in water: Never soak the electrical base or plug it in while wet. This can cause short circuits or electrocution.
- Ignoring the user manual: Some kettles have specific cleaning instructions. Always check the manufacturer’s guidelines before cleaning.
- Overusing commercial descalers: These products are effective but can be harsh if used too often. Stick to vinegar for regular maintenance.
- Forgetting to rinse thoroughly: Leftover cleaning solution can affect the taste of your water. Always rinse well and boil fresh water after cleaning.
Conclusion
Cleaning the bottom of your electric kettle might not be the most exciting chore, but it’s one of the most important for maintaining performance, safety, and longevity. A little effort goes a long way—regular wiping, monthly descaling, and using the right tools can keep your kettle working like new for years.
By following the steps in this guide, you’ll not only remove unsightly buildup but also improve heating efficiency, reduce energy use, and ensure your water tastes fresh and clean. Plus, you’ll have peace of mind knowing your appliance is safe to use.
So the next time you boil water for your morning tea, take a moment to appreciate the clean, efficient base that makes it all possible. Your kettle—and your taste buds—will thank you.
Frequently Asked Questions
Can I use bleach to clean the bottom of my electric kettle?
No, bleach is too harsh and can damage the kettle’s surface or leave toxic residues. Stick to natural cleaners like vinegar or lemon juice, which are safe and effective for removing limescale and grime.
How often should I clean the bottom of my electric kettle?
For most users, a quick wipe after each use and a deep clean with vinegar once a month is sufficient. If you have hard water, consider descaling every two weeks to prevent heavy buildup.
Is it safe to clean the electrical base with water?
No, never submerge the electrical base or allow water to enter the power connector. Use a damp cloth for exterior cleaning and ensure the area is completely dry before plugging in.
Can I clean my kettle with citric acid instead of vinegar?
Yes, citric acid is an excellent alternative to vinegar for descaling. Mix 1–2 tablespoons with water, boil, and let sit before rinsing thoroughly. It’s especially good for heavy limescale.
What should I do if my kettle sparks when I plug it in?
Stop using it immediately. Sparks can indicate electrical damage or moisture in the base. Unplug the kettle, let it dry completely, and inspect for damage. If the problem persists, consult a professional or replace the unit.
Will cleaning the bottom improve my kettle’s performance?
Absolutely. Removing limescale and debris allows the heating element to transfer heat more efficiently, resulting in faster boiling times, lower energy use, and better-tasting water.