Keeping your electric kettle clean isn’t just about looks—it’s essential for great-tasting water and long-term performance. Over time, mineral buildup and residue can affect both taste and efficiency, but with the right techniques, cleaning the inside of your electric kettle is quick, easy, and safe.
Key Takeaways
- Regular cleaning prevents limescale buildup: Hard water leaves mineral deposits that can clog your kettle and affect heating efficiency.
- Vinegar is a safe, natural cleaner: White vinegar dissolves limescale without damaging the kettle’s interior or leaving harmful residues.
- Baking soda enhances cleaning power: When combined with vinegar or used alone, it helps scrub away stubborn stains and odors.
- Never submerge the base: Only the removable parts or interior should be cleaned—never immerse the electrical base in water.
- Rinse thoroughly after cleaning: Residual cleaning solution can affect water taste, so always rinse well before reuse.
- Clean every 1–2 weeks for best results: Frequent use demands regular maintenance to keep your kettle in top condition.
- Use filtered water to reduce buildup: This simple habit minimizes future cleaning needs and extends your kettle’s lifespan.
📑 Table of Contents
- Why Cleaning the Inside of Your Electric Kettle Matters
- Signs Your Electric Kettle Needs Cleaning
- What You’ll Need to Clean Your Electric Kettle
- Step-by-Step Guide to Cleaning the Inside of Your Electric Kettle
- Alternative Cleaning Methods
- Tips for Maintaining a Clean Electric Kettle
- Troubleshooting Common Cleaning Issues
- Conclusion
Why Cleaning the Inside of Your Electric Kettle Matters
You probably use your electric kettle every day—maybe even multiple times a day. Whether it’s for your morning coffee, afternoon tea, or instant oatmeal, that little appliance works hard. But have you ever stopped to think about what’s building up inside it?
Over time, minerals from hard water—like calcium and magnesium—accumulate on the heating element and interior walls. This white, chalky substance is called limescale, and it’s more than just an eyesore. It can slow down heating, reduce energy efficiency, and even affect the taste of your water. In extreme cases, heavy buildup can cause your kettle to overheat or stop working altogether.
But it’s not just minerals. Residue from tea, coffee, or flavored drinks can also stick to the inside, creating a sticky film that traps bacteria and odors. Even if your water looks clear, that doesn’t mean your kettle is clean. A quick visual check might show a clean surface, but microscopic buildup can still be present.
Cleaning the inside of your electric kettle isn’t just about maintenance—it’s about health, performance, and longevity. A clean kettle heats faster, uses less energy, and delivers better-tasting water. Plus, regular cleaning can extend the life of your appliance by preventing corrosion and mechanical stress on the heating element.
Think of it like brushing your teeth. You wouldn’t skip it just because your mouth doesn’t hurt, right? The same goes for your kettle. Prevention is always easier—and cheaper—than repair.
Signs Your Electric Kettle Needs Cleaning
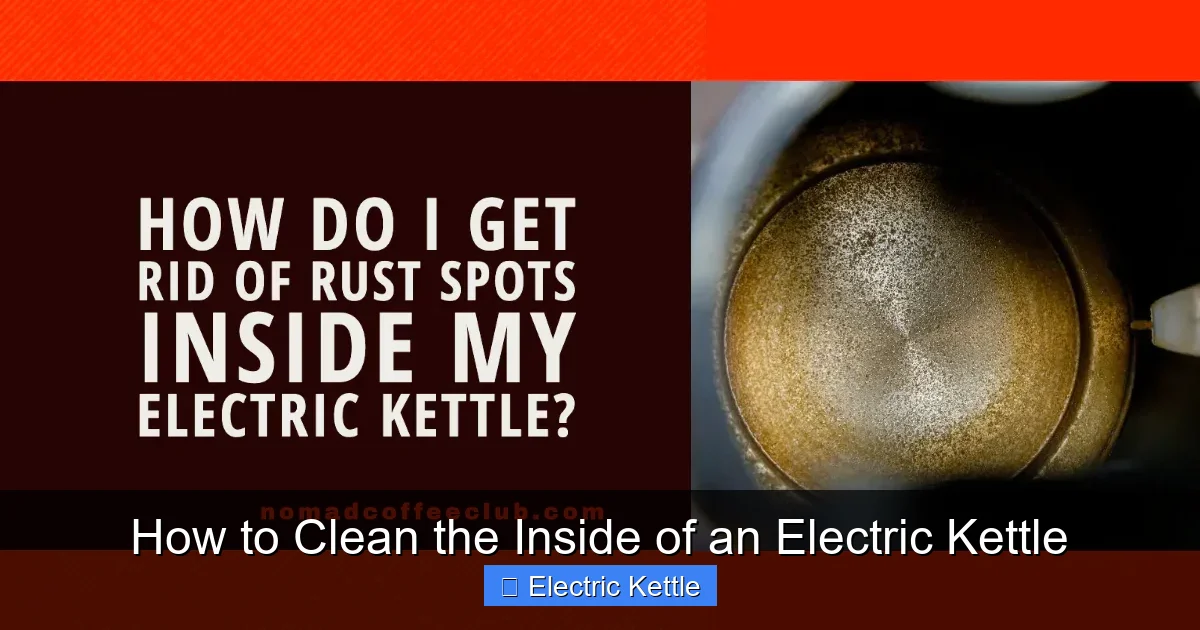
Visual guide about How to Clean the Inside of an Electric Kettle
Image source: cdn.shopify.com
So how do you know when it’s time to give your kettle a deep clean? You don’t need to wait for a major malfunction. There are several telltale signs that your kettle is due for a refresh.
One of the most obvious is visible limescale. If you see a white, flaky coating on the heating coil or interior walls, it’s time to act. This buildup is especially common in areas with hard water, but even soft water can leave behind residue over time.
Another sign is longer boiling times. If your kettle used to boil water in under three minutes but now takes five or more, mineral deposits may be insulating the heating element, making it less efficient. This not only wastes time but also increases your electricity bill.
You might also notice a change in taste. If your tea or coffee suddenly tastes off—metallic, bitter, or just “flat”—it could be due to residue or bacteria in the kettle. Even if you’re using fresh water, a dirty interior can contaminate it.
Unusual noises during heating—like popping, cracking, or sizzling—can also indicate buildup. These sounds happen when trapped minerals heat up and expand, creating small explosions on the heating element. It’s not dangerous, but it’s a clear sign your kettle needs attention.
Finally, if you notice a musty or sour smell when you turn on the kettle, that’s a red flag. Bacteria and mold can grow in stagnant water or residue, especially if the kettle isn’t dried properly after use. This isn’t just unpleasant—it can be a health risk.
Don’t wait for these problems to get worse. A quick clean every few weeks can prevent all of these issues and keep your kettle running smoothly.
What You’ll Need to Clean Your Electric Kettle
The good news? You don’t need fancy tools or expensive cleaners to get your kettle sparkling. Most of what you need is probably already in your kitchen.
The most effective and widely recommended cleaner is white vinegar. It’s natural, non-toxic, and excellent at breaking down limescale. You’ll want distilled white vinegar, not apple cider or flavored varieties, as they can leave behind odors or residues.
Baking soda is another household staple that works wonders. It’s mildly abrasive, so it helps scrub away stubborn stains, and it neutralizes odors. You can use it alone or combine it with vinegar for a powerful cleaning reaction.
For light cleaning or maintenance, lemon juice is a great alternative. It has natural acidity like vinegar but leaves a fresher scent. Just be sure to rinse thoroughly to avoid any citrus aftertaste in your water.
You’ll also need clean water—preferably filtered—for rinsing. A soft cloth or sponge can help wipe down the interior, but avoid abrasive scrubbers like steel wool, which can scratch the surface and create hiding spots for bacteria.
If your kettle has a removable filter (common in models with built-in strainers), you’ll want to clean that separately. A small brush, like an old toothbrush, works well for getting into tight spaces.
Finally, make sure you have a dry towel nearby for wiping down the exterior and drying the interior after cleaning.
Optional Tools for Tough Jobs
For heavy buildup, you might want to use a descaling solution specifically designed for kettles. These are available at most grocery or hardware stores and are safe for most models. Always check your kettle’s manual before using commercial cleaners, as some may not be compatible with certain materials.
If you’re dealing with persistent odors, activated charcoal filters or odor-neutralizing tablets can help. These aren’t necessary for regular cleaning but can be useful for deep refreshes.
And if your kettle has a glass or stainless steel exterior, a microfiber cloth will help keep it shiny without leaving streaks.
Step-by-Step Guide to Cleaning the Inside of Your Electric Kettle
Now that you know why cleaning matters and what tools to use, let’s get into the actual process. Follow these simple steps to clean the inside of your electric kettle safely and effectively.
Step 1: Unplug and Cool Down
Safety first. Always unplug your kettle and let it cool completely before cleaning. Never attempt to clean a hot or recently used kettle—water and heat can cause burns, and moisture near electrical components is dangerous.
Step 2: Empty and Rinse
Pour out any remaining water. Give the interior a quick rinse with clean water to remove loose debris or residue. This makes the deep cleaning more effective.
Step 3: Prepare the Cleaning Solution
For light cleaning, mix equal parts white vinegar and water. Fill the kettle about halfway with this solution. For heavy limescale, use undiluted vinegar. If you prefer a natural scent, you can substitute lemon juice for vinegar.
If you’re using baking soda, add 1–2 tablespoons to the vinegar solution. The mixture will fizz—that’s normal. This reaction helps break down tough deposits.
Step 4: Let It Sit
Allow the solution to sit in the kettle for at least 30 minutes. For severe buildup, let it soak overnight. The longer it sits, the more effective it will be at dissolving minerals and residue.
Step 5: Boil the Solution (Optional)
For faster results, you can boil the vinegar solution. Turn on the kettle and let it run through one full heating cycle. The heat accelerates the cleaning process. After boiling, let the solution cool before proceeding.
Step 6: Scrub Gently
Use a soft sponge or cloth to wipe the interior. Focus on the heating element and areas with visible buildup. For stubborn spots, dip the sponge in the vinegar solution and gently scrub. Avoid abrasive tools that could damage the surface.
If your kettle has a removable filter or limescreen, take it out and scrub it separately with a small brush.
Step 7: Rinse Thoroughly
Pour out the cleaning solution and rinse the kettle several times with clean water. Any leftover vinegar or baking soda can affect the taste of your water, so don’t skip this step. Fill the kettle, swish the water around, and pour it out at least three times.
Step 8: Run a Water-Only Cycle
Fill the kettle with fresh water and boil it once. This helps flush out any remaining traces of cleaner. Pour out the water and wipe the interior dry with a clean cloth.
Step 9: Dry and Store
Leave the kettle open to air-dry completely before storing. This prevents moisture buildup, which can lead to mold or odors. Once dry, you’re ready to use it again.
Alternative Cleaning Methods
While vinegar and baking soda are the most popular options, there are other ways to clean your electric kettle depending on your preferences and what you have on hand.
Lemon Juice Method
Lemon juice is a great natural alternative to vinegar. It’s acidic enough to dissolve limescale but leaves a fresher scent. Simply cut a lemon in half, squeeze the juice into the kettle, and add water to cover the heating element. Let it sit for 30 minutes, then boil and rinse as usual.
This method is ideal if you’re sensitive to the smell of vinegar or want a more pleasant aroma during cleaning.
Baking Soda Paste for Stubborn Stains
For tough, localized stains, make a paste with baking soda and a little water. Apply it directly to the affected area and let it sit for 15–20 minutes. Then scrub gently with a soft cloth or sponge. This method is especially useful for discolored spots or sticky residue from sweetened drinks.
Commercial Descaling Solutions
If you prefer a ready-made solution, descaling products are available at most stores. These are formulated specifically for kettles and coffee makers and often work faster than DIY methods. Follow the instructions on the label carefully, and always rinse thoroughly afterward.
Some popular brands include Durgol, Urnex, and Ecozone. These are safe for most kettles but may not be suitable for models with non-stick coatings—check your manual first.
Activated Charcoal for Odor Removal
If your kettle has a persistent smell, try using activated charcoal. Place a small piece of food-grade charcoal in the kettle, fill it with water, and let it sit overnight. The charcoal will absorb odors without affecting the taste of your water.
This method is great for kettles that have been used for flavored drinks or have developed a musty smell from infrequent use.
Tips for Maintaining a Clean Electric Kettle
Cleaning your kettle doesn’t have to be a chore. With a few simple habits, you can keep it in great condition with minimal effort.
Clean Regularly
Aim to clean your kettle every 1–2 weeks if you use it daily. If you live in an area with hard water, you may need to clean it more often. Regular maintenance prevents heavy buildup and keeps your kettle running efficiently.
Use Filtered Water
One of the easiest ways to reduce limescale is to use filtered or distilled water. This removes many of the minerals that cause buildup in the first place. It’s a small change that can make a big difference over time.
Empty After Each Use
Don’t leave water sitting in your kettle overnight. Stagnant water encourages mineral deposits and bacterial growth. Pour out any unused water and wipe the interior dry if possible.
Wipe the Exterior Weekly
While we’re focused on the inside, don’t forget the outside. Wipe down the handle, base, and lid with a damp cloth to remove fingerprints, dust, and spills. This keeps your kettle looking clean and prevents grime from getting near the opening.
Check the Filter Monthly
If your kettle has a built-in filter, inspect it monthly. Rinse it under running water and scrub gently with a brush if needed. A clogged filter can reduce water flow and affect performance.
Avoid Overfilling
Filling your kettle beyond the maximum line can cause water to spill into the base, which is dangerous and can damage the electrical components. It also increases the risk of mineral buildup in hard-to-reach areas.
Store Properly
When not in use, store your kettle in a dry, cool place with the lid open. This allows air to circulate and prevents moisture buildup, which can lead to mold or odors.
Troubleshooting Common Cleaning Issues
Even with the best care, you might run into a few problems. Here’s how to handle some common issues.
Vinegar Smell Lingers After Cleaning
If your kettle still smells like vinegar after rinsing, try boiling a few cups of water with a slice of lemon or a teaspoon of baking soda. This neutralizes the odor. You can also leave the kettle open overnight to air out.
Stains Won’t Come Off
For persistent stains, try a longer soak—up to 24 hours—with vinegar or lemon juice. You can also use a soft-bristled brush to gently scrub the area. Avoid harsh chemicals or abrasive tools that could damage the surface.
Kettle Still Takes Longer to Boil
If cleaning doesn’t improve heating time, there may be internal damage or a faulty heating element. In this case, it’s best to consult the manufacturer or consider replacing the kettle.
Water Tastes Metallic After Cleaning
This could be due to residual cleaner or a reaction with the kettle’s material. Rinse thoroughly and run two or three water-only boiling cycles. If the taste persists, check if your kettle is made of a material that reacts with acids—some older models may not be compatible with vinegar.
Filter Is Clogged Beyond Cleaning
If the filter is heavily clogged and won’t come clean, it may need to be replaced. Check your kettle’s manual for replacement parts or contact the manufacturer.
Conclusion
Cleaning the inside of your electric kettle is a simple but essential task that pays off in better performance, cleaner water, and a longer-lasting appliance. With just a few household items and a little time each month, you can keep your kettle in top shape.
Remember, prevention is key. Regular cleaning, using filtered water, and proper storage can save you from dealing with stubborn buildup or unpleasant odors down the line. And when you do clean, stick to safe, natural methods like vinegar and baking soda—they’re effective, affordable, and gentle on your kettle.
Your morning tea or coffee deserves the best start possible. By taking a few minutes to care for your kettle, you’re not just maintaining an appliance—you’re investing in better-tasting drinks and a healthier routine. So next time you boil water, take a moment to check inside. Your kettle—and your taste buds—will thank you.
Frequently Asked Questions
How often should I clean my electric kettle?
For daily users, clean your kettle every 1–2 weeks. If you live in an area with hard water, you may need to clean it weekly to prevent heavy limescale buildup.
Can I use apple cider vinegar instead of white vinegar?
It’s best to use distilled white vinegar, as apple cider vinegar can leave behind odors and residues that affect the taste of your water.
Is it safe to boil vinegar in my kettle?
Yes, boiling vinegar is safe and effective for cleaning. Just be sure to rinse the kettle thoroughly afterward to remove any lingering smell or taste.
Can I clean my kettle with soap and water?
Soap isn’t recommended for the interior, as it can leave a film that affects water taste. Stick to vinegar, lemon juice, or baking soda for safe, effective cleaning.
What if my kettle has a non-stick coating?
Check the manufacturer’s instructions before using acidic cleaners. Some non-stick coatings may be damaged by vinegar or lemon juice, so a mild baking soda paste is a safer option.
How do I clean the outside of my electric kettle?
Wipe the exterior with a damp cloth and mild detergent. Avoid getting water near the electrical base or cord. Dry with a soft towel to prevent water spots.