Removing salt buildup from your electric kettle is essential for maintaining performance and preventing damage. This guide covers safe, effective cleaning methods using household items like vinegar and lemon, plus tips to prevent future buildup and extend your kettle’s lifespan.
Key Takeaways
- Salt buildup harms performance: Over time, salt residue can clog heating elements, reduce heating efficiency, and cause unpleasant tastes in your water.
- Vinegar is your best friend: A simple solution of white vinegar and water effectively dissolves salt and mineral deposits without harsh chemicals.
- Lemon juice works too: Natural citric acid in lemon juice breaks down salt and leaves a fresh scent—ideal for regular maintenance.
- Never use abrasive tools: Scrubbing with steel wool or harsh brushes can scratch the interior and damage the kettle’s protective coating.
- Prevention is easier than cleaning: Use filtered water and rinse your kettle regularly to minimize salt and mineral accumulation.
- Check your water source: If you live in a coastal area or use well water, salt content may be higher—adjust cleaning frequency accordingly.
- Follow manufacturer guidelines: Always consult your kettle’s manual before cleaning to avoid voiding warranties or causing damage.
📑 Table of Contents
- Why Salt Buildup in Your Electric Kettle Is a Problem
- Common Causes of Salt and Mineral Buildup
- Safe and Effective Methods to Remove Salt from Your Electric Kettle
- Step-by-Step Cleaning Guide for Different Kettle Types
- Preventing Salt Buildup: Tips for Long-Term Maintenance
- When to Call a Professional or Replace Your Kettle
- Conclusion
Why Salt Buildup in Your Electric Kettle Is a Problem
If you’ve noticed a white, crusty residue inside your electric kettle—especially around the heating element or spout—you’re likely dealing with salt and mineral buildup. While it might seem harmless at first, this accumulation can seriously impact your kettle’s performance and longevity. Salt, particularly when combined with hard water minerals like calcium and magnesium, forms stubborn deposits that cling to internal surfaces. Over time, these layers act as insulators, forcing the heating element to work harder to boil water. This not only increases energy consumption but can also lead to overheating, reduced heating speed, and even premature failure of the kettle.
But the problems don’t stop at performance. Salt residue can also affect the taste of your water. Have you ever noticed a slightly metallic or salty aftertaste in your morning tea or coffee? That could be due to dissolved minerals and salt leaching into your water during heating. In extreme cases, flaking deposits can break off and end up in your cup—definitely not something you want to drink! Additionally, if left unchecked, salt buildup can corrode metal components, especially in kettles with exposed heating elements or stainless steel interiors. This corrosion weakens the structure and may lead to leaks or electrical issues over time.
The good news? Salt buildup is completely preventable and relatively easy to remove with the right approach. Whether you live near the ocean, use well water, or simply haven’t cleaned your kettle in a while, understanding how salt accumulates—and how to get rid of it—is key to keeping your appliance in top shape. In this guide, we’ll walk you through step-by-step methods to safely and effectively remove salt from your electric kettle, using common household ingredients. We’ll also share practical tips to prevent future buildup, so you can enjoy clean, great-tasting water with every boil.
Common Causes of Salt and Mineral Buildup
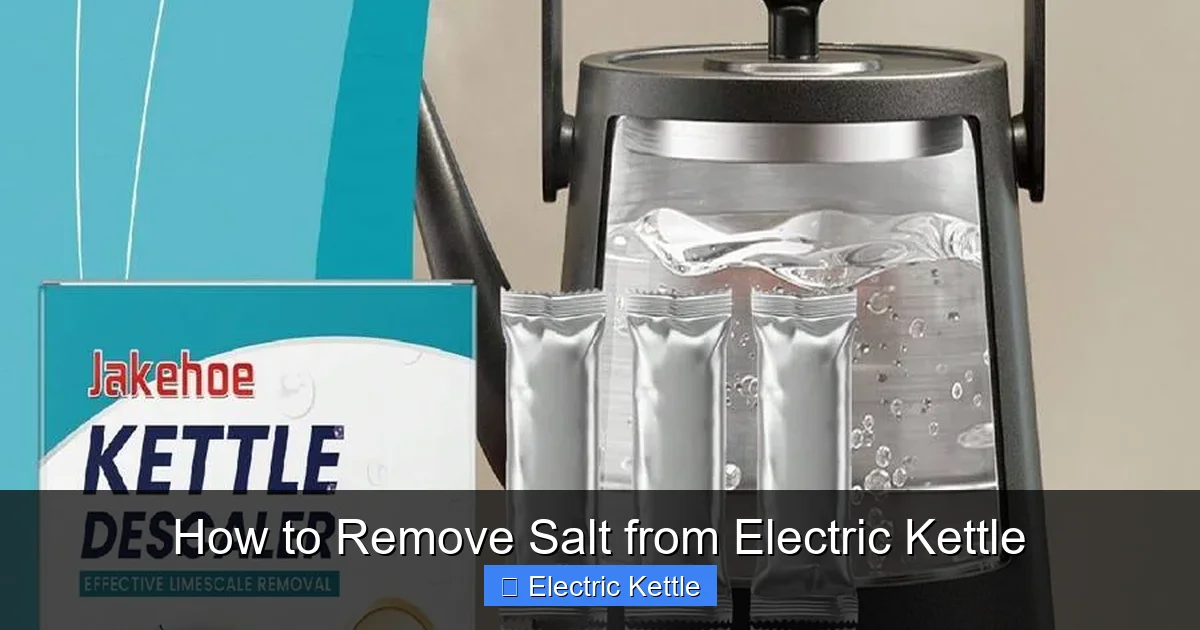
Visual guide about How to Remove Salt from Electric Kettle
Image source: img.ltwebstatic.com
Before diving into cleaning methods, it’s important to understand why salt and minerals accumulate in your electric kettle in the first place. The primary culprit is the type of water you use. Tap water, especially in certain regions, contains dissolved minerals like calcium, magnesium, and sodium. When water is heated repeatedly in your kettle, these minerals don’t evaporate—they remain behind as solid deposits. Over time, this leads to the chalky, white buildup you see on the interior surfaces.
One major factor is hard water. If your home has hard water—common in areas with limestone-rich soil—you’re more likely to see rapid mineral buildup. Hard water contains high levels of calcium and magnesium, which form limescale when heated. But even if your water isn’t particularly hard, salt can still be a problem. This is especially true if you live near the coast. Coastal air carries tiny salt particles that can settle on surfaces, including your kettle. If you use tap water that’s been treated with salt-based water softeners, or if you occasionally add a pinch of salt to your water (perhaps for health reasons or to enhance flavor), you’re introducing additional sodium into the system.
Another overlooked cause is infrequent cleaning. Many people assume that because they’re boiling water, their kettle stays clean. But boiling actually accelerates mineral deposition—it concentrates the minerals as water evaporates. If you only clean your kettle once every few months (or worse, never), those deposits have plenty of time to harden and become much more difficult to remove. Even kettles with built-in filters or anti-scale features aren’t immune. These features help reduce buildup but don’t eliminate the need for regular maintenance.
Finally, the material of your kettle plays a role. Stainless steel and glass kettles are generally easier to clean and less prone to corrosion, but they still accumulate salt and minerals. Plastic kettles may resist mineral adhesion slightly better, but they can absorb odors and stains over time. Kettles with concealed heating elements (where the heating coil is hidden beneath a smooth plate) tend to collect less visible buildup, but residue can still form underneath, affecting performance.
Understanding these causes helps you take proactive steps. For example, if you live in a coastal area, you might want to clean your kettle more frequently. If you use well water, consider installing a whole-house water softener or using filtered water for your kettle. And no matter your situation, regular cleaning is non-negotiable. Think of it like brushing your teeth—just because you can’t see the problem doesn’t mean it’s not there.
Safe and Effective Methods to Remove Salt from Your Electric Kettle
Now that you know why salt builds up, let’s talk about how to get rid of it. The good news is that you don’t need expensive cleaners or special tools. In fact, some of the most effective solutions are already in your kitchen. Below are three proven, safe methods to remove salt and mineral deposits from your electric kettle.
Method 1: White Vinegar Solution
White vinegar is a powerhouse when it comes to dissolving mineral deposits. Its acetic acid content breaks down salt, limescale, and other residues without damaging your kettle. This method is ideal for heavy buildup or monthly deep cleaning.
Start by mixing equal parts white vinegar and water. For a standard 1-liter kettle, use about 500ml of vinegar and 500ml of water. Pour the solution into the kettle, making sure it covers the affected areas—especially the heating element and spout. Let it sit for at least 30 minutes, or up to an hour for stubborn deposits. For extra effectiveness, you can gently heat the solution (without boiling) by turning on the kettle for 1–2 minutes, then letting it cool and soak.
After soaking, scrub the interior gently with a soft sponge or brush. Avoid abrasive materials like steel wool, which can scratch the surface. Rinse the kettle thoroughly with clean water at least three times to remove all vinegar residue. Finally, fill the kettle with fresh water, boil it, and discard the water to eliminate any lingering taste.
Method 2: Lemon Juice Treatment
If you prefer a more natural, fragrant option, lemon juice is an excellent alternative. The citric acid in lemons works similarly to vinegar but leaves a fresh, clean scent.
Cut a fresh lemon in half and squeeze the juice directly into the kettle. Add enough water to cover the bottom and affected areas—about 2–3 cups for most kettles. Let it sit for 30 minutes to an hour. For tougher buildup, you can bring the mixture to a gentle boil, then turn off the heat and let it soak for another 15–20 minutes.
Use a soft cloth or sponge to wipe away loosened deposits. Rinse thoroughly and boil a full kettle of clean water once or twice to remove any lemon taste. This method is great for regular maintenance and leaves your kettle smelling fresh.
Method 3: Baking Soda Paste for Stubborn Spots
For localized, hard-to-remove salt crusts, a baking soda paste can be very effective. Baking soda is mildly abrasive but safe for most kettle interiors.
Mix 2–3 tablespoons of baking soda with a small amount of water to form a thick paste. Apply the paste directly to the affected areas using a soft cloth or your fingers. Let it sit for 15–20 minutes, then gently scrub with a non-abrasive sponge. Rinse well and follow up with a vinegar rinse if needed to neutralize any residue.
This method works best for spot cleaning and should be used sparingly to avoid over-scrubbing.
Step-by-Step Cleaning Guide for Different Kettle Types
Not all electric kettles are created equal, and cleaning methods may vary slightly depending on the model and material. Here’s how to adapt your cleaning routine for different types of kettles.
Stainless Steel Kettles
Stainless steel is durable and resistant to corrosion, but it can still accumulate salt and mineral deposits. Use the vinegar or lemon method as described above. Avoid using bleach or chlorine-based cleaners, as they can damage the steel. After cleaning, dry the interior with a soft cloth to prevent water spots.
Glass Kettles
Glass kettles offer the advantage of visibility—you can easily see when buildup occurs. However, they’re more fragile. Never use metal scrubbers or harsh chemicals. Stick to vinegar, lemon, or baking soda solutions. Rinse thoroughly to avoid cloudiness.
Plastic Kettles
Plastic is less prone to mineral adhesion but can absorb odors. Avoid high heat when cleaning—don’t boil vinegar or lemon solutions for too long, as this can release fumes or degrade the plastic. Use mild solutions and rinse well. Consider using a water filter to reduce mineral content.
Kettles with Concealed Heating Elements
These kettles have a smooth base plate instead of an exposed coil. While this reduces visible buildup, deposits can still form underneath. Use the vinegar soak method, ensuring the solution reaches all areas. Run a full cleaning cycle (fill, soak, boil, rinse) monthly.
Kettles with Filters or Removable Parts
Many modern kettles come with mesh filters in the spout to catch debris. Remove and clean these parts separately with warm, soapy water. Soak in vinegar if needed. Reassemble only when completely dry.
Always unplug your kettle before cleaning and allow it to cool completely. Never submerge the base or electrical components in water.
Preventing Salt Buildup: Tips for Long-Term Maintenance
Cleaning your kettle is important, but preventing salt buildup in the first place is even better. A little effort now can save you time and hassle down the road. Here are some practical tips to keep your kettle clean and efficient.
Use Filtered or Distilled Water
The easiest way to reduce mineral and salt buildup is to use water with lower mineral content. Filtered water removes many impurities, while distilled water has virtually no minerals. If you live in a hard water area or near the coast, this simple switch can dramatically reduce buildup.
Clean Your Kettle Regularly
Don’t wait until you see crusty deposits. Aim to clean your kettle every 2–4 weeks, depending on usage and water quality. A quick vinegar rinse once a month can prevent major buildup.
Rinse After Each Use
After boiling water, pour out any remaining water and give the kettle a quick rinse with fresh water. This removes residual minerals before they have a chance to settle.
Empty the Kettle When Not in Use
Leaving water sitting in your kettle—especially overnight—allows minerals to concentrate and settle. Always empty and dry your kettle after use.
Monitor Your Water Source
If you notice rapid buildup, test your water for hardness or salt content. You can buy home testing kits or contact your local water utility for a report. Based on the results, adjust your cleaning frequency or consider a water softener.
Avoid Adding Salt to Water
Unless medically necessary, avoid adding salt to your kettle water. Even small amounts can contribute to buildup over time.
Use a Descaling Product Occasionally
For heavy users or those in high-mineral areas, consider using a commercial descaling solution once every 3–6 months. Choose a product compatible with your kettle type and follow instructions carefully.
When to Call a Professional or Replace Your Kettle
Most salt buildup can be removed with DIY methods, but there are times when professional help or replacement is the best option.
If your kettle shows signs of corrosion—such as rust spots, pitting, or flaking metal—it may be time to replace it. Corrosion can compromise safety and lead to leaks or electrical issues. Similarly, if the heating element is visibly damaged or the kettle takes much longer to boil water despite cleaning, internal components may be failing.
Kettles with plastic parts that have become cloudy, cracked, or warped should also be replaced. These changes can affect performance and may pose health risks if chemicals leach into the water.
If you’ve tried multiple cleaning methods and the buildup returns within days or weeks, it could indicate a serious water quality issue. In such cases, consult a plumber or water treatment specialist to assess your home’s water supply.
Finally, always follow the manufacturer’s warranty and care instructions. Attempting to repair or clean a kettle in ways not recommended by the maker can void your warranty or create safety hazards.
Conclusion
Keeping your electric kettle free of salt and mineral buildup isn’t just about aesthetics—it’s about performance, safety, and taste. Regular cleaning with simple, natural solutions like vinegar and lemon can restore your kettle’s efficiency and extend its lifespan. By understanding the causes of buildup and adopting preventive habits, you can enjoy clean, great-tasting water with every use.
Remember, a little maintenance goes a long way. Whether you’re using a stainless steel, glass, or plastic kettle, the principles remain the same: clean regularly, use quality water, and avoid harsh chemicals. With the tips and methods outlined in this guide, you’ll be able to remove salt from your electric kettle safely and effectively—no special tools or expensive products required.
So the next time you notice that white crust forming inside your kettle, don’t panic. Grab a bottle of vinegar, a lemon, or some baking soda, and give your kettle the care it deserves. Your morning tea will taste better, your energy bills will stay lower, and your kettle will thank you with years of reliable service.
Frequently Asked Questions
Can I use apple cider vinegar instead of white vinegar?
Yes, apple cider vinegar can work, but it’s less effective and may leave a stronger odor. White vinegar is preferred because it’s more acidic and leaves no residue or smell after rinsing.
How often should I clean my electric kettle?
For most users, cleaning every 2–4 weeks is sufficient. If you use hard water or live in a coastal area, clean it weekly or bi-weekly to prevent buildup.
Is it safe to boil vinegar in my kettle?
Yes, but only for short periods (1–2 minutes) and with proper ventilation. Never let it boil dry, and always rinse thoroughly afterward to remove any vinegar taste.
Can salt buildup cause my kettle to stop working?
Yes, heavy buildup can insulate the heating element, causing overheating or failure. In severe cases, it may trigger safety shut-offs or damage internal components.
What if my kettle has a non-stick coating?
Avoid abrasive cleaners and metal tools. Use only soft sponges and mild solutions like vinegar or lemon. Check the manufacturer’s guidelines to ensure compatibility.
Does using filtered water really make a difference?
Absolutely. Filtered or distilled water significantly reduces mineral content, slowing buildup and improving water taste. It’s one of the easiest preventive measures you can take.