If your electric kettle isn’t heating, don’t panic—many common issues can be fixed at home with simple tools and a bit of know-how. From checking the power source to inspecting the heating element, this guide walks you through safe, effective troubleshooting steps to restore your kettle’s function.
Key Takeaways
- Check the power source first: Ensure the kettle is properly plugged in and the outlet is working—sometimes the simplest fix solves the problem.
- Inspect the base and connections: A loose or dirty connection between the kettle and its base can prevent heating.
- Test the thermostat and thermal fuse: These safety components can fail over time and stop the heating process—testing them helps identify the root cause.
- Clean mineral buildup: Limescale and sediment on the heating element reduce efficiency and may stop heating altogether—regular descaling is essential.
- Never operate a damaged kettle: If you see cracks, exposed wires, or burning smells, stop using it immediately for safety.
- Know when to replace instead of repair: Older or severely damaged kettles may be safer and more cost-effective to replace than fix.
📑 Table of Contents
Introduction: Why Your Electric Kettle Isn’t Heating
Imagine this: you’re craving a warm cup of tea or coffee, you fill your electric kettle, press the button, and… nothing happens. No heat, no steam, just silence. Frustrating, right? You’re not alone. A common complaint among electric kettle users is that their appliance suddenly stops heating. It’s one of the most frequent issues reported, and while it can be alarming, the good news is that many causes are fixable—often without needing to call a technician or buy a new kettle.
Electric kettles are designed for convenience and speed, but like any electrical device, they can develop problems over time. Whether it’s due to wear and tear, mineral buildup, or a faulty component, understanding what’s going wrong is the first step toward fixing it. In this guide, we’ll walk you through the most common reasons your electric kettle isn’t heating and show you how to troubleshoot and repair it safely and effectively. We’ll cover everything from basic checks to more advanced diagnostics, so you can get back to boiling water in no time.
Common Causes of Electric Kettle Not Heating
Before diving into repairs, it’s important to understand why your electric kettle might stop heating. Several factors can contribute to this issue, and identifying the root cause will help you apply the right fix. Let’s explore the most common culprits.
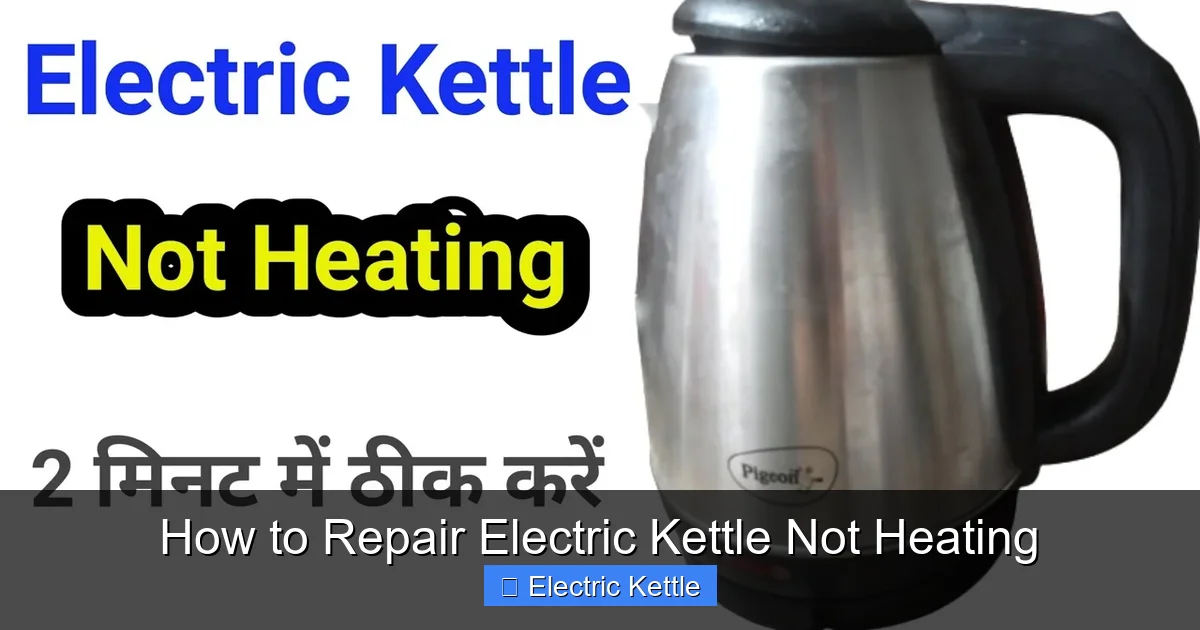
Visual guide about How to Repair Electric Kettle Not Heating
Image source: i.ytimg.com
Power Supply Issues
The first and simplest thing to check is whether your kettle is actually receiving power. It sounds obvious, but sometimes the problem is as basic as a loose plug or a tripped circuit breaker. Start by confirming that the kettle is securely plugged into a working outlet. Try plugging another device—like a lamp or phone charger—into the same outlet to verify it’s functioning. If the outlet works, but the kettle doesn’t, the issue lies elsewhere.
Also, check the power cord for visible damage. Frayed wires, kinks, or burn marks are red flags. If you notice any of these, stop using the kettle immediately. Damaged cords can cause short circuits or even electrical fires.
Faulty Base or Connector
Most electric kettles have a detachable base that connects to the kettle via a circular connector. Over time, this connection can become loose, dirty, or corroded. Dirt, water residue, or mineral deposits can interfere with the electrical contact, preventing power from reaching the heating element.
Try unplugging the kettle and gently cleaning both the base and the kettle’s bottom connector with a dry cloth. Avoid using water or cleaning liquids directly on the electrical parts. If the connection looks corroded, a cotton swab dipped in rubbing alcohol can help remove buildup. After cleaning, reassemble and test the kettle.
Thermostat or Thermal Fuse Failure
Electric kettles are equipped with safety mechanisms to prevent overheating. Two key components are the thermostat and the thermal fuse. The thermostat regulates the temperature, turning the heating element on and off as needed. The thermal fuse is a one-time safety device that cuts power if the kettle overheats.
If either of these components fails, the kettle won’t heat. The thermostat can wear out over time, especially if the kettle is used frequently. The thermal fuse, once triggered, cannot be reset and must be replaced. These parts are usually located near the heating element and require some disassembly to access.
Mineral Buildup on the Heating Element
If you live in an area with hard water, mineral deposits like limescale can accumulate on the heating element. This buildup acts as an insulator, reducing heat transfer and eventually preventing the element from heating the water. You might notice slower boiling times or a strange smell before the kettle stops working entirely.
Regular descaling can prevent this issue, but if it’s already severe, you may need to clean the element manually. We’ll cover descaling methods in a later section.
Internal Wiring or Component Damage
Inside the kettle, wires connect the power source to the heating element, thermostat, and switch. Over time, these wires can become loose, frayed, or disconnected due to vibration or heat exposure. If you’re comfortable opening the kettle (and it’s unplugged!), you can inspect the internal wiring for damage.
However, this should only be done if you have basic electrical knowledge. Tampering with internal components can be dangerous and may void your warranty. If you’re unsure, it’s best to consult a professional.
Step-by-Step Troubleshooting Guide
Now that you know the common causes, let’s walk through a systematic troubleshooting process. Follow these steps in order to identify and fix the problem.
Step 1: Verify Power and Connections
Start by ensuring the kettle is plugged in and the outlet is working. Use a different device to test the outlet. If the outlet is fine, check the kettle’s power cord for damage. Look for cuts, burns, or exposed wires. If the cord is damaged, do not use the kettle—replace it or have it repaired by a qualified technician.
Next, inspect the connection between the kettle and its base. Remove the kettle from the base and examine both the base’s center pin and the kettle’s bottom contacts. Clean them with a dry cloth or a cotton swab dipped in isopropyl alcohol. Reconnect and test.
Step 2: Check the On/Off Switch
The switch is what activates the heating element when you press it. If it’s stuck, dirty, or broken, the kettle won’t turn on. Listen for a click when you press the switch—if there’s no sound, the switch may be faulty.
To test it, you’ll need a multimeter. Set it to continuity mode and touch the probes to the switch terminals while pressing the button. If there’s no continuity, the switch needs replacing. Replacement switches are often available online or from the manufacturer.
Step 3: Test the Heating Element
The heating element is the heart of your kettle. If it’s not working, the water won’t heat. To test it, you’ll need to access the element, which usually requires removing the kettle’s base or bottom panel.
Once exposed, use a multimeter to check for continuity across the element’s terminals. If there’s no continuity, the element is broken and needs replacement. Heating elements can often be purchased separately and installed with basic tools.
Step 4: Inspect the Thermostat and Thermal Fuse
These safety devices are critical for preventing overheating. The thermostat can be tested with a multimeter for continuity. If it doesn’t show continuity at room temperature, it may be faulty.
The thermal fuse is a small, cylindrical component that blows when overheated. It cannot be reset. Use the multimeter to check for continuity—if there’s none, the fuse has blown and must be replaced. Always replace it with an identical model to ensure safety.
Step 5: Clean Mineral Deposits
If your kettle heats slowly or not at all, mineral buildup could be the issue. Start by descaling the kettle using a mixture of equal parts white vinegar and water. Fill the kettle halfway, boil the solution, then let it sit for 30 minutes. Pour out the liquid and rinse thoroughly.
For stubborn buildup, you may need to scrub the heating element gently with a soft brush or toothbrush. Be careful not to damage the element. After cleaning, run the kettle with fresh water a few times to remove any vinegar taste.
How to Safely Repair Your Electric Kettle
Repairing an electric kettle can be safe and effective if done correctly. However, safety should always come first. Electricity and water are a dangerous combination, so take precautions.
Safety First: Unplug and Discharge
Before doing any repair work, unplug the kettle from the power source. Even if it’s not heating, there could still be residual electricity in the components. Wait at least 10 minutes after unplugging to allow capacitors to discharge.
Never work on a kettle that’s plugged in or recently used. Let it cool completely to avoid burns.
Tools You’ll Need
For most repairs, you’ll need a few basic tools:
- A screwdriver (usually Phillips or flathead, depending on your kettle)
- A multimeter for testing electrical continuity
- Cotton swabs and isopropyl alcohol for cleaning
- A soft brush or toothbrush for descaling
- Replacement parts (thermostat, fuse, heating element, etc.)
Make sure you have the correct replacement parts before starting. Check your kettle’s model number and order parts from the manufacturer or a reputable supplier.
Opening the Kettle
Most electric kettles have a removable base or bottom panel held in place by screws. Use the appropriate screwdriver to remove them. Keep track of the screws and any small parts.
Once opened, take photos of the internal layout before disconnecting anything. This will help you reassemble it correctly. Be gentle—wires and connectors can be fragile.
Replacing Faulty Components
If you’ve identified a faulty part—like a blown thermal fuse or broken heating element—carefully disconnect it and install the replacement. Match the wiring exactly as it was before. Use electrical tape or wire nuts to secure connections if needed.
After replacing the part, reassemble the kettle in reverse order. Make sure all screws are tightened and no wires are pinched or exposed.
Testing After Repair
Once reassembled, plug in the kettle and test it with a small amount of water. Watch for any unusual sounds, smells, or sparks. If everything looks and sounds normal, let it boil once to ensure it’s working properly.
If the kettle still doesn’t heat, double-check your connections and consider consulting a professional.
Preventing Future Heating Problems
Once your kettle is working again, take steps to prevent future issues. Regular maintenance can extend the life of your appliance and keep it heating efficiently.
Regular Descaling
Hard water is the enemy of electric kettles. Minerals like calcium and magnesium build up over time, reducing efficiency and damaging components. To prevent this, descale your kettle every 1–2 months, depending on usage and water hardness.
Use a commercial descaling solution or a homemade mix of vinegar and water. Boil the solution, let it sit, then rinse thoroughly. For best results, follow the manufacturer’s recommendations.
Proper Usage Habits
Avoid overfilling the kettle, as this can cause water to spill into the base and damage electrical components. Also, never operate the kettle without water—this can overheat the element and blow the thermal fuse.
Let the kettle cool between uses, and don’t leave it plugged in unnecessarily. This reduces wear on the components and saves energy.
Store Properly
When not in use, store the kettle in a dry, cool place. Keep it away from moisture and direct sunlight. If you’re storing it for a long time, make sure it’s completely dry to prevent corrosion.
Use a Water Filter
If you have very hard water, consider using a water filter or filtered water in your kettle. This reduces mineral content and slows down limescale buildup.
When to Replace Instead of Repair
While many heating issues can be fixed, there are times when replacing the kettle is the better option. Consider a replacement if:
- The kettle is more than 5–7 years old
- Multiple components have failed
- There’s visible damage to the body or base
- Repair costs exceed 50% of a new kettle’s price
- You’re uncomfortable performing electrical repairs
Newer kettles often come with improved safety features, better energy efficiency, and longer warranties. Investing in a quality replacement can save you time and hassle in the long run.
Conclusion: Get Your Kettle Heating Again
A non-heating electric kettle doesn’t have to mean the end of your morning routine. With a little patience and the right approach, many common issues can be resolved at home. From checking the power source to cleaning mineral buildup and replacing faulty components, this guide has covered the essential steps to repair your kettle safely and effectively.
Remember, safety is paramount. Always unplug the kettle before working on it, and don’t attempt repairs if you’re unsure. When in doubt, consult a professional or consider replacing the unit. With proper care and maintenance, your next electric kettle can serve you well for years to come.
Frequently Asked Questions
Why is my electric kettle not heating even though it’s plugged in?
This could be due to a faulty power connection, a blown thermal fuse, or a broken heating element. Start by checking the outlet and cleaning the base connector. If those are fine, test internal components with a multimeter.
Can I fix a burnt smell from my electric kettle?
A burnt smell often indicates overheating or electrical damage. Stop using the kettle immediately. Inspect for burnt wires or components. If you find damage, replace the affected parts or consider replacing the kettle for safety.
How often should I descale my electric kettle?
Descale every 1–2 months if you use the kettle regularly and have hard water. For softer water or less frequent use, every 3–4 months is sufficient. Regular descaling prevents mineral buildup and extends the kettle’s life.
Is it safe to open and repair my electric kettle?
It can be safe if you follow proper precautions: unplug the kettle, let it cool, and avoid touching live components. If you’re not comfortable with electrical work, seek professional help to avoid injury or further damage.
What causes the thermal fuse to blow in an electric kettle?
The thermal fuse blows when the kettle overheats, often due to running it dry, a faulty thermostat, or excessive mineral buildup. It’s a safety feature and cannot be reset—replace it with an identical part.
Can I use my electric kettle if the switch doesn’t click?
No. A non-clicking switch may be broken and won’t activate the heating element. Test it with a multimeter and replace it if there’s no continuity. Using a faulty switch can lead to unsafe operation.