Repairing an electric kettle switch may seem daunting, but with the right tools and knowledge, it’s a manageable DIY fix. This guide walks you through diagnosing the issue, disassembling your kettle, replacing faulty components, and reassembling it safely—saving you money and extending your appliance’s life.
Key Takeaways
- Safety first: Always unplug the kettle and let it cool completely before attempting any repair to avoid electric shock or burns.
- Identify the problem: Common switch issues include sticking, failure to click, or no power—each requires a different troubleshooting approach.
- Use proper tools: A multimeter, screwdrivers, and needle-nose pliers are essential for diagnosing and repairing the switch mechanism.
- Check the thermostat and fuse: Sometimes the switch isn’t the culprit—faulty thermal fuses or thermostats can mimic switch failure.
- Replace, don’t force: If the switch is damaged, replacing it is safer and more effective than trying to repair worn parts.
- Test before reassembly: Use a multimeter to verify continuity and proper function before putting everything back together.
- Know when to replace: If internal wiring is frayed or the base is cracked, it’s often safer to buy a new kettle than risk electrical hazards.
📑 Table of Contents
- Why Your Electric Kettle Switch Might Be Failing
- Tools and Safety Precautions Before You Begin
- Step-by-Step Guide to Diagnosing the Switch Problem
- How to Disassemble Your Electric Kettle Safely
- Repairing or Replacing the Electric Kettle Switch
- Preventing Future Switch Failures
- When to Replace Instead of Repair
- Conclusion
Why Your Electric Kettle Switch Might Be Failing
Electric kettles are among the most used appliances in modern kitchens—boiling water for tea, coffee, instant meals, and more. But when the switch stops working, it can bring your morning routine to a screeching halt. The switch is the heart of the kettle’s operation, responsible for initiating the heating process when you press it. Over time, this small but critical component can wear out, get stuck, or fail entirely due to mineral buildup, mechanical stress, or electrical faults.
Understanding why your electric kettle switch fails is the first step toward fixing it. Common causes include lime scale accumulation from hard water, worn-out internal contacts, a broken spring mechanism, or a tripped thermal fuse. In some cases, the issue isn’t the switch itself but a related component like the thermostat or power base. Diagnosing the root cause correctly ensures you don’t waste time replacing the wrong part. With a little patience and the right approach, many switch problems can be resolved without calling a technician or buying a new kettle.
Tools and Safety Precautions Before You Begin
Before diving into any repair, it’s crucial to prioritize safety. Electric kettles operate at high voltages and temperatures, so mishandling them can lead to serious injury. Always start by unplugging the kettle from the power outlet and allowing it to cool completely—this can take 30 minutes or more, depending on usage. Never attempt repairs on a hot or plugged-in unit.
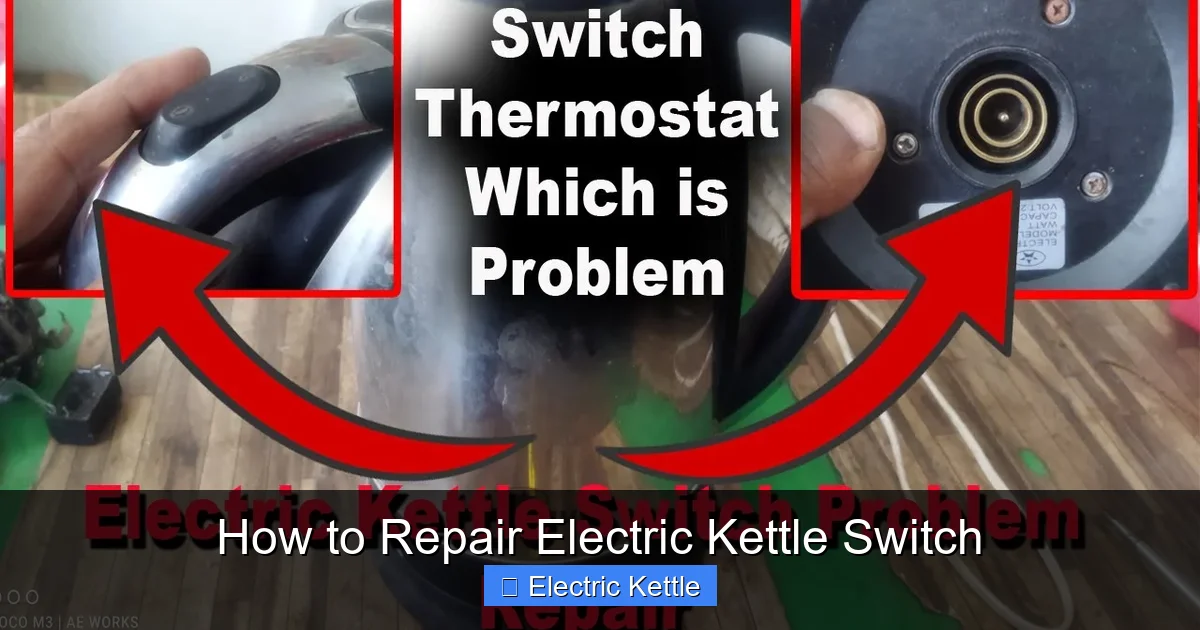
Visual guide about How to Repair Electric Kettle Switch
Image source: i.ytimg.com
Essential Tools for the Job
To repair an electric kettle switch, you’ll need a few basic tools. A set of precision screwdrivers (Phillips and flathead) is essential for removing the casing. A multimeter is your best friend for testing electrical continuity and identifying faulty components. Needle-nose pliers help with gripping small parts, while a pair of tweezers can assist in handling delicate wires. If you’re replacing the switch, have a compatible replacement part ready—check your kettle’s model number to ensure compatibility.
Safety Gear and Workspace Setup
Wear insulated gloves to protect against accidental shocks, especially when testing live circuits. Work in a dry, well-lit area with plenty of space to lay out parts. Avoid working on carpets or near water sources. Keep a fire extinguisher nearby, just in case. Label screws and components as you remove them to make reassembly easier. Taking photos at each step can also help you remember how everything fits together.
Step-by-Step Guide to Diagnosing the Switch Problem
Diagnosing the issue correctly is half the battle. Start by observing how the switch behaves. Does it click when pressed? Does it stay depressed or spring back immediately? Is there any visible damage, like cracks or burn marks? These clues can point you in the right direction.
Testing the Switch with a Multimeter
Set your multimeter to the continuity or resistance (ohms) setting. Disconnect the kettle from power and remove the outer casing to access the switch. Locate the two terminals of the switch—usually small metal prongs or wires. Touch the multimeter probes to each terminal. Press the switch manually. If the multimeter beeps or shows near-zero resistance, the switch is working. If there’s no response, the switch is likely faulty and needs replacement.
Checking Related Components
Sometimes the switch appears broken, but the real issue lies elsewhere. Test the thermal fuse, which is often located near the heating element. A blown fuse will show no continuity. Similarly, the thermostat—responsible for turning off the kettle when water boils—can fail and prevent the switch from functioning. Use the multimeter to check these components. If either is faulty, replacing them may restore switch operation without touching the switch itself.
How to Disassemble Your Electric Kettle Safely
Disassembly requires care to avoid damaging internal parts or injuring yourself. Start by removing the base or bottom panel, which is usually held in place by screws. Some kettles have hidden screws under rubber feet—peel them back gently. Keep track of all screws and their locations.
Accessing the Switch Mechanism
Once the base is off, you’ll see the wiring and control board. The switch is typically mounted near the handle or on the side of the kettle. It’s connected to the power supply and the heating element via thin wires. Take a photo before disconnecting anything. Use needle-nose pliers to gently disconnect the wires from the switch terminals. Note the wire colors and positions—this ensures correct reconnection later.
Handling Internal Components
Be gentle when handling the circuit board and heating element. Avoid bending wires or applying excessive force. If mineral buildup is present, clean it with a soft brush and vinegar solution, but ensure everything is completely dry before reassembly. Never use water near electrical components unless the kettle is fully disassembled and unplugged.
Repairing or Replacing the Electric Kettle Switch
Once you’ve confirmed the switch is faulty, decide whether to repair or replace it. In most cases, replacement is the best option—switches are inexpensive and designed for easy swapping.
Removing the Old Switch
Unscrew the switch from its mounting bracket using a screwdriver. Carefully pull it out, ensuring you don’t damage surrounding wires. If the switch is soldered, use a soldering iron to melt the joints and free it. Clean any residual solder from the terminals.
Installing the New Switch
Position the new switch in the same orientation as the old one. Secure it with screws or solder the wires back in place, matching the original connections. Double-check wire placement—reversing polarity can damage the kettle or create a safety hazard. Once connected, test the switch with the multimeter again to confirm continuity.
Reassembling the Kettle
Carefully reconnect all wires and components. Replace the base panel and screw it back into place. Ensure no wires are pinched or exposed. Plug in the kettle and test it with a small amount of water. Listen for the click and watch for the heating indicator. If it works, you’ve successfully repaired the switch!
Preventing Future Switch Failures
Regular maintenance can extend the life of your kettle and prevent switch problems. Descale your kettle every 1–2 months if you live in a hard water area. Use a mixture of equal parts water and white vinegar, boil it, let it sit for an hour, then rinse thoroughly. This removes lime scale that can interfere with the switch and heating element.
Avoid overfilling the kettle, as excess water can seep into the base and damage internal components. Always use the kettle on a stable, dry surface. Don’t press the switch repeatedly if the kettle doesn’t respond—this can wear out the mechanism faster. If your kettle has a removable filter, clean it regularly to prevent clogs.
Consider investing in a kettle with a high-quality switch and automatic shut-off feature. These models are less prone to failure and offer added safety. If you frequently experience switch issues, it may be worth upgrading to a more durable brand.
When to Replace Instead of Repair
While repairing a switch is often cost-effective, there are times when replacement is the smarter choice. If the kettle is old, has multiple faults, or shows signs of electrical damage—like burnt wires or a cracked base—it’s safer to buy a new one. Older kettles may not meet current safety standards, increasing the risk of fire or shock.
Also, consider the cost of replacement parts and your time. If a new switch costs nearly as much as a budget kettle, it may not be worth the effort. Additionally, if you’re uncomfortable with electrical work or lack the right tools, professional repair or replacement is the best option. Safety should always come first.
Finally, if your kettle is still under warranty, contact the manufacturer before attempting any DIY repairs. Opening the unit may void the warranty, leaving you without coverage for future issues.
Conclusion
Repairing an electric kettle switch is a practical skill that can save you money and reduce waste. With the right tools, safety precautions, and a methodical approach, most switch problems can be resolved at home. Start by diagnosing the issue, test related components, and carefully disassemble the kettle. Replace the faulty switch with a compatible part, reassemble everything, and test the kettle before regular use.
Remember, not all repairs are worth the effort. If your kettle is old or damaged beyond the switch, replacement may be the better long-term solution. But for many users, a simple switch fix can breathe new life into a trusted kitchen appliance. By following this guide, you’ll be equipped to handle common switch issues confidently and safely—keeping your tea hot and your mornings running smoothly.
Frequently Asked Questions
Can I repair an electric kettle switch myself?
Yes, you can repair an electric kettle switch yourself if you have basic tools and follow safety precautions. Always unplug the kettle and let it cool before starting. Use a multimeter to test the switch and related components.
How do I know if my kettle switch is broken?
A broken switch may not click when pressed, fail to stay depressed, or show no response when tested with a multimeter. If the kettle doesn’t heat despite being plugged in, the switch could be the culprit.
What tools do I need to fix a kettle switch?
You’ll need a multimeter, screwdrivers (Phillips and flathead), needle-nose pliers, and possibly a soldering iron. Insulated gloves and a well-lit workspace are also recommended for safety.
Is it safe to repair an electric kettle?
It can be safe if you follow proper procedures: unplug the kettle, let it cool, and avoid touching live wires. If you’re unsure or uncomfortable, consider professional repair or replacement.
Can a faulty switch cause other problems in the kettle?
Yes, a faulty switch can prevent the kettle from heating, cause intermittent operation, or even lead to electrical shorts if wires are damaged. It’s important to address switch issues promptly.
How often should I descale my electric kettle?
Descale your kettle every 1–2 months if you use it frequently or live in a hard water area. This prevents mineral buildup that can affect the switch and heating element.