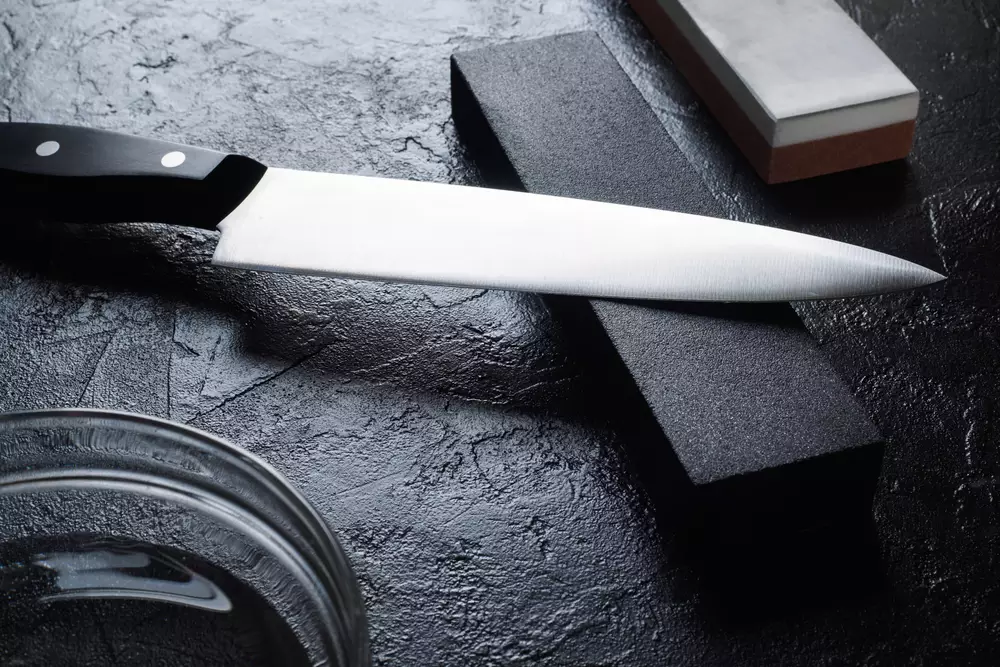
Do you often have trouble with dull kitchen knives, which reduces the thrill of cooking while making meal preparation a difficult task? Don’t worry, for mastering the art of sharpening a knife with a stone can be your ultimate solution! A sharply sharpened knife is a chef’s best companion, since it effortlessly cuts through food and makes cooking enjoyable.
This guide will teach you how to sharpen a knife with a stone using a reliable sharpening stone, allowing you to rediscover the joy of expertly slicing, dicing, and chopping your way to culinary mastery. Prepare yourself for a journey of accuracy and talent that will leave your blades sharper than ever!
Is It easy to sharpen a knife?
Yes, sharpening a knife can be relatively easy with the right tools and techniques. Regular maintenance with a sharpening stone or honing rod can help maintain a sharp edge on the knife. However, mastering the skill may take some practice.

How to sharpen a knife with a stone?
Here are some easy guides to how to sharpen a knife with a stone for beginners:
Materials you’ll need
- Sharpening stone (whetstone)—Choose a stone with a grit suitable for your knife. Lower grit numbers (e.g., 300-1000) are used for repairing damaged edges, while higher grit numbers (e.g., 2000-8000) are for fine sharpening and honing.
- A towel or rubber mat to place the stone on for stability.
- A container of water for lubrication.
Step-by-step guide to cleaning your knife with a stone
Step 1: Prepare the Stone
- Place the sharpening stone on a flat surface, with the coarser side facing up if it’s a double-sided stone.
- Soak the stone in water for about 8–10 minutes, or follow the manufacturer’s instructions. The water helps prevent the knife’s blade from overheating during the sharpening process.
Step 2: Find the Correct Angle
- Determine the optimal angle for sharpening your knife.
- For most kitchen knives, a 15 to 20-degree angle is common. This means you’ll hold the knife at an angle of 15 or 20 degrees to the stone.
Step 3: Start Sharpening
- Hold the knife handle firmly with one hand and place the blade against the stone at the chosen angle.
- Use your other hand to apply gentle pressure on the back of the blade to maintain the angle while sharpening.
- Move the knife back and forth across the stone in a smooth and controlled motion. Start from the base of the blade and work your way to the tip.
- Ensure the entire length of the edge makes contact with the stone during each stroke.
Step 4: Repeat on the Other Side
- After sharpening one side for a few strokes (about 5-10), flip the knife and repeat the process on the other side.
- It’s essential to maintain the same number of strokes on each side to keep the edge symmetrical.
Step 5: Test for Sharpness
- To check if the knife is sharp, run your finger lightly along the edge. Be careful not to apply too much pressure to avoid cutting yourself.
- If the blade feels significantly sharper and smoother, you have successfully sharpened your knife.
Step 6: Finishing Touch
- If you have a double-sided sharpening stone, you can use the finer side to polish the edge for a more refined sharpness.
- Repeat the process on the finer side, using the same angle and pressure.
Step 7: Clean the Knife and Stone
- Rinse the knife to remove any metal particles or residue from the sharpening process.
- Clean and dry the sharpening stone thoroughly before storing it.
Maintenance and storage of sharpening stones
Proper maintenance and storage of sharpening stones are essential to ensure they remain effective and last for a long time. Here are some important tips to keep your sharpening stones in top condition:
- Cleaning: After each use, clean the sharpening stone thoroughly to remove any metal particles and debris that may have accumulated on its surface. Use a soft brush or toothbrush to scrub away the residue. If necessary, use mild soap and water to clean more stubborn stains.
- Flattening: Sharpening stones can develop an uneven surface over time due to wear and tear. Regularly flatten your stone to maintain a consistent and flat sharpening surface. You can use a flattening stone or specialized flattening plates for this purpose.
- Oiling or Soaking: Some sharpening stones, like oil stones and water stones, require soaking in water or oil before use. Follow the manufacturer’s instructions for the specific type of stone you have to ensure proper performance.
- Drying: After use or cleaning, make sure your sharpening stone is completely dry before storing it. Leaving a wet stone in storage can lead to mold growth and degrade its performance.
- Storage: Store your sharpening stone in a dry and clean environment. It’s best to keep the stone in a dedicated box, case, or holder to protect it from dust, debris, and potential damage.
- Avoid Dropping: Sharpening stones are fragile and can crack or chip if dropped or mishandled. Handle them with care and avoid placing heavy objects on top of them.
- Separate Coarse and Fine Grit Stones: If you use multiple sharpening stones with different grit levels, store them separately to avoid contamination and to keep their abrasive qualities intact.
- Use Properly Sized Stones: Choose sharpening stones that are large enough to accommodate the length of your knives. Using a stone that is too small may cause uneven sharpening and hinder the sharpening process.
Conclusion
Mastering the art of sharpening a knife with a stone is a valuable skill that enhances the longevity and performance of your knives. With proper technique and regular maintenance, you can achieve a knife-sharp edge, ensuring precise and safe cutting in your culinary endeavors.
Happy sharpening!
Leave a Reply