Introduction
Maintaining and sharpening your knives regularly is an essential skill that every kitchen enthusiast should possess. A sharp knife not only enhances the efficiency of your cooking but also ensures safety by reducing the risk of accidents caused by dull blades. In this guide, I will walk you through the process of DIY knife sharpening using a steel, making it easy for you to maintain your blades like a pro.
By dedicating some time to learn how to properly sharpen your knives, you can save the expense of professional sharpening services and have full control over the sharpness of your blades. With just a few essential tools and materials, you can achieve razor-sharp edges on all your knives, enabling precise slicing, dicing, and chopping.
In this step-by-step guide, we will explore different techniques for knife sharpening, including using a steel rod and sharpening stone. We will also discuss the importance of prep work, such as cleaning and wearing protective gear. Additionally, we will cover finishing touches like honing and polishing the blade for a professional-grade result.
So let’s dive in and discover how to maintain blades like a pro through DIY knife sharpening with a steel!
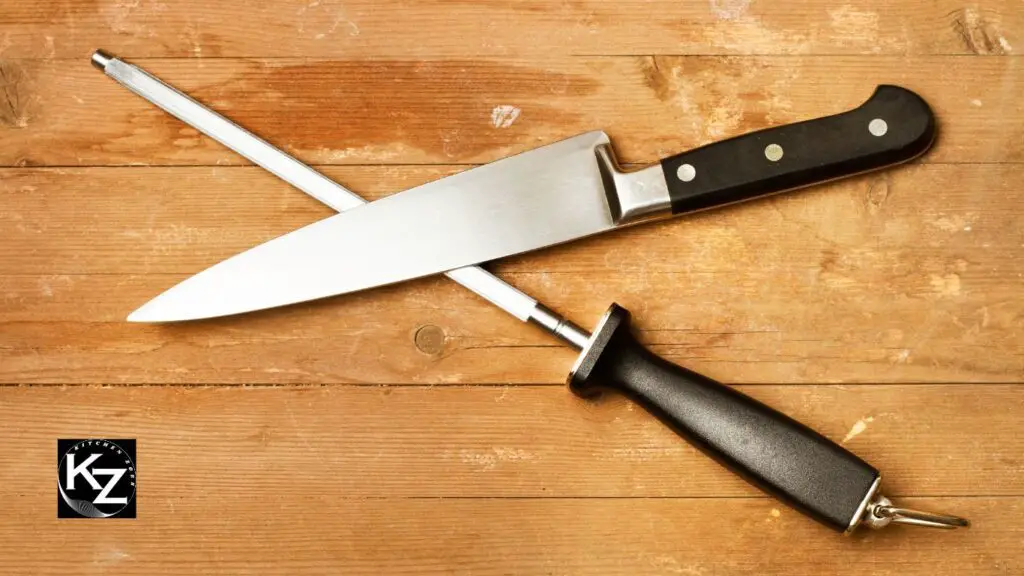
Benefits of maintaining and sharpening your knives regularly
Maintaining and sharpening your knives regularly offers a multitude of benefits that every kitchen enthusiast should embrace. Firstly, a sharp knife enhances efficiency in the kitchen by allowing precise and effortless cutting, slicing, and chopping. With a dull blade, you may find yourself exerting unnecessary force and risking accidents.
In addition to efficiency, regular maintenance also prolongs the lifespan of your knives. By ensuring that the blades are clean, dry, and properly sharpened, you minimize the risk of corrosion or damage caused by moisture or food residue. This means your knives will remain in top condition for longer, saving you money on replacements.
Furthermore, regularly sharpened knives contribute to increased safety in the kitchen. A sharp blade requires less force to cut through ingredients, reducing the likelihood of slips or unexpected accidents. Dull blades, on the other hand, are more prone to slipping and can lead to unintended injuries.
Overall, maintaining and sharpening your knives regularly is an investment in both your cooking experience and safety. It ensures optimal performance while minimizing risks in the kitchen. So make it a habit to keep your blades sharp and enjoy all the benefits that come with well-maintained knives.
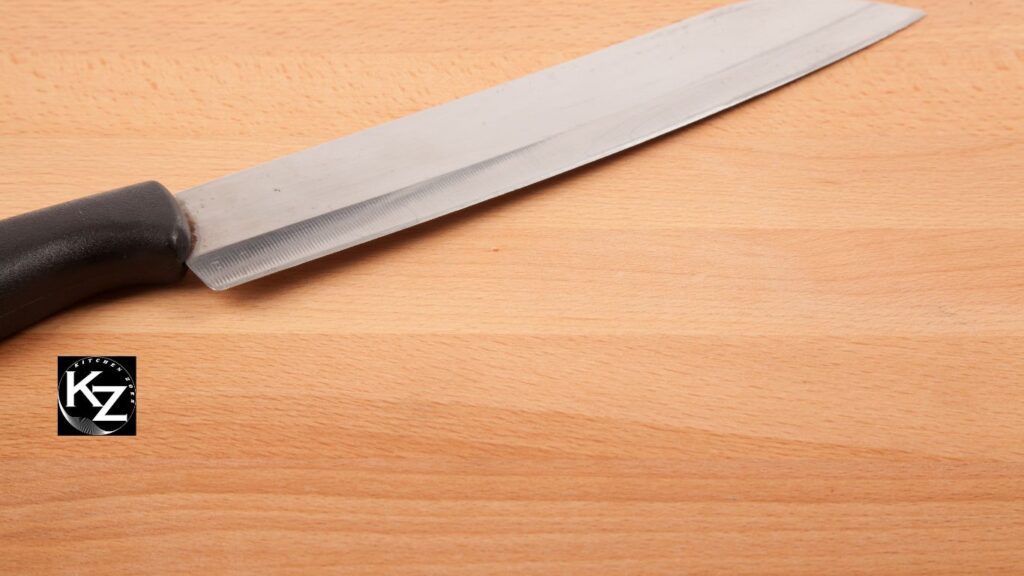
Essential tools and materials for DIY knife sharpening
To successfully sharpen your knives at home, you will need a few essential tools and materials. These include a sharpening steel or rod, a sharpening stone or whetstone, and a cutting board or countertop to provide stability during the process.
A sharpening steel or rod is used to straighten the blade and maintain its sharpness. It is important to choose a steel that matches the length of your knife blade. When using a steel, make sure it is either flat or straight up with the tip resting on the counter or cutting board. Start at the heel of the edge and move the knife alongside the sharpening steel until you have reached the tip, ensuring that the entire edge hits the sharpening steel.
A sharpening stone or whetstone is necessary for actually restoring and refining the edge of your knife. There are various types of stones available, such as water stones or oil stones, each with their own characteristics and recommended usage methods. It is important to choose a fine-grained stone for achieving a razor-sharp finish.
Lastly, you will need a stable surface like a cutting board or countertop to provide support while sharpening your knives. Avoid uneven surfaces that may wobble during the process.
With these essential tools and materials in hand, you’ll be ready to tackle DIY knife sharpening like a pro!
Understanding Knife Sharpening
To achieve optimal sharpness for your knives, it is essential to have a good understanding of knife sharpening. Knife edges can vary in their design, such as straight edges or serrated edges, and each requires a different sharpening technique.
For straight-edge knives, the most common method is to use a sharpening stone or whetstone. This process involves sliding the blade across the stone at a consistent angle while applying light pressure. The goal is to remove any dullness and create a new sharp edge. It’s important to start with a coarse-grained stone and gradually progress to finer grits for a polished finish.
Serrated knives require a different approach due to their unique tooth-like edge. A ceramic or diamond rod can be used to individually sharpen each serration. By gently gliding the rod along each serration at the same angle, you can restore the sharpness without altering the teeth.
Understanding the current condition of your blades is also crucial before proceeding with sharpening. Assessing for nicks, chips, or excessive wear will help determine whether additional steps, such as blade repair or professional assistance, are necessary.
By understanding these different techniques and taking proper care of your blades during sharpening, you’ll be able to maintain your knives like a pro and enjoy sharp, efficient cutting every time.
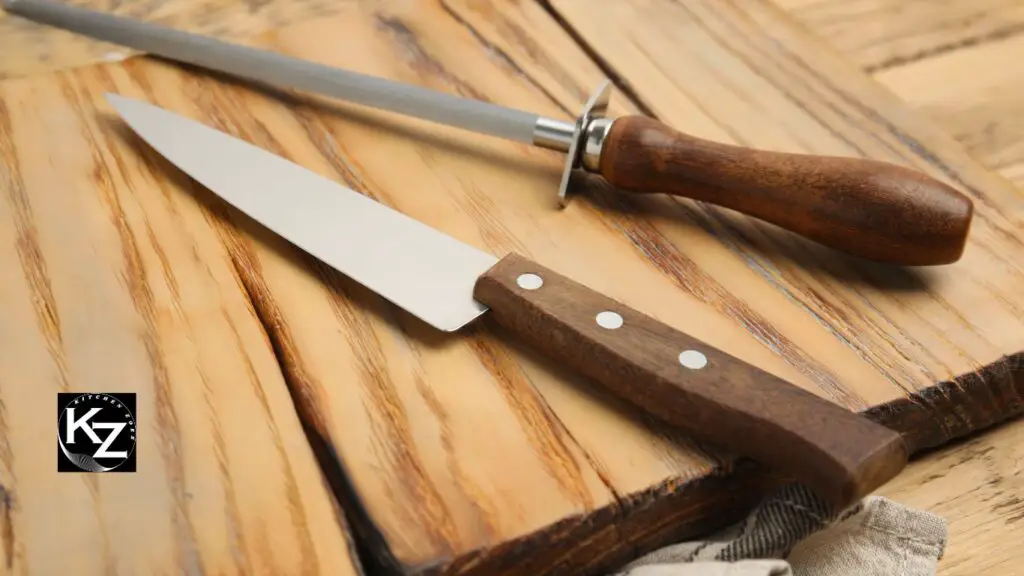
Different types of knife edges and sharpening techniques
When it comes to knife edges, there are two main types: straight edges and serrated edges. Each requires a different sharpening technique to achieve optimal sharpness.
For straight-edge knives, the most common method is to use a sharpening stone or whetstone. To begin, it’s important to assess the current condition of the blade for any nicks, chips, or excessive wear. Once you’ve determined that sharpening is necessary, start with a coarse-grained stone to remove dullness and create a new sharp edge. Hold the knife at a consistent angle and slide the blade across the stone while applying light pressure. Gradually progress to finer grits for a polished finish.
Serrated knives require a different approach due to their unique tooth-like edge. Instead of using a sharpening stone, you can use a ceramic or diamond rod to individually sharpen each serration. Gently glide the rod along each serration at the same angle as the teeth to restore sharpness without altering their shape.
By understanding these different techniques and taking proper care of your blades during sharpening, you’ll be able to maintain your knives like a pro and enjoy consistently sharp and efficient cutting every time.
Determining the current condition of your blade
Before beginning the sharpening process, it’s essential to assess the current condition of your blade. This step will help you identify any specific issues that need to be addressed and determine the appropriate technique for sharpening.
First, visually inspect the blade for any visible signs of damage such as nicks, chips, or excessive wear. These imperfections can affect how the blade sharpens and may require additional steps to restore optimal sharpness.
Next, run your finger along the cutting edge to feel for any rough or uneven areas. If you notice rough spots or inconsistencies in the edge, it indicates that the blade is not properly aligned and will benefit from straightening before sharpening.
Additionally, if you’ve been using your knife extensively without regular maintenance, it may have dulled over time. Dullness can be assessed by attempting to cut through a piece of paper or fabric with minimal resistance. If the knife struggles or tears instead of cleanly slicing through, it’s a clear indication that re-sharpening is needed.
By thoroughly assessing the current condition of your blade, you’ll be able to tailor your sharpening technique to address any specific issues and ensure that you achieve optimal results.
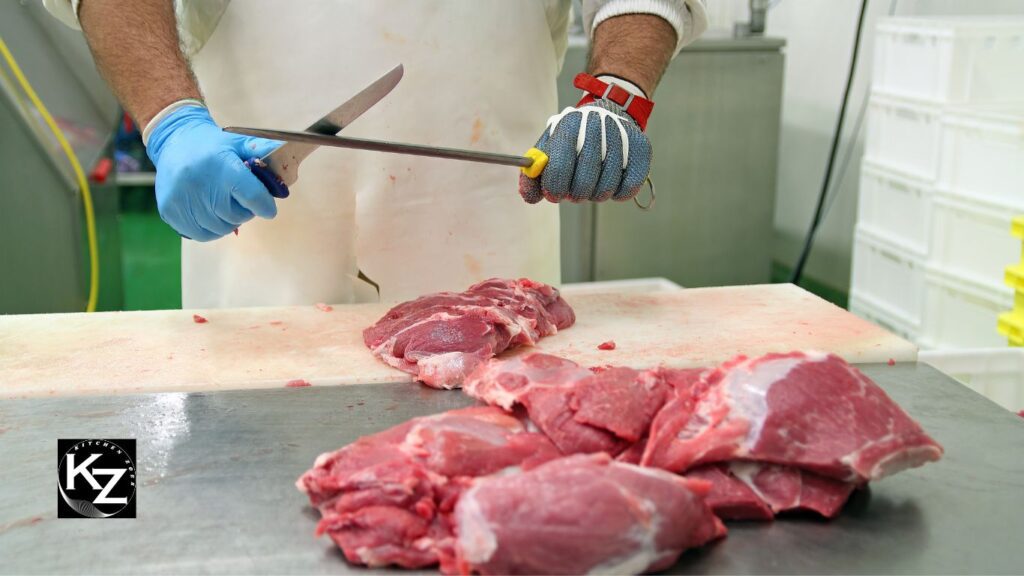
Prep Work
Before delving into the sharpening process, it’s crucial to properly prepare your knife. This step will ensure optimal results and minimize the risk of mishaps.
Firstly, I recommend thoroughly cleaning your knife before sharpening. This will remove any dirt, grease, or food particles that may be present on the blade. Use warm soapy water and a soft cloth to gently clean the entire surface of the knife, paying extra attention to the cutting edge.
After cleaning, make sure to dry the knife completely. Moisture can interfere with the sharpening process and potentially cause damage to the blade. Take a clean towel or paper towel and carefully dry both sides of the blade, making sure there is no residual moisture left.
Another important aspect of prep work is personal safety. Always remember to wear protective gloves and goggles while handling sharp objects like knives and tools. These safety measures will protect your hands from accidental slips or cuts during the sharpening process.
Taking these initial steps of cleaning, drying, and wearing protective gear will set you up for a successful sharpening experience. Now let’s move on to the next step in our DIY knife sharpening journey.
Keywords: Prep Work, cleaning knife before sharpening; drying knife before sharpening; wearing protective gloves during sharpening
Cleaning and drying the knife before sharpening
One of the most important steps in preparing your knife for sharpening is to clean and dry it thoroughly. This ensures that you have a clean surface to work with and helps to remove any dirt, grease, or food particles that may be present on the blade.
To clean the knife, I recommend using warm soapy water and a soft cloth. Gently wipe down the entire surface of the knife, paying extra attention to the cutting edge. Be sure to rinse off any soap residue afterwards.
After cleaning, it is crucial to dry the knife completely. Moisture can interfere with the sharpening process and potentially cause damage to the blade. Take a clean towel or paper towel and carefully dry both sides of the blade, making sure there is no residual moisture left.
Taking these steps of cleaning and drying before sharpening will help ensure optimal results. By starting with a clean and dry blade, you’ll be able to sharpen more effectively and achieve a sharp edge that lasts longer.
Remember, always prioritize safety by wearing protective gloves and goggles while handling sharp objects like knives during the sharpening process.
Importance of wearing protective gloves and goggles
When it comes to DIY knife sharpening, safety should always be a top priority. That’s why it’s crucial to wear protective gloves and goggles during the sharpening process.
Protective gloves serve a dual purpose. Firstly, they provide a barrier between your hands and the sharp blade, reducing the risk of accidental cuts or injuries. Secondly, gloves offer better grip and control over the knife while sharpening, ensuring that you have a steady hand throughout the process.
Goggles, on the other hand, protect your eyes from any debris or metal particles that may be generated during sharpening. These tiny fragments can easily fly into your eyes and cause significant damage if not properly protected. By wearing goggles, you eliminate this risk and maintain clear vision while working on your knife.
Remember, accidents can happen even to the most experienced individuals. By wearing protective gloves and goggles, you create a safe environment for yourself and reduce the chances of potential injuries. Prioritizing safety not only demonstrates responsible behavior but also allows you to focus on sharpening your knives effectively and with peace of mind.
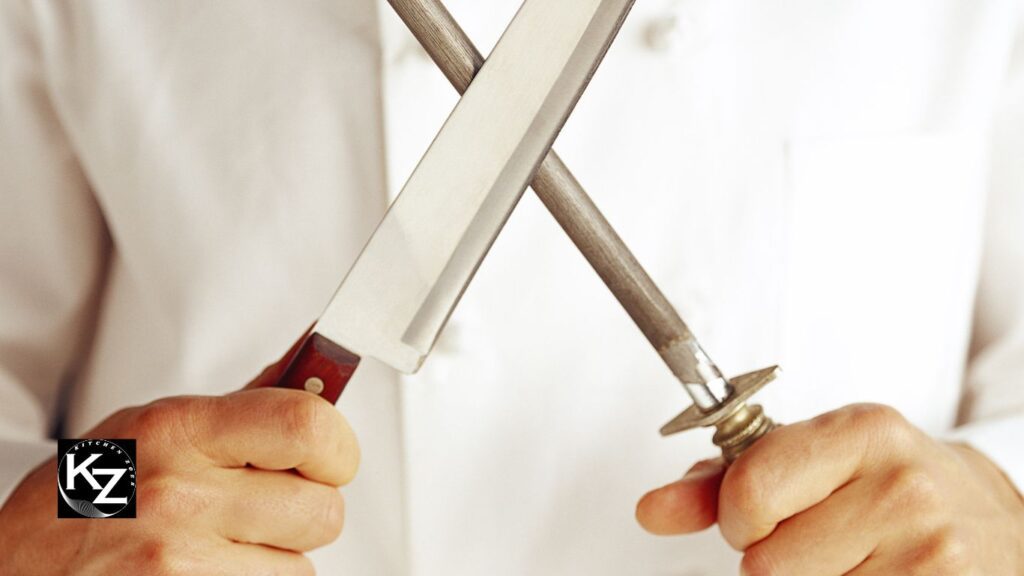
Step-by-Step Sharpening Process
To sharpen your knife like a pro, follow this step-by-step process. Remember to always exercise caution and focus while handling sharp objects.
- Setting the correct sharpening angle: Start by determining the angle of your knife’s edge. Most kitchen knives have a bevel angle of around 20 degrees. Hold the knife with the blade facing away from you and position the sharpening rod or stone at the desired angle.
- Using a steel rod to straighten the blade: Hold the knife firmly by its handle and place the sharpening steel in front of you, vertically on a stable surface. Starting at the heel of the edge, move the knife alongside the steel in an upward arching motion until you reach the tip. Make sure each stroke covers the entire length of the edge.
- Using a sharpening stone to restore the edge: Wet your sharpening stone with water or honing oil according to manufacturer instructions. Hold the knife at a consistent angle and run it along the stone, using smooth strokes from heel to tip. Repeat several times on each side until you achieve your desired sharpness.
- Honing for a razor-sharp finish: After using a sharpening stone, use a honing rod to further refine and polish your knife’s edge. Hold the rod upright and gently glide the blade down on each side, maintaining light pressure.
- Polishing and stropping for extra precision: For an even finer edge, you can use polishing compounds on a leather strop board or strap. Move your knife back and forth across the strop at a consistent angle while applying light pressure.
By following these steps, you can achieve professional-level results in sharpening your knives. Keep in mind that practice makes perfect, so continue refining your technique over time.
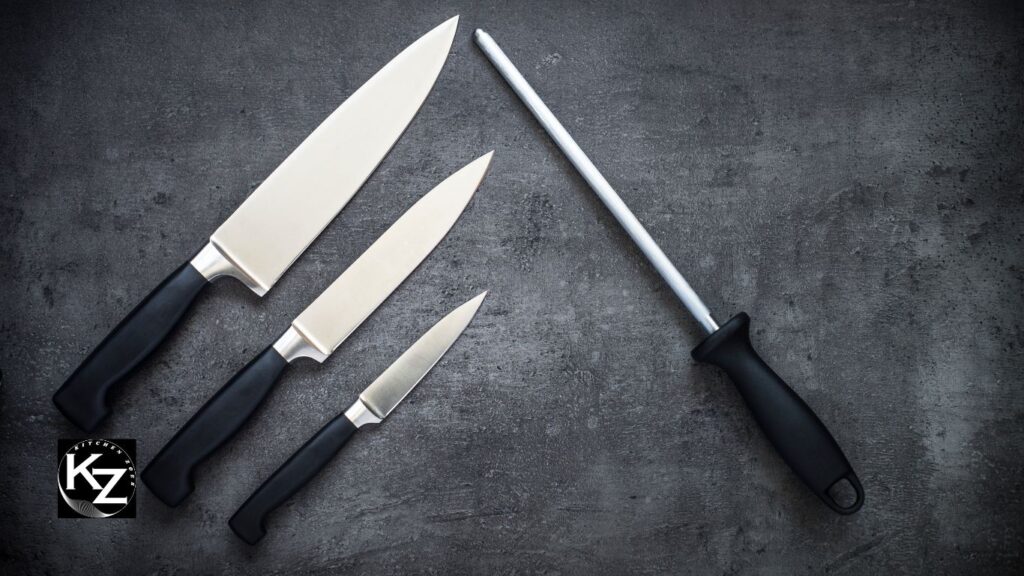
Setting the correct sharpening angle
When it comes to sharpening your knives, one of the most crucial steps is setting the correct sharpening angle. This angle determines the shape and effectiveness of the knife’s edge. To achieve optimal results, it is essential to understand the specific requirements of your knife.
Firstly, determine the bevel angle of your knife’s edge. Most kitchen knives have a bevel angle of around 20 degrees. However, certain knives, like Japanese-style knives, may have a more acute angle. Research or consult with experts to identify the appropriate angle for your particular knife.
Next, hold the knife securely in one hand with the blade facing away from you. Position the sharpening rod or stone at the desired angle against the cutting edge. Ensure that the entire length of the edge makes contact with the sharpening tool as you move it along.
Maintaining a consistent angle throughout the sharpening process is crucial for achieving a sharp and even edge. Take your time and focus on maintaining proper technique and precision.
By setting and maintaining the correct sharpening angle, you can ensure that your knives receive an optimal level of sharpness, improving their performance in various cutting tasks.
Using a steel rod to straighten the blade
Using a steel rod to straighten the blade is an essential step in the knife sharpening process. This technique helps to realign the microscopic teeth on the edge of the blade, ensuring that they are all pointing in the same direction. By straightening the blade, you can improve its cutting performance and prolong its lifespan.
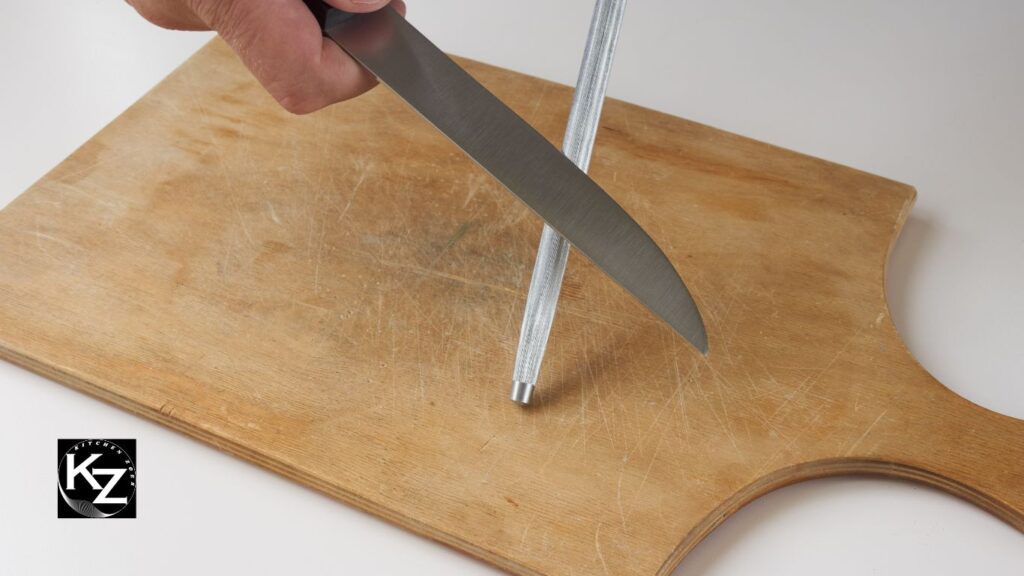
To begin, ensure that you have a sturdy and high-quality steel rod or honing rod. Hold the rod firmly in one hand with the tip resting on a stable surface, such as a countertop or cutting board. With the other hand, grip the knife handle and place the heel of the blade against the base of the rod.
Maintaining a consistent angle, gently slide the blade down from heel to tip along the length of the rod. Apply light pressure and repeat this motion several times on each side of the blade.
Remember to be cautious and keep your fingers away from the sharp edge to prevent accidents. Additionally, using a sharpening glove can provide extra protection and stability.
By regularly using a steel rod to straighten your knife blades, you can maintain their optimal performance and avoid unnecessary wear and tear. Incorporating this step into your DIY knife sharpening routine will ensure that your knives stay in top condition for all your culinary endeavors.
Using a sharpening stone to restore the edge
Now that we have straightened the blade with a steel rod, it’s time to restore the edge using a sharpening stone. A sharpening stone is a vital tool in maintaining the sharpness of your knives. It helps to remove any dullness or nicks on the blade, bringing it back to its optimal cutting performance.
To begin, choose a high-quality sharpening stone with a grit suitable for your knife. Wet the stone with water or honing oil to create a smooth surface for sharpening. Then, place the stone on a stable surface such as a countertop or workbench.
Hold the knife handle firmly and position the blade against the stone at the desired angle. Using light pressure, swipe the blade across the stone in smooth and consistent strokes. Remember to maintain the same angle throughout the sharpening process.
Repeat this motion several times on each side of the blade, alternating between sides to ensure even sharpening. Be patient and take your time as you gradually restore the edge.
After sharpening, rinse off any debris from both the knife and sharpening stone. Dry them thoroughly before moving on to the next step.
Remember, practice makes perfect when using a sharpening stone. It may take some time and experimentation to find your preferred technique and angle. With patience and perseverance, you can achieve professional-grade results right at home.
Note: If you’re new to using a sharpening stone, I recommend watching tutorials or seeking guidance from experts to ensure proper technique and avoid damaging your knives.
Finishing Touches
After restoring the edge of your knife with a sharpening stone, there are a few finishing touches that will further enhance its sharpness and precision. These steps will help you achieve a razor-sharp finish and ensure that your knives are ready for any task.
Firstly, honing the blade is essential to remove any micro-burrs or imperfections that may have been left after sharpening. This can be done using a honing rod or steel. Hold the rod in one hand and the knife in the other, then swipe the blade along the length of the rod at a consistent angle. Repeat this process several times on each side of the blade.
To add an extra level of precision to your sharpened blade, consider polishing and stropping it. Polishing involves using a finer grit stone or compound to refine the edge even further. Stropping is done by dragging the knife across a piece of leather or similar material, which helps to align the edge and polish it to perfection.
Once you have honed, polished, and stropped your knife, it’s important to wipe off any residue or debris from both the blade and handle. A clean and dry knife is essential for optimal performance.
Remember, these finishing touches are not always necessary for every sharpening session but can provide that added edge when needed. Regular maintenance and touch-ups will keep your blades sharp for longer periods of time.
Honing the blade for a razor-sharp finish
Honing the blade is a crucial step in achieving a razor-sharp finish for your knife. After using a sharpening stone to restore the edge, honing helps remove any micro-burrs or imperfections that may have been left behind. This step is essential for ensuring your knife performs at its best.
To hone the blade, I recommend using a honing rod or steel. With one hand holding the rod and the other holding the knife, swipe the blade along the length of the rod at a consistent angle. It’s important to maintain a steady and controlled motion throughout this process. Repeat this motion several times on each side of the blade to effectively hone both edges.
Honing not only helps refine the blade but also realigns any slight deformations that may have occurred during sharpening. This ensures a clean and precise edge, maximizing both cutting performance and safety.
Remember, honing should be done regularly to maintain your knife’s sharpness and extend its lifespan. With proper honing, your knife will be ready to tackle even the toughest tasks with ease.
What type of strops and compounds should you use for stropping a straight razor?
To properly strop a straight razor, there are specific types of strops and compounds that can be used. One option is a leather shaving belt, which acts as a stabilizing surface for the razor. Alternatively, there are stropping paddles available, which are wood pieces with attached leather strips.
After sharpening the razor on sharpening stones, it is ideal to use a paddle strop with stropping compound. This compound provides a slight “grit” to the strop, enhancing its effectiveness. Additionally, if you want to achieve a polished finish on your razor, using a stropping compound is recommended.
When it comes to choosing a stropping compound, Skerper offers a set of four compounds with varying coarseness levels, ranging from coarse to ultra-fine. These compounds can provide different levels of abrasiveness based on your preference and needs.
While using a stropping compound is beneficial, it is not obligatory. If you prefer a simpler process, you can opt for a leather shaving belt without any compound. In this case, it is recommended to use the belt before each shaving session to ensure the razor’s edge is properly aligned and ready for use.
It is worth noting that you also have the option of utilizing both sides of a leather shaving belt rather than using a paddle strop. This flexible approach allows you to tailor your stropping technique based on personal preference and the tools available to you.
Using a compound on a strop can last for an extended period, and it is not uncommon to use the same compound for many years, ensuring long-lasting utility.
What type of sharpening stones are recommended for sharpening straight razors?
When it comes to sharpening straight razors, there are several types of sharpening stones that come highly recommended. One popular option is the Shapton Glass Stone sharpening stone set. This set includes stones with grain sizes of 1000, 3000, and 8000, along with a convenient sharpening stone holder. These Glass Stones have the advantage of being long-lasting and requiring minimal lapping. They are also designed to be “splash & go,” meaning you only need to add a small amount of water before you can start using them.
Another excellent choice is the Shapton Pro Stones. These stones are slightly thicker than the Glass Stones, allowing them to be used for an extended period of time before needing replacement. Like the Glass Stones, they are also splash & go and have a long-lasting lifespan. Alternatively, the Naniwa Professional Stones are highly recommended as well. These Japanese sharpening stones are known for being very hard and have a slightly softer feel compared to the Shapton Pro stones.
For a comprehensive sharpening stone set, consider the Skerper Professional set. This set includes a 220 stone for those occasions when the blade has been neglected for a while, as well as 1000, 2000, and 5000 stones for various sharpening phases. Additionally, you have the option to purchase an individual 8000 or even 16.000 stone for the final polishing phase.
If you prefer a more traditional approach, Belgian natural sharpening stones from Ardennes Coticule are highly regarded amongst straight razor enthusiasts. These stones offer an exceptional finish and have been used for centuries. Combining them with a slurry stone can further enhance their effectiveness. The grain sizes of these stones typically range from approximately 6000 to 8000, providing that desired polished finish. If you decide to purchase these stones, it is recommended to also acquire a 1000 stone and a 3000 or 4000 stone to start with.
In summary, recommended sharpening stones for straight razors include the Shapton Glass Stone set, Shapton Pro Stones, Naniwa Professional Stones, Skerper Professional set, and Belgian natural sharpening stones from Ardennes Coticule. Each of these options offers unique features, grain sizes, and qualities that make them suitable for sharpening straight razors.
How often should you strop your razor?
To properly maintain your razor, it is recommended to strop it both before and after every shave. Some even choose to strop their razors in between shaving sessions. While sharpening your razor on sharpening stones may only be necessary a few times a year, excessive sharpening should be avoided as it can result in the removal of too much material. Given that razors are already quite narrow, it is common for those who use straight razors to seek professional assistance for razor maintenance. However, it is entirely possible for you to perform these tasks yourself. It is important to note that regular stropping is a crucial component of maintaining your razor’s sharpness.
How do you sharpen straight razors?
To sharpen straight razors, follow these steps:
- Begin with a relatively fine-grained sharpening stone, preferably around 1000 grains. This stone will help remove minor damage done to the edge of the razor and ensure it is straight. Hold the razor at a consistent angle while sharpening it along the entire length of the stone, moving in the direction of the spine of the knife. Using the 1000 stone should already result in a relatively sharp razor, and you may start to feel a burr emerging if done correctly. If so, you can proceed to the next stone.
- The next phase involves polishing the razor. Ideally, use a 2000 grain sharpening stone. However, if you don’t have this type of stone or don’t want to invest in multiple sharpening stones, you can skip the 2000 stone and move on to a 4000 grain stone. Keep in mind that you’ll need to spend a little more time sharpening with the 4000 stone to achieve the desired results.
- To complete the sharpening process, use a very fine sharpening stone with a grain size ranging from 8000 to 16,000. If you have access to a 30,000 stone, that can be used as well.
- After polishing the razor, it’s time to strop it. Stropping helps refine the edge and remove any remaining visible burrs. Use a stropping belt along with a stropping compound. Chromium or diamond compound is recommended for stropping straight razors. Begin by using the coarse side of the stropping belt, applying the stropping compound to it. This step removes any last remaining burrs.
- Finally, use the smooth side of the stropping belt, without any compound, for the finishing touch. It’s recommended to strop the razor like this after every shave to maintain its razor-sharpness and safety. Always strop the knife by moving towards the spine, away from the edge. This ensures that you don’t accidentally cut into the belt. Alternate stropping on both sides of the blade.
By following these steps, you can effectively sharpen straight razors and maintain their sharpness for a smooth shaving experience.
Polishing and stropping the knife for extra precision
After honing the blade to achieve a razor-sharp finish, there are a few additional steps you can take to further enhance the precision and performance of your knife. One such step is polishing and stropping the knife.
Polishing helps smooth out any microscopic imperfections or burrs that may be present on the edge of the blade. This not only improves the overall cutting ability but also enhances the knife’s aesthetics. To polish the blade, use a fine-grit polishing compound or paste. Apply a small amount to a soft cloth or leather strop and gently rub it along both sides of the blade in a stroking motion. Be sure to maintain a consistent angle throughout this process.
Stropping, on the other hand, is all about refining and aligning the edge for optimal sharpness. Using a high-quality leather strop, make controlled alternating strokes along both sides of the blade, moving from base to tip. Remember to maintain an appropriate level of tension on the strop while ensuring proper angle alignment.
The combination of polishing and stropping will provide your knife with an extra level of precision, resulting in effortless slicing and precise cuts. Whether you’re an amateur chef or an avid outdoors enthusiast, taking these extra steps will greatly enhance your overall knife sharpening experience.
Maintenance Tips and Tricks
Now that you have sharpened your knife to perfection, it’s important to maintain its sharpness for as long as possible. Here are some maintenance tips and tricks to ensure your knives stay in top condition:
- Proper storage: Store your sharpened knives in a designated knife block or sheath to protect the blade from damage or dulling.
- Regular cleaning: After each use, clean your knife with warm soapy water and dry it thoroughly. This will prevent any residue from building up on the blade and affecting its sharpness.
- Avoid the dishwasher: Always hand wash your knives instead of putting them in the dishwasher. The harsh detergents and high heat can damage the blade and handle.
- Avoid cutting on hard surfaces: Use a cutting board made of wood or plastic to protect the sharp edge of your knife from hitting hard surfaces, like granite countertops.
- Keep an eye on wear and tear: Periodically inspect your knives for any signs of wear, such as chips or dents in the blade. If you notice any issues, consider getting professional assistance to repair them.
- Regular maintenance schedule: Create a routine to touch up your knife’s edge every few months, even if it doesn’t seem dull yet. This will help maintain its sharpness over time.
By following these maintenance tips and tricks, you can ensure that your sharpened knives remain effective and reliable for years to come. Remember, a well-maintained knife is not only safer but also provides superior precision during every cutting task.
Proper storage and care for your sharpened knives
To ensure the longevity and effectiveness of your sharpened knives, proper storage and care are crucial. Here are some tips to help you store and maintain your sharpened knives:
- Store them safely: Invest in a designated knife block or sheath to protect the blade from damage or dulling. This will also prevent accidental cuts when reaching for your knives.
- Keep the blades clean: After each use, clean your knives with warm soapy water, making sure to remove any food residue. Dry them thoroughly before storing to prevent any moisture from creating rust.
- Hand wash only: Avoid putting your knives in the dishwasher as harsh detergents and high heat can damage the blade and handle. Instead, hand wash them gently using a mild dish soap.
- Use a cutting board: Always use a cutting board made of wood or plastic to protect the sharp edge of your knife. Avoid cutting on hard surfaces like granite countertops, as they can cause the blade to chip or become dull.
- Regular maintenance checks: Periodically inspect your knives for signs of wear and tear such as chips or dents in the blade. If you notice any issues, consider seeking professional assistance to repair them.
By following these simple storage and care guidelines, you can maintain the sharpness and effectiveness of your sharpened knives for years to come. Remember, properly cared for knives not only enhance safety but also provide superior precision in every cutting task.
Regular maintenance schedule for long-lasting sharpness
To ensure your knives maintain their sharpness and effectiveness, it’s important to establish a regular maintenance schedule. Here are some guidelines to follow:
- Daily cleaning: After each use, clean your knives with warm soapy water and dry them thoroughly. This helps remove any food residue that can dull the blade.
- Weekly honing: Use a honing steel or rod once a week to realign the edge of the blade. Hold the steel at a 20-degree angle and run the knife along the entire length of the steel.
- Monthly sharpening: Depending on frequency of use, it is recommended to sharpen your knives once a month using a sharpening stone or electric sharpener. Follow the instructions provided with your chosen sharpening tool for best results.
- Inspection: Regularly inspect your knives for any signs of wear and tear such as chips or dents in the blade. If you notice any issues, it may be necessary to seek professional assistance for repairs.
By following this regular maintenance schedule, you can prolong the sharpness and overall lifespan of your knives. Remember, properly cared for blades will provide superior performance and enhance your cooking experience.
Common mistakes to avoid while sharpening knives
While sharpening your knives, it’s crucial to avoid common mistakes that can damage the blade or even lead to injuries. Here are some key mistakes to avoid:
- Incorrect sharpening angle: One of the most common mistakes is not maintaining the correct sharpening angle. It’s important to understand the specific angle for your knife and consistently maintain it throughout the sharpening process.
- Excessive pressure: Applying too much pressure while sharpening can result in unnecessary wear on the blade and may cause it to become dull or even chip. Apply moderate and consistent pressure for optimal results.
- Inadequate cleaning: Failing to clean the knife before sharpening can lead to a buildup of debris on the blade, which can interfere with the sharpening process. Always make sure to clean and dry your knife thoroughly before you start sharpening.
- Neglecting regular maintenance: Sharpening your knives regularly is essential for maintaining their sharpness. Neglecting this routine maintenance can result in dull blades and ineffective cutting performance.
By avoiding these common mistakes and following proper techniques, you can ensure that your knives stay sharp, safe, and effective for a long time.
FAQ:
- What is a straight razor sharpening stone? A straight razor sharpening stone is a specialized tool used to hone and sharpen the blade of a straight razor. It typically consists of natural or synthetic abrasive materials mounted on a solid base.
- How often should I sharpen my straight razor? The frequency of sharpening depends on the frequency of use. As a general guideline, regular honing with a sharpening stone is recommended every 2-4 weeks for regular users.
- What grit should I start with when sharpening a straight razor? Beginners usually start with a lower grit (around 1000-3000) to address any nicks or dullness. As you progress, higher grit stones (4000-8000) are used for honing and refining the edge.
- Can I use any sharpening stone for my straight razor? While it’s possible to use general sharpening stones, it’s advisable to use those specifically designed for straight razors. Specialized stones offer the right grit range and surface for optimal results.
- How do I maintain my sharpening stone? Clean your stone regularly to remove metal particles and debris. Using a stone flattener helps maintain an even surface. Store it in a cool, dry place to prevent warping or damage.
- Do I need honing oil or water with my sharpening stone? It depends on the type of stone. Oil is typically used with synthetic stones, while water is used with natural stones. Check the manufacturer’s recommendations for your specific stone.
- How do I know when my straight razor is sharp enough? A sharp razor should easily cut through hair without pulling or tugging. Some enthusiasts perform a “shave test” on a small section of arm or leg hair to assess sharpness.
- Can I use a strop instead of a sharpening stone? A strop helps maintain the razor’s edge between sharpening sessions but is not a substitute for a sharpening stone. Regular honing on a stone is essential for maintaining the razor’s cutting ability.
- What’s the difference between honing and stropping? Honing involves removing metal to reshape and sharpen the blade. Stropping is a finishing process that aligns the razor’s edge and smoothens it. Both are crucial for maintaining a sharp razor.
- Can I learn to sharpen a straight razor on my own? Yes, but it requires patience and practice. Many online tutorials and guides are available. Start with basic techniques on lower grit stones, and gradually advance as you gain confidence in your sharpening skills.