
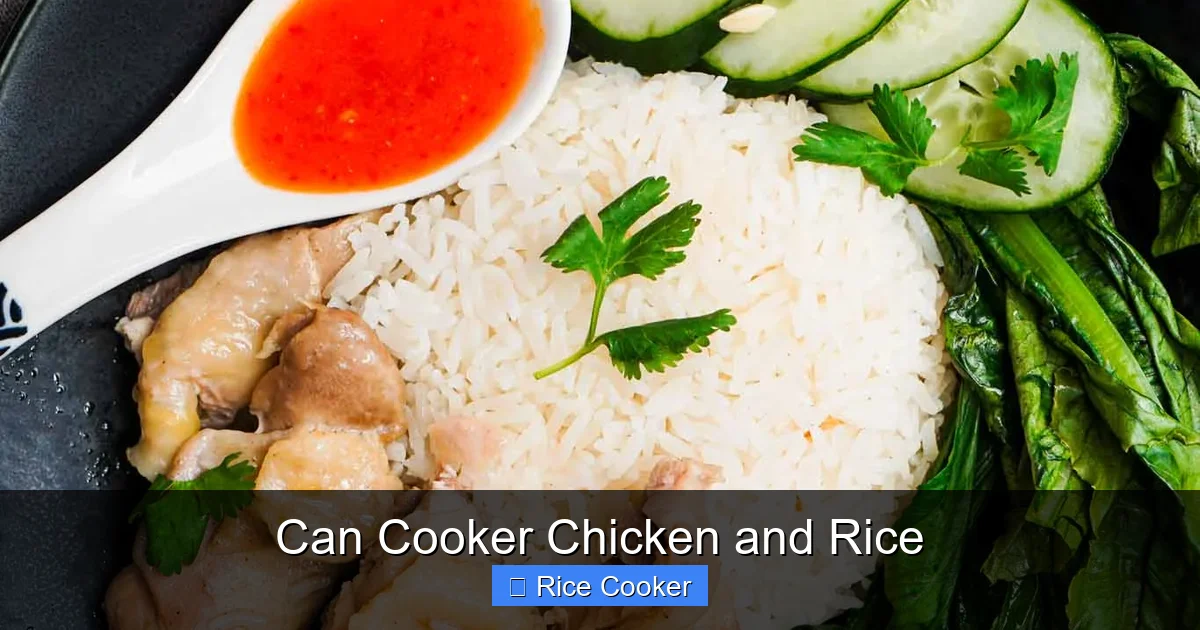
Cooking chicken and rice in a rice cooker is a simple, hands-off method that yields juicy chicken and perfectly cooked rice with minimal cleanup. This one-pot wonder is ideal for busy families, meal preppers, or anyone looking to streamline dinner prep without sacrificing flavor or nutrition. With just a few ingredients and your trusty can cooker, you’ll have a delicious, complete meal ready in under an hour.
Key Takeaways
- Effortless One-Pot Meal: Combine chicken, rice, and seasonings in your can cooker for a complete meal with minimal prep and no stirring required.
- Time-Saving & Convenient: Set it and forget it — your can cooker does all the work while you go about your day.
- Flavor-Boosted Cooking: The sealed environment locks in moisture and enhances natural flavors, resulting in tender chicken and aromatic rice.
- Customizable & Healthy: Easily adapt the recipe with vegetables, herbs, or spices to suit dietary preferences or boost nutrition.
- Perfect for Batch Cooking: Double the recipe for meal prep, freezing leftovers, or feeding a crowd without extra effort.
- Minimal Cleanup: Use a single pot and fewer dishes compared to traditional stovetop cooking methods.
📑 Table of Contents
- Why Can Cooker Chicken and Rice Is a Game-Changer
- The Magic Behind Can Cooker Cooking
- A Step-by-Step Guide to Perfect Can Cooker Chicken and Rice
- Pro Tips for Elevating Your Can Cooker Chicken and Rice
- Health Benefits and Nutritional Perks
- Common Mistakes to Avoid
- Variations to Spice Up Your Meals
- Cleaning and Maintenance Tips
- Conclusion: Why You’ll Love Can Cooker Chicken and Rice
Why Can Cooker Chicken and Rice Is a Game-Changer
There’s something deeply satisfying about coming home after a long day and opening your can cooker to the rich aroma of savory chicken and perfectly steamed rice. It’s not just comforting — it’s practical. The can cooker, often overlooked in favor of stovetop pots or oven roasting pans, has quietly become one of the most versatile kitchen tools for busy households. And when it comes to making chicken and rice, this little appliance delivers consistent, delicious results with zero stress.
Unlike traditional methods that require constant attention, browning meat on the stove, or worrying about overcooking grains, the can cooker takes care of everything. Just add your ingredients, press a button, and let science do the rest. The sealed lid traps steam, ensuring even heat distribution and preventing dryness. This means you get fall-apart-tender chicken and fluffy, non-sticky rice — every single time.
Whether you’re meal prepping for the week, cooking for a family of four, or simply craving a warm, hearty bowl of comfort food, can cooker chicken and rice checks every box. It’s healthy, affordable, and surprisingly customizable. Plus, it reduces the number of dirty dishes by at least half. In short, if you own a can cooker and haven’t tried this combo yet, you’re missing out on one of the easiest, most reliable dinners around.
The Magic Behind Can Cooker Cooking
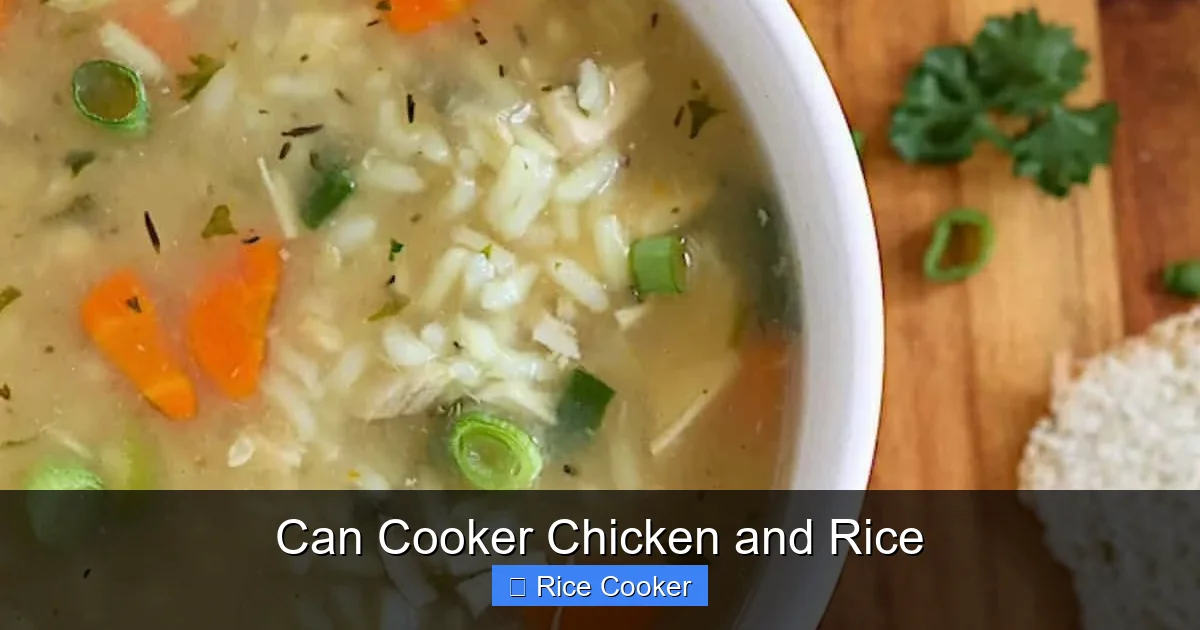
Visual guide about Can Cooker Chicken and Rice
Image source: tastyoven.com
So what makes the can cooker such a star in the kitchen? It all comes down to its unique cooking mechanism. Unlike a standard pot, which relies on direct heat and evaporation, the can cooker uses a sealed environment to create a moist, pressurized-like atmosphere. As water heats up inside, it turns into steam, which circulates around the ingredients, cooking them evenly and locking in flavor.
This process is especially effective for proteins like chicken, which can easily turn dry or rubbery on the stovetop. In the can cooker, the constant, gentle steam keeps the meat juicy and tender. At the same time, the rice absorbs all that steam and moisture, resulting in grains that are neither mushy nor undercooked.
Another benefit? Temperature control. Most can cookers automatically adjust between sauté, keep-warm, and cook modes, so you don’t have to babysit the pot. Once the cycle finishes, the unit switches to “keep-warm” to preserve texture and taste until you’re ready to serve. That means no more cold food or overcooked rice — just consistently great results, every time.
How the Can Cooker Differs from Other Cooking Methods
| Method | Time | Effort | Flavor Development | Cleanup |
|——–|——|——–|———————|———|
| Stovetop (boil) | 45–60 min | High | Moderate | Medium |
| Oven Roasting | 50–70 min | Medium | High | High |
| Slow Cooker | 6–8 hours | Low | Excellent | Low |
| Can Cooker | 30–40 min | Very Low | Excellent | Low |
As you can see, the can cooker strikes the perfect balance between speed, ease, and flavor. While the slow cooker excels in deep flavor development, it takes hours. The stovetop demands your full attention and risks scorching. The can cooker delivers a complete meal in under an hour with minimal effort — and it still tastes amazing.
A Step-by-Step Guide to Perfect Can Cooker Chicken and Rice
Making chicken and rice in a can cooker is easier than you think. Follow these simple steps, and you’ll have a foolproof method that even beginners can master.
Ingredients You’ll Need
- 1½ cups uncooked white rice (or brown rice for a heartier option)
- 1 lb boneless, skinless chicken thighs or breasts (cut into bite-sized pieces)
- 2 cups water (or chicken broth for extra flavor)
- 1 tablespoon olive oil or butter
- 1 teaspoon garlic powder
- 1 teaspoon onion powder
- 1 teaspoon paprika
- Salt and black pepper to taste
- Optional: 1 cup frozen peas, corn, or diced carrots for added veggies
Equipment Checklist
- Can cooker (with inner pot)
- Measuring cups and spoons
- Cutting board and knife
- Tongs or spatula
Step 1: Prep Your Ingredients
Start by washing and draining the rice — this removes excess starch and prevents stickiness. Cut the chicken into uniform pieces so they cook evenly. Season both the chicken and rice base with garlic powder, onion powder, paprika, salt, and pepper.
Step 2: Sauté the Chicken (Optional but Recommended)
Turn your can cooker to “Sauté” mode. Add the oil or butter, then toss in the chicken pieces. Cook for 3–4 minutes until lightly browned on all sides. Browning adds depth of flavor, though you can skip this step for faster prep.
Step 3: Add Rice and Liquid
Stir in the washed rice, then pour in the water or broth. Mix well to combine. If using vegetables, add them now.
Step 4: Start the Cooking Cycle
Close the lid securely, lock it into place, and set the timer for 20–25 minutes for white rice. For brown rice, extend the time to 40–45 minutes. The cooker will automatically switch to “Keep Warm” when done.
Step 5: Let It Rest
Once the cycle ends, let the pot sit for 5–10 minutes before opening. This allows residual steam to finish cooking the rice and tenderizing the chicken.
Step 6: Fluff and Serve
Use a fork to fluff the rice, then stir everything together. Taste and adjust seasoning if needed. Serve hot, garnished with fresh parsley or a squeeze of lime for brightness.
Pro Tips for Elevating Your Can Cooker Chicken and Rice
While the basic recipe is foolproof, a few smart tweaks can take it from good to gourmet. Here are some pro tips to help you customize and improve every batch.
Upgrade the Flavor Base
Instead of plain water, use chicken broth, vegetable broth, or even coconut milk for a creamy twist. Add a bay leaf, a splash of soy sauce, or a pinch of cumin for extra savoriness. A few slices of lemon or orange peel infuse subtle citrus notes that brighten the dish.
Layer the Flavors
For deeper flavor, layer ingredients at the bottom: place sliced onions or garlic at the base before adding rice and chicken. As everything cooks, the rice absorbs the aromatic oils, creating a more complex taste profile.
Add Veggies Without Overcooking
Frozen or pre-chopped vegetables like peas, carrots, or broccoli work great. Add them during the last 5 minutes of cooking, or place them on top of the rice so they steam gently. Avoid adding too many wet vegetables (like tomatoes or zucchini), as they can release too much liquid and dilute the rice.
Try Different Proteins
Swap chicken for shredded rotisserie chicken, turkey, or even shrimp. For plant-based versions, use tofu cubes or chickpeas seasoned with smoked paprika and turmeric.
Make It Creamy
After cooking, stir in a dollop of sour cream, Greek yogurt, or coconut milk for a richer, creamier texture. This works especially well with brown rice or whole grain varieties.
Double Down for Meal Prep
Double or triple the recipe and store portions in airtight containers. The leftovers reheat beautifully in the microwave or on the stovetop. These meals freeze well for up to 3 months — perfect for busy weeks.
Health Benefits and Nutritional Perks
Beyond convenience, can cooker chicken and rice is a nutritious, balanced meal. When prepared mindfully, it can be part of a healthy diet.
Balanced Macros
A typical serving includes lean protein (from chicken), complex carbohydrates (from rice), and optional fiber-rich vegetables. This balance supports sustained energy and helps keep you full longer.
Retained Nutrients
Because cooking happens in a sealed environment with minimal water loss, vitamins and minerals stay locked in. Unlike boiling, where nutrients leach into the water, the can cooker preserves much of the nutritional value.
Low in Added Fats
Since there’s no need to fry or sauté heavily, the dish remains low in saturated fat. You can even skip the oil entirely by using broth instead of water and letting the chicken render its own fat.
Customizable for Dietary Needs
- Gluten-Free: Use certified gluten-free rice and check broth labels.
- Low-Carb: Swap rice for cauliflower rice or zucchini noodles.
- High-Protein: Increase chicken portion and add beans or quinoa.
Portion Control Made Easy
Using measuring cups ensures consistent portions, which is helpful for weight management or following a structured meal plan.
Common Mistakes to Avoid
Even with the best tools, mistakes happen. Here’s how to sidestep the most common pitfalls when making chicken and rice in your can cooker.
Mistake 1: Not Washing the Rice
Skipping this step leads to gummy, sticky rice. Always rinse until the water runs clear to remove excess starch.
Mistake 2: Using Too Much Liquid
Too much water = mushy rice. Stick to the standard ratio: 1½ cups rice to 2 cups liquid. Adjust only if your can cooker tends to run dry.
Mistake 3: Cutting Chicken Unevenly
Smaller pieces cook faster. Large chunks may remain tough or dry. Aim for uniform 1-inch pieces.
Mistake 4: Opening the Lid Too Soon
Steam escapes when you lift the lid, disrupting the cooking process. Wait until the timer ends and let the pot rest.
Mistake 5: Skipping the Sauté Step
While not required, skipping browning means less flavor. A quick sear adds richness and color.
Mistake 6: Not Stirring After Cooking
Always fluff the rice and stir to redistribute steam and mix flavors. This ensures every bite is perfect.
Variations to Spice Up Your Meals
The beauty of can cooker chicken and rice is its versatility. Swap ingredients to keep things exciting.
Asian-Inspired Version
Use jasmine rice, chicken broth, soy sauce, ginger, and a dash of sesame oil. Add chopped scallions and a fried egg on top for a restaurant-style finish.
Mexican Fusion
Cook brown rice with black beans, diced tomatoes, cumin, and chili powder. Top with avocado, shredded cheese, and sour cream.
Italian Herb Medley
Add dried oregano, thyme, and garlic to the rice base. Serve with grilled chicken or use Italian-seasoned ground turkey.
Spicy Southwest Style
Mix in corn, bell peppers, and jalapeños. Season with cayenne and smoked paprika. Serve with a drizzle of lime crema.
One-Pot Curry
Use coconut milk, curry powder, and diced potatoes. Simmer until tender. Garnish with cilantro and a sprinkle of red pepper flakes.
Each variation maintains the core simplicity of the original recipe while introducing bold new flavors.
Cleaning and Maintenance Tips
Because the can cooker minimizes mess, cleaning is a breeze. Most parts are dishwasher-safe, but handwashing preserves longevity.
After Each Use
Let the inner pot cool completely before washing. Remove any stuck-on bits with a soft sponge or non-abrasive brush. Avoid steel wool or harsh scrubbers.
Deep Cleaning
Monthly, run a vinegar-water solution (1:1 ratio) through a full cooking cycle to remove mineral buildup and odors.
Storage
Store the inner pot separately if possible to prevent scratching. Keep the outer lid and handle dry to avoid mold.
Preventing Odors
To eliminate lingering smells, boil a mixture of water, lemon slices, and baking soda in the pot once a month.
With proper care, your can cooker will last for years and continue delivering delicious meals.
Conclusion: Why You’ll Love Can Cooker Chicken and Rice
In a world where time is tight and expectations are high, can cooker chicken and rice offers the perfect solution. It’s quick, consistent, and endlessly adaptable. Whether you’re cooking for one or feeding a family, this one-pot meal delivers flavor, nutrition, and peace of mind.
No more juggling multiple pots, watching the clock, or scrubbing burnt residue off the stove. Just add ingredients, press start, and enjoy the aroma of a homemade dinner wafting through your kitchen. And when it’s time to eat, you’ll find tender chicken and fluffy rice — exactly as it should be.
From busy parents to college students, meal preppers to culinary novices, this recipe has something for everyone. So go ahead — give it a try. Your future self will thank you for the saved time, the clean kitchen, and the delicious, satisfying meals.
Frequently Asked Questions
How long does it take to cook chicken and rice in a can cooker?
It typically takes 20–25 minutes for white rice and 40–45 minutes for brown rice, depending on your model. The cooker automatically switches to “keep-warm” when done.
Can I cook frozen chicken in the can cooker?
Yes, but increase cooking time by 10–15 minutes and ensure the chicken reaches an internal temperature of 165°F (74°C) for safety.
Do I need to brown the chicken first?
Not required, but sautéing the chicken before adding rice enhances flavor and texture. Use the “Sauté” function for best results.
Can I use different types of rice?
Absolutely. White rice cooks fastest, while brown, wild, or jasmine rice may need slightly longer times. Adjust liquid as needed.
How do I prevent the rice from sticking?
Rinse the rice before cooking and avoid stirring too much during cooking. Letting the pot rest after cooking also helps separate the grains.
Can I make this recipe in advance?
Yes! Store leftovers in the fridge for up to 4 days or freeze for up to 3 months. Reheat gently on the stovetop or in the microwave.