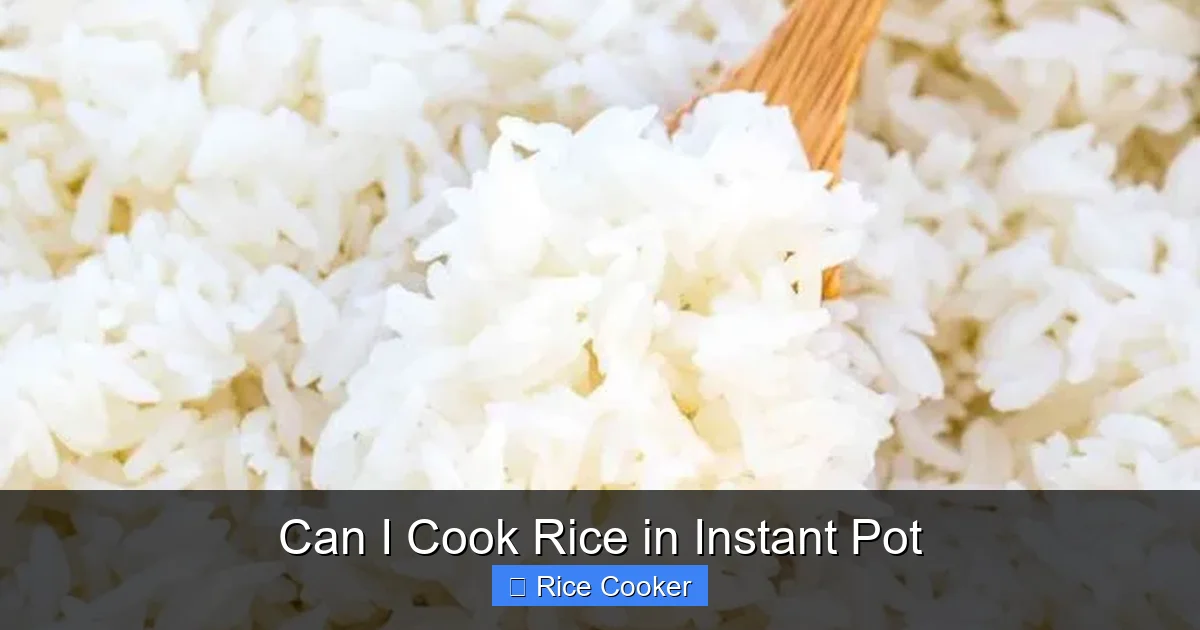
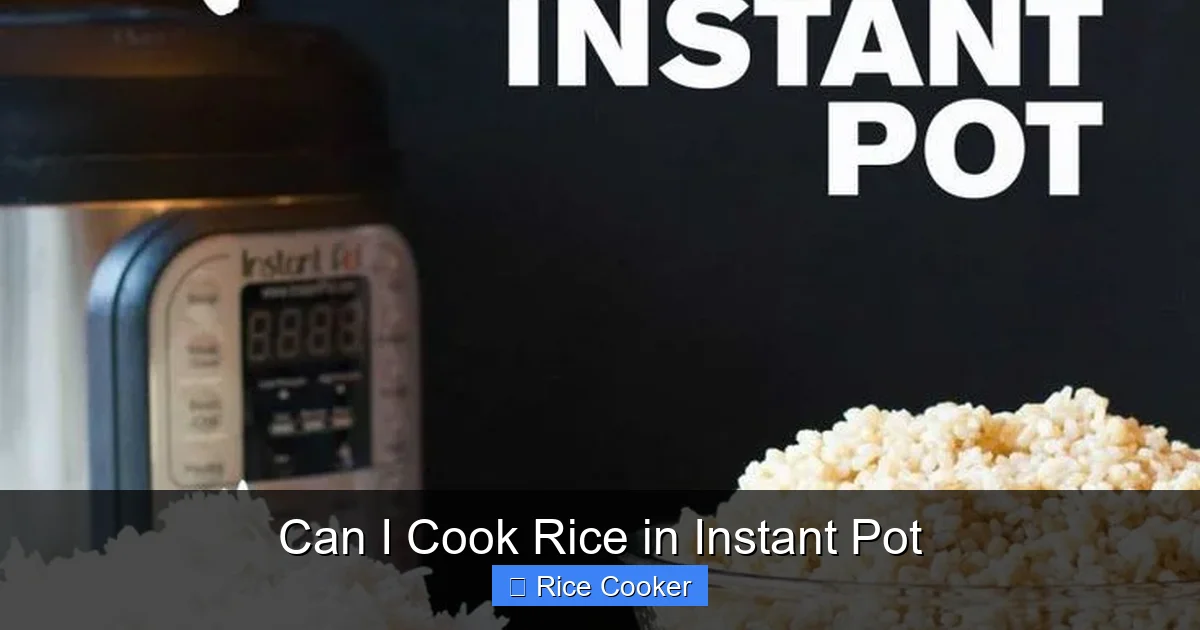
Can I cook rice in an Instant Pot? Absolutely! The Instant Pot is one of the most efficient and reliable ways to cook rice, delivering consistently fluffy results with minimal effort. Whether you’re using white rice, brown rice, jasmine, basmati, or even wild rice, this electric pressure cooker handles it all with ease.
Unlike traditional stovetop methods that require constant attention, the Instant Pot automates the process—locking in moisture and heat for perfectly cooked grains every time. With just a few simple steps, you’ll have tender, evenly cooked rice ready to serve as a side dish, base for bowls, or ingredient in soups and casseroles.
What makes the Instant Pot so special for rice? It combines the speed of pressure cooking with precise temperature control, ensuring each grain is cooked through without turning to mush. Plus, cleanup is a breeze thanks to the removable inner pot. In this guide, we’ll walk you through everything you need to know—from choosing the right type of rice to troubleshooting common issues.
Key Takeaways
- Instant Pot excels at cooking rice: Its pressure-cooking technology ensures even, consistent results whether you’re making white or brown rice.
- Minimal active cooking time: You only need to add water and press a button—no stirring or babysitting required.
- Versatile rice types supported: Works great with white rice, brown rice, jasmine, basmati, black rice, and more.
- Customizable settings: Adjust cook time and pressure levels based on your rice variety and desired texture.
- Easy cleanup: The non-stick inner pot is dishwasher-safe and requires no scrubbing.
- Saves time and energy: Cooks faster than stovetop methods while using less electricity.
- Perfect for meal prep: Cook large batches in advance for easy grab-and-go meals throughout the week.
[FEATURED_IMAGE_PLACEHOLDER]
Key Takeaways
- Understanding can i cook rice in instant pot: Provides essential knowledge
Quick Answers to Common Questions
Can I cook rice in an Instant Pot without a rice setting?
Absolutely! While the “Rice” button simplifies things, you can also use the Manual/Pressure Cook function. Just set the timer and water ratio according to your rice type—white rice typically needs 4–5 minutes, brown rice 18–20 minutes.
Do I need to rinse rice before cooking it in an Instant Pot?
Yes, rinsing removes excess starch and prevents clumping. Place rice in a strainer and rinse under cold water until clear, especially for long-grain varieties like jasmine or basmati.
How much water do I use for 1 cup of rice in an Instant Pot?
For white rice, use 1 cup water per 1 cup rice. For brown rice, increase to 1¼ cups. Wild or black rice may need up to 1½ cups of water.
Can I cook frozen rice in an Instant Pot?
It’s not recommended. Frozen rice often contains added oils or coatings that can affect texture and safety. Always use fresh, dry rice for best results.
Why is my rice still crunchy after cooking?
This usually means insufficient pressure or water. Check that the sealing ring is intact and the lid seals properly. Also verify you used enough water—try increasing by ¼ cup next time.
📑 Table of Contents
- Why Choose the Instant Pot for Cooking Rice?
- Types of Rice You Can Cook in an Instant Pot
- Step-by-Step Guide: How to Cook Rice in an Instant Pot
- Tips for Perfect Rice Every Time
- Troubleshooting Common Rice Problems
- Cooking Rice in the Instant Pot vs. Other Methods
- Meal Prep Made Easy: Cooking Large Batches
- Beyond Plain Rice: Creative Uses for Instant Pot Rice
- Cleaning & Maintenance Tips
Why Choose the Instant Pot for Cooking Rice?
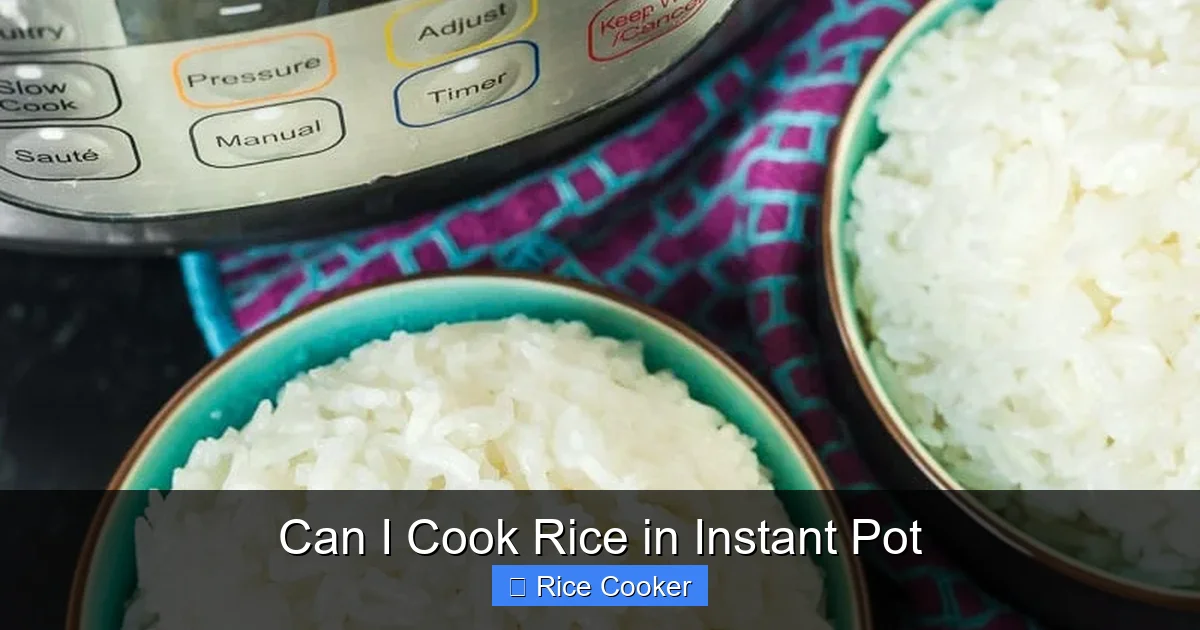
If you’ve ever struggled with overcooked, gummy rice or undercooked grains stuck to the bottom of the pot, you’re not alone. Traditional rice cookers are great—but they often lack precision and versatility. That’s where the Instant Pot shines. As a multi-functional appliance combining pressure cooking, slow cooking, steaming, sautéing, and yogurt-making capabilities, it has become a kitchen staple for home cooks worldwide.
Cooking rice in an Instant Pot isn’t just convenient—it’s scientifically optimized. The sealed environment traps steam, which builds pressure and raises the boiling point of water. This allows rice to cook faster and more uniformly than on the stove. Unlike boiling rice, which can leach out nutrients and cause uneven texture, pressure cooking locks in flavor and keeps each grain intact.
Another major advantage? The Instant Pot eliminates guesswork. No more measuring spoons or counting minutes. Just add rice and water (in the perfect ratio), select the “Rice” setting, and let the machine do the rest. Even better, many modern Instant Pots come with pre-programmed rice settings tailored specifically for different types—white, brown, sushi, etc.—so you get consistent results every single time.
How Does Pressure Cooking Affect Rice Texture?
When you cook rice under pressure, the high heat and moisture create ideal conditions for gelatinization—the process where starch molecules absorb water and swell, creating that soft, fluffy texture we all love. But because the Instant Pot maintains steady pressure instead of fluctuating temperatures like a stovetop, the result is far more predictable.
For example, white rice typically takes about 4–6 minutes under pressure, while brown rice needs longer due to its higher fiber content—usually around 18–20 minutes. The appliance automatically adjusts timing and release method (quick or natural) to prevent overcooking. This precision means fewer failed attempts and more restaurant-quality sides at home.
Plus, since the cooking happens in a closed system, there’s almost no evaporation loss. That means your rice stays moist and tender—even if you forget to check it for 5 extra minutes. Of course, overdoing it can still happen (we’ll cover troubleshooting later!), but overall, the Instant Pot dramatically reduces the risk of disaster compared to traditional methods.
Types of Rice You Can Cook in an Instant Pot
Visual guide about Can I Cook Rice in Instant Pot
Image source: i.pinimg.com
Not all rice is created equal—and the Instant Pot can handle them all. Here’s a breakdown of popular varieties and how they perform:
White Rice
This is probably the most common type people cook daily—long-grain, medium-grain, and short-grain white rice all work wonderfully in the Instant Pot. Long-grain varieties like Jasmine or Basmati produce light, separate grains ideal for pilafs or Asian dishes. Medium-grain rice (like Calrose) sticks together slightly more, perfect for risotto-style recipes.
White rice generally cooks fastest—between 4 and 7 minutes under pressure—and requires a water-to-rice ratio of roughly 1:1. For example:
- 1 cup white rice + 1 cup water = 4–5 minute cook time
- 1 cup jasmine rice + 1 cup water = 4 minutes
- 1 cup basmati rice + 1 cup water = 5 minutes
Brown Rice
Brown rice takes longer to cook because the bran layer slows down water absorption. But don’t worry—your Instant Pot has you covered. Most models recommend 18–20 minutes of pressure cooking for brown rice, with a water ratio of about 1.25:1 (e.g., 1 cup rice to 1.25 cups water).
Because brown rice retains more nutrients and has a nuttier flavor, it’s great for grain bowls, salads, and health-conscious meals. Just remember: it won’t be as fluffy as white rice unless you adjust your technique slightly (more on that below).
Wild Rice & Black Rice
These specialty rices require even more patience. Wild rice needs up to 30–35 minutes of pressure cooking due to its tough outer shell. Black rice (also called forbidden rice) falls somewhere between brown and wild—about 20–25 minutes should do it.
Both benefit from soaking beforehand (10–15 minutes in warm water) to reduce cook time and improve texture. Soaking also helps prevent the grains from becoming too mushy.
Sushi Rice & Sticky Rice
Yes! You can make sushi-grade rice in your Instant Pot. Short-grain Japanese rice works best here. Use a 1:1 water ratio and cook for 4 minutes. After cooking, let it sit for 10 minutes before fluffing gently with a rice paddle—never mix vigorously, or you’ll break the delicate grains.
Sticky rice (glutinous rice) also thrives in the Instant Pot. Because it doesn’t contain amylose (the starch that makes regular rice fluffy), it becomes chewy and cohesive—ideal for dumplings or desserts like mango sticky rice.
Step-by-Step Guide: How to Cook Rice in an Instant Pot
Visual guide about Can I Cook Rice in Instant Pot
Image source: favfamilyrecipes.com
Ready to give it a try? Follow these simple steps for foolproof rice every time:
Step 1: Measure Your Ingredients Accurately
Use a measuring cup designed for dry ingredients—not liquid cups. Level off the rice with a straight edge (like a knife) to ensure accurate volume. Too much rice? Your pot might overflow. Too little? You’ll waste energy and time.
Step 2: Rinse the Rice (Optional but Recommended)
Rinsing removes excess starch, which prevents clumping and gives cleaner-tasting rice. Simply place rice in a fine-mesh strainer and rinse under cold water until the water runs clear. This step is especially important for long-grain varieties like jasmine or basmati.
Step 3: Add Water in the Correct Ratio
Here’s the golden rule:
- White rice: 1 cup rice : 1 cup water
- Brown rice: 1 cup rice : 1¼ cups water
- Wild/black rice: 1 cup rice : 1½ cups water
Pro tip: If you’re unsure, start with 1.25x the amount of water. You can always drain excess liquid after cooking—but you can’t un-cook rice!
Step 4: Close the Lid and Set the Valve
Ensure the sealing ring is properly seated, then close the lid. Turn the pressure release valve to “Sealing.” Do NOT open it during cooking.
Step 5: Select the Right Setting
Most Instant Pots have a dedicated “Rice” button. Press it once, and the default setting will appear (usually white rice, 4 minutes). If you’re making brown rice, press “Manual/Pressure Cook” and set the timer manually.
Some newer models even let you choose between quick release or natural release—though for rice, quick release usually works best to stop the cooking process immediately.
Step 6: Let It Rest Before Fluffing
Once cooking ends, wait 5–10 minutes before releasing pressure. Then carefully turn the valve to “Venting” for a quick release. Open the lid away from your face—steam is hot!
Use a fork or rice paddle to fluff gently. Avoid mixing too hard, or you’ll mash the grains.
Tips for Perfect Rice Every Time
Even with an automatic appliance like the Instant Pot, small tweaks can make a big difference:
Soak Your Rice (Especially Brown Varieties)
Soaking softens the outer layers, reducing cook time and improving texture. Just cover rice with warm water and let sit for 10–15 minutes before draining and proceeding as usual.
Don’t Overfill the Inner Pot
Never fill past the max line (usually marked at 2/3 full). Overfilling can cause overflow during pressure buildup, leading to burnt residue and cleaning nightmares.
Use Fresh Sealing Rings
Old or damaged silicone rings lose elasticity and can leak steam, causing incomplete cooking. Replace them every 12–18 months.
Season After Cooking
While you shouldn’t salt during cooking (salt draws out moisture), adding a pinch of salt or a pat of butter after fluffing enhances flavor without affecting texture.
Experiment with Broth Instead of Water
For extra depth, replace half or all of the water with chicken, vegetable, or shrimp broth. This adds subtle umami notes—perfect for risottos or grain bowls.
Avoid Opening the Lid Mid-Cook
Opening the lid releases pressure and interrupts the cooking cycle, leading to uneven results. Be patient!
Troubleshooting Common Rice Problems
Despite its reliability, things can go wrong. Here’s how to fix the most frequent issues:
Rice Is Too Dry or Mushy
This usually means too little water or too long a cook time. Try increasing water by ¼ cup next time, or reduce pressure cook time by 1–2 minutes. Also, avoid lifting the lid prematurely.
Rice Sticks to the Bottom
Caused by insufficient water or scorching. Always use the correct water ratio, and never skip rinsing. If your pot has burned-on bits, clean it immediately with baking soda paste—not abrasive scrubbers.
Rice Is Undercooked (Gummy Core)
This happens when pressure isn’t reached properly or the seal fails. Make sure the sealing ring is clean and undamaged. Also, don’t overcrowd the pot—give rice room to expand.
Steam Leakage During Cooking
Check that the lid gasket is clean and free of debris. Wipe the rim of the pot thoroughly before closing. A worn-out sealing ring will need replacement.
Grains Are Breaking Apart
Overmixing after cooking causes this. Use gentle motions only. Also, some rice types (like sushi or sticky rice) naturally stick together—that’s normal!
Cooking Rice in the Instant Pot vs. Other Methods
Let’s compare how the Instant Pot stacks up against stovetop, traditional rice cooker, and microwave approaches:
| Method | Time | Effort Level | Consistency | Best For |
|——————–|————|————–|————-|——————————|
| Instant Pot | 15–30 mins | Low | High | All types, batch cooking |
| Stovetop | 20–40 mins | High | Medium | Small batches, control lovers|
| Electric Rice Cooker| 20–35 mins | Very Low | High | White rice specialists |
| Microwave | 10–15 mins | Low | Low-Medium | Quick fixes, limited varieties|
The Instant Pot wins on versatility, speed, and consistency—especially for adventurous eaters who want to try brown, wild, or exotic rices without extra gadgets.
That said, traditional rice cookers still dominate when it comes to ultra-fluffy white rice. If you only eat plain white rice and prioritize simplicity, a dedicated rice cooker might suffice. But for households that cook diverse grains regularly, the Instant Pot offers unmatched flexibility.
Meal Prep Made Easy: Cooking Large Batches
One of the greatest perks of using an Instant Pot for rice is its scalability. Want 5 cups of brown rice for a weekly meal plan? No problem.
Simply multiply your recipe by the desired number of servings. Keep in mind:
- Use a larger inner pot (if you have one) to avoid overflow.
- Store cooked rice in airtight containers in the fridge for up to 5 days or freeze for 3 months.
- Reheat gently in the microwave with a splash of water to restore moisture.
Batch cooking saves time, reduces waste, and ensures healthy meals are always within reach—whether you’re meal prepping for work, school lunches, or family dinners.
Beyond Plain Rice: Creative Uses for Instant Pot Rice
Plain steamed rice is delicious—but why stop there? Your Instant Pot opens doors to countless culinary possibilities:
Fried Rice
Cook rice ahead, cool completely, then stir-fry with veggies, eggs, soy sauce, and protein. The Instant Pot’s sauté function makes this a breeze.
Risotto
Yes, you can make creamy risotto in the Instant Pot! Use Arborio rice, add liquid gradually, and finish under pressure for 3–4 minutes. Stir in cheese at the end for richness.
Jambalaya & Paella
Combine rice with sausage, shrimp, tomatoes, and spices in one pot. The Instant Pot cuts cook time from hours to under 30 minutes.
Dessert Rice Pudding
Turn rice into custard-like pudding by simmering with milk, sugar, cinnamon, and vanilla. Cook on low pressure for 10–12 minutes for a comforting treat.
Soup & Stew Bases
Use leftover cooked rice as a thickener or filler in soups like Vietnamese pho or Indian dal. It adds heartiness without extra flour.
Cleaning & Maintenance Tips
Keeping your Instant Pot in top shape ensures reliable rice results year after year:
- Wash the inner pot immediately after use—don’t let food dry and harden.
- Remove and clean the sealing ring monthly with mild soap and warm water.
- Descale the heating element if mineral buildup occurs (follow manufacturer guidelines).
- Store the unit unplugged with the lid slightly ajar to prevent odors.
Avoid submerging the main body in water—only the inner pot and accessories are dishwasher-safe.
Frequently Asked Questions
Is it better to cook rice in an Instant Pot or a regular pot?
For most people, the Instant Pot offers superior consistency and convenience. It eliminates guesswork and reduces burn risks, though stovetop methods allow more hands-on control for experienced cooks.
Can I cook different types of rice at the same time?
No—rice types require different cook times and water ratios. It’s best to cook them separately to avoid under- or overcooking. Batch cooking is easier when done individually.
How long does cooked rice last in the fridge?
Cooked rice can be stored in the refrigerator for up to 5 days in an airtight container. For longer storage, freeze portions in freezer-safe bags for up to 3 months.
Can I make sushi rice in an Instant Pot?
Yes! Use short-grain Japanese rice with a 1:1 water ratio and cook for 4 minutes. Let it rest 10 minutes before fluffing gently—never mix aggressively to preserve texture.
What if my Instant Pot doesn’t reach pressure?
Check that the sealing ring is clean and undamaged, and that the lid is fully closed. Also ensure you’re not overfilling the pot beyond the max line. A faulty valve may require professional repair.
Can I cook rice in an Instant Pot for camping or travel?
Only if you have access to electricity. The Instant Pot requires power to generate pressure, so it’s not suitable for portable camping setups. Consider pre-cooking and reheating instead.