You absolutely can pressure cook rice, and it’s one of the fastest ways to make a perfectly cooked, fluffy grain. Using a pressure cooker (like an Instant Pot) saves time while locking in flavor and nutrients. With the right water-to-rice ratio and technique, you’ll get restaurant-quality rice in under 10 minutes—no guesswork needed.
Key Takeaways
- Pressure cooking rice is quick and efficient: Most types of rice cook in just 3–6 minutes under high pressure, saving significant time compared to traditional methods.
- It produces consistently fluffy results: The sealed environment of a pressure cooker ensures even heat distribution and prevents overcooking or sticking.
- Versatile for all rice varieties: Whether it’s white, brown, jasmine, basmati, or wild rice, pressure cooking works well across many common types.
- Minimal active effort required: Once you set it up, there’s no need to stir or watch constantly—just add ingredients, cook, and let the machine do the work.
- Enhances flavor absorption: Sealed steam helps rice absorb seasonings and aromatics more effectively than open-pot cooking.
- Energy-efficient: Pressure cookers use less energy than ovens or stovetops because they cook faster and retain heat better.
- Safety and convenience: Modern electric pressure cookers have safety locks and timers, making them beginner-friendly and reliable.
[FEATURED_IMAGE_PLACEHOLDER]
Key Takeaways
- Understanding can you pressure cook rice: Provides essential knowledge
Quick Answers to Common Questions
Can you pressure cook any type of rice?
Yes! Most rice types—including white, brown, jasmine, basmati, and wild blends—can be pressure cooked. However, brown rice needs soaking, and some specialty rices may require slight time adjustments.
Do I need to rinse rice before pressure cooking?
For long-grain white rice, yes—rinse until water runs clear to remove excess starch and prevent clumping. Short-grain or brown rice doesn’t need rinsing but benefits from soaking.
How much water do I use per cup of rice?
Typically, use 1.25 to 1.5 cups of water per 1 cup of uncooked rice. Adjust based on rice variety—check our timing chart for specifics.
What’s the difference between natural and quick release?
Natural release lets pressure drop slowly (great for fluffy grains), while quick release vents steam instantly (better for tender textures). Use natural for most rices unless specified otherwise.
Can I cook rice in a stovetop pressure cooker?
Absolutely—just monitor the process closely and ensure proper sealing. Electric models are easier for beginners due to automatic controls.
📑 Table of Contents
- Can You Pressure Cook Rice? Absolutely—And Here’s Why You Should
- The Science Behind Perfect Pressure-Cooked Rice
- Choosing the Right Rice for Pressure Cooking
- Essential Equipment: What You Need to Pressure Cook Rice
- Step-by-Step Guide: How to Pressure Cook Rice Like a Pro
- Water Ratios & Timing Chart for Different Rice Types
- Flavor Hacks: Elevate Your Pressure-Cooked Rice
- Troubleshooting Common Pressure Cooking Rice Mistakes
- Safety Tips for First-Time Users
- Beyond Basic White Rice: Creative Recipes to Try
- Conclusion: Why Every Home Cook Needs to Master Pressure-Cooked Rice
Can You Pressure Cook Rice? Absolutely—And Here’s Why You Should
If you’ve ever stared at a pot of rice boiling over on the stove or waited endlessly for water to evaporate during stovetop simmering, you know how frustrating traditional rice cooking can be. But what if I told you there’s a smarter, faster, and far more consistent way to cook rice—one that yields fluffy, tender grains every single time? Enter: pressure cooking rice.
Pressure cookers, especially modern electric models like the Instant Pot, have revolutionized home cooking by combining speed, precision, and convenience. And yes—you can absolutely pressure cook rice. In fact, it might just become your new favorite method. Not only does it cut cooking time dramatically (we’re talking under 10 minutes for most rices), but it also eliminates the guesswork involved in measuring water ratios and monitoring doneness.
In this comprehensive guide, we’ll walk through everything you need to know about pressure cooking rice—from choosing the right type of rice and equipment to mastering ratios, timing, and flavor enhancements. Whether you’re a busy parent looking for dinner shortcuts or a meal prep enthusiast wanting perfect grains every time, this method is a game-changer.
The Science Behind Perfect Pressure-Cooked Rice
Before diving into recipes and tips, it’s helpful to understand *why* pressure cooking works so well for rice. Unlike boiling or steaming, which rely on direct contact with hot liquid, pressure cooking uses trapped steam under high pressure to rapidly transfer heat to the grains.
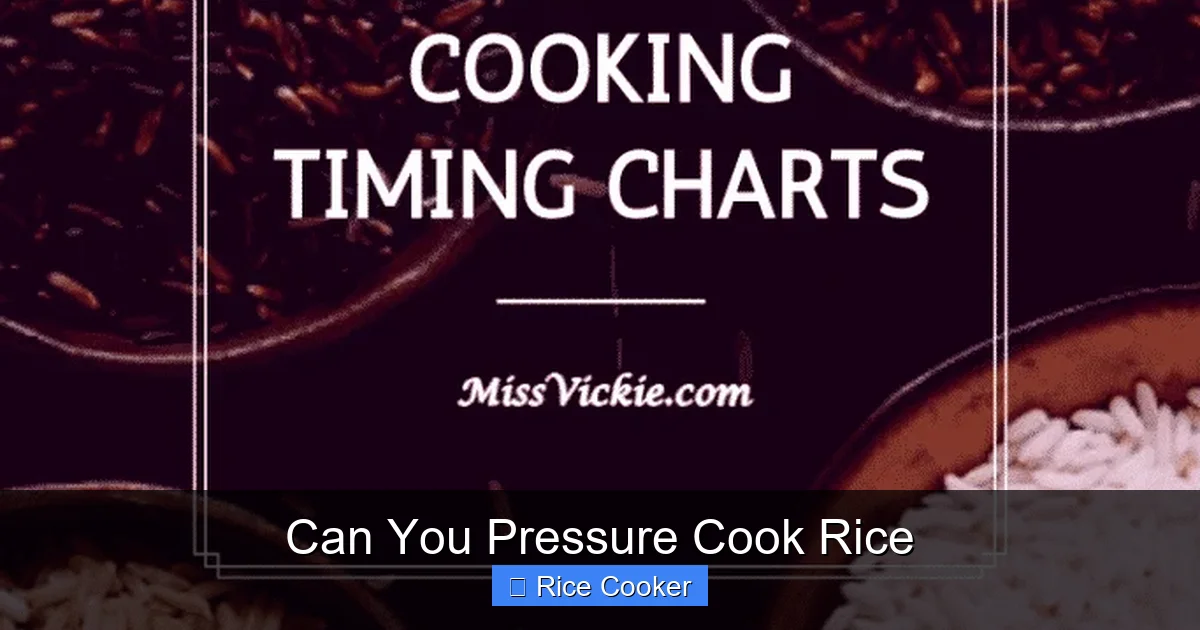
Visual guide about Can You Pressure Cook Rice
Image source: missvickie.com
How Pressure Cooking Changes the Game
When water heats up inside a sealed pressure cooker, it turns into steam, increasing internal pressure. This forces moisture deep into each grain of rice, cooking it evenly from the inside out. Because the process happens quickly and uniformly, there’s no risk of burning or uneven texture—common pitfalls when using conventional methods.
Additionally, the sealed environment locks in flavors and aromas, allowing spices, herbs, or broth to infuse the rice as it cooks. Think of it like a tiny, self-contained oven that delivers consistent results without constant attention.
Why It Beats Traditional Methods
Let’s compare:
- Boiling: Requires constant stirring, precise water levels, and careful timing—easy to scorch or undercook.
- Stovetop simmering: Slow, takes 20–40 minutes, often results in mushy or dry rice depending on evaporation rates.
- Pressure cooking: Done in 5–7 minutes, minimal supervision, uniform texture, and hands-off efficiency.
This makes pressure cooking ideal not just for convenience but for consistency—especially if you’re feeding multiple people or prepping meals ahead.
Choosing the Right Rice for Pressure Cooking
Not all rice is created equal when it comes to pressure cooking. Some varieties respond better to the high-heat, rapid-cooking environment than others. Here’s a breakdown of popular types and their performance:
Visual guide about Can You Pressure Cook Rice
Image source: cookingtipsblog.com
White Rice (Long-Grain & Short-Grain)
Best for pressure cooking—especially long-grain varieties like basmati or jasmine. These release starches quickly under pressure, resulting in light, separate grains. Short-grain rice also works well but may turn slightly stickier due to higher amylopectin content.
Tip: Rinse long-grain white rice before cooking to remove excess starch and prevent clumping.
Brown Rice
More nutrient-dense and fiber-rich, but cooks slower and requires longer soaking. Brown rice has a hard outer bran layer that needs extra time to soften. For best results, soak it overnight or for at least 30 minutes before pressure cooking.
Recommended cooking time: 22–28 minutes under high pressure.
Jasmine & Basmati Rice
Both fragrant long-grain varieties shine in pressure cookers. Jasmine rice becomes wonderfully sticky and aromatic, while basmati stays light and fluffy—perfect for pilafs or biryanis.
Avoid overcooking these delicate grains; 3–4 minutes usually suffices.
Couscous & Other Quick Grains
While not technically “rice,” couscous and quinoa can also be pressure cooked for faster prep. Just follow package instructions for adjusted times.
Essential Equipment: What You Need to Pressure Cook Rice
You don’t need a fancy setup—just a reliable pressure cooker and basic kitchen tools. Here’s what matters most:
1. Electric Pressure Cooker (Recommended)
Models like the Instant Pot Duo, Ninja Foodi, or Crock-Pot Express are user-friendly, programmable, and widely available. Look for one with:
- At least 6 quarts capacity (ideal for families)
- Multiple preset buttons (e.g., “Rice” or “Manual”)
- Sealing ring that’s easy to clean
2. Stovetop Pressure Cooker (Alternative)
Traditional heavy pots with lids designed for high pressure work too—but require more vigilance during release cycles. Less convenient for beginners unless you’re already comfortable with manual pressure management.
3. Rice Measuring Cup & Ladle
Use a standard rice cup (not liquid measuring cups) for accurate portions. A wooden spoon helps fluff rice after cooking without damaging the grains.
4. Soaking Bowl (For Brown Rice)
As mentioned earlier, soaking brown rice improves texture and reduces cooking time. A simple bowl with cold water does the trick.
Step-by-Step Guide: How to Pressure Cook Rice Like a Pro
Ready to try it yourself? Follow this foolproof method for perfect results every time.
Step 1: Measure and Prep Your Rice
Use a rice measuring cup to portion your grains. For every 1 cup of uncooked rice, count on 1.25 to 1.5 cups of water (adjust based on rice type—see chart below). Rinse long-grain whites briefly under cold water until the runoff runs clear.
Step 2: Add Ingredients to the Cooker
Add rinsed rice and water (or broth for extra flavor) to the inner pot. If desired, toss in salt, butter, or garlic for enhancement. No need to stir—just place the lid securely.
Step 3: Select Cooking Mode
On an electric model, choose either:
- Rice setting (most common)
- Manual/High Pressure for custom timing
Step 4: Natural vs. Quick Release
After cooking ends:
- Natural release (recommended): Let pressure drop on its own for 10–15 minutes before opening. Ideal for preventing grain breakage.
- Quick release: Use the valve to vent steam immediately. Best for softer rices like jasmine where you want a quicker result.
Step 5: Fluff and Serve
Gently fold the rice with a fork to separate any clumps. Taste and adjust seasoning if needed. Serve immediately!
Water Ratios & Timing Chart for Different Rice Types
Getting the balance right between rice and water is key. Too much water = mushy rice. Too little = undercooked grains. Here’s a cheat sheet:
| Rice Type | Water Ratio | Cook Time (High Pressure) | Release Method |
|---|---|---|---|
| White Long-Grain | 1.25:1 | 3–4 min | Quick |
| Basmati/Jasmine | 1.25:1 | 3–4 min | Natural (10 min) |
| Short-Grain White | 1.1:1 | 4–5 min | Quick |
| Brown Rice | 1.5:1 | 22–28 min | Natural (15 min) |
| Wild Rice Blend | 2:1 | 30 min | Natural (20 min) |
Note: Always refer to your specific rice brand’s recommendations—some pre-washed or parboiled types may vary slightly.
Flavor Hacks: Elevate Your Pressure-Cooked Rice
Plain white rice is fine—but why stop there? Pressure cooking allows you to infuse incredible depth of flavor effortlessly.
Add Broth Instead of Water
Swap plain water for chicken, vegetable, or beef broth. The result? Richer, more aromatic grains that taste like you spent hours simmering.
Toss in Aromatics Before Cooking
Try adding:
- 1 clove of crushed garlic
- A bay leaf
- 1 tbsp olive oil or ghee
- Pinch of saffron threads (for a luxurious touch!)
Post-Cook Enhancements
After releasing pressure, stir in fresh herbs (cilantro, parsley), lemon zest, or a pat of butter for brightness and richness.
Troubleshooting Common Pressure Cooking Rice Mistakes
Even pros hit snags sometimes. Here’s how to fix the most frequent issues:
Mushy or Sticky Rice
Cause: Too much water or overcooking.
Fix: Reduce water by ¼ cup next time, and avoid exceeding recommended cook times.
Undercooked Grains
Cause: Insufficient pressure buildup or low water.
Fix: Ensure your lid seals properly. Don’t skip the minimum water requirement (usually 1 cup).
Rice Sticks to the Bottom
Cause: Uneven heat or lack of fat/oil.
Fix: Lightly coat the pot with oil or butter before adding rice. Stir once halfway through (only if using stovetop model).
No Steam Released During Cooking
Cause: Faulty sealing ring or overfilled pot.
Fix: Replace the silicone seal if cracked. Never exceed max fill lines.
Safety Tips for First-Time Users
Pressure cookers are safe when used correctly. Still, keep these precautions in mind:
- Never force the lid open until pressure fully drops.
- Check seals regularly for wear and tear.
- Avoid overfilling—leave at least ½ inch space between food and lid.
- Keep hands and face away from the steam vent during quick release.
- Read your manual thoroughly before first use—each brand operates slightly differently.
Beyond Basic White Rice: Creative Recipes to Try
Once you master the basics, the possibilities explode. Here are three delicious ideas:
Garlic Herb Rice Pilaf
Combine 1 cup jasmine rice, 1.25 cups vegetable broth, 1 minced garlic clove, ½ tsp thyme, and 1 tbsp olive oil. Pressure cook for 3 minutes, natural release for 10. Top with toasted pine nuts before serving.
Coconut Curry Brown Rice
Soak 1 cup brown rice for 30 minutes. Cook with 1.5 cups coconut milk + ½ cup water, 1 tbsp curry powder, and a pinch of turmeric. High pressure for 25 minutes, then quick release. Finish with cilantro.
Spanish-Style Arroz con Leche (Rice Pudding)
Use short-grain rice, 2 cups whole milk, ¼ cup sugar, 1 cinnamon stick, and a splash of vanilla. Pressure cook for 8 minutes, then let cool slightly before blending for creamy texture.
Conclusion: Why Every Home Cook Needs to Master Pressure-Cooked Rice
So, can you pressure cook rice? Without a doubt—and now you know exactly how to do it right. This method isn’t just about saving time; it’s about transforming your relationship with one of the world’s most versatile ingredients. Whether you’re whipping up a weeknight dinner, prepping lunches for the office, or hosting guests, pressure-cooked rice delivers reliability, flavor, and zero stress.
With just a few adjustments to your routine—rinsing grains, using correct ratios, and selecting the right release method—you’ll never go back to slow stovetop cooking. Plus, the ability to infuse bold flavors makes it ideal for cuisines from Thai curries to Mediterranean sides.
If you’ve been hesitant to try pressure cooking because you thought it was too complex or risky, this should change your mind. Start small: one perfect pot of white rice, then expand from there. Before long, you’ll be experimenting with everything from red beans to steamed dumplings—all thanks to that trusty pressure cooker sitting quietly on your counter.
The future of fast, flavorful, foolproof cooking starts with mastering rice. And you’re ready.
Frequently Asked Questions
Is pressure cooking rice healthier than boiling?
Yes—pressure cooking preserves more nutrients due to shorter cooking time and reduced exposure to high heat. It also avoids leaching vitamins into excess water.
Can I cook frozen rice in a pressure cooker?
No—always use fresh, dry rice. Frozen rice contains moisture that disrupts pressure buildup and can cause unsafe steam release.
How do I store leftover pressure-cooked rice?
Refrigerate within 2 hours and consume within 3 days. Reheat gently with a splash of water or broth to restore moisture.
Why did my rice come out gummy?
Gummy rice usually means too much water or overcooking. Next time, reduce water by ¼ cup and stick to recommended cook times.
Can I cook rice directly in broth without water?
Yes! Substitute half or all of the water with broth for richer flavor. Just ensure the total liquid matches the rice’s water ratio.
Do I need to add oil or butter to prevent sticking?
A light coating of oil or butter helps, especially for short-grain rice. But modern electric cookers with nonstick interiors often don’t require it.