Can you vacuum seal cooked rice? Absolutely! Vacuum sealing cooked rice is a great way to extend its shelf life, lock in freshness, and reduce freezer burn. When done properly, it preserves flavor, texture, and safety—making it ideal for meal prep or saving leftovers. Just be sure to cool the rice first and use proper techniques to avoid condensation and spoilage.
Have you ever cooked a big batch of rice only to find yourself tossing half of it after a few days? Or maybe you’re meal prepping and want to save time during the week—only to realize storing rice is trickier than you thought? You’re not alone. Cooked rice is one of those versatile staples that’s easy to overcook or let go bad. But what if there was a way to preserve it without losing flavor or texture? That’s where vacuum sealing comes in—and yes, you absolutely can vacuum seal cooked rice!
Vacuum sealing is more than just a kitchen gadget fad. It’s a powerful preservation technique that removes air from packaging, slowing down oxidation, drying, and bacterial growth. When applied to cooked rice, it keeps moisture locked in while preventing freezer burn. Whether you’re preparing for a busy week, stocking up after a holiday feast, or simply trying to cut down on food waste, vacuum sealing cooked rice is a game-changer. In this article, we’ll walk you through everything you need to know—from safety tips to storage duration and even reheating tricks.
Before we dive into the how-to’s, let’s clarify something important: vacuum sealing isn’t magic. If you skip key steps like cooling or improper sealing, your rice could end up soggy, spoiled, or unsafe to eat. So, while the answer to “can you vacuum seal cooked rice” is a resounding yes, doing it right makes all the difference. Stick around as we break down the process step by step, share pro tips, and help you master this simple yet effective kitchen habit.
Key Takeaways
- Vacuum sealing cooked rice extends shelf life: Properly sealed rice can last up to 2 years in the freezer, compared to just 3–4 days in the fridge.
- Cooking method affects results: Rice that’s slightly undercooked or cooled before sealing helps prevent mushiness upon reheating.
- Cooling is essential: Never seal warm or hot rice—this traps moisture and creates an environment for bacteria growth.
- Use food-grade vacuum bags: Invest in high-quality bags designed for dry and moist foods to ensure a proper seal and durability.
- Label and date your bags: Always mark the contents and date on each bag to track freshness and avoid confusion later.
- Reheating matters: Thaw and reheat vacuum-sealed rice thoroughly to ensure food safety and restore texture.
- Meal prep hack: Portion rice into individual servings before sealing—ideal for quick grab-and-go lunches.
📑 Table of Contents
- Why Vacuum Seal Cooked Rice?
- Is It Safe to Vacuum Seal Cooked Rice?
- How to Vacuum Seal Cooked Rice: Step-by-Step Guide
- Best Practices for Long-Term Storage
- How to Reheat Vacuum-Sealed Cooked Rice
- Common Mistakes to Avoid
- Vacuum Sealing vs. Other Storage Methods
- Bonus Tips for Meal Preppers
- Final Thoughts
Why Vacuum Seal Cooked Rice?
So, why bother with vacuum sealing when you can just pop rice in a container or wrap it in foil? Great question! Let’s look at the benefits.
First, vacuum sealing dramatically extends shelf life. Fresh cooked rice lasts about 3 to 4 days in the refrigerator—but when vacuum sealed and frozen, it can keep for up to two years. That means less tossing and more eating. For families, meal preppers, or anyone who loves having ready-made meals on hand, that’s a huge win.
Second, vacuum sealing protects flavor and texture. Because air exposure causes oxidation and moisture loss, unsealed rice often dries out or absorbs odors from other foods in the fridge. Vacuum sealing keeps your rice fresh, fluffy, and odor-free—even after months in the freezer.
Third, it reduces freezer burn. That dreaded ice-crystal formation on frozen food? Vacuum sealing prevents it by creating an airtight barrier. Your rice will stay tender and delicious, not rubbery or dry.
And finally, vacuum sealing saves space. Unlike bulky Tupperware containers, vacuum-sealed bags compress tightly, making efficient use of freezer real estate. Plus, they stack neatly—no more juggling lids and spills.
Of course, vacuum sealing isn’t perfect. It requires equipment (a vacuum sealer and compatible bags), and there are some nuances to getting it right. But for most home cooks, the payoff is well worth the effort.
Is It Safe to Vacuum Seal Cooked Rice?
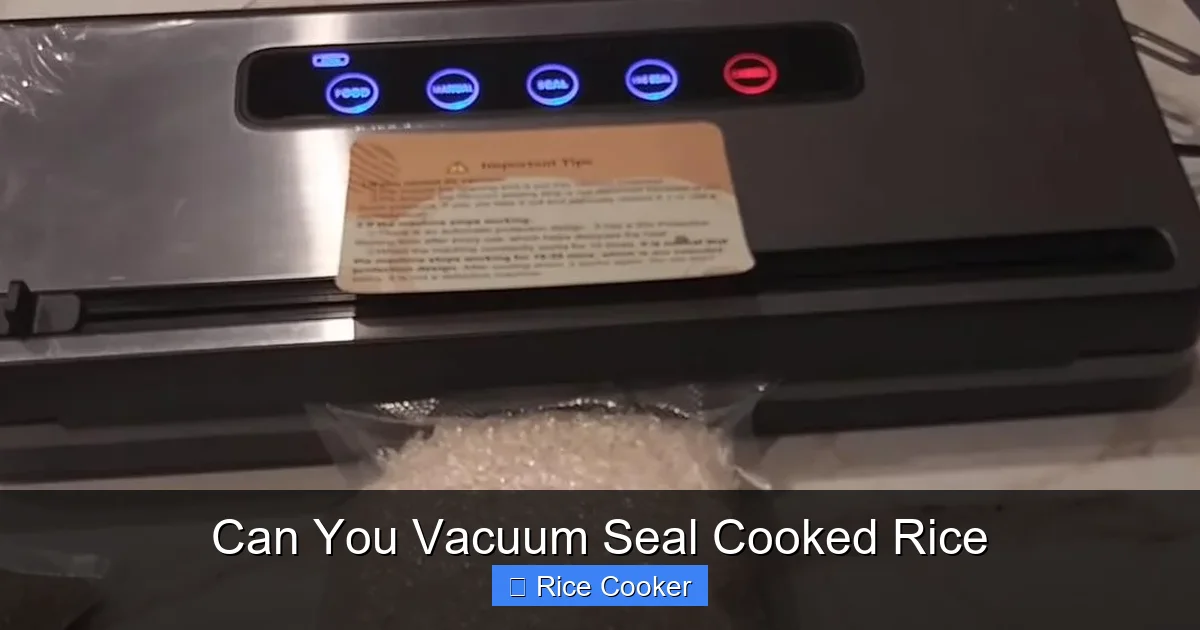
Visual guide about Can You Vacuum Seal Cooked Rice
Image source: reorganizeall.com
Safety is always the top concern when it comes to food storage—and rightfully so. The short answer: yes, vacuum sealing cooked rice is safe **if** you follow basic food safety guidelines.
Cooked rice contains spores of *Bacillus cereus*, a bacteria that can survive normal cooking temperatures and produce toxins if the rice is left at room temperature for too long. These toxins cause food poisoning—not from live bacteria, but from the heat-stable compounds they release. That’s why experts recommend refrigerating cooked rice within two hours of cooking.
Now, vacuum sealing itself doesn’t kill bacteria—it just slows their growth by removing oxygen. So, the key is to ensure the rice is **cooled quickly and properly** before sealing. Never put hot or warm rice directly into a vacuum bag. Doing so traps steam, which creates condensation inside the bag. When that moisture combines with residual heat, it becomes a breeding ground for bacteria.
To avoid this, spread the cooked rice in a shallow layer (like a baking sheet) and let it cool to room temperature (about 70°F or lower) within 1 to 2 hours. Then transfer it to the vacuum bag and seal immediately. This minimizes the risk of bacterial growth and ensures a safe, long-lasting storage solution.
How to Vacuum Seal Cooked Rice: Step-by-Step Guide
Ready to try it? Here’s a clear, foolproof method for vacuum sealing cooked rice.
Step 1: Cool the Rice Properly
After cooking, spread the rice out in a thin layer on a clean baking sheet or tray. This speeds up cooling by increasing surface area. Stir occasionally to prevent a skin from forming. Let it sit until it reaches room temperature—usually 1 to 2 hours, depending on quantity. Avoid letting it sit too long at room temperature; aim to move it to refrigeration or sealing within 2 hours max.
Step 2: Portion the Rice
Decide how much you want per serving. Use measuring cups or a kitchen scale to divide the rice evenly. This makes reheating easier later and prevents opening multiple bags unnecessarily. A typical portion is about 1 cup cooked rice per person.
Step 3: Choose the Right Bag
Not all vacuum bags are created equal. Look for **moisture-resistant**, **food-grade** bags labeled for use with both dry and wet foods. These are thicker and less likely to tear during sealing. Avoid standard plastic bags or ziplock-style bags—they won’t create an airtight seal and may leak.
Step 4: Load the Bag
Place the rice into the vacuum bag, leaving about 2 inches of headspace at the top. This gives room for the machine to create suction without crushing the rice. Smooth out any clumps gently—no need to press too hard.
Step 5: Seal It Up
Insert the open end of the bag into your vacuum sealer and run the cycle. Most machines have a setting for “moist” or “wet” foods—use that. The goal is to remove as much air as possible without sucking the rice into the machine. If your sealer has pulse mode, use it to control suction and avoid over-compression.
Step 6: Store Immediately
Once sealed, place the bags in the refrigerator for short-term storage (up to 2 weeks) or freeze them for longer preservation. Lay them flat initially to save space, then stand them upright once frozen for better stacking.
Pro tip: Double-bag for extra protection if you’re freezing for more than 6 months. This adds a layer of insulation against freezer burn and potential punctures.
Best Practices for Long-Term Storage
To get the most out of your vacuum-sealed rice, follow these best practices.
Freeze First, Then Seal (Optional)
Some people prefer to flash-freeze rice on a tray before vacuum sealing. This prevents clumping and makes portions easier to separate later. Just spread the cooled rice in a single layer on a parchment-lined baking sheet, freeze for 1–2 hours until firm, then transfer to vacuum bags.
Avoid Overfilling Bags
Overloading the bag reduces suction efficiency and increases the chance of leaks. Stick to moderate portions—about 1 to 1.5 cups per bag. Larger quantities may require multiple bags or special handling.
Keep Bags Away from Sharp Edges
Store vacuum-sealed bags away from knives, utensils, or rough surfaces. Even small tears can compromise the seal and lead to freezer burn.
Rotate Your Stock
Use the FIFO method (First In, First Out): place newer bags behind older ones. This ensures you use the oldest rice first and reduces the risk of forgotten items going bad.
Monitor Freezer Temperature
Keep your freezer at 0°F (-18°C) or below. Consistent cold temperatures are critical for preserving quality and safety over time.
Label Everything
Write the date and contents on each bag using a permanent marker or waterproof label. Include details like “Jasmine Rice – 10/2024” so you never wonder what’s inside.
How to Reheat Vacuum-Sealed Cooked Rice
One of the best things about vacuum sealing is how easy it is to revive your rice. No sogginess, no microwave disasters—just perfectly reheated grains every time.
Thawing Methods
You can reheat vacuum-sealed rice **while still frozen**, which saves time. Simply transfer the bag to the refrigerator for 12–24 hours before reheating, or thaw it in cold water for faster results (change the water every 30 minutes). Avoid thawing at room temperature to maintain safety.
Reheating Options
The easiest method is using a steamer or rice cooker with a steaming insert. Add a splash of water or broth to the steamer basket, place the sealed bag inside, and cook for 10–15 minutes until heated through. Alternatively, microwave on medium power with a damp paper towel over the bag—this adds moisture and prevents drying.
If you’ve double-bagged, remove the outer bag before reheating to avoid steam buildup.
Fluff and Season
Once heated, fluff the rice with a fork and add a pat of butter, a drizzle of soy sauce, or your favorite seasoning. It’ll taste almost as good as freshly made!
Common Mistakes to Avoid
Even experienced cooks make mistakes. Here are the most common pitfalls when vacuum sealing cooked rice—and how to fix them.
Sealing Hot Rice
This is the #1 error. Hot rice creates steam, which condenses inside the bag and promotes bacterial growth. Always cool rice completely before sealing.
Using the Wrong Bags
Cheap or generic bags often fail to seal properly or tear easily. Spend a little extra on quality food-safe vacuum bags.
Skipping Portion Control
Large chunks of rice are harder to reheat evenly. Smaller portions heat faster and more uniformly.
Not Labeling
Unlabeled bags = mystery meals. Always write the date and contents clearly.
Storing Near Strong Odors
Rice absorbs smells easily. Keep vacuum-sealed bags away from onions, fish, or strong spices.
Ignoring Freezer Burn Signs
If your rice has white, icy spots or a stale smell, discard it. Freezer burn doesn’t necessarily mean it’s unsafe—but flavor and texture are compromised.
Vacuum Sealing vs. Other Storage Methods
Let’s compare vacuum sealing with other common ways of storing cooked rice.
Refrigeration (No Seal)
Pros: Simple, no equipment needed.
Cons: Lasts only 3–4 days; prone to drying out and absorbing odors.
Ziplock Bags
Pros: Affordable and convenient.
Cons: Not truly airtight; higher risk of freezer burn and poor compression.
Glass Containers with Lids
Pros: Reusable, microwave-friendly.
Cons: Bulky, harder to stack, and less efficient for long-term freezer storage.
Vacuum Sealing
Pros: Longest shelf life (up to 2 years); excellent preservation of flavor and texture; space-efficient.
Cons: Requires initial investment in equipment and bags.
For serious meal preppers or bulk rice users, vacuum sealing is the clear winner.
Bonus Tips for Meal Preppers
If you’re into meal prep, vacuum sealing rice is a must. Here are some advanced tips to level up your routine.
Pre-Cook and Flash-Freeze
Cook rice ahead of time, cool it, portion it, and flash-freeze on trays. Once frozen, pack into vacuum bags and store. This way, you can quickly assemble meals without daily cooking.
Add Flavor Before Sealing
Try infusing rice with herbs, garlic, or coconut milk before sealing. This builds flavor into every bite and cuts down on post-reheat seasoning.
Combine with Proteins
Pair rice with beans, stir-fry veggies, or grilled chicken in vacuum bags. Just make sure all components are cooled and safe to seal together.
Use Mason Jars Instead
Some people prefer mason jars for vacuum sealing. They’re reusable, shatter-resistant, and great for single servings. Just ensure the lid has a vacuum-compatible gasket.
Track Usage with Apps
Use a food inventory app to log what you’ve stored and when. This helps prevent waste and streamlines meal planning.
Experiment with Types
Test different rices—jasmine, basmati, brown, wild—and note how each holds up after vacuum sealing and reheating. Some grains retain texture better than others.
Donate Excess Rice (Safely!)
If you consistently overproduce, consider donating to local food banks—but only if it’s properly sealed and dated. Many organizations accept non-perishable, vacuum-sealed foods.
Final Thoughts
So, can you vacuum seal cooked rice? The answer is a confident yes—and now you know exactly how to do it safely and effectively. From understanding the science behind food preservation to mastering the step-by-step process, vacuum sealing offers a powerful way to enjoy your favorite staple anytime, anywhere.
Whether you’re meal prepping for the week, saving holiday leftovers, or just trying to reduce food waste, this simple technique pays off in flavor, convenience, and peace of mind. With the right tools, patience, and attention to detail, you’ll never dread leftover rice again.
Start small—seal one batch this weekend and see the difference. Soon, you’ll wonder how you ever lived without it.
Frequently Asked Questions
How long does vacuum-sealed cooked rice last?
When properly vacuum sealed and frozen, cooked rice can last up to 2 years. Refrigerated, it should be used within 2 weeks for best quality and safety.
Can you vacuum seal hot cooked rice?
No, never vacuum seal hot or warm rice. Always cool it to room temperature first to prevent condensation and bacterial growth.
Do you need to freeze vacuum-sealed rice?
Freezing is optional but highly recommended for long-term storage. Refrigeration works for short-term use (up to 2 weeks), but freezing significantly extends shelf life.
Can you reheat vacuum-sealed rice without opening the bag?
Yes, you can safely reheat vacuum-sealed rice while still in the bag using a steamer, rice cooker, or microwave with a damp cloth.
What type of vacuum bags should I use for cooked rice?
Use food-grade, moisture-resistant vacuum bags labeled for wet or moist foods. These are thicker and less likely to leak or tear.
Does vacuum sealing change the taste of rice?
No, when done correctly, vacuum sealing preserves the original flavor and texture. Any differences usually come from improper cooling or reheating methods.