
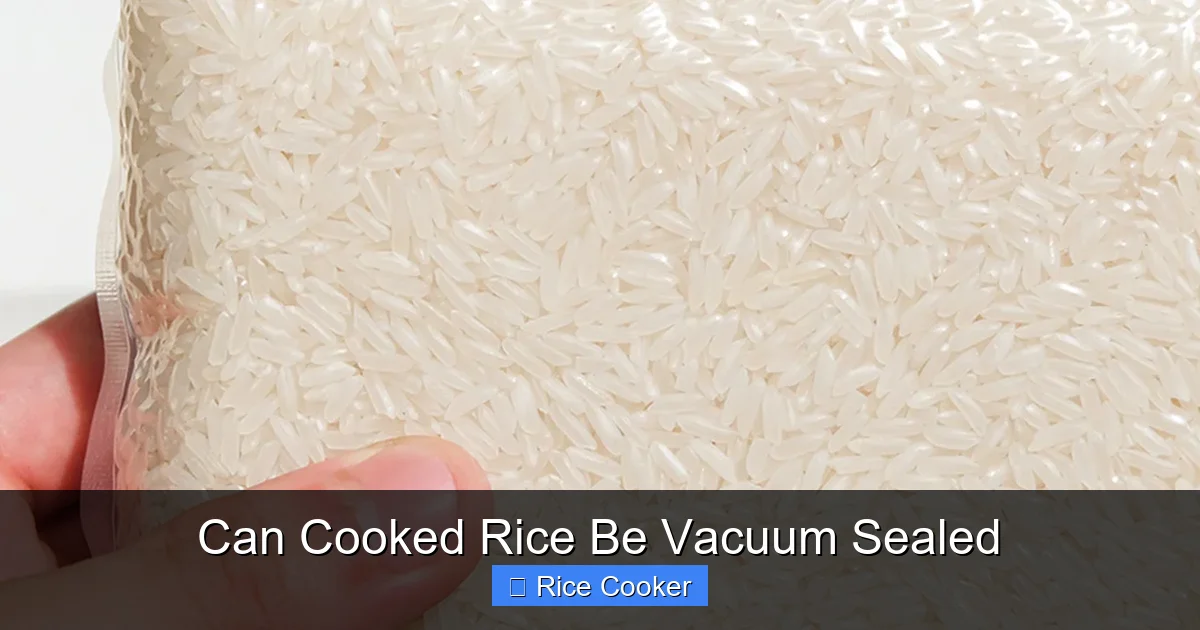
Cooked rice can absolutely be vacuum sealed to preserve flavor, texture, and food safety. This method significantly extends shelf life while preventing freezer burn and contamination. With proper techniques, you can enjoy freshly cooked rice even weeks later.
Key Takeaways
- Vacuum sealing cooked rice is safe and effective when done correctly—cooling the rice first prevents bacterial growth and condensation.
- Proper cooling is essential before vacuum sealing; never seal hot rice as it creates a moist environment ideal for mold and spoilage.
- Refrigerated vacuum-sealed rice lasts 3–5 days, while frozen versions can keep safely for up to 6 months.
- Reheating vacuum-sealed rice requires thawing in the refrigerator or using a microwave-safe container to maintain quality.
- Labeling bags with dates improves organization and helps track freshness, especially when storing multiple batches.
- Vacuum sealing preserves taste and texture better than regular plastic wrap or airtight containers.
- Always check for leaks or damage before consuming vacuum-sealed rice to ensure food safety.
📑 Table of Contents
- Can Cooked Rice Be Vacuum Sealed?
- Why Vacuum Seal Cooked Rice?
- How to Safely Vacuum Seal Cooked Rice
- Storage Guidelines for Vacuum-Sealed Cooked Rice
- Reheating Vacuum-Sealed Rice Like a Pro
- Comparing Vacuum Sealing to Other Storage Methods
- Meal Prep Ideas Using Vacuum-Sealed Rice
- Environmental and Economic Benefits
- Troubleshooting Common Issues
- Final Thoughts
Can Cooked Rice Be Vacuum Sealed?
You’ve just finished cooking a perfect batch of fluffy white rice or rich jasmine rice, only to realize you won’t eat it all tonight. Instead of tossing leftovers, what if you could preserve that deliciousness for days—or even months? That’s where vacuum sealing comes in. Yes, cooked rice can indeed be vacuum sealed, and doing so offers several advantages over traditional storage methods.
Vacuum sealing removes air from packaging, which slows down oxidation, prevents freezer burn, and keeps food fresh longer. When applied to cooked rice, this technique not only extends shelf life but also maintains moisture and texture far better than plastic wraps or regular containers. Whether you’re meal prepping for the week or stocking your freezer with homemade stir-fry bases, understanding how to properly vacuum seal cooked rice is a game-changer for busy households, families, and food lovers alike.
In this comprehensive guide, we’ll walk you through everything you need to know about vacuum sealing cooked rice—from safety precautions and step-by-step instructions to storage tips and reheating advice. By the end, you’ll feel confident using your vacuum sealer to keep your rice tasting as good as the day it was made.
Why Vacuum Seal Cooked Rice?
Storing cooked rice doesn’t have to mean sacrificing quality. In fact, vacuum sealing offers a host of benefits that make it worth considering every time you cook more than you’ll eat at once.
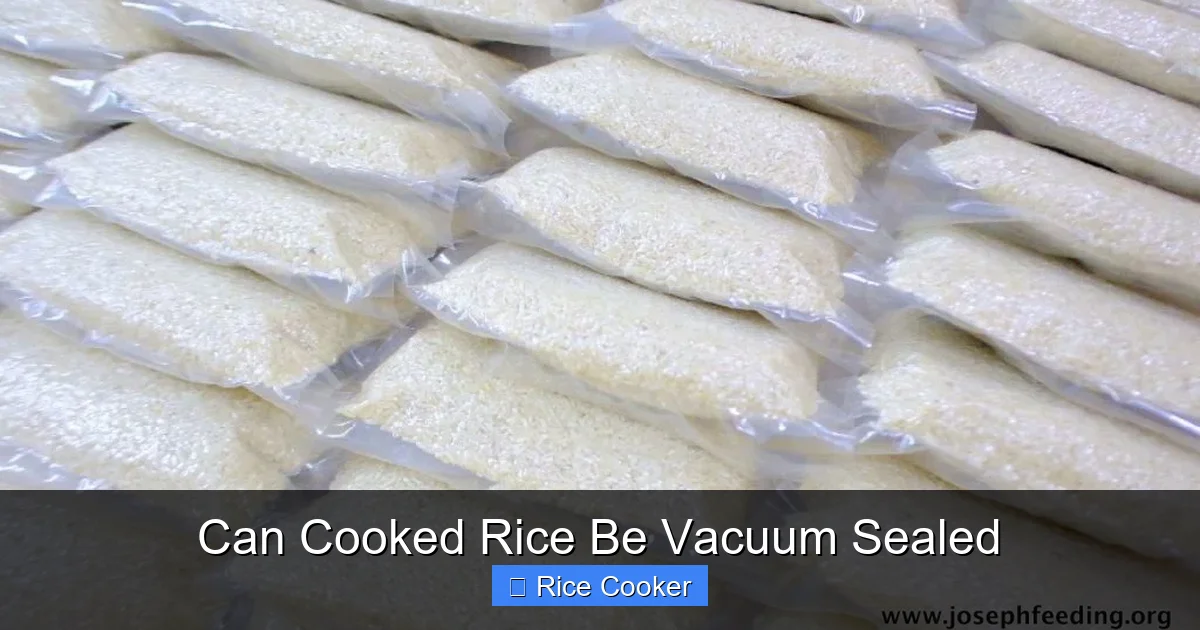
Visual guide about Can Cooked Rice Be Vacuum Sealed
Image source: josephfeeding.org
Extended Freshness and Reduced Waste
One of the biggest reasons people turn to vacuum sealing is to reduce food waste. According to the USDA, millions of pounds of food are discarded each year due to improper storage. Cooked rice is particularly prone to drying out or developing off-flavors if stored incorrectly. Vacuum sealing locks in freshness by removing oxygen, which slows bacterial growth and enzymatic reactions that cause spoilage.
When you vacuum seal your cooked rice, you’re giving it a second life. A single batch can last anywhere from three to five days in the fridge or up to six months in the freezer—depending on how it’s handled. This means fewer trips to the grocery store and less money wasted on spoiled ingredients.
Preservation of Flavor and Texture
Rice absorbs odors easily, especially if stored near strong-smelling foods like onions or garlic. Vacuum sealing creates an airtight barrier that prevents cross-contamination and keeps your rice tasting clean and neutral. Additionally, because there’s no exposure to air, the starch structure remains intact, meaning your reheated rice will retain its soft, tender consistency rather than becoming gummy or dry.
Convenience for Meal Prep
If you follow a busy schedule, chances are you appreciate the convenience of ready-made meals. Pre-cooking rice and portioning it into vacuum-sealed packets allows you to quickly assemble dishes like fried rice, rice bowls, or casseroles during hectic weekdays. You can even mix in cooked vegetables or proteins ahead of time for extra efficiency.
Safety First: Preventing Bacillus Cereus
It might sound alarming, but cooked rice can harbor Bacillus cereus, a bacteria known for causing food poisoning if rice is left at room temperature too long. The spores of this bacterium survive normal cooking temperatures and can multiply rapidly in warm, moist environments. However, when rice is cooled quickly and stored in airtight conditions (like those created by vacuum sealing), the risk of bacterial growth drops significantly.
The key here is speed and temperature control. Always cool your cooked rice within two hours of cooking, ideally using an ice bath or spreading it thinly across a baking sheet before transferring it to containers or bags.
How to Safely Vacuum Seal Cooked Rice
While vacuum sealing sounds simple, doing it safely requires attention to detail. Improper handling can lead to spoilage or even foodborne illness. Follow these steps carefully to ensure your vacuum-sealed rice stays safe and delicious.
Step 1: Cool the Rice Rapidly
This is arguably the most important step. Never place hot rice directly into a vacuum bag—doing so traps steam inside, creating a humid microclimate that encourages mold and bacteria. Instead, spread the rice in a shallow layer on a large baking sheet or tray. Refrigerate uncovered for at least 30 minutes, or use an ice-water bath to chill it faster.
For best results, aim to get the rice below 40°F (4°C) within two hours of cooking. If you’re preparing large quantities, consider dividing the rice into smaller portions so each cools evenly and quickly.
Step 2: Portion Appropriately
Think about how much rice you’ll realistically eat in one sitting. Overstuffing vacuum bags reduces suction effectiveness and may result in uneven sealing. Most standard vacuum bags hold between 8–12 ounces (230–340 grams) of cooked rice—perfect for a single serving or two light meals.
Use kitchen scales for accuracy if you’re meal prepping regularly. Consistent portion sizes also help with freezing and thawing, since smaller blocks freeze and warm more uniformly.
Step 3: Choose the Right Bags
Not all vacuum bags are created equal. Look for bags labeled “food-grade” and “microwave-safe” if you plan to reheat directly from the package. Thick-walled bags designed for freezer storage offer added protection against punctures and leaks.
Some brands come with double zipper seals or built-in channels that improve air removal. For beginners, reusable silicone vacuum bags are a great eco-friendly option—they’re durable, easy to clean, and compatible with most machines.
Step 4: Fill and Seal Properly
Leave about an inch of space at the top of the bag to allow the vacuum pump to work efficiently. Insert the open end into the vacuum port and close securely. Run the machine until you hear the suction stop—this usually takes 10–15 seconds.
If your sealer has a “moisture mode,” enable it! This setting is specifically designed for foods like soups, stews, and yes—cooked rice—that contain high water content. It adjusts suction power to avoid tearing delicate items while still removing enough air for preservation.
Step 5: Label and Date Everything
Even with clear handwriting, it’s easy to forget what’s inside a bag after a few weeks. Use a permanent marker to write the contents and date directly on the bag or attach a small label. This habit becomes especially valuable when you’re stacking multiple frozen packets in the same drawer.
Consider color-coding your labels by type: yellow for plain rice, green for brown rice, blue for mixed grain blends. This visual system makes grabbing the right portion a breeze.
Storage Guidelines for Vacuum-Sealed Cooked Rice
Once your rice is safely vacuum sealed, where should you store it? And for how long? The answers depend on whether you’re refrigerating or freezing, but both methods yield excellent results when followed correctly.
Refrigeration: Best for Short-Term Use
If you plan to eat your rice within the next few days, refrigeration is sufficient. Place vacuum-sealed bags in the coldest part of your fridge—usually the back shelves rather than the door. At 40°F (4°C) or below, properly sealed rice stays safe for up to five days.
Keep in mind that refrigerated rice may lose some pliability after a couple of days. To revive it, add a splash of water or broth during reheating and cover loosely while steaming.
Freezing: Ideal for Long-Term Storage
For extended preservation, freezing is your best bet. Lay flat-packed bags on a baking sheet until frozen solid—this prevents them from sticking together in the freezer and makes stacking easier later. Once frozen, transfer to a labeled container or stackable freezer bin.
Frozen vacuum-sealed rice remains safe indefinitely, though quality begins to decline after six months. Taste tests show that rice kept beyond eight months may develop a slightly chalky texture, so aim to use it within six months for optimal results.
Avoid Common Mistakes
Even experienced users sometimes slip up. Here are three frequent errors to avoid:
- Sealing without cooling: As mentioned earlier, always cool rice first.
- Using damaged bags: Inspect each bag for tears, wrinkles, or manufacturing defects before filling.
- Overfilling: Leave room for air removal and expansion during freezing.
Reheating Vacuum-Sealed Rice Like a Pro
There’s nothing worse than reheating rice and ending up with either mush or rock-hard clumps. With vacuum-sealed rice, proper reheating technique is crucial to restoring that perfect, flaky texture.
Microwave Method (Fastest)
If you’re short on time, the microwave works well—but only if you take precautions. Remove the vacuum seal (unless the bag is microwave-safe), pierce a few holes in the top to vent steam, and microwave on medium power for 1–2 minutes per cup. Stir halfway through and add liquid if needed.
For best results, place the bag in a microwave-safe dish filled with a tablespoon of water. This creates steam and prevents scorching.
Stovetop Revival
This method gives you the most control over texture. Transfer the sealed or unsealed rice to a saucepan with a lid. Add a teaspoon of butter or oil and a splash of water or broth. Cover tightly and heat over low-medium flame, stirring occasionally, until warmed through—about 5–7 minutes.
The residual heat from the sealed bag helps distribute warmth evenly without overcooking.
Steamer Basket Trick
Want restaurant-quality results? Set up a steamer basket above boiling water. Place the vacuum-sealed rice packet inside, cover the pot, and steam for 8–10 minutes. This gentle heat mimics professional kitchen techniques and yields incredibly tender grains.
Thawing Frozen Rice Safely
Never thaw frozen vacuum-sealed rice at room temperature. Instead, move it from the freezer to the refrigerator 24 hours before use, or submerge the sealed bag in cold water for 30–60 minutes. Microwaving straight from frozen is possible but risks uneven heating.
Comparing Vacuum Sealing to Other Storage Methods
To truly appreciate the benefits of vacuum sealing, let’s compare it side-by-side with common alternatives.
Plastic Wrap vs. Vacuum Sealing
Plastic wrap creates a loose barrier against air but doesn’t remove existing oxygen. Over time, moisture evaporates, leaving dry, brittle rice. Vacuum sealing eliminates nearly all air, dramatically slowing oxidation and keeping rice moist and flavorful.
Airtight Containers vs. Vacuum Sealing
Airtight containers (like glass Tupperware) are convenient and reusable, but they still trap air pockets. These pockets accelerate spoilage and allow odors to seep in. Vacuum sealing leaves zero room for air, offering superior protection.
Freezer Pouches vs. Vacuum Bags
Disposable freezer pouches often lack the strength of vacuum bags and may tear during suction. They also don’t guarantee complete air removal. Vacuum bags are thicker, more reliable, and typically include features like double seals for added security.
Pros and Cons Table
| Method | Shelf Life | Texture Preservation | Ease of Use |
|---|---|---|---|
| Vacuum Sealing | 3–5 days (fridge); 6+ months (freezer) | Excellent | Moderate learning curve |
| Airtight Container | 3–4 days (fridge); 2–3 months (freezer) | Good | Very easy |
| Plastic Wrap | 2–3 days (fridge) | Poor (dries out) | Extremely easy |
| Ziplock Bags | 4–5 days (fridge); 3–4 months (freezer) | Fair | Easy |
Meal Prep Ideas Using Vacuum-Sealed Rice
The versatility of cooked rice opens up endless possibilities for creative meal prep. Here are five smart ways to maximize your vacuum-sealed rice:
1. Build-Your-Own Fried Rice Kits
After cooking rice, divide it into portions and add pre-cooked proteins (chicken, shrimp, tofu) and chopped veggies before sealing. When you’re ready to cook, just sauté everything together with soy sauce and sesame oil.
2. Grain Bowls Ready to Assemble
Layer vacuum-sealed rice with roasted sweet potatoes, edamame, avocado slices, and teriyaki glaze. Customers can customize their bowls based on daily cravings without extra prep time.
3. Soup and Stew Bases
Add cooked rice directly to hot soups or stews during the final minutes of cooking. Vacuum-sealed rice thaws quickly and integrates seamlessly into broths.
4. Dessert Rice Pudding Packets
Mix cooled rice with milk, cinnamon, and raisins, then vacuum seal. Reheat in a mug with a dash of sugar for a comforting treat anytime.
5. Emergency Grab-and-Go Breakfasts
Combine rice with scrambled eggs, cheese, and spinach in small bags. Pop one in the microwave with toast for a protein-rich morning meal.
Environmental and Economic Benefits
Beyond convenience and safety, vacuum sealing aligns with sustainable living goals. By reducing food waste, you lower your carbon footprint and save money over time. A single family can divert hundreds of dollars worth of uneaten meals annually simply by adopting better storage habits.
Reusable vacuum bags cut down on single-use plastics, making them a greener choice compared to disposable Ziploc bags or cling film. Many brands now offer recyclable options or take-back programs, further minimizing environmental impact.
Economically, investing in a quality vacuum sealer pays off quickly. While entry-level models start around $50, they typically last for years with minimal maintenance. Coupled with bulk-buying rice (which is inexpensive and stores well uncooked), this setup turns expensive takeout into budget-friendly home cooking.
Troubleshooting Common Issues
Even with careful preparation, problems can arise. Here’s how to fix them:
Problem: Bag Leaks After Sealing
Cause: Damaged bag, improper fill level, or machine malfunction.
Solution: Test bags by submerging them in water before use. Ensure you’re not overfilling and that the sealing channel is clean.
Problem: Rice Develops Off-Flavors
Cause: Old rice or cross-contamination from other foods.
Solution: Rotate stock regularly and store rice away from strong-smelling items like fish or spices.
Problem: Hard or Dry Texture After Reheating
Cause: Insufficient liquid or incorrect reheating method.
Solution: Always add a tablespoon of water or broth before microwaving or steaming. Cover loosely to trap steam.
Problem: Mold Spots
Cause: Improper cooling or compromised seal.
Solution: Discard any rice showing visible mold immediately—it spreads quickly even in sealed packages.
Final Thoughts
So, can cooked rice be vacuum sealed? Absolutely—and it’s one of the easiest, most effective ways to preserve your hard work in the kitchen. From extending shelf life to enhancing flavor and reducing waste, this technique empowers you to eat smarter, not harder.
Whether you’re a college student, a parent juggling school and work, or a culinary enthusiast who loves experimenting with global flavors, mastering vacuum sealing will transform how you handle leftovers. Start small: try sealing a single serving today and see the difference it makes tomorrow.
Remember, the secret isn’t just in the machine—it’s in the care you take before and after sealing. Cool fast, portion wisely, label clearly, and reheat gently. With these habits, your vacuum-sealed rice will always taste like it came straight from the pot.
Frequently Asked Questions
Is it safe to vacuum seal hot cooked rice?
No, never vacuum seal hot rice. Doing so traps moisture and heat, creating an environment where mold and bacteria can grow rapidly. Always cool rice to below 40°F (4°C) before sealing.
How long does vacuum-sealed cooked rice last in the fridge?
Properly vacuum-sealed cooked rice stays fresh for 3 to 5 days in the refrigerator. For longer storage, freeze it instead.
Can I reuse vacuum sealer bags?
Many reusable silicone vacuum bags are designed for repeated use. Disposable bags cannot be reused due to compromised seals after opening.
Do I need to defrost vacuum-sealed rice before reheating?
Yes, always thaw frozen vacuum-sealed rice in the refrigerator or under cold running water before reheating. Never thaw at room temperature.
Will vacuum-sealed rice taste different after freezing?
Quality remains high for up to 6 months. Beyond that, slight changes in texture may occur, but it remains safe to eat.
Can I vacuum seal rice mixed with other ingredients?
Absolutely! Mix rice with cooked chicken, vegetables, or sauces before sealing. Just ensure all components are cooled first and the mixture isn’t too thick for your machine.