
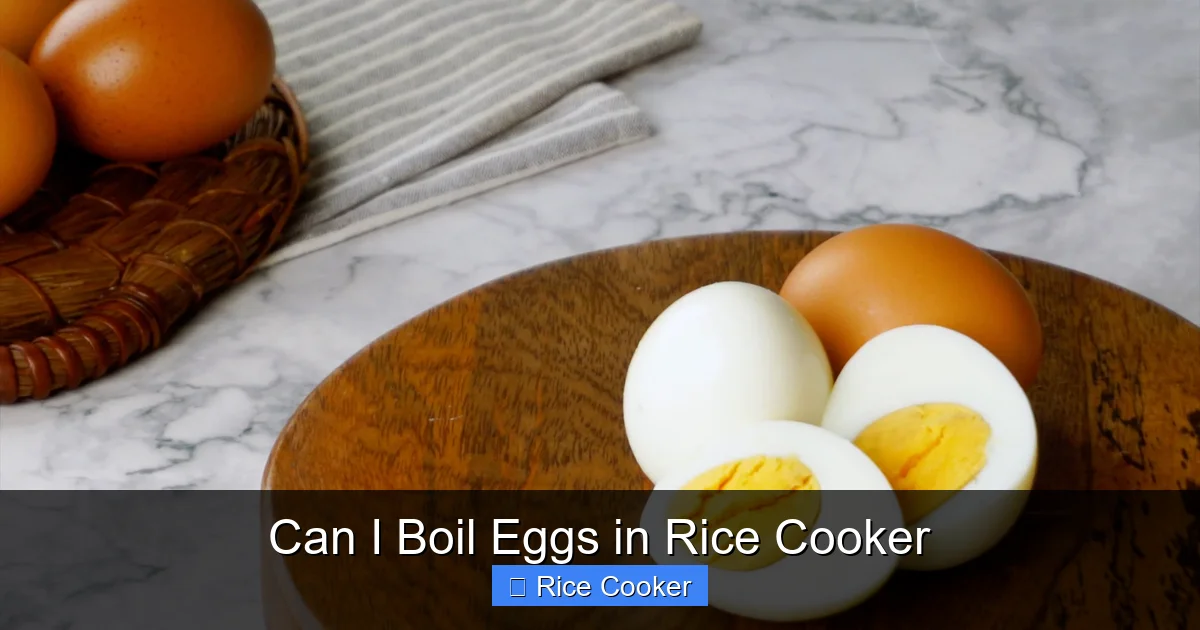
Boiling eggs in a rice cooker is not only possible—it’s simple and efficient. With the right technique, you can achieve consistent results for hard-boiled, soft-boiled, or even poached eggs without any guesswork. Whether you’re meal prepping or just craving a quick snack, your rice cooker can do more than cook rice.
Have you ever found yourself staring at the clock, wondering how to get breakfast ready fast without breaking a sweat? Maybe you’re tired of babysitting a pot on the stove, worrying about overcooking eggs or burning rice. What if we told you there’s a kitchen appliance already sitting in your cupboard that could help—your trusty rice cooker?
That’s right. You can actually boil eggs in a rice cooker. Not just any old way—this method is reliable, hands-off, and surprisingly effective. Whether you’re making soft-boiled eggs for ramen, hard-boiled ones for salads, or even poached eggs for Sunday brunch, your rice cooker might be the unsung hero you never knew you needed.
In this guide, we’ll walk you through everything you need to know: from basic setup to troubleshooting common issues. We’ll also share pro tips so your eggs turn out perfect every single time. So grab your favorite eggs and let’s dive in!
Key Takeaways
- Rice cookers can safely boil eggs: Most modern rice cookers have a “Keep Warm” function that maintains a steady temperature ideal for boiling eggs over time.
- No special settings needed: You don’t need a dedicated egg-boiling mode—just add water and place eggs gently into the pot before starting the cooking cycle.
- Time varies by preference: Soft-boiled eggs take about 6–8 minutes; hard-boiled require 10–12 minutes after the rice cooker reaches full heat.
- Peeling becomes easier: Eggs boiled in a rice cooker often peel more smoothly due to reduced agitation compared to stovetop methods.
- Saves energy and effort: Using your rice cooker eliminates the need to watch the stove, making it perfect for multitasking during busy mornings.
- Versatile uses beyond boiling: Some advanced models allow poaching or steaming eggs directly in the inner pot.
- Safety first: Always use a trivet or steamer basket to prevent cracking and ensure even heating.
📑 Table of Contents
- Why Use a Rice Cooker to Boil Eggs?
- What Types of Eggs Can Be Made in a Rice Cooker?
- Step-by-Step Guide: How to Boil Eggs in a Rice Cooker
- Tips for Perfect Eggs Every Time
- Troubleshooting Common Issues
- Beyond Boiling: Other Creative Uses for Your Rice Cooker
- Final Thoughts: Is Boiling Eggs in a Rice Cooker Worth It?
Why Use a Rice Cooker to Boil Eggs?
You might be thinking, “Wait… isn’t that risky? Couldn’t the eggs crack or explode?” Great questions! But here’s the thing: rice cookers are designed to handle high temperatures and maintain consistent heat—exactly what you need for boiling eggs safely and evenly.
Unlike open pots where bubbles violently rise and pop against the eggshell, a sealed rice cooker environment reduces direct contact between the shell and moving water. This means fewer cracks and smoother peeling later on. Plus, once your rice cooker switches to “Keep Warm,” it holds the temperature around 75–80°C (167–176°F)—perfect for keeping eggs warm without scrambling them.
Another huge advantage? Convenience. Set it and forget it. While your eggs cook, you can prep other ingredients, scroll through your phone, or even nap (okay, maybe not nap). No constant stirring, no watching the thermometer, no risk of forgetting to remove them at the right moment.
And let’s talk efficiency. Rice cookers use less electricity than ovens or stovetops for this kind of task. That makes boiling eggs in a rice cooker an eco-friendly choice too!
What Types of Eggs Can Be Made in a Rice Cooker?
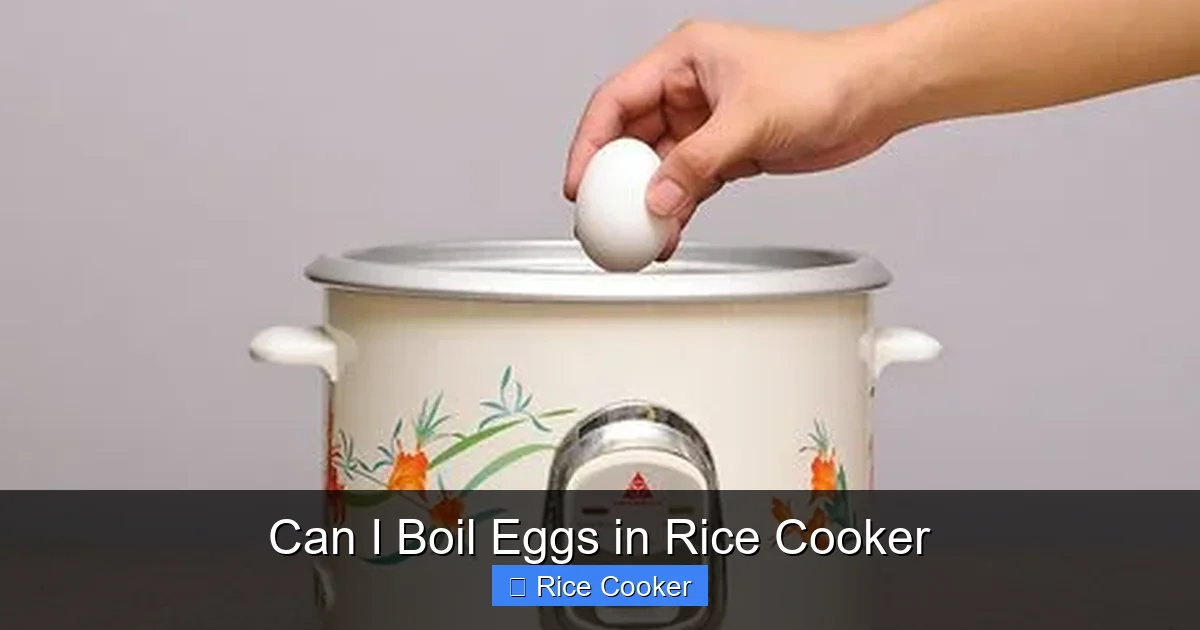
Visual guide about Can I Boil Eggs in Rice Cooker
Image source: wikihow.com
Don’t limit yourself to just hard-boiled eggs! Your rice cooker can handle several styles:
Hard-Boiled Eggs
These are the classics—firm whites and creamy yolks, perfect for salads, deviled eggs, or snacking. To make them in a rice cooker, simply place eggs in the inner pot, add enough water to cover them by an inch, and start the regular cook cycle. Once it finishes, let them sit in the hot water for 2–3 minutes before transferring to ice water.
Soft-Boiled Eggs
Love runny yolks oozing over toast? Soft-boiled eggs are your best friend. They’re ready in just 6–8 minutes after the rice cooker reaches full heat. Pro tip: use older eggs (not super fresh), as they peel better when slightly aged.
Poached Eggs (with a Steamer Basket)
Got a perforated steamer basket? You can poach eggs too! Crack each egg into a small bowl first, then gently slide it into the simmering water below. Let them float up naturally—no flipping required.
Scrambled or Fried Eggs (Indirect Method)
Some users line the bottom with parchment paper, pour in a bit of oil, crack eggs directly onto it, then cover with another layer. The steam from the rising heat helps cook the eggs gently—though results vary by model.
So yes—your rice cooker isn’t just for grains anymore. It’s a versatile kitchen multitasker.
Step-by-Step Guide: How to Boil Eggs in a Rice Cooker
Ready to try it yourself? Here’s a foolproof process that works for most standard rice cookers:
What You’ll Need:
- Fresh or room-temperature eggs
- Enough cold water to fully submerge eggs + 1 inch extra
- A flat-bottomed inner pot (non-stick preferred)
- A spoon or slotted spatula (for gentle handling)
- Optional: Ice bath container, steamer basket, or trivet
Step 1: Prepare Your Inner Pot
Remove the inner pot from your rice cooker and rinse it thoroughly. If your model has a non-stick coating, avoid metal utensils. Place the pot back inside the unit.
Step 2: Add Water
Pour cold water into the inner pot until it reaches about an inch above where the eggs will sit. Too little water risks uneven heating; too much prolongs cooking time unnecessarily.
Step 3: Gently Place the Eggs
Use a spoon or spatula to lower each egg carefully into the water. Avoid dropping them straight down—cracks are more likely that way. Arrange them in a single layer if possible.
Step 4: Start the Cooking Cycle
Press the “Cook” or “White Rice” button. Most rice cookers automatically heat to boiling point within 10–15 minutes. Once it clicks into “Keep Warm,” count your minutes based on desired doneness:
- Soft-boiled: 6–8 minutes
- Medium-boiled: 9–10 minutes
- Hard-boiled: 12–15 minutes
Step 5: Shock in Ice Water (Optional but Recommended)
After timing, immediately transfer eggs to an ice-water bath using a slotted spoon. This stops the cooking process and makes peeling much easier.
Step 6: Peel and Enjoy!
Tap gently on the shell, roll between hands, and peel under cool running water. Voilà—perfectly cooked eggs every time.
Tips for Perfect Eggs Every Time
Even though boiling eggs in a rice cooker sounds easy, small tweaks can make a big difference:
Use Older Eggs for Better Peeling
Eggshells of older eggs are thinner and easier to remove. If your eggs are very fresh (within a week), soak them in vinegar water for 10 minutes before boiling—this softens the membrane between shell and white.
Don’t Overcrowd the Pot
Too many eggs at once can cause uneven heating. For best results, cook no more than 6 eggs at a time unless your pot is large enough.
Lift Lid Carefully During Cooking
Every time you lift the lid, steam escapes, lowering internal temperature slightly. Try to minimize lid lifts during the critical first 5 minutes.
Try Different Temperatures
If your rice cooker has multiple settings (like “Quick Cook” or “Slow Cook”), experiment! Slower heating may yield milder flavors and less cracked shells.
Clean Up Easily
Rice cooker pots are usually dishwasher-safe (check manual). Residue from egg whites can sometimes leave stains, but a quick soak in warm soapy water fixes most messes.
Consider Adding Salt or Vinegar
Adding a pinch of salt or a splash of vinegar to the water can strengthen the egg white structure, reducing leakage if a crack does occur.
Troubleshooting Common Issues
Even with careful steps, mistakes happen. Here’s how to fix them:
Cracked Shells
This usually happens from dropping eggs too hard or using extremely fresh eggs. Solution: always lower eggs gently, and consider using slightly older stock.
Greenish Yolks
Overcooked eggs develop a gray-green ring around the yolk due to iron reacting with sulfur. Prevent this by not boiling longer than necessary and skipping the ice bath if you prefer warmer servings.
Eggs Sticking to the Bottom
If your pot lacks a non-stick surface or wasn’t cleaned well, eggs might adhere. Always ensure the bottom is smooth and dry before adding water and eggs.
Inconsistent Doneness
Older rice cookers may not maintain exact temperatures. Test one egg after 10 minutes—if it’s still runny, add another minute next time. Consistency comes with practice.
Water Evaporates Too Fast
If you notice the water level dropping significantly, your rice cooker might be too powerful or the pot unsealed properly. Ensure the lid fits tightly and fill with just enough water.
Beyond Boiling: Other Creative Uses for Your Rice Cooker
Now that you’ve mastered egg boiling, expand your culinary horizons:
Steamed Vegetables
Use a steamer basket to cook broccoli, carrots, or bok choy in just 5–7 minutes—flavorful and nutrient-rich!
Mug Cake Variations
Mix flour, sugar, cocoa, milk, and egg in a microwave-safe mug, then pour into the rice cooker pot (remove inner pot first!). Steam for 10–12 minutes for a moist dessert.
Oatmeal or Porridge
Simply stir oats, water/milk, and toppings into the inner pot, close the lid, and press “Cook.” Stir occasionally to prevent sticking.
Pasta
Add pasta and boiling water (no oil!), set timer according to package directions, drain excess liquid, and toss with sauce.
One-Pot Meals
Combine rice, beans, spices, and diced veggies—let the rice cooker do the heavy lifting while you relax.
The possibilities are endless! Your rice cooker is truly a kitchen powerhouse.
Final Thoughts: Is Boiling Eggs in a Rice Cooker Worth It?
Absolutely. Boiling eggs in a rice cooker is not just a clever hack—it’s a practical solution for busy households, dorm rooms, tiny kitchens, or anyone who wants consistent, hassle-free meals. It’s cost-effective, energy-efficient, and surprisingly forgiving.
Whether you’re feeding a family, meal prepping for the week, or simply treating yourself to a gourmet breakfast, this method delivers. And honestly? There’s something satisfying about knowing your rice cooker can do so much more than just make fluffy white rice.
Next time you reach for the stove, pause—and consider giving your rice cooker a chance. You might just fall in love all over again.
Frequently Asked Questions
Can I boil eggs in any type of rice cooker?
Most standard electric rice cookers work fine for boiling eggs, especially those with a “Keep Warm” function. However, check your manual to confirm compatibility. Avoid models with delicate settings or those labeled only for steaming.
How long does it take to boil eggs in a rice cooker?
It depends on the style: soft-boiled eggs take 6–8 minutes after the cooker reaches full heat, while hard-boiled ones need 12–15 minutes. Allow 10–15 minutes total for the rice cooker to reach boiling point.
Do I need to use a steamer basket?
Not necessarily. For hard or soft-boiled eggs, placing them directly in the inner pot works well. Use a steamer basket only if you want to prevent bottom sticking or poach eggs.
Can I boil more than 6 eggs at once?
Yes, but ensure they fit in a single layer and aren’t overcrowded. Larger batches may extend cooking time slightly. Never exceed the pot’s maximum capacity.
Will boiling eggs affect my rice cooker’s performance?
No. As long as you clean the inner pot afterward and avoid leaving residue, regular egg boiling won’t damage your appliance. Just don’t use it to boil eggs daily without rinsing.
Are boiled eggs from a rice cooker safe to eat?
Yes, absolutely. As long as you follow food safety guidelines—using clean equipment, proper timing, and storing leftovers promptly—eggs boiled in a rice cooker are completely safe.