
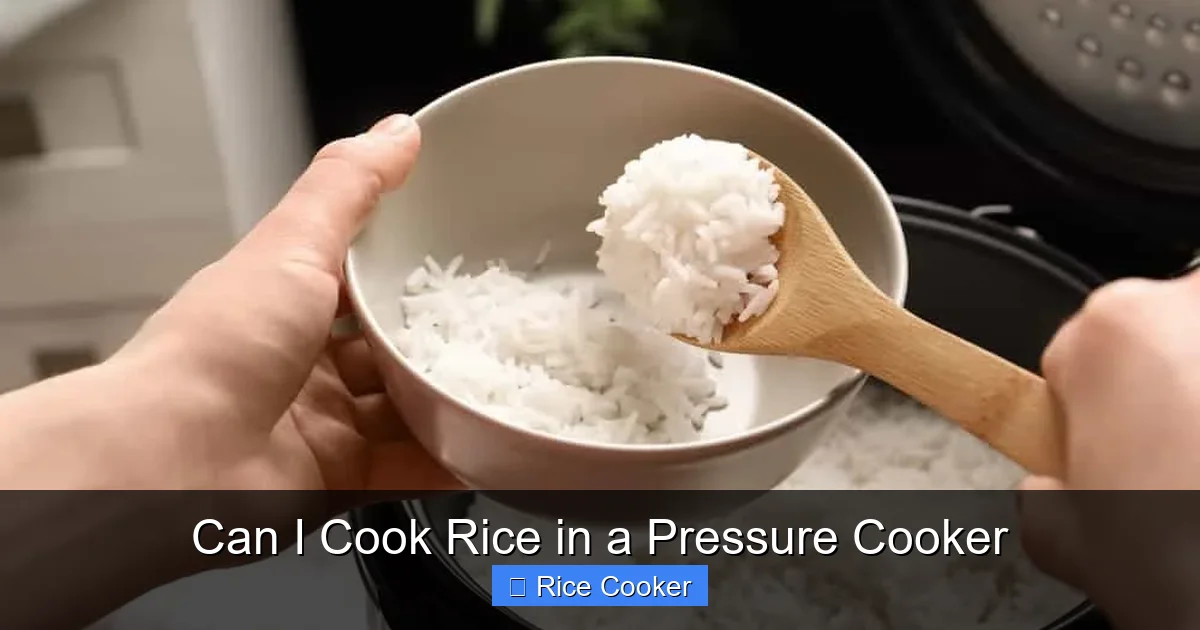
You can definitely cook rice in a pressure cooker, and it’s one of the most convenient and hands-off ways to do it. Whether you’re using an electric pressure cooker like the Instant Pot or a traditional stovetop model, you’ll get tender, evenly cooked grains without constant stirring. With the right water-to-rice ratio and cooking time, pressure cooking delivers foolproof results in under 30 minutes.
Key Takeaways
- Pressure cookers are ideal for cooking rice because they use steam and high pressure to cook grains quickly and evenly, reducing cooking time by up to 70% compared to boiling.
- Water-to-rice ratios vary by grain type—white rice typically uses 1:1 (rice to water), while brown rice may need 1.25:1 or more due to its higher fiber content.
- Cooking times differ between electric and stovetop pressure cookers; electric models often require less time and gentler heat release.
- Natural release is recommended for most rice varieties to prevent overcooking and allow the grains to finish steaming off-heat.
- Soaking brown rice beforehand can improve texture and reduce cooking time, leading to fluffier, more uniform results.
- Always vent excess moisture after cooking to avoid mushy rice—use the quick release method if needed.
- Experiment with seasonings and add-ins like broth, herbs, or spices to elevate plain rice into flavorful side dishes.
Quick Answers to Common Questions
Can I cook any type of rice in a pressure cooker?
Yes, most rices—including white, brown, sushi, jasmine, and wild rice—can be cooked in a pressure cooker. However, each variety may require different water ratios and cooking times to achieve optimal texture.
Do I need to soak rice before pressure cooking?
Soaking is optional but beneficial, especially for brown rice. Soaking reduces cooking time and improves texture by allowing grains to absorb water ahead of time. White rice typically doesn’t require soaking.
What’s the difference between natural and quick release for rice?
Natural release means leaving the lid locked for several minutes after cooking, letting residual heat finish the process gently. Quick release involves manually venting steam immediately, which can cause uneven cooking or overcooking in some cases. Natural release is generally recommended for rice.
Can I cook frozen rice in a pressure cooker?
It’s not recommended to cook frozen rice directly in a pressure cooker, as it can lead to uneven heating and potential safety risks. Thaw rice completely before cooking.
How do I prevent rice from sticking to the bottom?
Use the correct water ratio, rinse the rice before cooking, and avoid using the “Keep Warm” function for extended periods. Adding a small amount of oil or butter to the liquid also helps prevent sticking.
📑 Table of Contents
- Can I Cook Rice in a Pressure Cooker?
- How Does Pressure Cooking Work for Rice?
- Choosing Between Electric and Stovetop Pressure Cookers
- Best Types of Rice for Pressure Cooking
- Perfect Water-to-Rice Ratios for Every Grain
- Step-by-Step Guide: How to Cook Perfect Rice in a Pressure Cooker
- Troubleshooting Common Rice Problems
- Flavoring Your Pressure-Cooked Rice
- Tips for Success Every Time
Can I Cook Rice in a Pressure Cooker?
If you’ve ever wondered whether you can cook rice in a pressure cooker, the answer is a resounding yes—and not just yes, but a big yes that comes with deliciously fluffy, perfectly textured grains every single time. In fact, pressure cooking has become one of the most popular methods for preparing rice, thanks to its speed, convenience, and ability to produce consistent results with minimal supervision. Whether you’re using a modern electric pressure cooker like the Instant Pot or an older stovetop model, mastering rice in a pressure cooker opens up a world of kitchen possibilities.
Rice is a staple food in many cultures around the globe, and getting it right means more than just avoiding burnt bottoms or soggy centers. It’s about achieving the perfect balance of tenderness and structure, moisture and dryness, chewiness and fluffiness—depending on the type of rice you’re working with. Traditionally, rice is boiled in large pots of water, which can take anywhere from 20 to 40 minutes depending on the variety. But with a pressure cooker, you can cut that time down significantly, often finishing the job in under 20 minutes—even for long-grain varieties like basmati or jasmine.
In this comprehensive guide, we’ll walk you through everything you need to know about cooking rice in a pressure cooker: from understanding how the magic happens, choosing the right equipment, selecting the best rice types, and nailing those all-important ratios. We’ll also share pro tips, troubleshooting advice, and creative ideas for flavoring your rice beyond plain white or brown. So grab your favorite grain, fire up that pressure cooker, and let’s get started!
How Does Pressure Cooking Work for Rice?
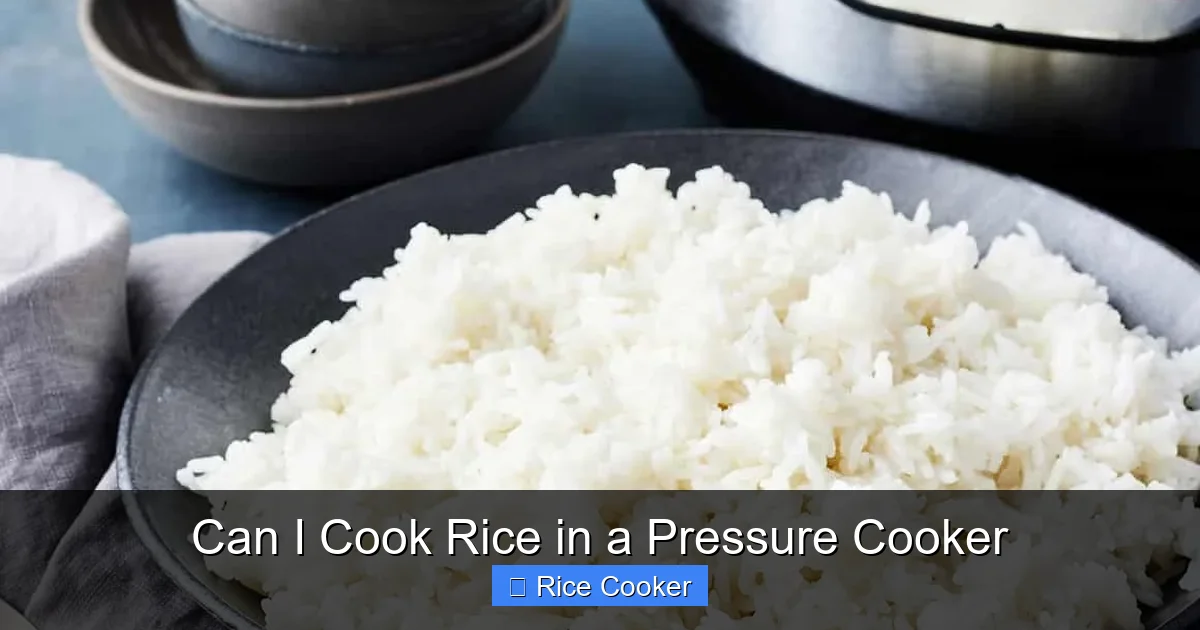
Before diving into recipes, it’s helpful to understand the science behind why pressure cooking works so well for rice. Unlike boiling, where rice sits in hot water and slowly absorbs moisture, a pressure cooker traps steam inside a sealed environment, raising the internal temperature above the normal boiling point of water (which is 212°F or 100°C at sea level). Under pressure, water boils at around 250°F (121°C), creating intense heat and moisture that penetrate the rice grains rapidly.
Visual guide about Can I Cook Rice in a Pressure Cooker
Image source: cdn.loveandlemons.com
The Role of Steam and Pressure
This superheated steam does two things: first, it cooks the rice faster by transferring heat more efficiently; second, it softens the starches inside the grains, helping them absorb moisture uniformly. Because the entire cooking process happens in a closed system, there’s no risk of scorching or uneven heating—something that often plagues traditional pot-based methods.
Why It Matters for Rice Texture
The result? A consistently cooked batch of rice with minimal sticking and no mushy patches. The controlled environment prevents overcooking, which is a common issue when using stovetop pots. Plus, since you don’t have to stir constantly or monitor the water level, you can set it and forget it—perfect for busy weeknights or meal prep days.
Of course, not all pressure cookers are created equal. Electric models like the Instant Pot use programmable settings and precise temperature control, while stovetop versions rely on manual timing and heat regulation. Both work great for rice, but their differences affect cooking times and release methods, which we’ll explore next.
Choosing Between Electric and Stovetop Pressure Cookers
When deciding whether to cook rice in an electric or stovetop pressure cooker, consider your kitchen setup, cooking style, and desired level of automation. Both types can deliver excellent results, but they operate differently and require slightly varied techniques.
Visual guide about Can I Cook Rice in a Pressure Cooker
Image source: pyleaudio.com
Electric Pressure Cookers (e.g., Instant Pot)
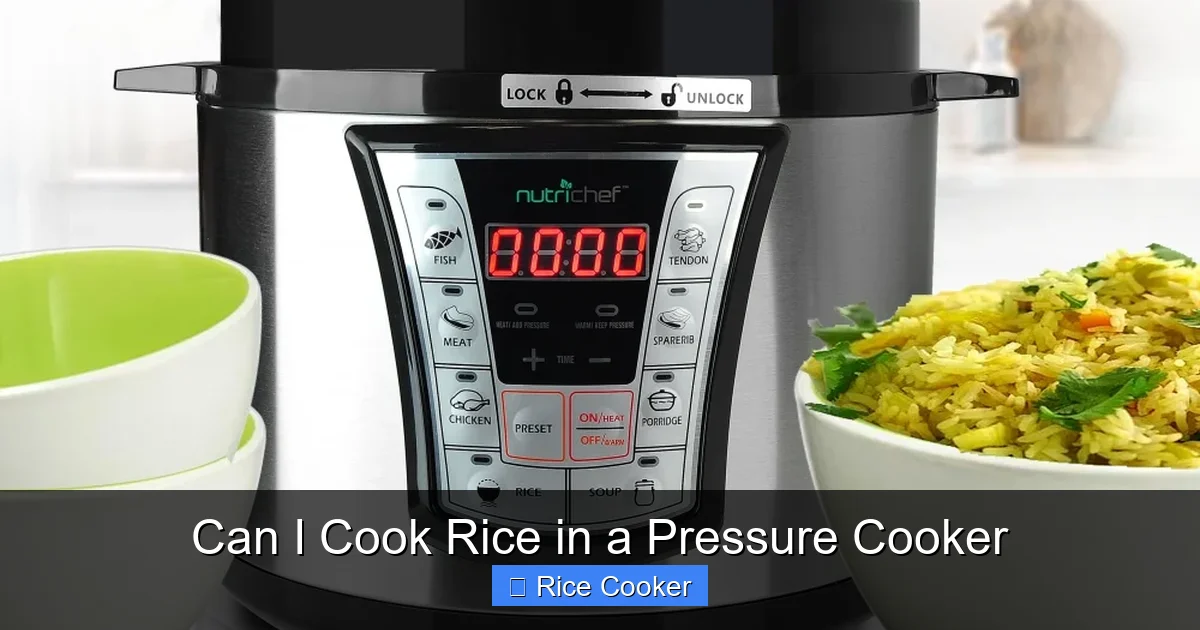
Electric pressure cookers have surged in popularity over the past decade, largely due to brands like Instant Pot, which offer multiple functions—including rice, yogurt, slow cooking, and sautéing—all in one appliance. These devices come with preset programs specifically designed for different rice types, making them beginner-friendly.
For example, if you select the “White Rice” setting on an Instant Pot, it will automatically adjust cooking time, pressure level, and release method based on the amount and type of rice you’re using. This convenience is especially useful if you’re new to pressure cooking or want to minimize guesswork.
Stovetop Pressure Cookers
Traditional stovetop pressure cookers have been around for generations and are known for their durability and reliability. They require more active monitoring—such as adjusting flame levels during cooking and manually releasing pressure—but give you greater control over the process.
If you prefer hands-on cooking or already own a heavy-duty pot with a pressure lid, a stovetop model might be your best bet. Just keep in mind that timing and pressure management require practice, especially if you’re switching from boiling rice.
Which One Should You Use for Rice?
Both work equally well once you get the hang of it. If you value speed and simplicity, go electric. If you enjoy full control and don’t mind a bit more oversight, choose stovetop. Either way, the core principles—correct water ratios, proper sealing, and appropriate release methods—remain the same.
Best Types of Rice for Pressure Cooking
Not all rice is created equal when it comes to pressure cooking. Some varieties respond better to the high-heat, high-pressure environment than others. Choosing the right kind ensures your final dish is neither too hard nor too soft, and maintains the characteristic texture associated with each grain.
White Rice
White rice—including long-grain varieties like Jasmine and Basmati—is perhaps the most forgiving and widely used option for pressure cooking. Its refined starch structure allows it to absorb water quickly and cook evenly, resulting in light, separate grains. Because it lacks the bran layer found in brown rice, white rice doesn’t require extended soaking and usually cooks in 5–7 minutes under pressure.
Brown Rice
Brown rice contains more fiber and nutrients thanks to its intact bran shell, but this also means it takes longer to cook and requires more liquid. When pressure cooking brown rice, many home cooks find success by increasing the water ratio to 1.25:1 or even 1.5:1 and opting for a natural release instead of quick release. Soaking the rice for 30 minutes before cooking can further improve texture and reduce total cooking time.
Sushi Rice
Sushi rice—a short-grain Japanese variety—can also be cooked in a pressure cooker, though it requires careful attention to achieve the sticky, moist texture essential for sushi rolls. A 1:1 water ratio works well, and a natural release helps preserve the delicate consistency. Avoid overcooking or using quick release, as both can lead to overly firm or mushy results.
Wild Rice
Wild rice, despite its name, isn’t actually true rice but a type of grass seed. It’s denser and more fibrous, requiring longer cooking times—typically 20–25 minutes under pressure—and a higher water ratio (around 2:1). Due to its unique structure, wild rice benefits from a natural release to fully rehydrate and soften.
Instant Rice Mixes
Some pre-packaged instant rice mixes are formulated for pressure cookers, offering convenience and consistent results. Always follow package instructions regarding water amounts and cooking times, as these products may include seasonings or additives that affect texture.
Perfect Water-to-Rice Ratios for Every Grain
One of the most common questions beginners ask is: “How much water should I use?” The answer depends entirely on the type of rice you’re cooking. Getting the ratio right is crucial—too little water leads to undercooked, chalky grains; too much results in mushy, soupy rice.
General Guidelines
- White Rice: 1 cup rice : 1 cup water (1:1 ratio)
- Brown Rice: 1 cup rice : 1.25–1.5 cups water (1.25:1 to 1.5:1)
- Sushi Rice: 1 cup rice : 1 cup water (1:1), plus optional salt or vinegar after cooking
- Jasmine Rice: Similar to white rice—use 1:1 ratio
- Basmati Rice: Can be cooked 1:1, but some prefer 1:1.25 for extra fluffiness
- Wild Rice: 1 cup rice : 2 cups water (2:1)
Adjustments for Altitude
Living at higher elevations can affect cooking times and water absorption due to lower atmospheric pressure. At altitudes above 3,000 feet, you may need to increase water slightly and extend cooking time by a few minutes. Consult your pressure cooker manual for altitude-specific guidance.
Testing Your Ratio
If you’re unsure about your preferred ratio, start conservative (use slightly less water) and test the rice after the timer ends. If it’s still hard in the center, return it to the cooker for another minute or two. Conversely, if it’s gummy, next time try reducing the water by ¼ cup.
Step-by-Step Guide: How to Cook Perfect Rice in a Pressure Cooker
Ready to make your first batch? Follow this simple, foolproof method for flawless rice every time. Whether you’re using an electric or stovetop model, the steps remain largely the same.
Ingredients & Tools You’ll Need
- 1 cup uncooked rice (adjust quantity as needed)
- Water (ratio depends on rice type)
- A pressure cooker (electric or stovetop)
- A fine-mesh strainer (for rinsing)
- Optional: salt, butter, or broth for flavor
Preparation Steps
- Rinse the Rice: Place rice in a strainer and rinse under cold water until the runoff runs clear. This removes excess starch and prevents stickiness.
- Add Rice and Liquid: Transfer rinsed rice to the pressure cooker insert. Pour in the appropriate amount of water (or broth for added flavor).
- Add Flavorings (Optional): Stir in a pinch of salt, a pat of butter, or a splash of soy sauce for extra taste.
- Close and Seal: Secure the lid tightly and ensure the valve is set to “Sealing.” For electric models, select the “Rice” program. For stovetop, bring to high pressure manually.
Cooking Process
- Start Pressure Build-Up: On stovetop models, heat until pressure builds (listen for hissing or use the float indicator). On electric models, the device will auto-detect and begin pressurizing.
- Cook Under Pressure: Once pressurized, maintain pressure for the recommended time:
- White rice: 4–5 minutes
- Brown rice: 6–8 minutes
- Sushi rice: 3–4 minutes
- Release Pressure: After cooking, allow a natural release (leaving the lid locked for 10–15 minutes) for most rices. This lets residual heat finish the cooking gently.
- Quick Release if Needed: If you’re short on time or notice excess steam, carefully turn the valve to “Venting” to release remaining pressure quickly.
Finishing Touches
After pressure is fully released, open the lid away from your face (steam can be hot!). Gently fluff the rice with a fork to separate the grains. Taste and adjust seasoning if necessary. Serve immediately for best texture.
Troubleshooting Common Rice Problems
Even experienced cooks run into issues now and then. Here’s how to fix the most frequent problems when cooking rice in a pressure cooker.
Mushy or Overcooked Rice
This usually happens when too much water is used or the quick release method is applied too soon. To fix it, scoop out excess liquid if possible, then return to the cooker on “Sautee” mode for a few minutes to evaporate moisture. Alternatively, serve immediately and accept that it’s a one-time mistake—next time, reduce water slightly.
Gummy or Sticky Grains
Excess starch causes gummy rice. Always rinse thoroughly before cooking. Also, avoid using the “Keep Warm” function for too long after cooking—it continues to cook the rice and can make it gluey. Fluffing right after opening helps break up clumps.
Undercooked or Hard Rice
If the center remains chewy, the rice likely needs more time. Return the cooker to pressure (after natural release) and cook for an additional 1–2 minutes. Be cautious not to overdo it, as rice can quickly go from underdone to mushy.
Burnt Bottom Layer
This occurs if the bottom of the pot dries out. Ensure you’re using enough liquid and never cook without water. Some electric models have a “Keep Warm” function that can scorch rice if left on too long—use it sparingly.
Uneven Cooking
Inconsistent results often stem from incorrect water ratios or improper sealing. Double-check that the lid locks properly and that the gasket is clean and seated correctly. Distribute rice evenly in the pot and avoid overcrowding.
Flavoring Your Pressure-Cooked Rice
Rice doesn’t have to be boring! Adding flavor during the cooking process transforms plain grains into vibrant sides that pair beautifully with curries, grilled meats, or salads.
Use Broth Instead of Water
Replace up to half the water with vegetable, chicken, or beef broth for deeper flavor. Herbs like bay leaf, thyme, or cumin seeds can infuse subtle notes without overwhelming the dish.
Add Aromatics
Toast onions, garlic, or ginger in the pot before adding rice and liquid. Sauté for 1–2 minutes until fragrant, then continue with the recipe. This builds a flavor foundation similar to pilaf-style cooking.
Infuse with Spices
Try turmeric for golden “yellow rice,” cinnamon and cardamom for Indian-inspired biryani, or smoked paprika for a savory twist. Add whole spices directly to the liquid—they’ll dissolve gradually during cooking.
Dairy or Fat Enhancements
A tablespoon of coconut milk adds richness and aroma—great for Thai or Indian dishes. Butter or olive oil contributes mouthfeel and helps prevent sticking.
Post-Cook Seasoning
For extra zest, toss cooked rice with lemon juice, chopped parsley, or a drizzle of sesame oil after opening the lid. This brightens the flavor and refreshes the texture.
Tips for Success Every Time
Mastering rice in a pressure cooker takes practice, but these expert tips will help you achieve restaurant-quality results consistently.
- Measure Accurately: Use measuring cups specifically designed for dry ingredients—not volume cups meant for liquids.
- Don’t Skip Rinsing: Even instant or parboiled rices benefit from a quick rinse to remove surface starch.
- Let Rice Rest: After natural release, let rice sit covered for 5 minutes before fluffing. This equalizes temperature and moisture.
- Clean the Gasket Regularly: Food particles trapped in the rubber seal can cause leaks or poor sealing. Wash after every use.
- Experiment Gradually: Start with basic white rice before trying specialty grains. Master the fundamentals first.
- Keep Notes: Track your ratios, times, and outcomes. Small adjustments lead to big improvements.
Frequently Asked Questions
Is it safe to cook rice in a pressure cooker?
Yes, cooking rice in a pressure cooker is completely safe when done correctly. Always ensure the lid seals properly, follow manufacturer instructions, and avoid overfilling the pot beyond the max fill line.
How long does it take to cook rice in a pressure cooker?
Most rice cooks in 5–8 minutes under pressure, depending on the type. White rice takes about 4–5 minutes, while brown rice may need 6–8 minutes. Total time includes pressurization and release.
Can I cook rice and beans together in a pressure cooker?
Absolutely! Legumes like lentils or chickpeas can be cooked alongside rice using similar timing and ratios. Adjust water slightly upward due to bean absorption.
What happens if I use too much water?
Too much water results in mushy, soupy rice. Drain excess liquid after cooking or return to “Sautee” mode to evaporate it before serving.
Do I need to stir rice during cooking?
No, pressure cookers are self-stirring environments. Stirring is unnecessary and could disrupt the cooking process. Just ensure rice is evenly distributed at the start.
Can I cook rice in a slow cooker instead?
While possible, slow cookers aren’t ideal for rice because they lack the high heat and pressure needed for quick, even cooking. Results tend to be softer and less fluffy.