
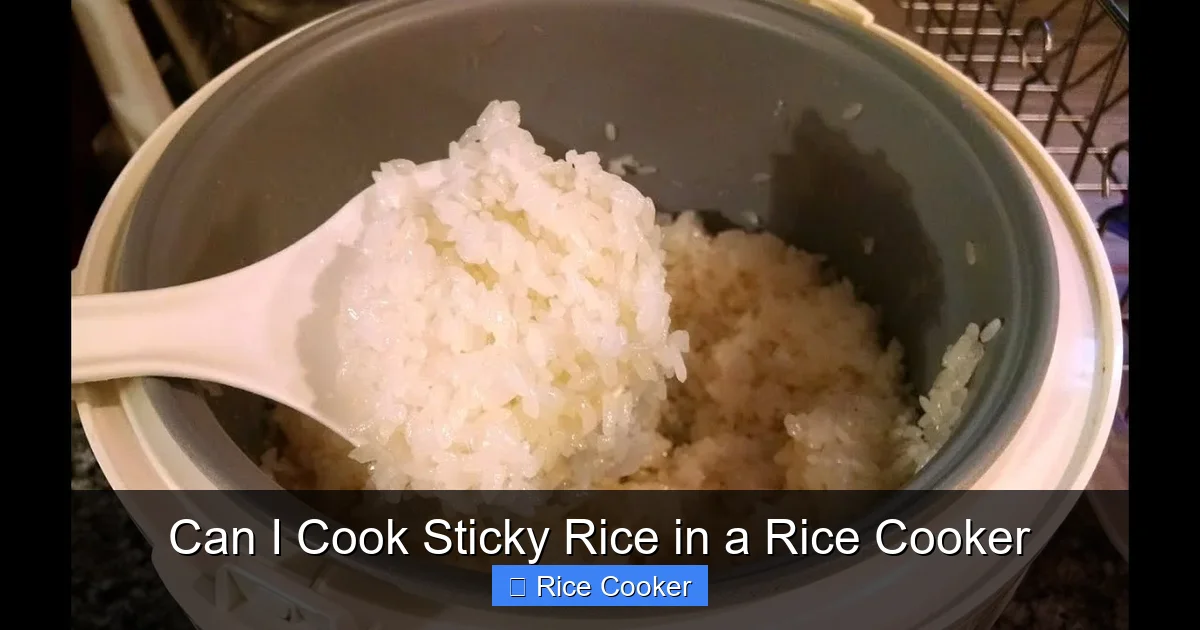
Can I cook sticky rice in a rice cooker? The short answer is yes, and it’s easier than you think! With the right ratio of water, proper preparation, and a few simple tweaks, your rice cooker can produce perfectly tender, clingy rice every single time. Whether you’re making sushi, mochi, or a comforting bowl of Thai-style khao niao, this guide will walk you through everything you need to know—from choosing the best rice to troubleshooting common issues. No more mushy disasters or dry clumps—just delicious, authentic sticky rice made simple.
Key Takeaways
- Sticky rice can be cooked in a rice cooker when using the correct water-to-rice ratio and proper rinsing techniques.
- Short-grain Japanese or Thai glutinous rice is ideal for making authentic sticky rice in an electric rice cooker.
- Rinsing removes excess starch, preventing clumping and ensuring each grain stays soft but distinct.
- Soaking the rice for 30–60 minutes improves texture and helps achieve even cooking.
- A quick steam cycle after cooking locks in moisture and enhances stickiness without overcooking.
- Using a non-stick inner pot makes cleanup easy and prevents rice from sticking to the bottom.
- Experiment with ratios (e.g., 1:1.1 or 1:1.2) based on your rice type and desired consistency.
Have you ever dreamed of serving up restaurant-quality sticky rice at home—fluffy, slightly glossy, and clinging together just enough to wrap around your chopsticks? You might be surprised to learn that your trusty rice cooker isn’t just for plain white rice. In fact, many modern rice cookers are fully capable of handling sticky rice with ease. But before you toss a bag of short-grain rice into your appliance and hit “cook,” there are a few key steps and secrets to master.
Sticky rice—also known as sweet rice, glutinous rice, or mochigome—is a cornerstone in Asian cuisines, especially in Japan, Thailand, Vietnam, and China. Traditionally, it’s steamed in bamboo baskets or over boiling water, which gives it that signature moist, cohesive texture. However, thanks to advancements in rice cooker technology and the growing popularity of specialty appliances, you can now achieve similar results right in your kitchen. Whether you’re preparing sushi rice, Thai coconut rice, or even dessert mochi, learning how to cook sticky rice in a rice cooker opens up a world of culinary possibilities.
In this comprehensive guide, we’ll walk you through everything you need to know—from selecting the right rice and understanding water ratios to mastering timing and texture. By the end, you’ll be confident cooking perfect sticky rice every time, no steaming basket required.
Key Takeaways
- Understanding can i cook sticky rice in a rice cooker: Provides essential knowledge
📑 Table of Contents
- Understanding Sticky Rice vs. Regular Rice
- Choosing the Right Rice and Equipment
- Step-by-Step Guide: How to Cook Sticky Rice in a Rice Cooker
- Pro Tips for Perfect Sticky Rice Every Time
- Troubleshooting Common Issues
- Beyond Basics: Creative Ways to Use Your Sticky Rice
- The Future of Sticky Rice Cooking
- Conclusion: Embrace the Simplicity
Understanding Sticky Rice vs. Regular Rice
Before diving into the “how-to,” let’s clarify what makes sticky rice different—and why those differences matter when cooking in a rice cooker.
The Science Behind Stickiness
Sticky rice gets its name not because it contains glue, but due to its high amylopectin content. Amylopectin is a type of starch that absorbs water and swells during cooking, creating a gel-like texture that binds the grains together. Unlike long-grain rice, which has more amylose and cooks up separate and fluffy, sticky rice remains moist and cohesive. This is why traditional methods involve steaming, which gently cooks the rice while preserving moisture.
Types of Sticky Rice
Not all sticky rice is created equal. There are two main varieties:
– **Japanese Short-Grain Rice (Mochigome):** Slightly less sticky than Thai or Chinese versions, it’s commonly used for sushi and mochi.
– **Thai Glutinous Rice (Kao Niao):** Very sticky and often used in desserts like mango sticky rice.
– **Chinese Sticky Rice:** Typically used in savory dishes like zongzi (rice dumplings).
For most home rice cookers, Japanese short-grain rice works best because it’s widely available and performs well under standard cooking cycles.
Why Rice Cookers Can Handle Sticky Rice
Modern rice cookers use precise temperature control and automated cycles that mimic steaming conditions. Many models include a “glutinous” or “sweet rice” setting, but even basic ones can handle it if you adjust the water ratio and prep method. The key is managing heat and moisture so the rice cooks evenly without drying out or becoming mushy.
Choosing the Right Rice and Equipment
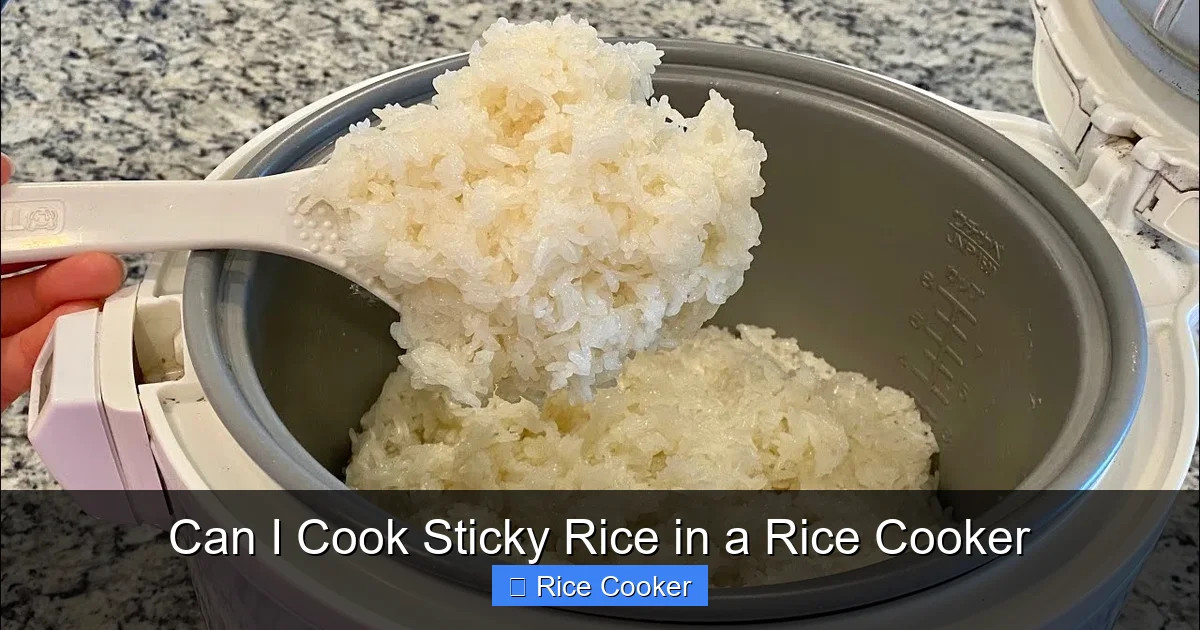
Visual guide about Can I Cook Sticky Rice in a Rice Cooker
Image source: i.ytimg.com
Getting started begins with the basics—your ingredients and tools.
Best Rice Types for Sticky Rice
Look for short-grain or glutinous rice labeled specifically for sticky rice or sushi. Avoid regular medium- or long-grain rice, as they lack the necessary starch structure. If you’re in the U.S., brands like Jasmine Gold, Mochiko, or even Calrose rice (used in Japan) are excellent choices.
What Kind of Rice Cooker Do You Need?
You don’t need a $500 professional model—many affordable rice cookers work perfectly. Look for these features:
– Non-stick inner pot (prevents sticking and simplifies cleaning)
– Multiple cooking modes (especially “sticky” or “gluten-free” settings)
– Timer function (for soaking and delayed cooking)
– Keep-warm mode (to maintain texture)
If your rice cooker doesn’t have a dedicated sticky rice setting, don’t worry. Most can still do the job with manual adjustments.
Precise Measurements Matter
Use a measuring cup designed for rice (not liquid). For every 1 cup of uncooked rice, start with about 1.1 to 1.2 cups of water. This slight reduction compared to regular rice helps prevent excess moisture, which can make sticky rice too soggy.
Step-by-Step Guide: How to Cook Sticky Rice in a Rice Cooker
Now for the fun part—actually making it! Follow this foolproof process for consistent results.
Step 1: Rinse the Rice Thoroughly
Rinsing removes excess surface starch, which can cause clumping. Place the rice in a fine-mesh strainer and rinse under cold running water until the water runs clear. Swirl gently with your fingers—don’t scrub, as you might damage the grains. This step is crucial for achieving separated yet cohesive grains.
Step 2: Soak the Rice (Optional but Recommended)
Soaking softens the outer layer of starch, allowing for more uniform absorption during cooking. Let the rinsed rice sit in water for 30 to 60 minutes. Some purists soak overnight, but 30 minutes is sufficient for most home cooks.
Step 3: Drain and Add to Rice Cooker
After soaking, drain well and transfer the rice to the inner pot. Add your measured water (start with 1.1 cups per 1 cup rice). Use a spoon or spatula to level the surface.
Step 4: Select the Right Cooking Mode
If your rice cooker has a “Sticky Rice” or “Glutinous Rice” setting, use it. Otherwise, choose “White Rice” or “Regular.” Avoid “Congee” or “Porridge,” as these add too much liquid.
Step 5: Start Cooking
Close the lid and press “Cook.” The cycle usually takes 20–30 minutes. Avoid opening the lid during cooking—this lets heat escape and can disrupt the process.
Step 6: Let It Rest
Once the cycle ends, let the rice rest for 5–10 minutes with the lid closed. This allows residual steam to distribute evenly and firms up the texture.
Step 7: Fluff and Serve
Use a rice paddle or fork to gently fluff the rice. Don’t stir too vigorously, or you’ll break the grains. Serve immediately for best texture.
Pro Tips for Perfect Sticky Rice Every Time
Even experienced cooks benefit from a few insider tricks. Here’s how to elevate your sticky rice game.
Master the Water Ratio
Too much water = mushy rice. Too little = dry clumps. Start with a 1:1.1 ratio (1 cup rice to 1.1 cups water). Taste test after cooking—if it’s too wet, next time reduce by 0.1 cups. For extra stickiness, increase slightly, but only if needed.
Use Room-Temperature Water
Cold water slows absorption; warm water speeds it up. Using room-temperature water ensures even cooking and better texture.
Add a Pinch of Salt or Sugar
A tiny pinch of salt enhances flavor and balances sweetness in dishes like mango sticky rice. Sugar is optional but helps create a shinier finish.
Try a Steam Cycle (Advanced Tip)
Some rice cookers allow a second steam phase. After the initial cook, let the rice cool slightly, then run a 5-minute steam cycle. This adds moisture back without overcooking—great for drier climates or older rice.
Store Leftovers Properly
Refrigerate in an airtight container for up to 3 days. To reheat, sprinkle a teaspoon of water over the top, cover with a damp cloth, and microwave for 30 seconds—or steam briefly in the rice cooker.
Customize for Recipes
– **Coconut Sticky Rice:** Add ½ cup coconut milk and ¼ cup water instead of plain water.
– **Sushi Rice:** Mix cooked rice with 2 tbsp rice vinegar, 1 tsp sugar, and a pinch of salt after cooking.
– **Mochi Base:** Cook rice, then pound in a mortar or blend into a paste for traditional mochi.
Troubleshooting Common Issues
Even with the best technique, things can go wrong. Here’s how to fix them.
Problem: Rice Is Too Dry and Crumbly
This usually means too little water or insufficient soaking. Next time, increase water by 0.1–0.2 cups and soak longer. Also, ensure your rice cooker isn’t set to “keep warm” for too long—it draws out moisture.
Problem: Rice Sticks to the Bottom
Scorching happens when rice dries out or burns. Always use a non-stick pot. If yours isn’t non-stick, lightly oil the bottom. Also, avoid opening the lid mid-cycle.
Problem: Grains Are Clumpy Instead of Cohesive
Over-rinsing can remove too much starch, reducing stickiness. Rinse just until water runs clear—not cloudy. Under-rinsing leads to gummy clumps, so balance is key.
Problem: Texture Is Too Gummy
Too much water or overcooking causes gummy rice. Measure carefully and follow resting instructions. Fluff gently after cooking to release excess steam.
Problem: Rice Cooker Doesn’t Have a Sticky Rice Setting
No problem! Use the “White Rice” setting and adjust water down by 10%. Some users even pre-soak and cook twice—first cycle half-done, then full cycle after draining.
Beyond Basics: Creative Ways to Use Your Sticky Rice
Once you’ve mastered the fundamentals, the possibilities expand. Sticky rice is incredibly versatile.
Mochi Dough
Cook glutinous rice, cool slightly, then pound or blend into a smooth dough. Roll into balls, fill with red bean paste or ice cream, and dust with cornstarch. Freeze for 30 minutes, then fry or bake for chewy mochi treats.
Sushi Rice
While sushi rice is technically short-grain (not strictly sticky), the same techniques apply. Cook rice, let cool, then mix with seasoned rice vinegar. Wrap with nori for easy hand rolls.
Thai Coconut Rice
Combine 1 cup sticky rice with 1 cup water and ½ cup coconut milk. Cook as usual, then let rest 10 minutes. Top with sliced mango and a drizzle of condensed milk.
Zongzi-Inspired Wraps
Soak glutinous rice overnight, season with soy sauce and mushrooms, wrap in bamboo leaves, and steam for 2 hours. A delicious twist on traditional Chinese New Year snacks.
Dessert Pudding
Cook sticky rice with coconut milk, palm sugar, and pandan leaves. Chill and serve with fresh fruit or toasted sesame seeds.
The Future of Sticky Rice Cooking
As rice cookers become smarter and more intuitive, expect even greater precision. Multi-functional models now offer AI-powered sensors that detect rice type and adjust cycles automatically. Smart apps allow remote monitoring and custom recipe saving. While we may not all own one today, the trend points toward even easier access to perfect sticky rice at home.
Meanwhile, experimenting with fermentation, aging, or combining sticky rice with other grains (like black rice or millet) opens new culinary frontiers. The humble rice cooker is no longer just a kitchen appliance—it’s a gateway to global flavors.
Conclusion: Embrace the Simplicity
Cooking sticky rice in a rice cooker isn’t magic—it’s science, patience, and a bit of practice. Once you understand how water, starch, and heat interact, you’ll never look at your rice cooker the same way again. No steaming baskets, no guesswork, just consistent, delicious results.
Whether you’re making sushi for dinner, whipping up mango sticky rice for dessert, or simply craving that comforting bite of warm, clingy rice, your rice cooker has got you covered. Remember: rinse well, measure accurately, and let the rice rest. With these simple steps, you’re well on your way to mastering one of Asia’s most beloved staples—right from your kitchen counter.
So go ahead—grab that bag of short-grain rice, fire up your rice cooker, and enjoy the journey. Happy cooking!
Frequently Asked Questions
Can any rice cooker cook sticky rice?
Most rice cookers can cook sticky rice, especially those with multiple cooking modes or a non-stick inner pot. Even basic models work well if you adjust the water ratio and follow proper rinsing and soaking steps.
How much water do I use for sticky rice in a rice cooker?
Start with 1.1 to 1.2 cups of water per 1 cup of uncooked sticky rice. Adjust based on your rice type and desired texture—reduce slightly for firmer results, increase for softer, more cohesive rice.
Do I need to soak sticky rice before cooking?
Soaking is recommended—ideally 30 to 60 minutes—as it helps the rice absorb water evenly and improves final texture. Overnight soaking yields the best results for very sticky varieties.
Can I substitute regular rice for sticky rice in a recipe?
No, regular rice lacks the high amylopectin content needed for stickiness. Substituting will result in fluffy, separate grains rather than the desired cohesive texture.
Why is my sticky rice too gummy or mushy?
This usually comes from too much water or overcooking. Try reducing water by 0.1–0.2 cups next time and avoid letting the rice sit in keep-warm mode for too long.
How do I store leftover sticky rice?
Store in an airtight container in the refrigerator for up to 3 days. Reheat by adding a splash of water, covering with a damp cloth, and microwaving for 30 seconds or steaming briefly.