Making brown rice in a rice cooker is not only possible—it’s easier than you think! With the right preparation and water-to-rice ratio, your rice cooker can produce tender, nutritious brown rice that rivals stovetop versions. This method saves time, reduces cleanup, and ensures consistent results every single time.
Key Takeaways
- Brown rice cooks differently than white rice: It requires more water and longer cooking time due to its bran layer, which affects absorption and texture.
- Proper rinsing and soaking improve results: Rinsing removes excess starch, while soaking softens the grains and shortens cooking time.
- The ideal water-to-rice ratio is key: Use 1.5 to 1.75 cups of water per cup of dry brown rice for most rice cookers.
- Soak brown rice for better texture: A 30-minute soak before cooking helps achieve fluffier, more evenly cooked grains.
- Clean your rice cooker regularly: Brown rice can leave more residue; cleaning the inner pot prevents buildup and maintains performance.
- Experiment with ratios for personal preference: Adjust water slightly based on your desired consistency—softer or firmer rice.
- Storage matters: Cooked brown rice lasts up to 5 days in the fridge and can be reheated safely for future meals.
📑 Table of Contents
- Can I Make Brown Rice in a Rice Cooker?
- Why Choose Brown Rice Over White Rice?
- How Does Brown Rice Differ from White Rice in Cooking?
- Do You Need a Special Rice Cooker for Brown Rice?
- Step-by-Step Guide: How to Cook Brown Rice in a Rice Cooker
- Tips for Perfect Brown Rice Every Time
- Troubleshooting Common Brown Rice Issues
- Health Benefits of Eating Brown Rice Regularly
- Creative Ways to Use Cooked Brown Rice
- Environmental and Economic Advantages
- Final Thoughts: Is Brown Rice Worth It?
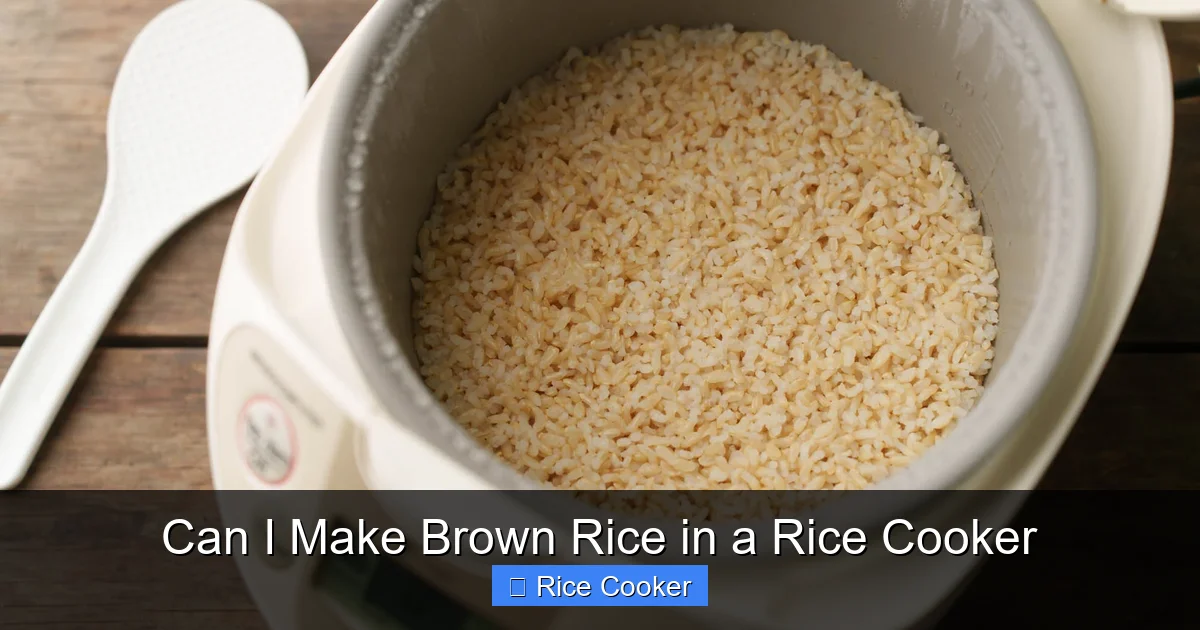
Can I Make Brown Rice in a Rice Cooker?
If you’re looking to eat healthier, boost your fiber intake, or simply enjoy a richer, nuttier flavor, brown rice is an excellent choice. But let’s face it—cooking brown rice on the stovetop can be tricky. It’s easy to end up with mushy, undercooked, or unevenly prepared grains. That’s where your trusty rice cooker comes in. Yes, you can absolutely make brown rice in a rice cooker—and doing so can save you time, reduce stress, and give you consistently great results.
Unlike white rice, which has had its bran and germ removed, brown rice retains its nutrient-rich outer layers. This makes it more nutritious but also more challenging to cook properly. The bran layer slows down water absorption and extends cooking time. However, modern rice cookers are designed to handle these differences, offering precise temperature control and automated cycles that bring out the best in brown rice. In this guide, we’ll walk you through everything you need to know—from prep to serving—so you can enjoy perfect brown rice every time.
Why Choose Brown Rice Over White Rice?
Before diving into the how-to, let’s talk about why brown rice deserves a spot in your kitchen. Unlike refined white rice, brown rice isn’t processed to remove its bran and germ. These parts contain fiber, vitamins like B1 and B6, magnesium, and antioxidants. Studies suggest that diets rich in whole grains like brown rice may lower the risk of heart disease, type 2 diabetes, and certain cancers.
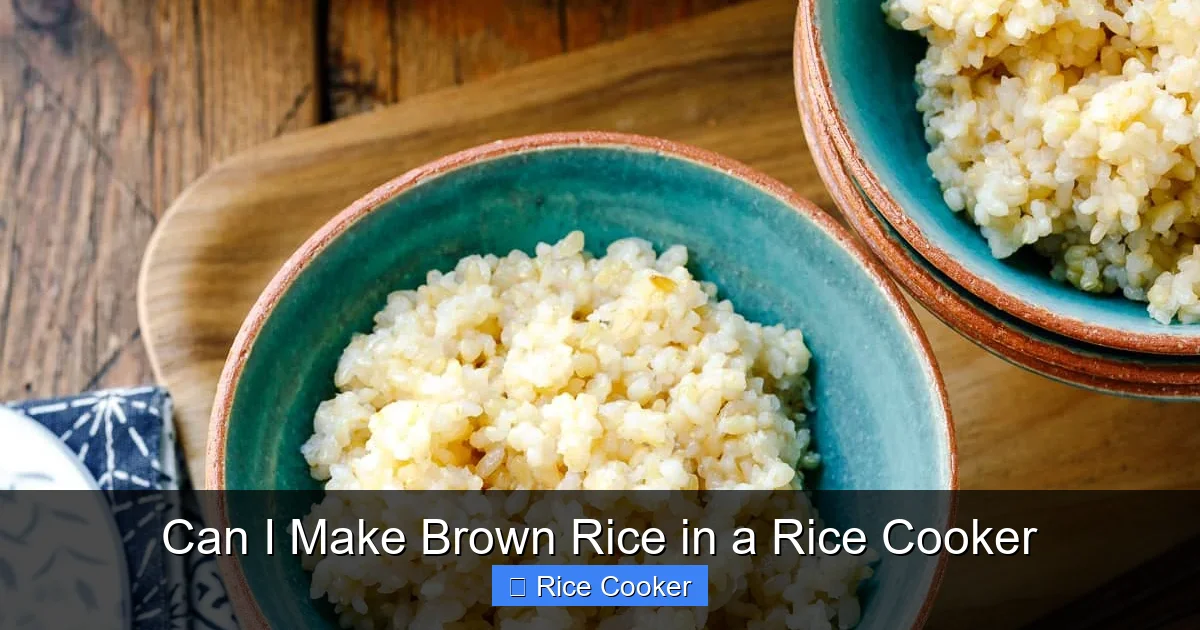
Visual guide about Can I Make Brown Rice in a Rice Cooker
Image source: justonecookbook.com
Nutritional Benefits
One cup of cooked brown rice (about 195 grams) contains approximately:
- 216 calories
- 4.4 grams of protein
- 1.8 grams of fat
- 44.8 grams of carbohydrates
- 3.5 grams of dietary fiber
- Magnesium, phosphorus, and selenium
This makes brown rice a far superior option compared to white rice, which offers little fiber and fewer nutrients after processing.
Flavor and Texture
Brown rice has a nuttier, chewier texture and deeper flavor profile. Many people find it more satisfying than white rice, especially when paired with vegetables, beans, or lean proteins. While some miss the softness of white rice, others appreciate the hearty bite of brown rice—especially when cooked properly.
How Does Brown Rice Differ from White Rice in Cooking?
Understanding the differences between brown and white rice is essential for successful cooking. White rice has been stripped of its bran layer during processing, making it quicker to cook and easier to digest. Brown rice, on the other hand, keeps its natural outer shell, which affects both cooking time and water absorption.
Cooking Time
White rice typically takes 15–20 minutes to cook, while brown rice usually needs 40–60 minutes. This extended time allows the grain to fully absorb water and soften without becoming mushy.
Water Absorption
Because the bran layer acts as a barrier, brown rice absorbs water more slowly. If you use too little water, the rice will be hard and undercooked. Too much water can lead to a gummy or soupy result. Finding the right balance is key.
Starch Content
Brown rice has less starch than white rice, which means it doesn’t become as sticky when overcooked. However, it also doesn’t clump together as easily, so proper rinsing and draining are important.
Do You Need a Special Rice Cooker for Brown Rice?
You don’t need a fancy, high-end model to cook brown rice successfully. Most standard rice cookers—even basic ones with just a “brown rice” setting—can do the job well. However, having one with multiple settings (like pressure cooking or delay timers) can add convenience.
Features to Look For
- Multiple cooking modes: Some rice cookers have dedicated settings for brown rice, wild rice, or even porridge.
- Keep-warm function: Ensures your rice stays warm and moist until you’re ready to serve.
- Non-stick inner pot: Makes cleanup easier and prevents rice from sticking.
- Timer: Lets you set it and forget it, especially useful for busy mornings.
If you already own a rice cooker, check the manual. Many models list brown rice as a compatible option. Even if yours doesn’t have a specific setting, you can still cook brown rice using the same principles.
Step-by-Step Guide: How to Cook Brown Rice in a Rice Cooker
Ready to try it? Follow these simple steps to cook perfect brown rice in your rice cooker every time.
Gather Your Ingredients and Tools
You’ll need:
- 1 cup uncooked brown rice
- 1.5 to 1.75 cups water (adjust based on your rice cooker)
- Rice cooker with non-stick inner pot
- Fine-mesh strainer or colander
- Measuring cup
- Wooden spoon or spatula
Step 1: Rinse the Rice
Place the brown rice in a fine-mesh strainer and rinse under cold running water for 30–60 seconds. This removes excess starch, which can make the rice gummy if left on. Stir occasionally to ensure even rinsing.
Step 2: Soak (Optional but Recommended)
Soaking brown rice for 30 minutes to 1 hour helps soften the bran layer, reducing cooking time and improving texture. After soaking, drain any excess water.
Step 3: Add Rice and Water to the Cooker
Transfer the rinsed (and soaked) rice to the inner pot of your rice cooker. Add water—start with 1.5 cups per cup of rice. If your rice cooker has markings inside the pot, follow those for brown rice. Otherwise, use the 1:1.5 ratio as a baseline.
Step 4: Start the Cooking Cycle
Close the lid, plug in the rice cooker, and press the “Brown Rice” button if available. If not, use the standard “Cook” setting. The cooker will heat the water and gradually cook the rice over 40–60 minutes.
Step 5: Let It Rest
Once the cycle ends, let the rice sit, covered, for 10–15 minutes. This allows residual steam to finish cooking the grains and makes them easier to fluff.
Step 6: Fluff and Serve
Use a fork or rice paddle to gently fluff the rice. Avoid stirring too vigorously to prevent breaking the grains. Serve immediately or keep warm using the “Keep Warm” function.
Tips for Perfect Brown Rice Every Time
Even with the right steps, small adjustments can make a big difference in taste and texture. Here are some pro tips to take your brown rice game to the next level.
Use the Right Water Ratio
The general rule is 1.5 to 1.75 cups of water per 1 cup of brown rice. However, this can vary by brand and grain type. For shorter-grain brown rice (like Thai or Japanese varieties), use closer to 1.5 cups. For long-grain types (like American brown rice), go up to 1.75 cups.
Try a 1:1 Ratio for Pressure Cookers
If your rice cooker is also a pressure cooker, you can reduce the water to 1:1. This cuts cooking time significantly—often to just 20–25 minutes. Just make sure your model supports pressure cooking.
Avoid Opening the Lid During Cooking
Opening the lid releases steam, which can disrupt the cooking process and extend the cycle. Wait until the timer completes before checking.
Don’t Rush the Soak
If you skip soaking, expect longer cooking times and possibly uneven results. Even a quick 30-minute soak makes a noticeable difference.
Store Leftovers Properly
Let cooked brown rice cool completely before storing in an airtight container. It will stay fresh in the refrigerator for up to 5 days or in the freezer for 3 months. Reheat with a splash of water to restore moisture.
Flavor It Up
Add a teaspoon of olive oil or butter to the water for richness. You can also toss in a bay leaf, garlic clove, or a pinch of salt during cooking for extra flavor.
Troubleshooting Common Brown Rice Issues
Even experienced cooks run into problems. Here’s how to fix the most common issues when making brown rice in a rice cooker.
Undercooked Rice
If your rice is hard and chewy, it likely didn’t get enough water or cooking time. Next time, increase the water slightly (try 1.75 cups per cup of rice) or extend soaking time. Also, ensure your rice cooker heats evenly.
Mushy or Sticky Rice
Too much water or over-stirring can cause this. Drain excess water after rinsing, and avoid pressing down on the rice after cooking. Use a gentle fluffing motion instead.
Uneven Cooking
This often happens if the rice wasn’t rinsed or if the cooker isn’t distributing heat well. Try spreading the rice evenly in the pot and avoid packing it down.
Burnt Bottom Layer
Some rice cookers develop hot spots. To prevent burning, stir the rice halfway through cooking (if possible), or transfer it to another pan after the cycle ends to redistribute heat.
Health Benefits of Eating Brown Rice Regularly
Switching to brown rice isn’t just about taste—it’s a smart move for long-term health. As mentioned earlier, it’s packed with fiber, which aids digestion and helps regulate blood sugar. The magnesium in brown rice supports muscle and nerve function, while selenium acts as an antioxidant.
Studies show that people who eat whole grains like brown rice tend to have lower body mass indexes (BMIs) and reduced risks of chronic diseases. It’s also a great addition to weight-loss diets due to its satiety factor—you’ll feel full longer thanks to the fiber content.
For families, incorporating brown rice into meals can help establish healthy eating habits early on. Kids may take time to adjust to the chewier texture, but with creative recipes—like brown rice sushi, stuffed peppers, or grain bowls—they’ll soon love it.
Creative Ways to Use Cooked Brown Rice
Brown rice is incredibly versatile. Once you master the basics, you can use it in countless dishes beyond plain steamed servings.
Brown Rice Bowls
Top with sautéed veggies, grilled chicken, avocado, and a tahini dressing. Add a fried egg on top for extra protein.
Sushi and Sashimi Rice
Cook brown rice and season with rice vinegar, sugar, and salt. Roll with nori, cucumber, and avocado for a nutritious twist on classic sushi.
Fried Rice
Use day-old brown rice to avoid mushiness. Stir-fry with soy sauce, scrambled eggs, peas, carrots, and green onions.
Risotto
While traditional risotto uses Arborio rice, you can make a hearty brown rice version by slowly adding broth and stirring frequently.
Muffins and Breads
Substitute some flour with ground brown rice in baking for added fiber. Brown rice muffins, pancakes, and breads are delicious and nutritious.
Environmental and Economic Advantages
Choosing brown rice isn’t just good for your body—it’s good for the planet, too. Whole grains generally require fewer chemical inputs during farming and have a lower environmental footprint than processed foods. Plus, buying brown rice in bulk reduces packaging waste.
From a budget perspective, brown rice is often cheaper than white rice because it’s less processed and has a longer shelf life. When stored properly in an airtight container away from light and moisture, it can last up to a year.
By investing in a good rice cooker, you’re also making a long-term kitchen upgrade. One appliance can replace multiple gadgets—steamer, slow cooker, and more—making it a cost-effective choice.
Final Thoughts: Is Brown Rice Worth It?
Making brown rice in a rice cooker is not only possible—it’s practical, delicious, and healthy. With the right technique, you can enjoy perfectly cooked, fluffy brown rice that enhances any meal. Whether you’re meal prepping, feeding a family, or simply want to eat better, this method fits seamlessly into your routine.
The initial learning curve might seem steep, but once you get the hang of it, cooking brown rice becomes second nature. And the payoff—nutrient-rich, satisfying meals—is well worth the effort.
So go ahead, fill your rice cooker, add that cup of brown rice, and let technology do the rest. Your taste buds—and your body—will thank you.
Frequently Asked Questions
Can I make brown rice in any rice cooker?
Yes, most standard rice cookers can handle brown rice. Even basic models work well as long as they have a non-stick inner pot and consistent heating. Some may have a dedicated “brown rice” setting, but many don’t—and that’s okay.
How much water do I use per cup of brown rice?
Use 1.5 to 1.75 cups of water per 1 cup of uncooked brown rice. Start with 1.5 cups and adjust based on your rice cooker’s performance and your preferred texture.
Should I soak brown rice before cooking?
Yes, soaking for 30 minutes to 1 hour helps soften the bran layer, reduces cooking time, and improves texture. It’s optional but highly recommended for best results.
How long does brown rice take to cook in a rice cooker?
Most rice cookers take 40 to 60 minutes to cook brown rice. After the cycle ends, let it rest for 10–15 minutes before fluffing and serving.
Can I freeze cooked brown rice?
Absolutely. Cool completely, store in airtight containers, and freeze for up to 3 months. Thaw in the fridge and reheat with a splash of water.
Why is my brown rice mushy?
Mushy rice usually means too much water or over-stirring. Use the correct water ratio, avoid opening the lid during cooking, and fluff gently with a fork instead of mashing.