Yes, you can absolutely make hard boiled eggs in a rice cooker! This convenient kitchen appliance turns out perfectly cooked eggs with minimal effort—no stove required. With just water, an egg tray or rack, and a few simple steps, you’ll have soft, medium, or hard-boiled eggs ready in under 30 minutes.
Have you ever stared into your pantry, wondering what to make for breakfast, only to find yourself reaching for eggs? Or maybe you’re prepping for the week and realize you need hard-boiled eggs but don’t want to stand over a pot of boiling water? Enter the humble rice cooker—a kitchen workhorse that’s not just for grains anymore. Believe it or not, you can make perfect hard boiled eggs in a rice cooker with little effort and no guesswork. In fact, many home cooks swear by this method because it’s hands-off, efficient, and produces consistently great results every time.
Whether you’re making eggs for a protein-rich snack, a quick salad topping, or a family-friendly dinner, learning how to use your rice cooker for this task opens up a world of convenience. Plus, it frees up your stovetop for other dishes. So yes—your rice cooker isn’t just for jasmine rice and congee. It’s also a secret weapon for perfectly boiled eggs.
Key Takeaways
- Rice cookers are ideal for boiling eggs: The consistent heat and automatic shut-off make them reliable for even cooking without overcooking.
- You don’t need special equipment: A steam basket or trivet works great; some rice cookers even come with built-in egg trays.
- Timing is key: For hard-boiled eggs, cook for 15–18 minutes depending on size and desired doneness.
- Peeling becomes easier: Cooling eggs in ice water after cooking helps loosen the shells and prevents cracking.
- Saves time and energy: Use the rice cooker’s “keep warm” function to hold eggs until you’re ready to eat.
- Great for meal prep: Boil a batch of eggs at once for salads, snacks, or breakfast bowls all week long.
- Safety first: Always crack eggs gently before placing them in the cooker to avoid shell fragments.
📑 Table of Contents
The Surprising Versatility of Your Rice Cooker
Most people think of rice cookers as one-trick ponies: cook rice, done. But modern rice cookers—especially the newer digital models—are equipped with features that make them suitable for a surprising range of tasks. From steaming vegetables to proofing dough, and yes, even boiling eggs, these appliances are quietly becoming multitools in the kitchen.
One of the biggest advantages of using a rice cooker for hard-boiled eggs is consistency. Unlike traditional boiling where temperature fluctuates based on stove settings, rice cookers maintain a steady internal environment. Once they reach the cooking phase, they often switch to “warm” mode automatically, preventing overcooking—a common issue when boiling eggs on the stove.
Another perk? You can multitask. While your eggs are cooking, you could be chopping veggies, marinating chicken, or simply relaxing. The rice cooker does the heavy lifting (or rather, the heating) for you.
Why People Love Making Eggs in a Rice Cooker
– Saves time: No need to monitor a pot on the stove.
– Saves space: Frees up burner real estate during busy meals.
– Reduces cleanup: One pot instead of two (one for boiling, one for serving).
– Energy-efficient: Rice cookers use less power than stovetops.
– Gentle on eggs: No violent boiling means fewer cracked shells.
How to Make Hard Boiled Eggs in a Rice Cooker: Step-by-Step Guide
Ready to try it yourself? Here’s everything you need—and how to do it—to make flawless hard-boiled eggs using your rice cooker.
What You’ll Need
Before we dive in, gather these essentials:
– Fresh eggs (older eggs peel easier, but fresh ones work fine)
– Rice cooker with a steam basket or trivet
– Water (about 1–2 inches deep)
– Bowl of ice water (for shocking eggs after cooking)
– Slotted spoon or tongs
– Optional: egg holder or silicone rack
If your rice cooker doesn’t have a built-in steam tray, no worries—you can improvise with a small colander or microwave-safe dish that fits inside.
Step 1: Prepare the Eggs
Start with room-temperature eggs if possible. Cold eggs from the fridge can crack when placed in hot water. Gently tap each egg on a hard surface and roll it slightly to loosen the shell—this helps prevent shattering during cooking.
Pro tip: If you suspect an egg might be old (float test), discard it. Only firm, solid eggs should be used for hard-boiling.
Step 2: Add Water and Set Up the Rack
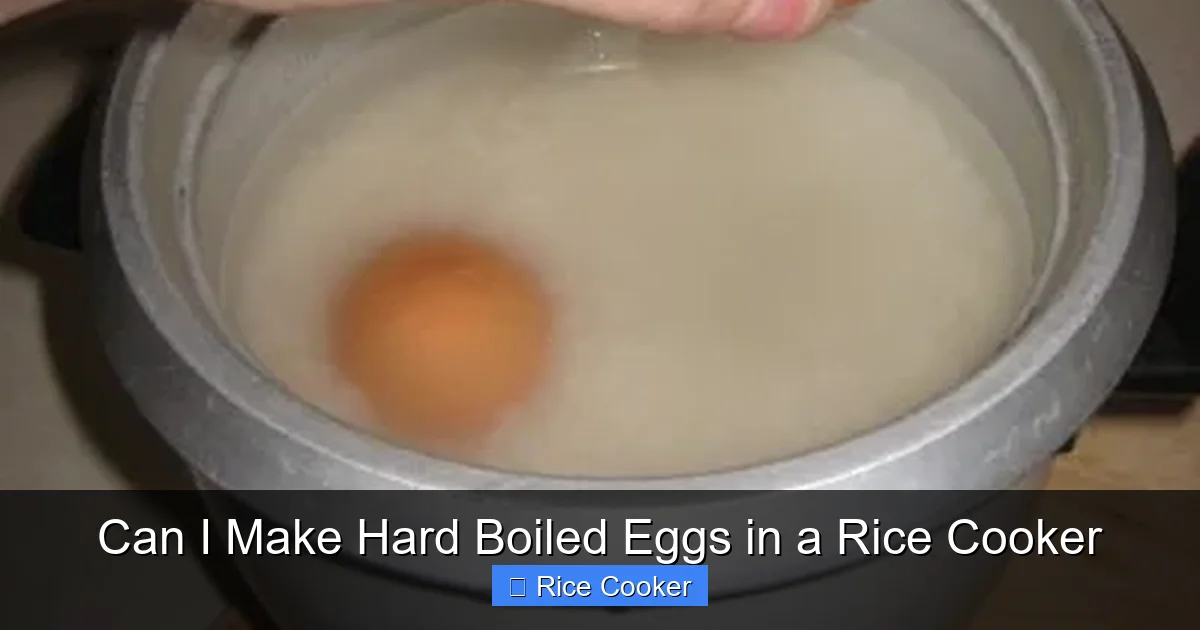
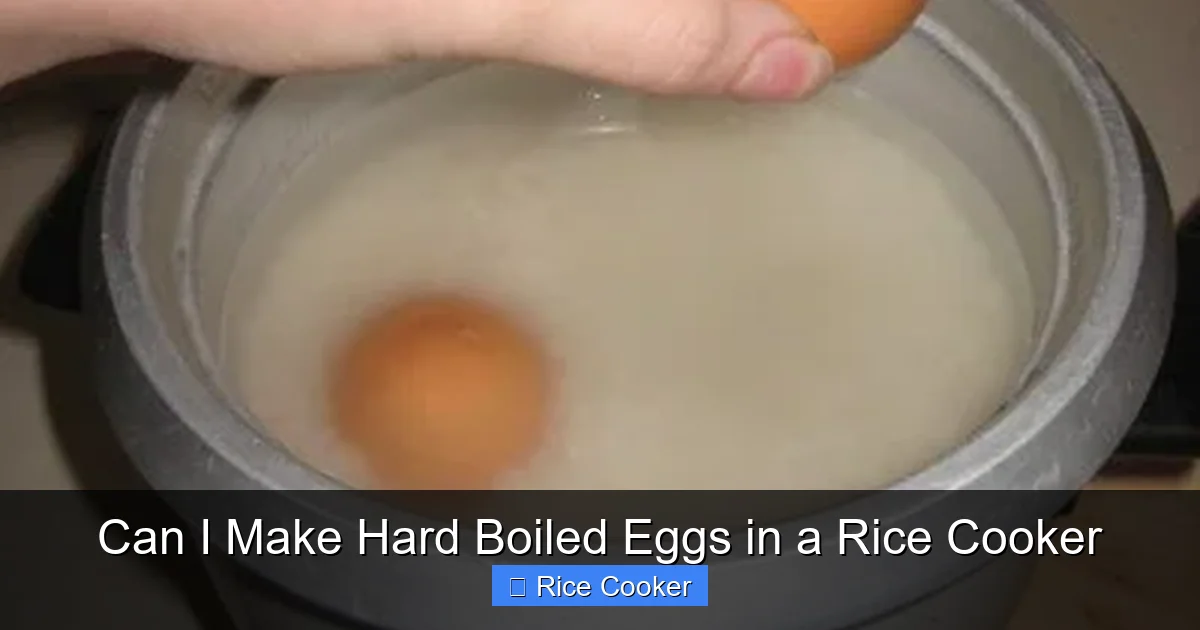
Pour about 1 to 2 inches of cold water into the inner pot of your rice cooker. Place the steam basket or trivet inside so it sits above the water level—never let the eggs sit directly in the water, as this can cause them to break apart.
Arrange the eggs carefully in the basket, standing upright if possible. Space them out slightly to ensure even heat distribution.
Step 3: Start Cooking
Close the lid and press the “Cook” or “Steam” button. Most rice cookers will begin heating immediately. Once boiling starts (you may hear bubbling), let them cook for:
– Soft-boiled: 6–8 minutes
– Medium-boiled: 9–12 minutes
– Hard-boiled: 15–18 minutes
For most standard rice cookers, the total cycle time will be around 18–20 minutes, including warming phases.
Step 4: Shock in Ice Water
As soon as the cycle ends, use tongs or a slotted spoon to transfer the eggs to a bowl of ice water. Let them cool for at least 5–10 minutes. This stops the cooking process and makes peeling much easier.
Step 5: Peel and Enjoy
Once cooled, gently tap and roll the eggs between your palms to crack the shell. Starting at the rounded end (where there’s usually an air pocket) helps the shell pop off more easily. Rinse under running water while peeling for best results.
Now enjoy your perfectly cooked eggs! They’re great sliced on toast, chopped in potato salad, or deviled with a sprinkle of paprika.
Tips for Perfect Hard-Boiled Eggs Every Time
Even though rice cookers simplify the process, a few smart tricks can take your egg game to the next level.
Choose the Right Eggs
Freshness matters. Very fresh eggs (within a week of laying) tend to have tighter membranes inside the shell, making them harder to peel. Slightly older eggs (7–10 days old) separate more easily from the membrane, resulting in cleaner peels. Store-bought eggs labeled “purchased” or “sold” within a certain timeframe are usually ideal.
Don’t Overcook
Overcooked eggs develop greenish-gray rings around the yolk due to sulfur-iron reactions. To avoid this, stick to the recommended times and avoid letting eggs sit in residual heat after cooking. Rice cookers help here since they don’t continue cooking once switched to “warm.”
Use a Silicone Egg Holder
Investing in a silicone egg holder designed for rice cookers can save you time and reduce mess. These trays keep eggs stable, prevent cracking, and make transferring them easier.
Cook Multiple Batches Safely
You can cook dozens of eggs at once—just ensure there’s enough water and space in the basket. However, overcrowding can lead to uneven cooking. Aim for no more than 6–8 eggs per batch in a standard rice cooker.
Keep Warm Mode Works Great
After cooking, leave the eggs in the rice cooker on “keep warm” for up to an hour without affecting quality. Just remember not to exceed 2 hours, as extended warmth can alter texture.
Common Mistakes to Avoid
Even seasoned egg boilers make errors—especially when adapting stove methods to rice cookers. Here’s how to dodge common pitfalls.
Cracking Eggs During Transfer
Never drop eggs into the water or handle them roughly. Always place them gently into the steam basket. Also, avoid sudden temperature changes—let room-temp eggs warm up slightly before cooking.
Using Too Much Water
While you want enough water to create steam, too much can cause overflow or dilute flavors (though eggs aren’t flavored, excess water increases cleanup). Stick to 1–2 inches.
Skipping the Ice Bath
This step is non-negotiable for easy peeling and better texture. Skipping it leads to rubbery whites and stubborn shells.
Ignoring Rice Cooker Manual Instructions
Different models behave differently. Some require preheating; others start immediately. When in doubt, consult your manual or test with one egg first.
Benefits Beyond Just Cooking Eggs
Once you master hard-boiled eggs in your rice cooker, you’ll likely discover other uses. Steam broccoli, poach fish fillets, or even reheat leftovers—all without extra pots or pans. It’s a true kitchen upgrade.
Plus, boiling eggs en masse is perfect for meal prep. Keep them refrigerated for up to a week and grab one whenever you need a boost of protein. They’re fantastic for school lunches, gym snacks, or impromptu charcuterie boards.
Creative Ways to Use Your New Skill
– Make deviled eggs with mashed avocado instead of mayo.
– Slice into omelets or frittatas.
– Chop into quinoa bowls with roasted sweet potatoes and spinach.
– Hard-boil duck eggs for richer, creamier yolks (takes slightly longer—add 2–3 extra minutes).
Frequently Asked Questions
Can I make soft-boiled eggs in a rice cooker?
Absolutely! Reduce cooking time to 6–8 minutes for runny yolks and set whites. Shock in ice water immediately afterward to stop cooking.
Visual guide about Can I Make Hard Boiled Eggs in a Rice Cooker
Image source: img.thrfun.com
Do I need a special egg tray?
No. Any steam basket, colander, or even a heat-safe bowl with holes works. Silicone egg holders are optional but helpful.
Will my rice cooker get dirty?
Minimal cleanup is needed. Just rinse the inner pot and wipe the exterior. Avoid submerging electrical parts.
Can I reuse the same water?
Not recommended. Reusing water risks bacteria growth and affects future cooking performance.
How long do cooked eggs last?
Store peeled or unpeeled hard-boiled eggs in the refrigerator for up to one week. Label with the date for safety.
What if my rice cooker doesn’t have a steam function?
Most rice cookers can still boil eggs using the basic “cook” setting. Just add water and a rack—functionality isn’t required.
Final Thoughts
Making hard boiled eggs in a rice cooker isn’t just possible—it’s practical, efficient, and impressively consistent. Whether you’re a busy parent, a meal-prep enthusiast, or someone who just wants an easier way to whip up breakfast favorites, this method delivers.
The beauty of using your rice cooker lies in its simplicity and reliability. No more watching the clock, worrying about rolling eggs, or scrubbing stuck-on bits from a pot. Just set it and forget it—well, almost. A quick ice bath and peel, and you’re golden.
So next time you open your rice cooker, remember: it’s not just for rice. It’s your new go-to for perfectly boiled eggs, steamed veggies, and so much more. Embrace the versatility, experiment with timing, and soon you’ll wonder how you ever lived without this kitchen trick.
And honestly? That first time you pull out a dozen spot-on hard-boiled eggs with minimal effort? It feels like magic.
Frequently Asked Questions
Can I make soft-boiled eggs in a rice cooker?
Yes! Simply reduce cooking time to 6–8 minutes. After the cycle ends, shock the eggs in ice water to stop cooking and achieve runny yolks.
Do I need a special egg tray for my rice cooker?
Not necessarily. A standard steam basket, colander, or even a microwave-safe bowl with holes can work. Silicone egg trays are convenient but optional.
Will using my rice cooker to boil eggs damage it?
No, as long as you follow basic guidelines—use clean water, don’t submerge electrical components, and avoid metal utensils in the inner pot. Most rice cookers are durable and safe for steaming.
How many eggs can I cook at once?
It depends on your rice cooker size, but generally, you can safely boil 6–8 large eggs per batch without overcrowding. Larger models may accommodate more.
Can I cook other foods along with eggs?
Absolutely! You can steam vegetables, poach fish, or even bake simple desserts in compatible containers—just ensure nothing blocks airflow or interferes with the lid.
Why are my eggs difficult to peel?
Often caused by overcooking or using extremely fresh eggs. Try cooling them thoroughly in ice water and consider using slightly older eggs for easier peeling.