Making oats in an electric kettle is not only possible but also a convenient way to enjoy a hot, nutritious breakfast—especially when you’re short on time or lack a stove. With the right technique and safety precautions, your kettle can become a versatile kitchen tool for more than just boiling water.
This is a comprehensive guide about can i make oats in electric kettle.
Key Takeaways
- Yes, you can make oats in an electric kettle – Many modern kettles can safely cook oatmeal with proper technique and monitoring.
- Use quick or instant oats for best results – These varieties cook faster and are less likely to burn or clog the kettle.
- Never fill the kettle beyond the max line – Overfilling can cause boil-overs, damage the kettle, or create a fire hazard.
- Clean your kettle thoroughly after use – Oat residue can build up and affect taste or performance over time.
- Choose a kettle with temperature control – Models with variable settings allow better control for gentle cooking.
- Avoid steel-cut oats unless specified – They require longer cooking times and may damage some kettles.
- Always supervise the process – Never leave the kettle unattended while making oats to prevent accidents.
[FEATURED_IMAGE_PLACEHOLDER]
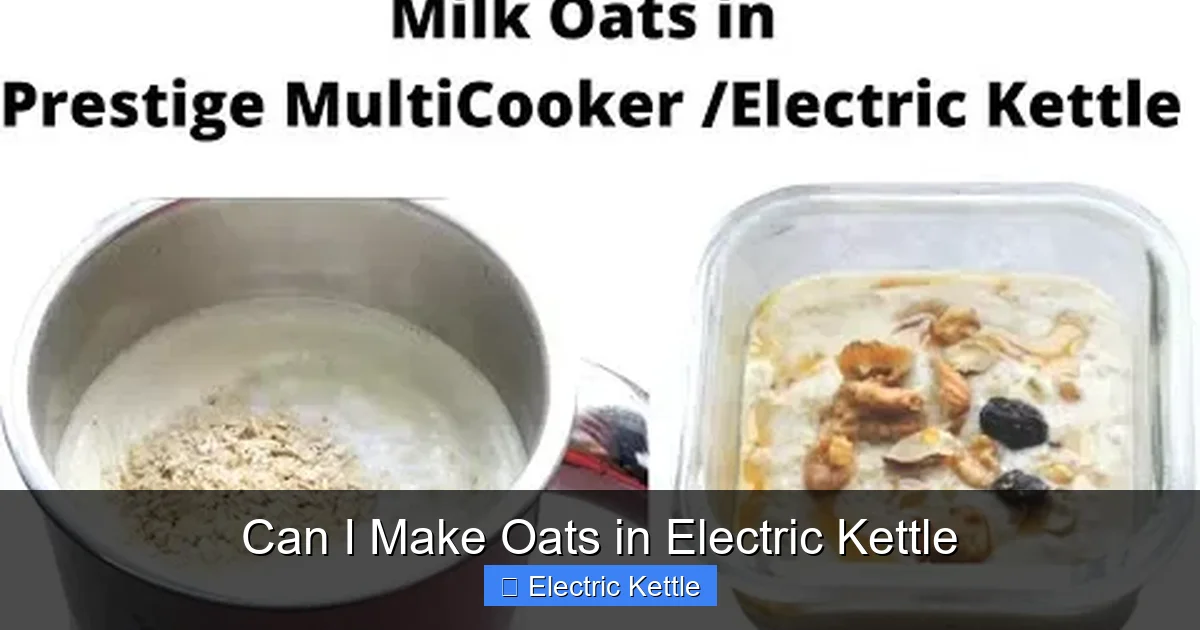
Can I Make Oats in Electric Kettle? A Surprising Yes!
Imagine this: It’s 7 a.m., you’re rushing to get ready for work or class, and the last thing you want to do is stand over a stove stirring oatmeal. You’ve got your electric kettle humming on the counter—used every morning for tea or coffee—but today, you’re wondering: *Can I make oats in an electric kettle?* The answer might surprise you.
Yes, you absolutely can make oats in an electric kettle—and it’s easier than you think. While electric kettles are primarily designed to boil water, many people have discovered their hidden potential as mini cooking appliances. With a little know-how, your kettle can whip up a warm, creamy bowl of oatmeal in under 10 minutes. This method is especially handy for college students, travelers, office workers, or anyone living in a small space without a full kitchen.
But before you toss oats into your kettle and hit the boil button, there are important safety tips, best practices, and limitations to understand. Not all kettles are created equal, and not all oats behave the same way when exposed to high heat. In this guide, we’ll walk you through everything you need to know—from choosing the right oats to cleaning up afterward—so you can enjoy a delicious, hassle-free breakfast without risking your appliance or your safety.
Why Use an Electric Kettle for Oats?
You might be wondering why anyone would bother making oats in an electric kettle when stovetops and microwaves exist. The truth is, there are several compelling reasons why this method is gaining popularity—especially among busy individuals and minimalist cooks.
First, speed and convenience. Electric kettles heat water much faster than stovetops. Many models can bring water to a boil in under three minutes. If you’re using instant or quick oats, that means your breakfast can be ready in under five minutes total. No waiting for a pot to heat up, no scrubbing burnt oat residue off a saucepan—just pour, boil, and eat.
Second, portability. If you’re staying in a hotel, dorm room, or tiny apartment without a stove, an electric kettle might be your only cooking appliance. In such cases, being able to make oats opens up a world of healthy meal options. You’re not limited to cold cereal or sugary pastries—you can enjoy a warm, fiber-rich breakfast that keeps you full and energized.
Third, energy efficiency. Electric kettles use less energy than stovetops or microwaves for heating water. Since you’re only heating the amount of water you need (not a large pot), you’re saving both time and electricity. This makes kettle-cooked oats an eco-friendly choice, especially if you’re mindful of your carbon footprint.
Finally, simplicity. There’s something satisfying about streamlining your morning routine. Instead of juggling multiple pots, utensils, and timers, you can make oats with just three ingredients: oats, water (or milk), and optional toppings. It’s minimalist cooking at its finest—less clutter, less cleanup, more flavor.
Of course, this method isn’t perfect for everyone. But for those who value speed, simplicity, and versatility, using an electric kettle to make oats is a game-changer.
What Types of Oats Work Best in an Electric Kettle?
Not all oats are created equal—especially when it comes to cooking in an electric kettle. The type of oat you choose can make or break your breakfast experience. Let’s break down the most common varieties and how they perform in a kettle.
Instant Oats: The Fastest Option
Instant oats are pre-cooked, dried, and rolled extra thin, which allows them to rehydrate quickly—often in just one to two minutes. These are the best choice for electric kettle cooking because they require minimal heat and time. Simply add them to boiling water, stir, and let them sit for a minute or two. They’ll soften up nicely without clumping or burning.
One popular brand is Quaker Instant Oats, which come in plain or flavored varieties. If you’re using flavored packets, be mindful of added sugars. You can always mix in your own cinnamon, honey, or fruit for a healthier twist.
Quick Oats: A Close Second
Quick oats are similar to instant oats but slightly thicker. They take about two to three minutes to cook and are a great middle ground between speed and texture. They hold up well in the kettle and don’t turn to mush as easily as instant oats. If you prefer a chewier bite, quick oats are your best bet.
Both instant and quick oats are widely available, affordable, and perfect for on-the-go breakfasts. They’re also less likely to stick to the kettle’s heating element, which reduces the risk of burning or damage.
Old-Fashioned Rolled Oats: Possible, But Tricky
Old-fashioned rolled oats are thicker and take longer to cook—usually five to seven minutes on a stove. While you *can* cook them in an electric kettle, it’s not ideal. The longer cooking time increases the risk of boil-overs, scorching, or overheating the kettle’s internal components. If you’re determined to use rolled oats, use less water, stir frequently, and keep a close eye on the process. Better yet, soak them in hot water for a few minutes before boiling to speed things up.
Steel-Cut Oats: Not Recommended
Steel-cut oats are the least processed and take the longest to cook—often 20 to 30 minutes on a stove. They’re hearty and nutritious, but they’re a poor fit for electric kettles. The extended cooking time can overwork the kettle’s heating element, potentially shortening its lifespan or causing malfunctions. Additionally, steel-cut oats are more likely to clump and stick, making cleanup a nightmare.
If you love steel-cut oats, it’s best to stick with traditional cooking methods. Save your kettle for quicker-cooking varieties.
Oat Brands That Work Well
Some brands are more kettle-friendly than others. Look for oats labeled “instant” or “quick” and avoid those with added thickeners or large chunks. Here are a few reliable options:
– Quaker Instant Oats (plain or maple & brown sugar)
– Bob’s Red Mill Quick Oats
– Nature’s Path Organic Instant Oats
– Trader Joe’s Rolled Oats (use as quick oats)
Always check the cooking instructions on the package. If it says “ready in 1 minute,” you’re good to go.
Step-by-Step Guide to Making Oats in an Electric Kettle
Now that you know which oats to use, let’s walk through the process step by step. With a little practice, you’ll be making perfect kettle oats in no time.
Step 1: Choose the Right Kettle
Not all electric kettles are suitable for cooking oats. Look for one with the following features:
– Stainless steel or glass interior: Avoid plastic-lined kettles, as oat particles can stick and burn.
– Temperature control: Models with variable settings (like 175°F, 195°F, 212°F) allow you to simmer rather than boil, reducing the risk of overflow.
– Wide opening: Makes it easier to add oats and stir without spilling.
– Auto shut-off: Ensures safety if the kettle overheats.
Popular brands like Breville, Cuisinart, and Hamilton Beach offer kettles with these features. If your kettle is basic (just boil and shut off), that’s okay—just be extra cautious.
Step 2: Measure Your Ingredients
For one serving, use:
– ½ cup (40g) instant or quick oats
– 1 cup (240ml) water or milk (or a 50/50 mix)
– Optional: pinch of salt, cinnamon, honey, fruit, nuts
Avoid overfilling. Never exceed the kettle’s maximum fill line. Oats expand when cooked, and boiling liquid can foam up quickly.
Step 3: Add Water First
Always add liquid before oats. This prevents dry oats from sticking to the bottom and burning. Pour your water or milk into the kettle, then add the oats. Stir gently to combine.
If using milk, be extra careful—milk can scorch or foam more than water. Use a lower heat setting if your kettle has one, or dilute with water.
Step 4: Boil and Monitor
Close the lid and turn on the kettle. Most kettles will automatically shut off when boiling. Once it turns off, open the lid carefully (steam is hot!) and stir the oats.
If the oats aren’t soft enough, let them sit for 1–2 minutes with the lid on. The residual heat will continue cooking them.
For thicker oats, use less liquid. For creamier oats, add a splash of milk after cooking.
Step 5: Serve and Enjoy
Pour your oats into a bowl and add your favorite toppings. Fresh berries, banana slices, chia seeds, peanut butter, or a drizzle of maple syrup all work beautifully.
Pro Tips for Success
– Stir frequently: Prevents clumping and burning.
– Use a non-stick kettle: Easier to clean.
– Don’t leave it unattended: Boil-overs can damage your kettle or counter.
– Experiment with ratios: Adjust liquid to oat ratio for your preferred texture.
With these steps, you’ll master kettle oats in just a few tries.
Safety Tips and Common Mistakes to Avoid
While making oats in an electric kettle is generally safe, there are risks if you’re not careful. Here’s how to avoid the most common pitfalls.
Never Overfill the Kettle
This is the #1 mistake people make. Oats absorb water and expand, and boiling liquid can foam up dramatically. If you fill the kettle too high, it can overflow, short-circuit the appliance, or even cause a fire.
Always leave at least 1–2 inches of space below the max line. For oats, it’s better to use slightly less water than you think you need—you can always add more later.
Don’t Use Steel-Cut or Whole Oats
As mentioned earlier, these oats take too long to cook and can damage your kettle. The heating element isn’t designed for prolonged use, and thick oats can clog the spout or stick to the bottom.
Stick to instant or quick oats for safety and efficiency.
Avoid Milk-Only Cooking
Milk burns easily and can leave a sticky residue that’s hard to clean. If you want creamier oats, use a 50/50 mix of water and milk, or add milk after the oats are cooked.
Clean Immediately After Use
Oat residue can harden and become difficult to remove. Rinse the kettle with warm water as soon as it cools. For stubborn bits, soak with vinegar and water, then scrub gently with a soft brush.
Never use abrasive cleaners or steel wool—they can scratch the interior and affect taste.
Don’t Leave the Kettle Unattended
Even with auto shut-off, it’s smart to stay nearby. If something goes wrong—like a boil-over or strange smell—you can act quickly.
Check Your Kettle’s Warranty
Some manufacturers void warranties if the kettle is used for purposes other than boiling water. Check the manual before cooking oats. If in doubt, use a dedicated travel kettle or a second-hand model.
Cleaning and Maintaining Your Kettle After Cooking Oats
Proper cleaning is essential to keep your kettle in top condition and ensure your next cup of tea tastes fresh—not like yesterday’s oatmeal.
Immediate Rinse
As soon as the kettle cools, rinse it with warm water. Swirl the water around to loosen any oat particles, then pour it out. Repeat until the water runs clear.
Deep Clean Weekly
Once a week, descale your kettle to remove mineral buildup and oat residue. Use one of these methods:
– Vinegar solution: Mix equal parts white vinegar and water. Boil, let sit for 30 minutes, then rinse thoroughly.
– Lemon juice: Cut a lemon in half and boil it in water. Let it sit, then rinse.
– Commercial descaler: Follow package instructions.
Avoid using bleach or harsh chemicals—they can leave toxic residues.
Clean the Exterior and Spout
Wipe the outside with a damp cloth. Use a cotton swab or toothbrush to clean the spout and lid hinges, where oat bits can hide.
Store Properly
Keep the kettle dry and uncovered when not in use. Moisture can lead to mold or rust, especially in humid environments.
With regular maintenance, your kettle will last for years—and your oats will always taste great.
Creative Oatmeal Recipes You Can Make in an Electric Kettle
Plain oats are good, but why not get creative? Here are five delicious recipes you can make right in your kettle.
1. Cinnamon Apple Oats
– ½ cup quick oats
– 1 cup water
– ¼ tsp cinnamon
– ¼ cup diced apple (fresh or dried)
– Drizzle of honey
Boil water and oats with cinnamon and apple. Let sit 2 minutes. Stir and add honey.
2. Peanut Butter Banana Bowl
– ½ cup instant oats
– ¾ cup water
– 1 tbsp peanut butter
– ½ mashed banana
– Pinch of salt
Cook oats, then stir in peanut butter and banana until creamy.
3. Chocolate Chia Oats
– ½ cup quick oats
– 1 cup almond milk (or water)
– 1 tbsp cocoa powder
– 1 tsp chia seeds
– 1 tsp maple syrup
Boil, stir, and let sit. The chia seeds will thicken the mixture.
4. Tropical Coconut Oats
– ½ cup instant oats
– 1 cup coconut water
– 2 tbsp shredded coconut
– ¼ cup pineapple chunks
Cook and top with extra coconut and fruit.
5. Savory Oatmeal with Egg
– ½ cup quick oats
– 1 cup water
– Pinch of salt and pepper
– 1 tsp olive oil
– 1 soft-boiled egg (cooked separately)
Make oats, stir in oil, and top with egg, green onions, and hot sauce.
These recipes prove that kettle oats aren’t just for sweet tooths—they’re versatile, nutritious, and endlessly customizable.
Conclusion: Yes, You Can—and Should—Make Oats in Your Electric Kettle
So, can you make oats in an electric kettle? The answer is a resounding yes—with the right approach. This method is fast, convenient, and perfect for anyone looking to simplify their morning routine. Whether you’re a student, traveler, or busy professional, your kettle can do more than just boil water.
By choosing the right oats, following safety guidelines, and cleaning your kettle properly, you can enjoy delicious, homemade oatmeal anywhere. It’s a small change that makes a big difference in your daily life.
Of course, it’s not for everyone. If you prefer hearty steel-cut oats or have a basic kettle without temperature control, traditional methods might be better. But for quick, creamy, and customizable breakfasts, kettle cooking is a smart, modern solution.
So go ahead—give it a try. Add your oats, press the button, and savor the warmth. Your kettle is ready. Are you?
Frequently Asked Questions
Can I make oats in any electric kettle?
Most electric kettles can make oats, but models with stainless steel interiors and temperature control work best. Avoid plastic-lined kettles and always check the manufacturer’s guidelines.
Will cooking oats damage my kettle?
Not if done properly. Use instant or quick oats, avoid overfilling, and clean the kettle after each use. Prolonged cooking of thick oats can strain the heating element.
Can I use milk instead of water?
Yes, but use a 50/50 mix of milk and water to prevent scorching. Add extra milk after cooking for creaminess.
How do I prevent boil-overs?
Never fill above the max line, use quick oats, and stir frequently. Keep the lid slightly ajar if your kettle tends to foam.
Can I add toppings before cooking?
Yes—dried fruit, cinnamon, or nuts can go in with the oats. Fresh fruit and liquids like honey should be added after cooking.
Is it safe to leave the kettle unattended?
No. Always supervise the process to prevent overflows, burns, or appliance damage. Stay nearby until the kettle shuts off.
Frequently Asked Questions
What is can i make oats in electric kettle?
can i make oats in electric kettle is an important topic with many practical applications.