
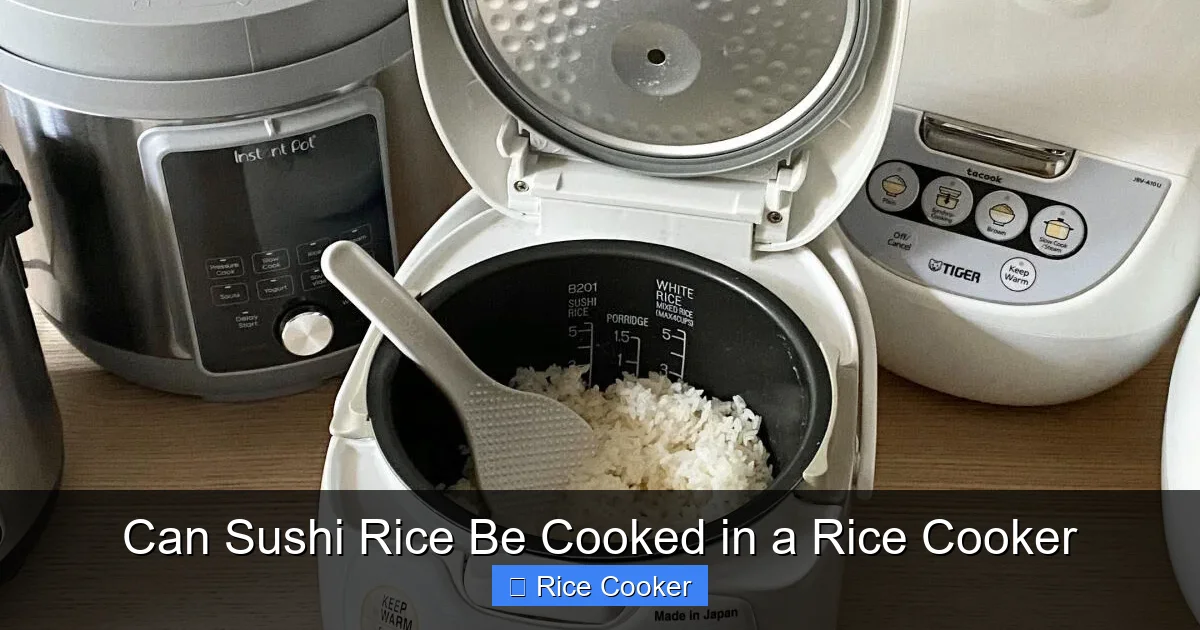
Can sushi rice be cooked in a rice cooker? Absolutely! With the right ingredients, technique, and timing, your rice cooker can produce fluffy, sticky sushi rice that rivals restaurant quality. The key lies in using short-grain Japanese rice, proper water ratios, and rinsing before cooking. In this guide, we’ll walk you through step-by-step instructions, troubleshooting tips, and pro secrets to mastering sushi rice at home—no chef’s hat required.
Have you ever stood in your kitchen, wondering if your trusty rice cooker could handle more than just plain white rice? The answer is a resounding yes—especially when it comes to sushi rice. That delicate balance of chewiness, stickiness, and subtle sweetness isn’t reserved for professional chefs or high-end appliances. With a few simple adjustments, your everyday rice cooker can become your secret weapon for homemade sushi night.
Sushi rice, also known as shari or sumeshi, is made from short-grain Japanese rice that has just the right amount of amylopectin—a type of starch that gives it its signature cling without turning gummy. Traditionally, it’s cooked on the stovetop with precise control over heat and timing. But here’s the good news: modern rice cookers, especially those with fuzzy logic sensors, can replicate those conditions beautifully. Whether you’re rolling California rolls, making nigiri, or simply enjoying a bowl of warm sushi rice with soy sauce, getting the base right is everything.
In this comprehensive guide, we’ll dive deep into how to cook sushi rice in a rice cooker, why certain steps matter, and how to avoid common pitfalls. We’ll also share pro tips from experienced home cooks and even explore variations for different types of sushi rice. By the end, you’ll feel confident every time you press that “start” button.
Key Takeaways
- Short-grain Japanese rice is essential: Regular white rice won’t give you the right texture for sushi. Use varieties like Koshihikari or Calrose for the best results.
- Rinsing removes excess starch: Washing the rice 3–5 times until the water runs clear prevents mushiness and ensures each grain stays separate.
- Water ratio matters: For sushi rice, use about 1:1.1 (rice to water)—slightly less than regular white rice to keep it tender but not dry.
- Soaking improves texture: Let soaked rice rest for 30 minutes after cooking to allow even steam absorption and ideal stickiness.
- Seasoning comes later: Add vinegar, sugar, and salt only after cooking. Never mix seasonings into uncooked rice.
- Cooking method affects flavor: Some rice cookers have a “sushi” or “glutinous” setting—use it if available for automated perfection.
- Practice makes perfect: Even seasoned cooks tweak ratios slightly. Keep notes on what works best for your setup.
📑 Table of Contents
- Why Short-Grain Rice Is Non-Negotiable
- The Science Behind Rinsing Rice
- Perfect Water Ratios for Sushi Rice
- Soaking: Your Secret Weapon for Fluffier Grains
- Step-by-Step: Cooking Sushi Rice in a Rice Cooker
- Seasoning Sushi Rice Like a Pro
- Troubleshooting Common Issues
- Advanced Tips for Serious Home Cooks
- Frequently Asked Questions About Cooking Sushi Rice
Why Short-Grain Rice Is Non-Negotiable
You might be tempted to use any kind of white rice you have on hand—after all, they’re all “rice,” right? Wrong. Sushi rice relies heavily on the unique properties of short-grain varieties like Koshihikari, Akitakomachi, or even imported Calrose rice sold specifically for sushi. These grains are shorter, rounder, and higher in starch content compared to long-grain or basmati rice.
When cooked properly, short-grain rice absorbs moisture evenly and develops a soft, creamy center while staying firm enough to hold shape during rolling or slicing. Long-grain rice, by contrast, tends to stay separate and dry, which makes it ideal for pilafs but terrible for sushi. Using the wrong type will result in either crumbly bites or overly sticky clumps—neither of which belong on your plate.
If you live outside Japan, finding authentic Koshihikari may be tricky. Don’t worry! Many specialty grocery stores, Asian markets, or online retailers offer affordable alternatives under brands like Nishiki, Tamanishiki, or even Walmart’s “Great Value” short-grain white rice (though quality varies). Always check reviews or ask staff for recommendations based on texture and flavor.
The Science Behind Rinsing Rice
Ever notice how some rice recipes call for rinsing multiple times? That’s not just old-school advice—it’s science in action. Raw rice contains surface starch that helps bind grains together during cooking. But too much of it leads to gluey, clumpy results. By rinsing thoroughly, you remove excess starch without losing the natural oils that contribute to flavor.
Here’s how to do it right:
– Place rice in a fine-mesh strainer or large bowl.
– Rinse under cold running water, gently massaging the grains with your fingers.
– Swirl and drain repeatedly until the water runs clear—usually 3 to 5 rounds depending on how cloudy it starts.
– Let excess water drip off completely before measuring or soaking.
Skipping this step is one of the most common reasons beginners end up with mushy sushi rice. Think of rinsing like prepping vegetables: it removes impurities and prepares the ingredient for optimal performance.
Perfect Water Ratios for Sushi Rice
Water is the second most important factor after rice type. Too little, and your rice becomes hard and chalky; too much, and it turns soupy and loses structure. For sushi rice, the standard ratio is approximately **1 cup rice to 1.1 cups water**—that’s slightly less than the usual 1:1.25 used for plain white rice.
Why such a specific measurement? Because short-grain rice swells more than other types and needs just enough liquid to hydrate fully without pooling at the bottom of the pot. Modern electric rice cookers often come with measuring cups calibrated for their models, so always use those for consistency.
Some advanced rice cookers even have preset modes labeled “sushi,” “glutinous,” or “sweet rice.” If yours does, select that setting—but still follow the rinsing and soaking steps. These programs adjust temperature curves and steaming phases to mimic traditional methods.
For manual users: measure water carefully using the rice cup that came with your cooker. Fill to the line marked for one serving. If cooking multiple servings, scale proportionally (e.g., 2 cups rice = 2.2 cups water).
Soaking: Your Secret Weapon for Fluffier Grains
After rinsing, many sushi experts recommend letting the rice soak for 30 minutes to an hour. This allows the grains to absorb moisture slowly, leading to more uniform cooking and fewer split kernels. It also reduces cooking time slightly, which helps preserve texture.
To soak properly:
– After rinsing, drain well and return rice to the rinsed bowl.
– Cover with fresh water at room temperature.
– Let sit uncovered for 30–60 minutes.
– Drain again briefly before transferring to the rice cooker insert.
Don’t skip this step—even if your recipe doesn’t mention it. Skimping here means relying solely on the cooker’s internal timer, which can’t account for variations in humidity, altitude, or rice age.
Note: Soaking isn’t mandatory, but it’s highly recommended for first-timers aiming for restaurant-quality results. Once you master the process, you can experiment with shorter or longer rests based on preference.
Step-by-Step: Cooking Sushi Rice in a Rice Cooker
Now for the main event. Follow these steps closely, and you’ll have foolproof sushi rice every time:
1. **Measure & Rinse**: Use your cooker’s rice cup to measure short-grain rice. Rinse 3–5 times until water runs clear.
2. **Soak (Optional but Recommended)**: Soak rice for 30–60 minutes after rinsing.
3. **Drain Thoroughly**: Shake the strainer or bowl gently to remove all droplets.
4. **Add Water**: Pour in 1.1 times the volume of rice (e.g., 1 cup rice → 1.1 cups water).
5. **Transfer to Cooker**: Place inner pot in the machine. Close lid securely.
6. **Select Setting**: Choose “White Rice,” “Regular,” or “Sushi” if available. Avoid “Brown Rice” or “Quick Cook” modes—they alter texture.
7. **Start Cooking**: Press “Cook” and wait. Do not lift the lid during the cycle!
8. **Rest After Beep**: Once done, let rice sit undisturbed for 10–15 minutes. This lets residual steam finish hydrating the grains.
9. **Fluff Gently**: Use a rice paddle or wooden spatula to loosen without crushing. Fold from the top down—never stir aggressively.
Pro Tip: If your cooker has a “Keep Warm” function, turn it off immediately after resting. Leaving rice on warm mode dries out the surface and creates uneven textures.
Seasoning Sushi Rice Like a Pro
Cooking isn’t the end—seasoning is where sushi rice truly shines. Traditional sushi vinegar (su-miso) combines rice vinegar, sugar, and salt in roughly equal parts, heated gently to dissolve solids. But you don’t need special tools for this!
After fluffing the hot rice, transfer it to a wide, shallow bowl (like a pasta serving dish) to cool slightly. While still warm (not hot), fold in the vinegar mixture using a cutting motion from the center outward. This aerates the rice and distributes flavor evenly without mushing the grains.
Recommended seasoning ratio:
– ½ cup rice vinegar
– 2 tbsp sugar
– 1 tsp sea salt
Mix vinegar blend separately until sugar dissolves. Adjust sweetness/salinity to taste—some prefer tangier, others sweeter versions.
Never add seasoning to cold rice—it won’t absorb properly and may leave pockets of undissolved salt. Also, avoid mixing vinegar directly into the raw rice bowl—this causes uneven cooking and potential spoilage.
Troubleshooting Common Issues
Even with perfect technique, things can go wrong. Here’s how to fix them:
Problem: Rice is too dry or hard
Cause: Insufficient water or old/damaged grains.
Solution: Increase water ratio next time by 0.1 cup per serving. Store rice in airtight containers away from light/heat.
Problem: Rice is mushy or sticky
Cause: Over-rinsed starch removal or too much water.
Solution: Rinse fewer times (try 2 instead of 5), reduce water slightly, and ensure thorough draining before cooking.
Problem: Uneven cooking (hard spots)
Cause: Poor distribution of water or compacted rice.
Solution: Stir rice gently once after adding water before closing the lid. Don’t pack it tightly into the pot.
Problem: Burnt bottom layer
Cause: Mineral buildup in inner pot or incorrect water level.
Solution: Clean the non-stick coating regularly. Use distilled water if tap water is mineral-heavy.
Problem: Vinegar smells sour or off
Cause: Improper storage or expired vinegar.
Solution: Buy small bottles and use within 6 months. Keep sealed tightly after opening.
By identifying root causes quickly, you’ll avoid frustration and build confidence with each batch.
Advanced Tips for Serious Home Cooks
Ready to take your sushi game to the next level? Try these expert tricks:
– **Use filtered water**: Minerals in tap water can affect taste and texture. Filtered or bottled water yields cleaner results.
– **Toast rice lightly (optional)**: For richer flavor, sauté rinsed rice in a dry pan over low heat for 2–3 minutes before adding water. This enhances nuttiness.
– **Experiment with soaking duration**: Some chefs soak overnight for ultra-smooth grains—ideal for delicate nigiri.
– **Cool rice rapidly**: Spread seasoned rice on a baking sheet after seasoning to speed chilling—great for quick maki rolls.
– **Store leftovers properly**: Refrigerate in airtight containers for up to 3 days. Reheat with a splash of water and steam for 2 minutes.
These tweaks aren’t necessary for beginners, but they show how versatile sushi rice can be when you understand its chemistry.
Frequently Asked Questions About Cooking Sushi Rice
Can I use regular white rice instead of short-grain?
Not really. Regular white rice lacks the starch structure needed for sushi. You’ll end up with dry, separate grains that fall apart when rolled. Stick to short-grain varieties designed for sushi or Japanese dishes.
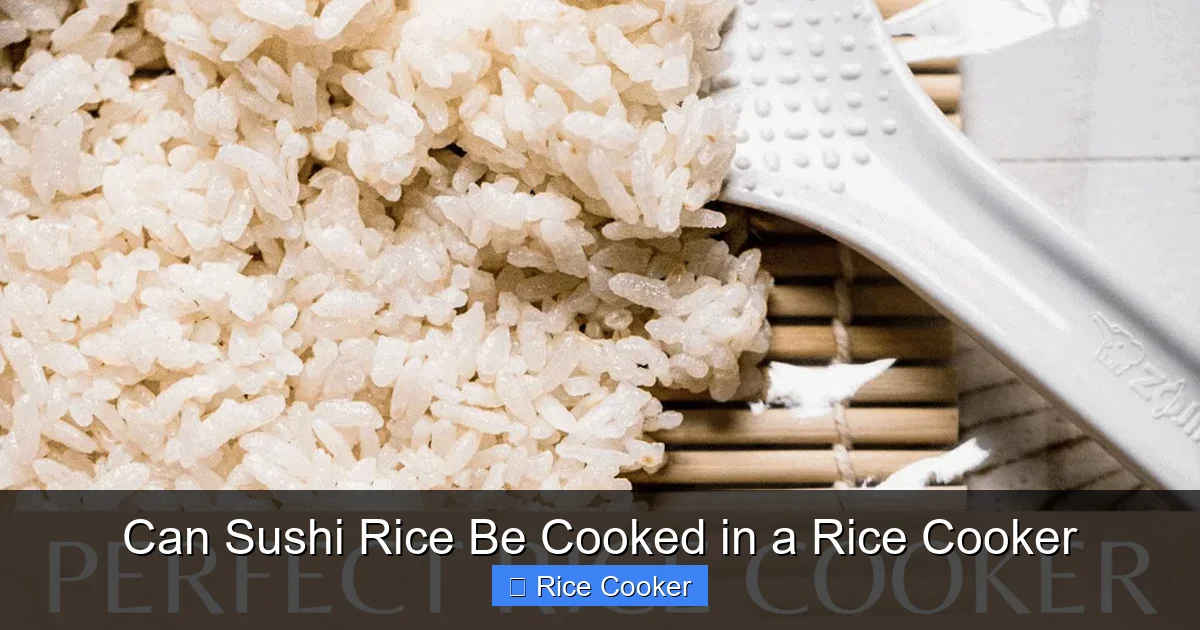
Visual guide about Can Sushi Rice Be Cooked in a Rice Cooker
Image source: platingsandpairings.com
Visual guide about Can Sushi Rice Be Cooked in a Rice Cooker
Image source: ricearray.org
Do I really need to rinse the rice five times?
Most experts agree on 3–5 rinses until the water runs clear. Every kitchen is different—some people see cloudiness disappear faster than others. The goal is removing surface starch, not counting exact cycles.
What if my rice cooker doesn’t have a “sushi” setting?
No problem! Use the standard “white rice” or “regular” setting. Just pay attention to water ratio and resting time. Many older models work perfectly fine once you know the trick.
How long does homemade sushi rice last?
Freshly cooked rice lasts about 2–3 days refrigerated. For best quality, consume within 24 hours. Freezing is possible but changes texture—only recommended if you plan to reheat gently later.
Can I make sushi rice in a pressure cooker?
Yes! Use the same water ratio (1:1.1), rinse thoroughly, and set your pressure cooker to manual high pressure for 4 minutes with a quick release. Results are comparable to stovetop methods.
Is brown rice okay for sushi?
Technically, yes—but it requires longer soaking and more water (about 1:1.3). Brown rice has a chewier texture and nuttier flavor that some enjoy, but it’s not traditional. Stick to white short-grain unless experimenting.
Should I add oil to sushi rice while cooking?
Traditionally, no—oil isn’t used in authentic sushi rice preparation. However, a tiny drop (less than ½ teaspoon) added to the water can improve grain separation and shine. Use neutral oils like canola or sunflower.
Why is my rice sticking to the bottom of the cooker?
This usually happens due to mineral buildup, incorrect water levels, or overfilling. Clean the inner pot regularly and never exceed the max fill line. Also, ensure the heating plate is clean and flat.
Can I cook sushi rice in advance for meal prep?
Absolutely! Cook extra rice, season it, then cool completely before storing. Portion into containers and refrigerate. When ready to serve, reheat in a steamer basket with a damp cloth for 3–4 minutes to restore moisture.
Does altitude affect sushi rice cooking?
Yes—higher altitudes mean lower boiling points, so rice cooks faster but may dry out. Increase water slightly (by 0.1 cup per 1,000 feet above sea level) and monitor closely during early attempts.
Frequently Asked Questions
Can I use regular white rice instead of short-grain for sushi?
No, regular white rice lacks the sticky texture needed for sushi. Short-grain varieties like Koshihikari are essential for proper consistency.
How many times should I rinse sushi rice?
Rinse 3 to 5 times until the water runs clear. This removes excess starch that causes mushiness during cooking.
Do I need a special setting on my rice cooker for sushi rice?
Not necessarily. Most rice cookers work fine using the standard “white rice” setting. Just adjust water ratio and follow proper rinsing and soaking steps.
How long should I soak sushi rice before cooking?
Soak for 30 to 60 minutes after rinsing. This helps grains absorb moisture evenly, resulting in a better texture.
Can I store leftover sushi rice?
Yes, store in an airtight container for up to 3 days. Reheat gently with a splash of water to restore moisture.
Why is my sushi rice too sticky or dry?
Sticky rice usually means too much water or over-rinsing. Dry rice indicates insufficient water or old grains. Adjust ratios accordingly next time.