
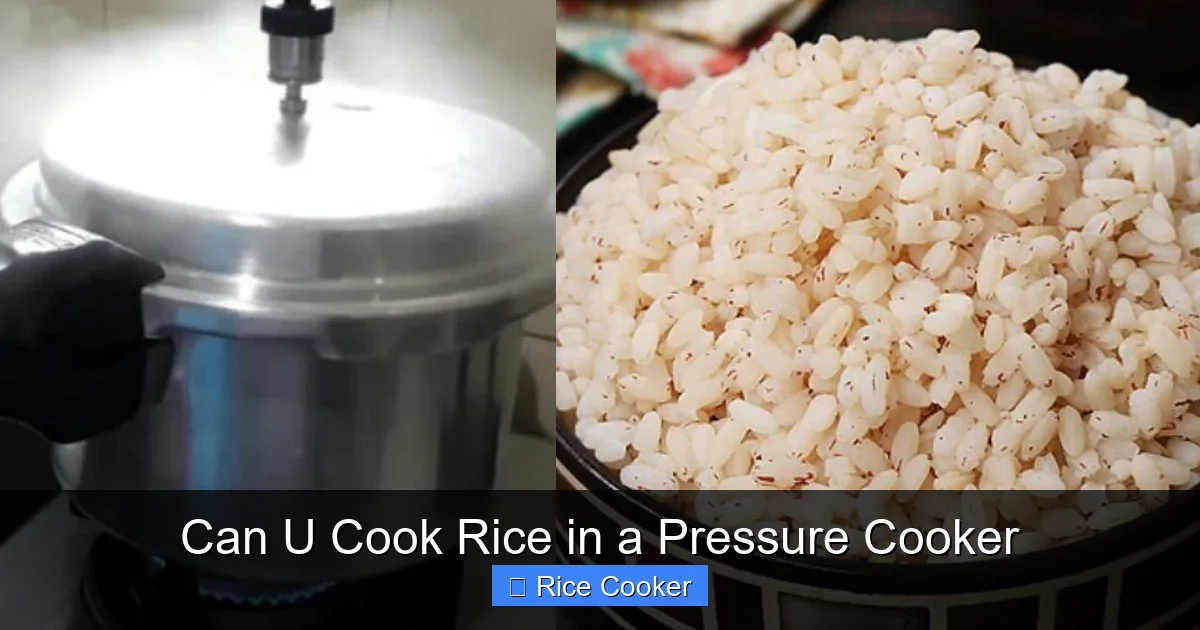
You can definitely cook rice in a pressure cooker, and it’s one of the most efficient ways to get fluffy, flavorful grains every time. Whether you’re using white, brown, jasmine, or basmati rice, a pressure cooker delivers consistent results with minimal effort. With the right water ratio and timing, your rice will come out tender and evenly cooked—no guesswork needed.
Key Takeaways
- Yes, pressure cookers are excellent for cooking rice. They use high pressure and steam to cook grains quickly while preserving texture and nutrients.
- Different rice types require different settings. White rice cooks faster than brown or wild rice, so timing and water ratios vary.
- Proper water-to-rice ratio is crucial. Too much water leads to mushy rice; too little results in undercooked grains.
- Natural release works best for most rice dishes. Let the pressure drop on its own to avoid overcooking or uneven texture.
- Cleaning and maintenance matter. Rinse rice before cooking and clean the cooker promptly to prevent residue buildup.
- Pressure cookers save time and energy. You can cook a full meal (rice + vegetables or protein) in one pot.
- Troubleshooting is easy with practice. Adjust ratios slightly if your rice isn’t quite right—every cooker behaves a bit differently.
[FEATURED_IMAGE_PLACEHOLDER]
Can You Cook Rice in a Pressure Cooker? Absolutely!
If you’ve ever wondered whether cooking rice in a pressure cooker is worth the effort, let me tell you: it’s not only possible—it’s often better than traditional stovetop methods. Pressure cookers have become kitchen staples because they’re fast, reliable, and hands-off. And yes, they work beautifully with rice. In fact, many home chefs swear by using their Instant Pot or other electric pressure cookers just for making rice. Why? Because they eliminate guesswork, reduce cooking time, and consistently deliver perfectly fluffy or tender grains.
Whether you’re making a simple side dish or building a complete meal around rice—like biryani, fried rice, or rice and beans—a pressure cooker simplifies the process. The sealed environment traps steam, raising the temperature inside to well above boiling point. This means rice cooks faster and more evenly than when simmered on the stove. Plus, because there’s no evaporation, you don’t lose moisture or flavor. So if you’ve been avoiding pressure cooking because you thought it wasn’t suitable for delicate grains like rice, think again. With the right technique, your pressure cooker can become your go-to tool for perfect rice every single time.
Why Use a Pressure Cooker for Rice?
Before diving into step-by-step instructions, let’s talk about why pressure cookers shine when it comes to cooking rice. Unlike regular pots where heat fluctuates and water boils off slowly, a pressure cooker maintains steady, intense heat under sealed conditions. This consistency is key to achieving uniform grain development without scorching or drying out.
The Science Behind Perfect Pressure-Cooked Rice
Rice contains starch that absorbs water during cooking. On the stove, uneven heating can cause some grains to swell while others stay hard. But in a pressure cooker, the high-pressure steam penetrates each kernel evenly. The result? Every grain gets the same amount of hydration and heat, leading to a balanced texture—fluffy if you want it, firm if preferred.
Additionally, pressure cooking reduces active cooking time significantly. For example, white rice might take 18–20 minutes on the stove but only 6–8 minutes under pressure. That’s nearly half the time! And since the pot stays closed, there’s less chance of splatters or messes on your stovetop.
Energy Efficiency and Convenience
Beyond speed, pressure cookers are energy-efficient. Once pressurized, they maintain heat with minimal power usage. Many modern models also come with pre-programmed settings specifically for rice—so even beginners can achieve great results with the push of a button.
Imagine starting dinner prep by rinsing rice, adding it to the cooker with water and a pinch of salt, pressing “Rice” on your device, and walking away while it does all the work. When you return, dinner’s ready—no babysitting required.
Types of Rice Suitable for Pressure Cooking
Not all rice is created equal, and neither are their ideal cooking methods. However, most common varieties adapt well to pressure cooking with minor adjustments. Here’s what you need to know:
White Rice (Short & Medium Grain)
This is probably the easiest type to cook under pressure. Short-grain white rice, like Arborio or sushi rice, becomes creamy and clingy—perfect for risotto or desserts. Medium-grain varieties stay slightly chewy and moist, ideal for pilafs or stuffing.
Tip: Always rinse white rice before cooking to remove excess starch. This prevents gummy textures and helps achieve fluffiness.
Long-Grain White Rice (Jasmine, Basmati)
These aromatic rices separate nicely when properly cooked. Jasmine rice develops floral notes, while basmati elongates beautifully and remains light. Both benefit from soaking briefly before pressure cooking—about 20 minutes—to reduce cooking time further.
Brown Rice
Higher in fiber and nutrients than white rice, brown rice takes longer due to its bran layer. But don’t worry—pressure cookers handle it like a pro. The added pressure softens the outer hull efficiently.
Expect longer cook times: usually 22–25 minutes under pressure. Some recipes suggest pre-soaking brown rice for even better results.
Wild Rice and Black Rice
These specialty rices blend easily with long-grain types and add visual appeal and nutty flavors to dishes. Wild rice typically needs 25–30 minutes under pressure, while black rice may require up to 35 minutes. Their dark color intensifies during cooking, creating striking presentations.
Instant Rice and Parboiled Rice
These are already partially processed and cook faster than regular rice. They’re great candidates for quick pressure meals—just follow package directions adjusted for your specific model.
Essential Tips Before You Start Cooking
Even though pressure cookers make rice easier than ever, small details matter. Follow these pro tips to ensure success:
Choose the Right Amount of Water
The golden rule: use 1 part rice to 1.25–1.5 parts water. That means 1 cup rice = 1.25 to 1.5 cups water. Brown rice generally needs more water than white. If you’re unsure, start low (1:1.25) and adjust next time.
Example: For 1 cup of white rice, measure out 1.25 cups cold water. For brown rice, use 1.5 cups.
Rinse Your Rice
Running uncooked rice under cool water removes surface starch. This step is especially important for sticky or short-grain varieties. Just swirl the rice in a colander until the water runs clear—usually takes 30 seconds to a minute.
Don’t Overfill the Inner Pot
Most pressure cookers recommend filling no higher than two-thirds full when cooking rice. This allows space for expansion and prevents clogging the vent.
Season Thoughtfully
Add a teaspoon of oil or butter to the water to prevent sticking and enhance flavor. A pinch of salt seasons evenly throughout the batch. Avoid adding heavy spices directly into the rice unless you plan to mix thoroughly afterward.
Let It Rest After Cooking
Once done, turn off the heat and let the pressure release naturally for 10–15 minutes. Then do a quick release to finish. This resting period lets residual steam finish hydrating the rice gently—resulting in less crumbling and better texture.
Step-by-Step Guide: How to Cook Rice in a Pressure Cooker
Ready to try it yourself? Here’s a foolproof method that works for most rice types:
Ingredients You’ll Need
- 1 cup rinsed rice (white, brown, or your choice)
- 1.25–1.5 cups water (adjust based on rice type)
- Optional: ½ tsp salt, 1 tbsp oil or butter
Equipment Checklist
- Pressure cooker (electric or stovetop)
- Fine-mesh strainer or colander
- Measuring cups
- Spoon or spatula for mixing (if needed)
Cooking Instructions
- Rinse the rice in a fine-mesh strainer until the water runs clear.
- Add rice and water to the inner pot of your pressure cooker. Stir in salt and fat if desired.
- Close the lid securely and ensure the valve is set to sealing position.
- Select appropriate setting:
- White rice: Manual/High Pressure for 4–6 minutes
- Brown rice: Manual/High Pressure for 22–25 minutes
- Wild/black rice: Manual/High Pressure for 25–30 minutes
Note: Some models have preset “Rice” buttons—use those for convenience.
- Start the cycle. Once finished, let pressure release naturally for 10 minutes, then perform a quick release.
- Open carefully**, fluff the rice with a fork, and serve immediately.
Sample Timing Chart
| Rice Type | Water Ratio | Pressure Time | Natural Release |
|---|---|---|---|
| White (short/grain) | 1:1.25 | 4–5 min | 10 min |
| White (long-grain) | 1:1.5 | 5–6 min | 10 min |
| Brown | 1:1.5 | 22–25 min | 10–15 min |
| Wild/Black | 1:2 | 25–30 min | 15 min |
Common Mistakes to Avoid
- Not rinsing rice → leads to stickiness
- Using hot tap water → can affect texture; always use cold
- Overfilling the pot → causes blockages or overflow
- Skipping the rest period → rice ends up dry or uneven
- Using old or damaged seals → compromises safety and performance
Troubleshooting Common Issues
Even experienced cooks run into hiccups now and then. Here’s how to fix typical problems:
Mushy or Sticky Rice
This usually happens when too much water was used or cooking time exceeded recommendations. To rescue it:
- Gently separate grains with a fork
- Dry slightly by spreading on a baking sheet and warming at 300°F for 5 minutes
- Next time, reduce water by ¼ cup and check doneness early
Undercooked or Hard Grains
If rice is still firm after the timer ends:
- Re-seal the lid and cook for 2–3 additional minutes under pressure
- Alternatively, add ¼ cup extra water and continue cooking
Burnt Bottom Layer
This occurs when the bottom of the pot dries out. Prevention tips:
- Always use enough liquid
- Stir once halfway through cooking (if safe for your model)
- Use a trivet or steamer basket for certain dishes
Pressure Won’t Build
If your cooker won’t pressurize:
- Check that the lid locks properly
- Ensure the sealing ring isn’t cracked or misaligned
- Verify there’s enough liquid (minimum ½ cup for most models)
Creative Ways to Serve Pressure-Cooked Rice
Once you master basic rice, expand your culinary horizons! Try these ideas:
Flavor Infusions
Add herbs, garlic, or broth instead of plain water for deeper taste. For instance:
- Chicken broth + thyme for savory pilaf
- Coconut milk + lemongrass for Thai-inspired rice
- Vinegar + sugar + soy sauce for Japanese-style steamed rice
Mixed Grain Bowls
Combine cooked rice with roasted veggies, beans, and protein for wholesome bowls. Think Mediterranean quinoa-rice blends or Mexican arroz con frijoles.
Dessert Rice
Yes—you can even make sweet rice! Cook glutinous rice with milk, sugar, cinnamon, and raisins. Serve warm with fruit compote.
One-Pot Meals
After cooking rice, toss in frozen peas, shredded chicken, and teriyaki sauce. Cover and cook 2–3 minutes more for instant fried rice.
Maintaining Your Pressure Cooker for Best Results
To keep your appliance performing well year after year:
Clean Immediately After Use
Rinse the inner pot and wipe the lid. Don’t submerge the locking mechanism or control panel in water. Replace the sealing ring annually or if it shows wear.
Deep Clean Monthly
Soak the gasket and accessories in warm soapy water. Check the steam release valve for debris and clear any blockages gently with a toothpick.
Store Properly
Keep the cooker dry and store with the lid slightly ajar to prevent mold. Place in a cool, dry cabinet—away from direct sunlight.
Follow Manufacturer Guidelines
Every brand has unique care instructions. Consult your manual for model-specific advice on descaling (for electric models) and replacing parts.
Final Thoughts: Is Cooking Rice in a Pressure Cooker Worth It?
Absolutely. Whether you’re feeding a family, meal-prepping for the week, or simply craving perfectly cooked grains without fuss, a pressure cooker delivers. It combines speed, consistency, and simplicity in one compact machine. And contrary to popular belief, it doesn’t sacrifice quality—it enhances it.
If you’ve never tried making rice in yours yet, give it a shot. Start with white rice using the steps above. Once you see how fluffy, fragrant, and effortless it turns out, you’ll wonder why you waited so long. Soon enough, rice might just become your favorite reason to reach for the cooker.
Happy cooking—and remember, practice makes perfect!
Can I cook rice without soaking it first?
Yes, soaking is optional but recommended for better texture, especially with long-grain or brown rice. If skipping soaking, increase cooking time slightly.
Do I need to add oil or butter to pressure-cooked rice?
It’s not mandatory, but adding a tablespoon of oil or butter prevents sticking and adds richness. It’s especially helpful for sticky rice types.
Can I cook frozen rice in a pressure cooker?
No—always use fresh, dry rice. Frozen rice contains moisture that disrupts the pressure system and affects texture.
What if my pressure cooker doesn’t have a rice setting?
Use the manual/high-pressure function and follow standard timings. Many non-electric models also work well with similar guidelines.
How do I convert stovetop rice recipes to pressure cooker?
Reduce liquid by ¼ cup and cut cooking time by half. Start checking rice 2–3 minutes before the timer ends.
Is it safe to leave rice in the pressure cooker overnight?
While some modern electric models have keep-warm functions, it’s best to refrigerate leftovers within 2 hours to prevent bacterial growth.
This is a comprehensive guide about can u cook rice in a pressure cooker.
Key Takeaways
- Understanding can u cook rice in a pressure cooker: Provides essential knowledge
Frequently Asked Questions
What is can u cook rice in a pressure cooker?
can u cook rice in a pressure cooker is an important topic with many practical applications.