
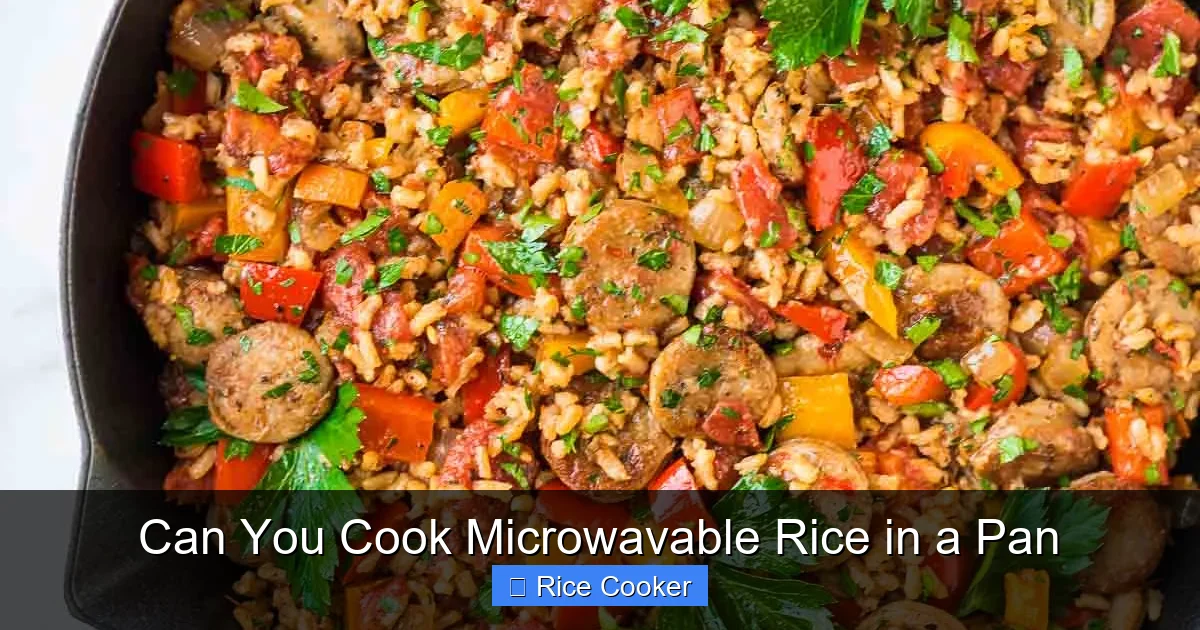
Yes, you can absolutely cook microwavable rice in a pan, and it’s easier than you might think. While the microwave method is convenient, using a stovetop or skillet gives you more control over texture and flavor. This guide walks you through step-by-step instructions, common mistakes to avoid, and pro tips to make your leftover or single-serving rice taste just as good—or even better—than fresh-cooked rice.
Key Takeaways
- Microwavable rice is designed for reheating, not cooking from raw: Most prepackaged microwavable rice comes pre-cooked and steamed, so it only needs reheating—not full cooking from dry grains.
- Cooking it in a pan helps restore moisture and texture: The pan method allows gentle heat distribution, helping revive dry or rubbery leftover rice without overcooking.
- You can use the pan method for both new and leftover rice: Whether you’re making a small batch or reviving last night’s dinner, the stovetop works well with microwavable rice.
- Proper seasoning enhances flavor: Adding a splash of broth, butter, or soy sauce while warming improves taste significantly compared to plain reheating.
- Time and temperature matter: Low to medium heat prevents scorching and ensures even warming throughout.
- It’s a great alternative when you don’t have a microwave: This method is ideal for camping, power outages, or shared kitchens where microwaves aren’t available.
- Always check packaging instructions first: Some brands recommend specific methods, so follow guidelines to avoid ruining your rice.
📑 Table of Contents
- Can You Cook Microwavable Rice in a Pan?
- The Basics: What Is Microwavable Rice?
- Why Use a Pan Instead of a Microwave?
- Step-by-Step Guide: How to Cook Microwavable Rice in a Pan
- Troubleshooting Common Issues
- Tips for Best Results Every Time
- Creative Ways to Use Pan-Cooked Microwavable Rice
- Environmental and Practical Considerations
- Comparing Methods: Pan vs. Microwave
- Final Thoughts
Can You Cook Microwavable Rice in a Pan?
Let’s be honest—life gets busy. Sometimes you grab a quick, ready-to-eat meal straight from the microwave: a single-serving bag of jasmine rice, basmati, or even brown rice. It’s fast, it’s easy, and it usually tastes fine. But what if your microwave breaks down? Or you’re craving that comforting warmth of rice warmed slowly on the stove? Can you cook microwavable rice in a pan? The short answer is yes. In fact, many home cooks swear by this method because it gives them more control over texture, moisture, and flavor.
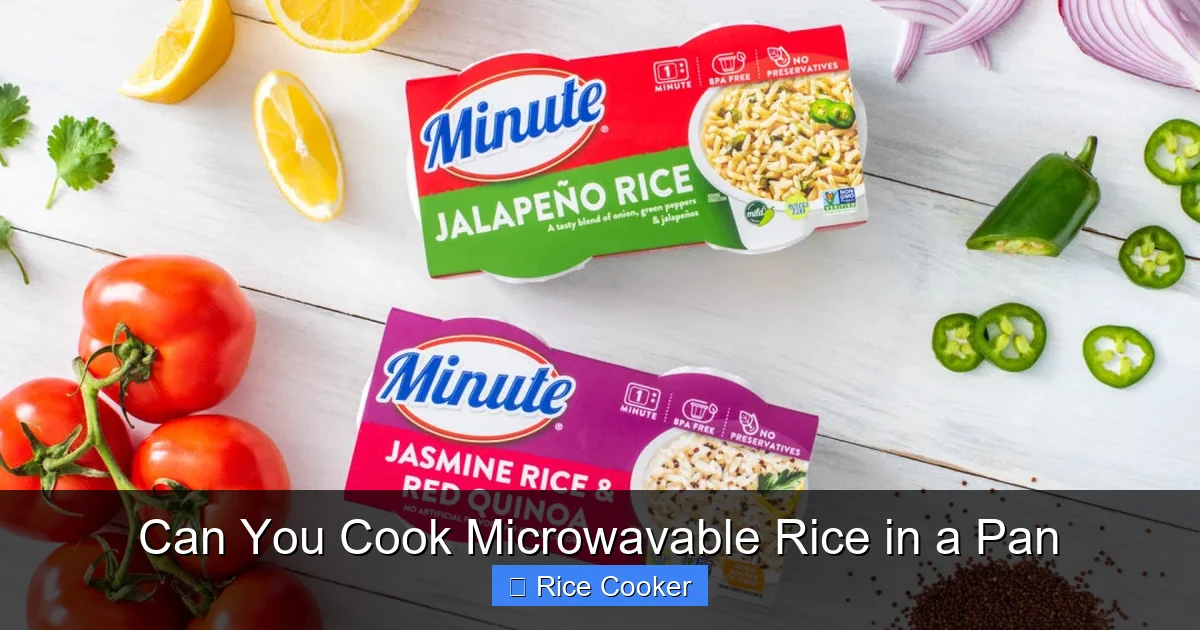
Microwavable rice is a marvel of convenience food engineering. These pouches or containers are pre-steamed and often contain seasonings or sauces to enhance flavor. They’re designed to be heated quickly in the microwave for 1–3 minutes, yielding fluffy, edible rice in under five minutes. But when you transfer that same rice to a pan on the stovetop, something magical happens: the heat penetrates more evenly, and you can add extra ingredients like garlic, herbs, or butter to bring back lost aroma and richness. Whether you’re using it as a side dish, a base for fried rice, or a quick solo meal, cooking microwavable rice in a pan opens up new culinary possibilities.
The Basics: What Is Microwavable Rice?
Before diving into methods, let’s clarify what we mean by “microwavable rice.” Unlike traditional rice that requires measuring water, rinsing, and hours of simmering, microwavable rice skips all that. It’s typically made by parboiling rice grains, then flash-frying or steaming them under pressure to remove moisture. The result? Rice that’s about 70–80% cooked and ready to finish heating.
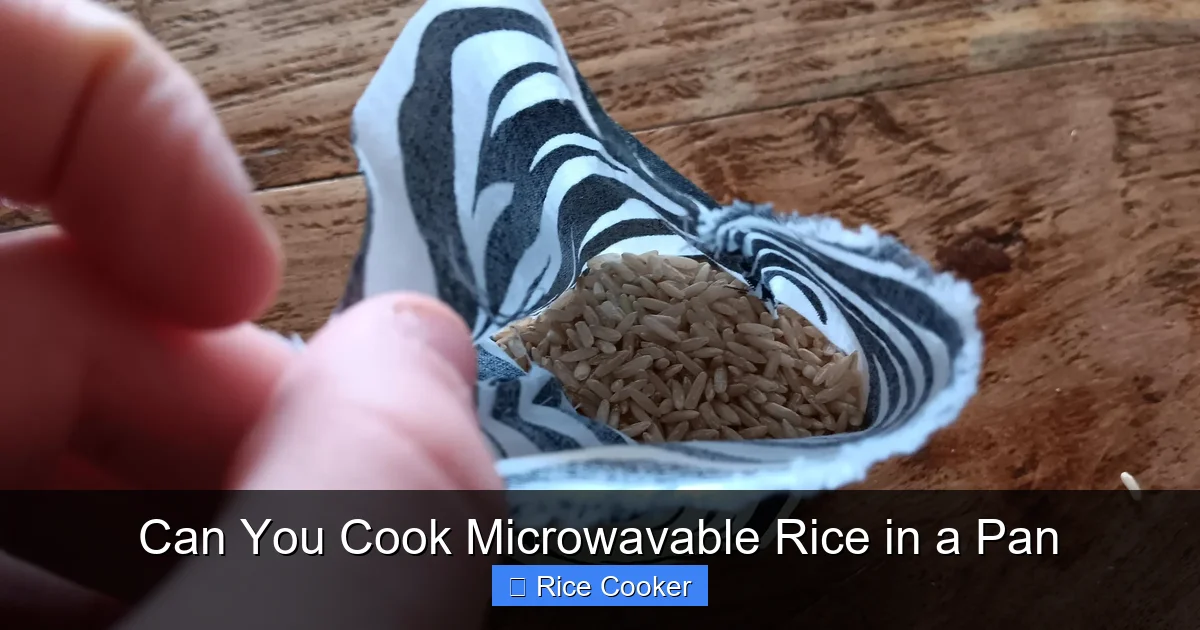
Visual guide about Can You Cook Microwavable Rice in a Pan
Image source: content.instructables.com
Common types include:
- White rice (jasmine, basmati): Light, fluffy, and neutral in flavor—great for stir-fries or pairing with curries.
- Brown rice: Nuttier and chewier; some brands offer pre-cooked brown rice for faster prep.
- Instant rice blends: Often mixed with vegetables, spices, or proteins for one-pot meals.
These products are labeled “ready-to-heat” or “microwaveable,” and their packaging usually includes clear instructions like “Heat in microwave for 2 minutes, then let stand.” But what if you want to skip the microwave entirely?
Why Use a Pan Instead of a Microwave?
While microwaves are efficient, they have limitations. They heat unevenly—hot spots can leave cold patches, and overheating may turn rice gummy or dry out. A pan, on the other hand, offers several advantages:
Visual guide about Can You Cook Microwavable Rice in a Pan
Image source: minuterice.com
Even Heat Distribution
Stovetops provide consistent, adjustable heat that wraps around the entire container. This helps warm rice gently without hot zones that can cause burning or uneven texture.
Better Flavor Development
Aromatics like garlic, ginger, or soy sauce blend seamlessly into rice when heated slowly on the stove. You can deglaze the pan, add butter or oil, and create a richer profile than microwave-only reheating allows.
More Control Over Texture
If your microwavable rice feels stiff or slightly underheated, the pan lets you adjust cooking time precisely. Stirring occasionally ensures every grain absorbs moisture evenly.
Versatility in Presentation
Pans work well for dishes like fried rice, rice bowls, or risottos—even if the base is microwavable rice. You can fluff it, brown it lightly, or mix it with other ingredients mid-cook.
Step-by-Step Guide: How to Cook Microwavable Rice in a Pan
Ready to try it yourself? Follow these simple steps for foolproof results:
What You’ll Need
- 1 serving of microwavable rice (about 1 cup)
- Small saucepan or skillet (non-stick works best)
- Optional: 1–2 tablespoons water, broth, or milk
- Optional: Butter, oil, salt, pepper, or seasonings of choice
Step 1: Open the Container Carefully
Most microwavable rice comes in sealed plastic trays or pouches. Cut open the top edge or peel off the lid—don’t microwave it directly in foil or metal, but since we’re using a pan, just pour the contents into your pot.
Step 2: Add Moisture (If Needed)
Microwaved rice tends to lose steam during storage. To prevent sticking and dryness, add a splash of water, broth, or even dairy (like milk or cream) depending on your preference. For example, adding 2 tablespoons of chicken broth can elevate plain white rice into a savory side dish.
Step 3: Heat on Low to Medium
Turn the burner to low-medium heat. Avoid high heat—it can scorch the bottom or dry out the rice. Let it warm gradually, stirring occasionally to distribute heat and prevent clumping.
Step 4: Cover and Simmer
Once the rice starts steaming, cover the pan with a lid. This traps moisture and speeds up warming. Let it sit for 2–4 minutes, checking frequently to avoid overcooking.
Step 5: Fluff and Season
Remove from heat, fluff with a fork, and taste. Add salt, pepper, or herbs as desired. A pat of butter or drizzle of sesame oil adds richness, especially useful for Asian-style dishes.
Troubleshooting Common Issues
Even with the best intentions, things don’t always go perfectly. Here’s how to fix common problems:
Rice Sticks to the Bottom
This usually means too much heat or not enough liquid. Next time, reduce heat further and add a bit more liquid before heating. A non-stick pan also helps.
Rice Remains Too Dry
Add 1–2 teaspoons of liquid at a time and reheat in short bursts. Covering the pan helps retain steam and soften the grains.
Texture Is Too Soft or Mushy
Overheating breaks down starch. Keep an eye on it—especially if you’re adding extra liquid. Stop cooking as soon as the rice is warm and tender.
Flavor Lacks Depth
Boost umami with soy sauce, miso paste, or nutritional yeast. Garlic powder, onion powder, or a pinch of cayenne can also deepen the taste.
Tips for Best Results Every Time
Want your pan-cooked microwavable rice to shine? Try these pro tips:
- Preheat your pan lightly: Cold pans shock the rice and cause uneven warming.
- Use a lid strategically: Start uncovered to vent excess moisture, then cover once steaming begins.
- Stir gently but thoroughly: Use a fork instead of a spoon to avoid mashing the grains.
- Experiment with liquids: Broth instead of water adds flavor; coconut milk makes it creamy.
- Let it rest after heating: Off the heat for 1–2 minutes allows residual steam to finish softening the rice.
Creative Ways to Use Pan-Cooked Microwavable Rice
Don’t stop at plain reheating! Here are fun ideas to elevate your rice game:
Fried Rice
After warming the rice, push it to one side of the pan. Scramble an egg in the empty space, then mix everything together with peas, carrots, soy sauce, and green onions.
Rice Pudding
Add milk or cream along with cinnamon, vanilla, and sugar while heating. Simmer until thickened for a cozy dessert or breakfast option.
Buddha Bowls
Warm rice as a base, then top with roasted veggies, beans, avocado, and tahini dressing for a nutritious, satisfying meal.
Risotto-Inspired Dish
Add warm stock gradually while stirring constantly. Even though microwavable rice isn’t traditional risotto rice, it can mimic the creamy texture when treated carefully.
Environmental and Practical Considerations
Using a pan instead of a microwave has benefits beyond taste:
- Saves energy: Stovetops use less electricity than microwaves for short durations.
- Reduces single-use waste: Many microwavable rice containers aren’t recyclable. Cooking in a reusable pan minimizes plastic waste.
- Works during outages: If the power goes out, you still have options—gas stoves or campfires work too!
That said, always dispose of microwavable containers responsibly. Check local recycling rules—some facilities accept clean, dry plastic trays, but others don’t.
Comparing Methods: Pan vs. Microwave
Here’s a quick comparison to help you decide which method suits your needs:
| Feature | Pan Method | Microwave Method |
|---|---|---|
| Time | 4–6 minutes | 2–3 minutes |
| Energy Use | Moderate | High (for short bursts) |
| Texture Control | Excellent | Limited |
| Flavor Customization | High | Low |
| Equipment Needed | Microwave | |
| Suitability for Groups | Good (batch-friendly) | Best for singles |
Ultimately, the microwave wins for speed, while the pan excels in versatility and sensory appeal.
Final Thoughts
Cooking microwavable rice in a pan isn’t just possible—it’s often preferable. It transforms a convenient shortcut into a customizable, flavorful experience. Whether you’re whipping up a quick lunch, reviving leftovers, or experimenting with fusion recipes, the stovetop gives you the tools to make rice truly shine.
So next time you reach for that microwavable pouch, consider skipping the appliance. Grab a pan, add a touch of love and creativity, and turn simple rice into something special. After all, great meals start with small choices—and sometimes, the best flavors come from doing things a little differently.
Frequently Asked Questions
Is it safe to cook microwavable rice in a pan?
Yes, it’s completely safe. Just ensure the container is microwave-safe and transfer the rice to a heat-resistant pan before cooking. Avoid using metal lids or foil.
How long does it take to cook microwavable rice in a pan?
Typically 4–6 minutes on low to medium heat, depending on quantity and desired consistency. Stir occasionally and add liquid if needed.
Can I cook more than one serving at a time?
Absolutely. Just increase the cooking time slightly and ensure the pan is large enough to allow even heating without overcrowding.
Do I need to rinse microwavable rice before cooking it in a pan?
No, most microwavable rice is pre-rinsed and ready to heat. Rinsing isn’t necessary unless you prefer extra-fluffy grains.
What kind of pan should I use?
A non-stick skillet or shallow saucepan works best. Avoid deep pots unless you’re making a large batch, as rice expands slightly when heated.
Can I freeze microwavable rice after pan-cooking?
Yes, let it cool completely, portion it into containers, and freeze for up to 3 months. Thaw overnight in the fridge before reheating.