
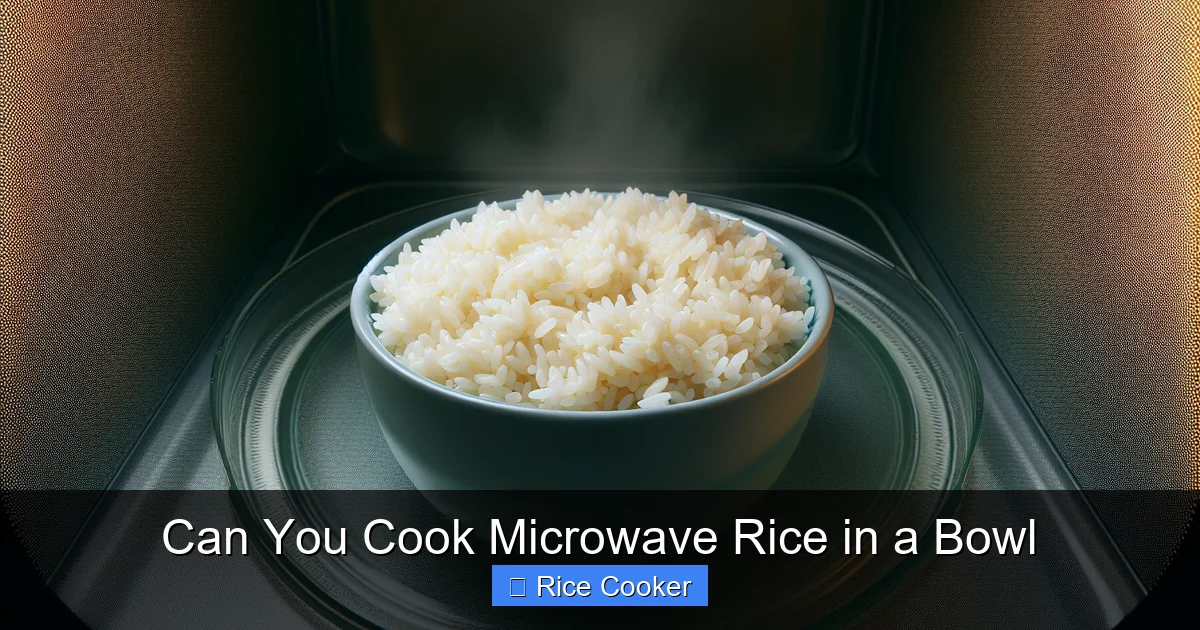
Can you cook microwave rice in a bowl? Absolutely—yes! While traditional methods often recommend specific containers, using a microwave-safe bowl is not only possible but practical for quick meals. The key lies in the right technique: proper water ratio, covered steaming, and safe cookware. With simple adjustments, your bowl can deliver fluffy, evenly cooked rice just like a dedicated rice cooker. This guide walks you through everything from ingredient choices to timing, so you never need a special pot again.
# Can You Cook Microwave Rice in a Bowl?
Have you ever stared into your kitchen cupboard, wondering if that trusty ceramic bowl stashed away in the back could do double duty as a rice cooker? Maybe you’re short on time, craving a warm side dish, and reach for the instant rice packets—only to realize you don’t have the original packaging. Or perhaps you’ve always assumed that true rice perfection requires a dedicated pot and stovetop vigilance. The truth? You absolutely **can cook microwave rice in a bowl**, and doing so opens up a world of convenience without sacrificing flavor or texture.
Microwave cooking has come a long way from its 1970s heyday of rubbery casseroles and soggy vegetables. Today’s home cooks know how to harness microwave power for everything from reheating soup to making oatmeal. And yes—rice fits right into that list. With the right approach, your favorite microwave-safe bowl becomes a mini rice cooker. In this deep dive, we’ll walk through exactly how to do it, why it works, what pitfalls to avoid, and when to stick with traditional methods. Whether you’re meal-prepping for the week, cooking for one, or just tired of scrubbing pots, mastering bowl-based microwave rice could be your new kitchen hack.
## Why Choose a Bowl Over a Pot?
Before we get into the nitty-gritty, let’s talk motivation. What makes someone opt for a bowl instead of a saucepan or rice cooker? For starters, speed. A bowl takes up less space on the counter, heats faster in the microwave, and cleans up in seconds. No boiling water, no waiting for the pan to come to temperature—just toss, cover, pop, and done.
Another advantage is simplicity. If you’re making a single serving or cooking alongside other dishes in the microwave, using a bowl keeps things uncluttered. Plus, many people already own large, sturdy bowls that are ideal for this purpose—no extra purchases needed.
That said, there are trade-offs. Traditional stovetop methods offer more control over heat distribution and allow for longer simmering times that improve digestibility (especially for brown rice). But for white rice, quick sides, or emergency meals, a bowl delivers satisfying results with minimal effort.
## Choosing the Right Bowl
Not all bowls are created equal—especially when microwaving. The last thing you want is a cracking ceramic, melting plastic, or worse, toxic fumes. So how do you pick the best one?
Start with labeling. Look for phrases like “microwave safe,” “oven safe,” or “heat resistant” on the bottom of the bowl. If there’s no label, err on the side of caution. Older ceramics or decorative glazes may contain lead or cadmium that can leach into food under high heat.
Opt for glass, porcelain, or high-quality melamine designed for microwave use. Avoid thin plastic bowls (like margarine tubs), wooden bowls, or anything with metallic trim. Even small amounts of metal can spark in the microwave and damage your appliance.
Size-wise, aim for something between 2 and 4 quarts. Too small, and your rice will overflow; too large, and you’ll waste energy heating empty space. A wide, shallow bowl is better than a tall, narrow one because it distributes heat more evenly and gives rice room to expand.
Finally, check for cracks or chips. Even tiny fissures can trap bacteria or create hot spots that cause uneven cooking or breakage during rotation.
## Perfecting the Water-to-Rice Ratio
This is arguably the most critical step. Too much water = soupy, mushy rice. Too little = dry, chalky grains. The magic number depends on the type of rice you’re using.
For **white rice** (like long-grain or medium-grain), the standard ratio is **1.5 cups water per 1 cup uncooked rice**. Jasmine rice behaves similarly—slightly sticky but still follows this guideline.
When cooking **brown rice**, increase water to **2 cups per 1 cup rice**. Brown rice has a tougher outer bran layer that absorbs more liquid and needs longer cooking time.
**Wild rice** is trickier—it expands dramatically and takes longer. Use **3 cups water per 1 cup wild rice**, and plan for extended microwaving (usually 20–25 minutes total).
If you’re unsure, start with a smaller batch first. Cooking ½ cup rice lets you test ratios and timing without wasting ingredients.
Pro tip: Rinse your rice briefly before cooking. This removes excess starch and prevents gunkiness, especially in short-grain varieties.
## Step-by-Step: How to Cook Rice in a Microwave Bowl
Ready to give it a try? Follow these simple steps for foolproof results:
1. **Measure & Rinse**: Use 1 cup rice + 1.5 cups water (adjust as noted above). Rinse rice under cold water until water runs clear.
2. **Transfer to Bowl**: Place rinsed rice into your microwave-safe bowl. Add salt if desired—about ¼ teaspoon per cup of rice enhances flavor.
3. **Cover Securely**: Use a microwave-safe lid, vented plastic wrap, or even a damp paper towel over an upside-down plate. The goal is to trap steam while allowing some escape to prevent pressure buildup.
4. **Microwave High**: Start with **8–10 minutes** for white rice. Power level doesn’t matter much—microwaves cycle on/off anyway.
5. **Pause & Stir**: Carefully remove bowl (it’ll be hot!). Lift the cover, fluff rice with a fork, and check consistency. Add 1 tablespoon water if too dry, or microwave 1–2 more minutes if still firm.
6. **Let It Rest**: Cover again and let sit 3–5 minutes. This final steaming phase finishes cooking and fluffs the grains.
Repeat this process for different rice types—just adjust time and water accordingly.
## Common Mistakes & How to Fix Them
Even experienced home cooks make mistakes when adapting recipes. Here’s what to watch out for:
– **Overflowing**: Happens when rice expands beyond bowl capacity. Solution: Don’t fill beyond halfway. Use a larger bowl next time.
– **Uneven Cooking**: Cold spots in the center. Fix: Stir thoroughly halfway through cooking.
– **Gummy Texture**: Caused by insufficient stirring or too much water. Try reducing water by 1–2 tablespoons next batch.
– **Burnt Bottom**: Rare in bowls due to lack of direct flame, but possible with old, warped ceramics. Use newer, flat-bottomed bowls for even heating.
– **Undercooked Grains**: Usually due to incorrect time/ratio. Keep a log of what worked for you!
Remember: Microwaves vary in wattage (usually 600–1200W). If yours is on the lower end, add 1–2 minutes to cook time.
## Beyond Basic White Rice: Experimenting with Varieties
Once you’ve mastered plain white rice, consider branching out. Microwave cooking adapts surprisingly well to other grains:
– **Basmati**: Long, aromatic grains that stay separate. Use same ratio as white rice, but add a pinch of cardamom or saffron for authenticity.
– **Arborio**: Great for risotto if you stir constantly while microwaving (not recommended for full risotto—too short a time).
– **Black Rice (Forbidden Rice)**: Nutty flavor, chewy texture. Requires 2.5 cups water per cup rice and 15+ minutes cooking.
– **Quinoa**: Technically a seed, but cooks like rice. Use 2 cups water per 1 cup quinoa, cover, and cook 12–15 minutes.
Don’t forget leftovers! Reheat cooked rice in the microwave with a splash of water and a quick stir to revive moisture.
## Safety First: Microwave-Safe Tips
Safety should never be an afterthought. Follow these guidelines:
– Never microwave metal, foil, or anything with metallic paint.
– Use oven mitts—bowls retain heat even after turning off the microwave.
– Ventilation matters: Open windows or turn on exhaust fan when heating fats or oils (though rice rarely involves oil).
– Clean your bowl regularly—food residue can carbonize and create smoke.
Also, note that some plastics release BPA or phthalates when heated. Stick to glass or ceramic unless you’re certain your plastic is food-grade and labeled safe.
## When Not to Use a Bowl (And What to Do Instead)
While bowls work great for many situations, they aren’t perfect for everything:
– **Very large batches**: A 6-cup bowl won’t fit in most microwaves. Use multiple smaller bowls or cook on the stovetop.
– **Brown/wild rice**: These need longer, gentler cooking. Consider using a dedicated rice cooker or slow cooker for better results.
– **Risotto-style preparations**: Constant stirring and gradual liquid addition are hard to replicate in a sealed bowl.
– **High-fat dishes**: Sauces or curries with lots of oil can splatter and burn.
In those cases, default to traditional pots or specialized appliances. But for everyday white rice? Your bowl is totally up to the task.
## Final Thoughts: Embrace the Convenience
Cooking rice in a microwave bowl isn’t just possible—it’s practical, efficient, and delicious. With the right tools, ratios, and technique, you’ll get fluffy, tender grains every time. No fancy equipment required.
The beauty of this method lies in its flexibility. Whether you’re cooking solo, prepping lunches, or whipping up last-minute sides, your microwave-safe bowl becomes a secret weapon. And honestly? It feels good to know your kitchen staples can do more than just hold salads or serve cereal.
So go ahead—grab that bowl, measure your rice, and trust the process. Next time someone asks if you can cook microwave rice in a bowl, you’ll smile knowingly and say, “Absolutely.”
Key Takeaways
- Microwave-safe bowls work perfectly: As long as your bowl is labeled microwave-safe, it’s suitable for cooking rice. Avoid metal, cracked ceramics, or old plastics that may warp or release toxins.
- Water-to-rice ratio matters: Use 1.5 cups of water per 1 cup of uncooked rice for most varieties. Adjust slightly for jasmine or basmati, which absorb more moisture.
- Covering traps steam: Always cover your bowl with a lid or microwave-safe plate to create a sealed environment that mimics boiling conditions.
- Stirring prevents clumping: After the initial cook time, gently fluff and stir the rice to distribute heat evenly and break up any clumps.
- Resting improves texture: Let the rice sit for 3–5 minutes after microwaving. This allows residual steam to finish cooking and makes it fluffier.
- Choose the right bowl size: Pick a wide, shallow bowl (at least 2–3 quarts) to give rice room to expand without overflowing.
- Experiment safely: Try different rice types (white, brown, wild) with small batches first to dial in timing and ratios for your microwave.
Frequently Asked Questions
Is it safe to cook rice in a regular ceramic bowl?
Only if it’s labeled microwave-safe. Unmarked or old ceramics may contain harmful metals or develop cracks that compromise safety. Always check for official markings before microwaving.
How much water do I use per cup of rice?
For white rice, use 1.5 cups water per 1 cup uncooked rice. Brown rice needs 2 cups, and wild rice requires about 3 cups. Adjust based on desired consistency.
Do I need to rinse the rice before microwaving?
Yes, rinsing removes excess starch and prevents gummy texture. Rinse until water runs clear under cold running water for best results.
Why does my rice turn out mushy?
Usually caused by too much water or insufficient stirring. Try reducing water by 1–2 tablespoons and fluffing halfway through cooking.
Can I cook different types of rice in the same bowl?
Not recommended. Different grains have unique ratios and cook times. Cook separately to ensure each achieves proper texture.
How do I reheat leftover rice in a bowl?
Add 1–2 tablespoons water to the bowl, cover, and microwave on high for 30–60 seconds. Stir and repeat if needed until warmed through.