
Yes, you can absolutely cook other grains in a rice cooker! Whether it’s quinoa, barley, millet, or ancient grains like farro, most rice cookers handle them with ease. All you need is the right water-to-grain ratio and a little know-how. This guide walks you through everything from basic setup to flavorful additions, so you can expand your meals effortlessly.
Key Takeaways
- Rice cookers are versatile: They can cook more than just rice—many grains thrive in the same device that made your kitchen essential.
- Water ratios matter: Different grains require different water amounts; a simple 2:1 rule works for many, but adjust for denser grains.
- Soaking helps: Soaking certain grains (like brown rice or lentils) reduces cooking time and improves texture.
- Add-ins enhance flavor: Herbs, vegetables, or broth can transform plain grains into complete meals.
- Troubleshooting is easy: If your grains are too wet or dry, tweak ratios or pre-cook steps next time.
- Cleaning remains simple: Most non-stick rice cooker bowls clean up like regular rice—just rinse and wipe.
📑 Table of Contents
- Can You Cook Other Grains in a Rice Cooker?
- Why Use a Rice Cooker for Non-Rice Grains?
- Best Grains to Cook in a Rice Cooker
- Step-by-Step Guide: How to Cook Any Grain in a Rice Cooker
- Creative Ways to Use Cooked Grains
- Troubleshooting Common Issues
- Cleaning & Maintenance Tips
- Final Thoughts: Your Rice Cooker Is More Than Just for Rice
Can You Cook Other Grains in a Rice Cooker?
If you own a rice cooker, chances are you use it mainly for fluffy white rice. But here’s the exciting truth: your trusty kitchen gadget is far more capable than you might think. You can absolutely cook a wide range of grains in a rice cooker—without buying another appliance. From ancient grains like quinoa and millet to hearty staples like barley and farro, these versatile devices handle them all with surprising precision.
The magic lies in the rice cooker’s ability to maintain consistent heat and automate the cooking process. Once you understand the basics—like water ratios and soaking times—you can turn your rice cooker into a multigrain powerhouse. Whether you’re meal-prepping for the week or experimenting with international cuisines, learning to cook other grains opens up a world of nutritious, delicious possibilities.
In this guide, we’ll walk you through everything you need to know: which grains work best, how to adjust recipes, creative ways to use cooked grains, and even how to troubleshoot common issues. By the end, you’ll feel confident using your rice cooker like a pro—and never look at it the same way again.
Why Use a Rice Cooker for Non-Rice Grains?
Before diving into specific grains, let’s talk about why repurposing your rice cooker makes sense. For starters, convenience is king. Instead of juggling multiple pots and pans, one appliance does the job. That means fewer dishes, less cleanup, and more time saved.
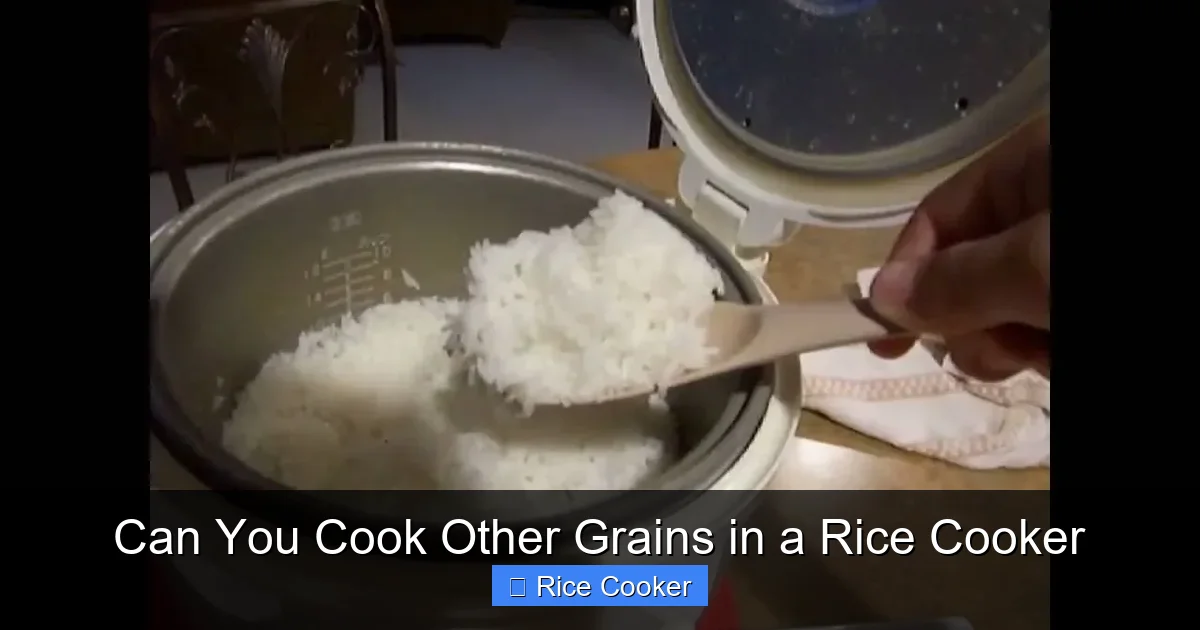
Visual guide about Can You Cook Other Grains in a Rice Cooker
Image source: img.wonderhowto.com
The Science Behind Rice Cooker Cooking
Rice cookers operate on two key principles: temperature control and automation. Most models switch from heating to warming mode once the internal temperature reaches a certain point—typically around 212°F (100°C), when water boils off and steam condenses back into liquid. This cycle ensures even cooking without scorching.
This mechanism works beautifully for starchy, gel-forming grains like rice and oats. When heated properly, their starches absorb water, gelatinize, and create that tender-yet-firm bite we love. But what about denser, harder-to-cook grains? The answer often depends on preparation—soaking or pre-rinsing can make all the difference.
Benefits Beyond Convenience
- Consistent Results: No more guessing whether your barley is mushy or crunchy—your rice cooker keeps things uniform.
- Energy Efficient: One appliance uses less power than multiple burners.
- Beginner-Friendly: Even if you’re new to cooking, the “set it and forget it” method reduces stress.
- Nutrient Retention: Gentle, controlled heat preserves vitamins and minerals better than boiling or frying.
Limitations to Keep in Mind
While versatile, rice cookers aren’t magic wands. Some challenges include:
- Texture Variability: Harder grains may still be slightly chewy if not soaked long enough.
- Flavor Absorption: Unlike stovetop methods, rice cookers limit direct seasoning during cooking unless you add ingredients early.
- Capacity Limits: Large batches might not fit depending on your model.
But don’t worry—these are easily managed with small tweaks!
Best Grains to Cook in a Rice Cooker
Not all grains are created equal when it comes to rice cooker compatibility. Here’s a curated list of the top performers, ranked by ease of use and popularity:
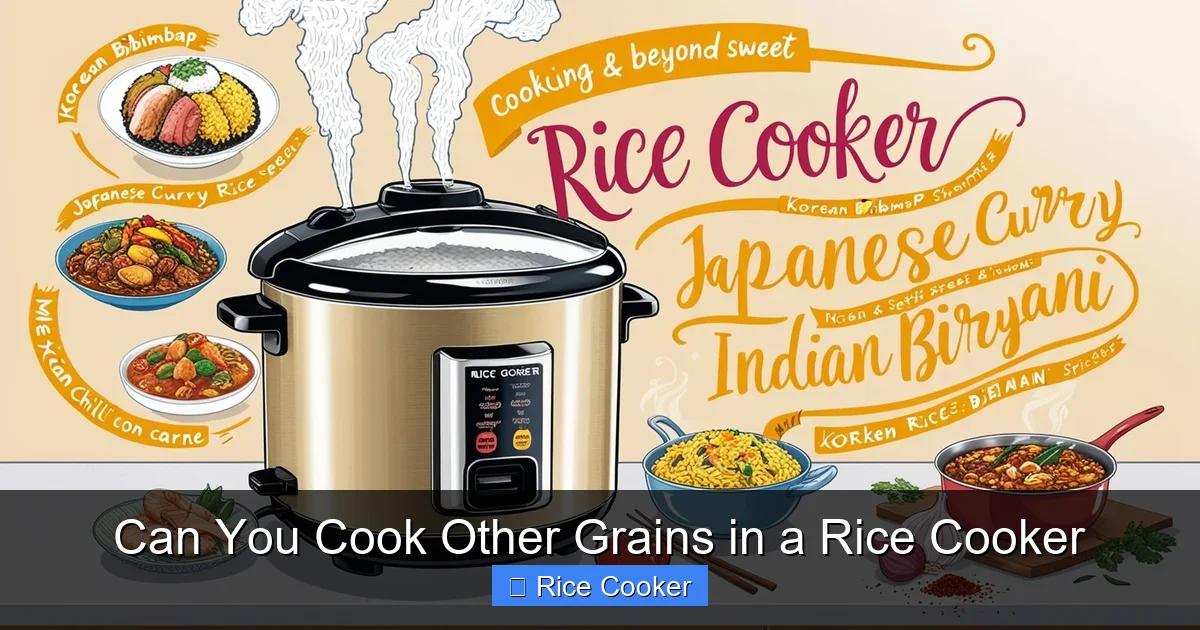
Visual guide about Can You Cook Other Grains in a Rice Cooker
Image source: toolsofkitchen.com
1. Quinoa
Often called the “golden grain,” quinoa is gluten-free, protein-rich, and surprisingly forgiving. It cooks faster than most grains—usually 15–20 minutes—and needs no soaking if rinsed well beforehand. Use a 2:1 water-to-quinoa ratio (e.g., 2 cups water per 1 cup quinoa).
Pro Tip: Rinse quinoa thoroughly under cold water to remove its natural bitterness (saponin). Then toss it into your rice cooker with a pinch of salt. In 20 minutes, you’ll have perfectly fluffy grains ready for salads, bowls, or breakfast porridge.
2. Brown Rice
Brown rice is a nutritional powerhouse packed with fiber, magnesium, and B vitamins. However, its bran layer makes it denser and slower to cook than white rice. A general rule: soak brown rice overnight or at least 30 minutes before cooking. Then use a 1.75:1 to 2:1 water ratio.
Example: For 1 cup brown rice, use 2 cups water. After cooking, let it rest for 5–10 minutes—this allows excess moisture to distribute evenly, yielding tender yet separate grains.
3. Oats (Rolled or Steel-Cut)
Yes, you can make creamy oatmeal in your rice cooker! Rolled oats work best—steel-cut take much longer and may overcook. Use a 2:1 ratio (oats to water) and select the “porridge” or “manual” setting if available. Stir occasionally during the first few minutes to prevent sticking.
Breakfast Upgrade: Add milk instead of water for extra creaminess, plus cinnamon, berries, or nuts before cooking. Topped with fresh fruit after, it’s a gourmet meal in minutes.
4. Barley
Jewel barley (the smallest kind) cooks quickly (~30 minutes) and has a chewy, nutty texture ideal for soups or side dishes. Pearled barley is softer and faster. Always soak barley for at least 30 minutes—or overnight—to cut cooking time in half and soften texture.
Cooking Ratio: Try 3 parts water to 1 part barley. Once done, fluff gently with a fork. Great mixed into pilafs or as a base for veggie burgers.
5. Millet
A staple in many Asian cuisines, millet is tiny, mild-tasting, and naturally gluten-free. It requires a bit more water than rice—about 2.5 cups water per 1 cup millet. No soaking needed, but rinsing removes any dust. Cook until fluffy and slightly translucent.
Creative Use: Make savory millet risotto by sautéing onions first, then adding millet and broth gradually in the rice cooker. Or swap it for couscous in tabbouleh!
6. Farro
An ancient wheat grain with a chewy texture and earthy flavor, farro takes longer to cook than most. Overnight soaking is highly recommended. Use a 3:1 water-to-farro ratio and expect 45–60 minutes of cooking time. Patience pays off—it’s fantastic in grain salads or stuffed peppers.
Honorable Mentions
- Lentils: Cooked similarly to rice (2:1 water), they’re great in dals or grain bowls.
- Buckwheat (Kasha): Toasted groats cook quickly and make porridge or polenta.
- Sorghum: Gluten-free and sweet, it’s perfect in muffins or as couscous.
Step-by-Step Guide: How to Cook Any Grain in a Rice Cooker
Ready to experiment? Follow this universal recipe template for success:
Gather Your Ingredients
- 1 cup raw grain (adjust based on type)
- Appropriate amount of liquid (water, broth, or milk)
- Optional: Salt, oil, herbs, or spices
Preparation Steps
- Rinse: Wash grains unless labeled “no-rinse.” This removes impurities and excess starch.
- Soak (if required): Check grain instructions—some benefit from soaking to reduce cooking time and improve digestibility.
- Add Liquid & Seasonings: Pour liquid into the inner pot first, then add grain. Avoid adding salt directly to grains until later if unsure.
- Close Lid & Select Setting: Most rice cookers default to “white rice” mode. For thicker grains like barley or farro, try “brown rice” or “manual/porridge” settings if available.
- Let It Rest: After cooking ends, wait 5–10 minutes before opening. This lets residual steam finish the process gently.
Common Mistakes & Fixes
- Grains too sticky: Use less water next time or stir halfway through cooking.
- Undercooked center: Soak longer or increase cooking time by 5–10 minutes.
- Bitter taste: Always rinse quinoa and avoid overcrowding the cooker.
Creative Ways to Use Cooked Grains
Once your grains are cooked, the real fun begins! Here are delicious ideas to elevate your meals:
Meal Prep Magic
Cook a big batch of quinoa, brown rice, or farro on Sunday. Divide into containers and store in the fridge for up to 5 days. Grab-and-go for quick lunches or dinners all week long. Pair with roasted veggies, grilled chicken, and tahini dressing for a balanced meal.
International Flavors
- Mexican Arroz con Leche: Swap water for coconut milk and add cinnamon and vanilla to cooked white rice. Chill and serve cold—it’s like rice pudding!
- Indian Jeera Rice: Sauté cumin seeds in oil before adding rice and water. Flavorful and aromatic.
- Japanese Gohan: Cook brown rice with a splash of mirin and soy sauce for umami depth.
Breakfast Innovations
Transform your morning routine: cook steel-cut oats overnight in milk with chia seeds and maple syrup. In the AM, stir in banana slices and nuts. Or make millet porridge with almond butter and blueberries.
Beyond Savory
Use cooked grains in unexpected places:
- Mix farro into meatloaf for moisture and texture.
- Blend cooked barley into soups as a thickener.
- Form quinoa into patties with egg and breadcrumbs for veggie burgers.
Troubleshooting Common Issues
Even seasoned rice cooker users hit snags sometimes. Here’s how to fix them fast:
Grains Are Too Dry or Crunchy
This usually means insufficient water or too-short cooking time. Next time, increase water by ¼ cup and ensure proper soaking. Also, check that the heating plate is clean—food residue can affect heat transfer.
Grains Stick to the Bottom
Always add a teaspoon of oil or butter to the water before adding grains. This creates a barrier between the pot and food. Also, avoid opening the lid frequently during cooking.
Unpleasant Smell or Taste
Old rice cooker bowls develop odors. Clean the inner pot with warm soapy water and baking soda paste weekly. For persistent smells, run a cycle with vinegar and water.
Rice Cooker Won’t Start
Check the power cord, ensure the bowl is seated correctly, and verify the lid is fully closed. Some models won’t activate if the float valve isn’t lifted by the rising steam.
Cleaning & Maintenance Tips
Keeping your rice cooker in top shape extends its life and ensures safe cooking:
- After Each Use: Rinse the inner pot immediately with warm water. Most are dishwasher-safe—check your manual.
- Deep Clean Monthly: Soak the pot in hot soapy water to loosen stuck-on bits. Scrub gently with a non-abrasive sponge.
- Wipe Exterior: Use a damp cloth to clean the outside and control panel. Never submerge the main unit.
- Store Properly: Keep the lid off to let moisture escape and prevent mold.
Final Thoughts: Your Rice Cooker Is More Than Just for Rice
We’ve covered a lot—from science to recipes to hacks—but the bottom line is simple: your rice cooker is a gateway to healthier, tastier eating. By expanding beyond white rice, you open doors to diverse nutrients, textures, and global flavors, all with minimal effort.
Whether you’re feeding a family or meal-prepping solo, mastering non-rice grains makes your kitchen smarter and your diet richer. And the best part? There’s no learning curve—just experimentation and joy.
So go ahead—grab that bag of quinoa, pour some millet into the bowl, or try farro for the first time. Your taste buds (and busy schedule) will thank you.
Frequently Asked Questions
Can I cook quinoa in a rice cooker without rinsing it?
It’s strongly recommended to rinse quinoa before cooking to remove saponins, which cause bitterness. Use a fine-mesh strainer and rinse until water runs clear.
Do I need to soak all grains before cooking in a rice cooker?
No—some grains like white rice, quinoa, and oats don’t require soaking. But denser grains like barley, farro, and brown rice benefit greatly from soaking to soften texture and reduce cooking time.
What happens if I use too much water for grains in my rice cooker?
Excess water leads to mushy, glue-like grains. Always follow tested ratios: e.g., 2:1 for quinoa, 3:1 for farro. Drain any leftover liquid after cooking if necessary.
Can I cook frozen vegetables along with grains in the rice cooker?
Yes, but add them halfway through cooking so they don’t become soggy. Place veggies on top of the grain layer before closing the lid—they’ll steam gently and absorb flavors.
Will my rice cooker work with gluten-free grains like buckwheat or millet?
Absolutely! Gluten-free grains like millet, quinoa, buckwheat, and sorghum all cook well in standard rice cookers. Just adjust water amounts slightly higher than with rice.
How long should I let grains rest after the rice cooker finishes?
Rest for 5–10 minutes with the lid closed. This allows steam to redistribute moisture evenly, preventing clumps and improving texture. Don’t lift the lid during resting!