
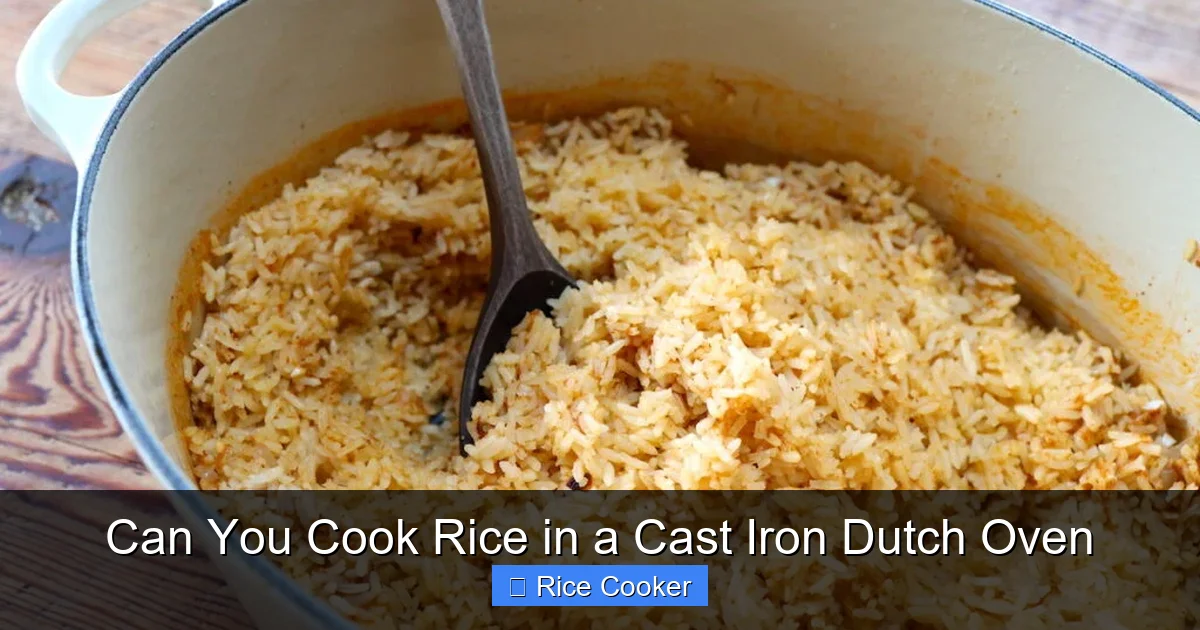
You absolutely can cook rice in a cast iron Dutch oven, and it’s one of the most effective ways to do it. With the right water ratio, heat control, and technique, your Dutch oven can produce restaurant-quality rice—no electric rice cooker needed. Whether you’re cooking jasmine, basmati, or brown rice, this method gives you full control over texture and flavor.
Key Takeaways
- Cast iron Dutch ovens are excellent for cooking rice due to their heat retention and even distribution, helping rice cook uniformly without burning.
- Use the 1:1.5 to 1:2 rice-to-water ratio depending on rice type—white rice usually needs less water than brown or wild rice.
- Preheat the Dutch oven before adding rice and water to kickstart the cooking process and prevent sticking.
- Cover tightly with a lid to trap steam, which is essential for fluffy, well-cooked grains.
- Let rice rest after cooking for 5–10 minutes to finish steaming and absorb excess moisture.
- Clean gently with warm water and soft sponge to preserve the seasoning of your cast iron.
- Experiment with flavors by adding broth, herbs, or spices directly into the pot for infused rice dishes.
[FEATURED_IMAGE_PLACEHOLDER]
Introduction: The Magic of Cast Iron for Rice Cooking
If you love the idea of making perfect, fluffy rice without relying on an electric rice cooker, then you’re in for a treat. Cast iron Dutch ovens aren’t just for stews and roasts—they’re surprisingly brilliant tools for cooking rice too. In fact, many home cooks swear by this method because of how evenly the heat distributes and how well the lid seals in steam.
Imagine serving a plate of fragrant jasmine rice that’s tender yet separate, with each grain glistening and light. That dream meal? It starts in your trusty Dutch oven. Unlike some pots that lose heat quickly, cast iron retains warmth like a cozy blanket, ensuring your rice cooks slowly and evenly from edge to center. Plus, the heavy base prevents hot spots that can burn your rice or leave it undercooked in patches.
This guide will walk you through everything you need to know—from choosing the right type of rice to mastering timing and cleanup. You’ll learn why Dutch ovens beat out other cookware, what common mistakes to avoid, and how to elevate your rice game with simple tricks. Ready to transform your next pot of rice? Let’s get started.
The Science Behind Cooking Rice in a Dutch Oven
Cooking rice isn’t just about tossing grains into boiling water—it’s a delicate balance of hydration, heat, and timing. When you use a cast iron Dutch oven, you’re working with a material known for its superior thermal properties. Cast iron heats slowly but holds onto temperature incredibly well, meaning once it’s hot, it stays hot. This consistency is key when cooking rice, especially varieties like basmati or sushi rice that require precise moisture levels.
Why Heat Retention Matters
Unlike stainless steel or nonstick pans, which cool down fast when you lift the lid or add ingredients, cast iron keeps steady warmth throughout the cooking process. This helps prevent scorching at the bottom while allowing steam to circulate evenly above the rice. The result? Every grain gets the same amount of attention, leading to uniform doneness.
Steam Is Your Best Friend
One of the biggest advantages of using a covered pot is steam control. Steam does the heavy lifting when it comes to turning raw rice kernels into soft, edible goodness. A tight-fitting lid on a Dutch oven traps that steam perfectly, mimicking the function of a rice cooker without any electricity. Think of it as DIY pressure cooking—gentle, consistent, and foolproof.
Even Heat Distribution = No Hot Spots
Many cheaper pots have uneven heating zones where one corner gets hotter than the rest. With rice, this leads to mushy patches or burnt bits. But cast iron spreads heat smoothly across its broad surface, so your rice cooks from all angles simultaneously. This is especially helpful when cooking larger batches.
Choosing the Right Rice for Your Dutch Oven
Not all rice is created equal—and some types work better than others in a Dutch oven setup. The good news? Most common rices can be cooked successfully if you follow the right steps. Here’s a quick breakdown of popular options and their characteristics:
White Rice (Long-Grain)
Think jasmine, basmati, or American long-grain. These varieties are starchy but low in fiber, making them ideal for absorbing flavors and achieving a light, fluffy texture. They typically require a 1:1.5 to 1:1.75 ratio of rice to water. Because they’re processed more heavily, they tend to clump less when cooked properly.
Brown Rice
With its nuttier flavor and chewier bite, brown rice takes longer to cook—usually around 45–60 minutes. It also needs more water, often a 1:2.5 ratio. Its bran layer absorbs moisture slower, so patience is key. Don’t rush the process; otherwise, you might end up with gummy or undercooked grains.
Wild Rice & Other Varieties
Wild rice is technically a grass seed, not true rice, and it expands dramatically during cooking. Use a 1:3 ratio and allow extra time—up to an hour. Black, red, and purple rices also fall into this category, each offering unique textures and nutritional benefits. Always check package instructions first!
Instant & Pre-Cooked Rices
If you’re short on time, instant rice works fine—but expect a softer, stickier outcome. Since it’s already partially cooked, you’ll only need about 1 cup rice to 1.5 cups water and 5 minutes on medium-low heat. Just remember to stir gently halfway through to prevent clumping.
Step-by-Step Guide: How to Cook Perfect Rice in a Dutch Ooven
Ready to try it yourself? Follow these simple steps, and you’ll never look back. This method works for most white and brown rices, though adjust timing slightly based on variety.
Step 1: Rinse and Measure
Start by rinsing your rice under cold running water until the water runs clear. This removes excess starch and stops the rice from becoming gluey. Then measure out your rice and water according to the chart below. For example, 1 cup rinsed rice + 1.5 cups water for white rice.
Step 2: Preheat the Pot
Place your empty Dutch oven over medium-high heat and let it warm up for 2–3 minutes. Adding rice to a cold pot can cause uneven cooking. Once warm, add a splash of oil or butter (about 1 tsp) to prevent sticking.
Step 3: Add Rice and Water
Pour in your rinsed rice and measured water. Stir once to combine, then bring to a rolling boil. As soon as bubbles appear vigorously, reduce heat to low—this signals it’s time to simmer gently.
Step 4: Cover and Simmer
Immediately place the lid on tightly. Keep the heat low enough that the water simmers softly (tiny bubbles near the edge). Avoid lifting the lid during this stage—every time you do, you lose precious steam!
Step 5: Check for Doneness
For white rice: ~18–20 minutes. Brown rice: ~40–45 minutes. Wild rice: ~50–60 minutes. After half the total time has passed, peek once—but only once—by carefully lifting the lid. If there’s still water pooling, give it 5 more minutes. If dry and fluffed, you’re done.
Step 6: Rest and Fluff
Turn off the heat and let the rice sit, covered, for 5–10 minutes. This final steaming phase allows residual heat to finish cooking any stubborn grains and firms up the texture. Then remove the lid and fluff gently with a fork.
Pro Tips for Fluffier, Better-Tasting Rice
Want to take your Dutch oven rice from good to great? Try these insider secrets:
- Toast the rice lightly before adding water—dry-sauté it in the pot for 2–3 minutes until fragrant. This enhances nutty flavors and improves texture.
- Add fat strategically—a pat of butter or splash of olive oil adds richness and keeps grains from sticking.
- Use broth instead of water for deeper flavor, especially with chicken, vegetable, or mushroom broth.
- Try salt at two stages: a pinch when boiling water, then another after resting. This seasons both internally and externally.
- Keep a damp cloth handy to wipe condensation off the lid occasionally—too much moisture can make rice soggy.
- Don’t stir after adding water—once it starts simmering, resist the urge to disturb the grains. Stirring breaks apart the starch network and leads to mush.
What Not to Do
Avoid these rookie mistakes:
- Lifting the lid frequently—each time you do, you lose steam and extend cooking time.
- Using too high heat—this causes the bottom layer to burn before the top is done.
- Skipping the rinse—starchy surface leads to clumpy rice.
- Adding salt too late—it won’t dissolve properly and may leave salty pockets.
Cleaning and Maintaining Your Dutch Oven After Cooking Rice
After making delicious rice, you’ll want to clean your Dutch oven without damaging its seasoning. The key is gentleness and timing.
Immediate Care
As soon as the rice is finished, remove the lid and let the pot cool slightly—but don’t wait hours. Cold water can crack hot cast iron. Then pour out any leftover liquid and scrape off loose grains with a wooden spatula or plastic scraper (never metal!).
Washing Basics
Rinse the interior under warm tap water. Avoid soap unless absolutely necessary—it can strip natural oils from the seasoned surface. If residue remains, soak for 10–15 minutes in warm water with a drop of dish soap, then scrub lightly with a soft sponge or brush.
Drying and Seasoning
Thoroughly dry the entire pot over low heat on the stove for 5–10 minutes. This prevents rust. Once dry, rub a thin layer of oil (vegetable or flaxseed) over the inside and outside, then bake upside-down in a 350°F oven for 1 hour to refresh the seasoning.
Storage Tips
Store your Dutch oven with the lid slightly ajar to promote airflow and prevent moisture buildup. Never stack heavy items on top of it.
Can You Cook Other Grains in a Dutch Oven?
Absolutely! While rice steals the spotlight, your Dutch oven handles a wide range of whole grains beautifully. Here’s what else you can try:
Quinoa
Cooks in about 15–20 minutes with a 1:2 ratio. It becomes fluffy and protein-rich—great for salads or bowls.
Oats
Make creamy overnight oats or traditional porridge. Use a 1:3 ratio and simmer 20–25 minutes for oatmeal.
Couscous
Though usually steamed separately, you can boil couscous in broth for 10 minutes. Be careful—it swells quickly!
Barley & Farro
These hearty grains benefit from longer cooking times (30–45 mins) and more water. Great soups and side dishes.
Each grain has its own personality—experiment and adjust ratios as needed. The Dutch oven’s versatility shines here too!
Troubleshooting Common Rice Cooking Problems
Even experienced cooks run into hiccups now and then. Here’s how to fix the most frequent issues:
Too Wet or Mushy Rice
Caused by too much water, over-stirring, or lifting the lid too often. Next time, reduce water by ¼ cup and keep the lid sealed throughout. Also, avoid pressing down with the spatula.
Undercooked or Gummy Center
This happens when heat is too low or rice wasn’t rinsed. Increase flame slightly next time and always rinse thoroughly. Stirring halfway through can help distribute heat.
Burnt Bottom Layer
Usually due to scorching. Always preheat properly, use a bit of fat, and ensure there’s enough water to create a barrier between rice and pan.
Rice Sticks to the Bottom
Not enough oil, wrong pot temperature, or old seasoning. Lightly oil the pot before adding rice, and consider re-seasoning if the surface feels rough.
Salty or Bland Taste
Measure salt carefully—too little or too much makes a difference. Dissolve salt fully in boiling water before adding rice.
Final Thoughts: Why Dutch Ovens Belong in Every Kitchen
Cooking rice in a cast iron Dutch oven isn’t just practical—it’s satisfying. There’s something deeply comforting about watching steam rise from a heavy, dark pot on the stove. It connects you to generations of home cooks who relied on simple tools to create nourishing meals.
And let’s be honest: nothing beats the rich, toasted aroma that fills your kitchen as the rice simmers. Whether you’re feeding a family or meal-prepping for the week, this method delivers consistent, restaurant-quality results every single time.
So next time you reach for your rice cooker, pause and ask yourself: could I do this by hand? With a little practice, you’ll find that the Dutch oven offers more control, more flavor, and more joy than any appliance ever could.
FAQs
Do I need to rinse the rice before cooking it in a Dutch oven?
Yes, rinsing removes excess starch and prevents clumping. Place rice in a fine-mesh strainer and rinse under cold water until the water runs clear.
How long does it take to cook white rice in a Dutch oven?
About 18–20 minutes after bringing the water to a boil, then covered and simmered on low heat. Always factor in a 5–10 minute rest afterward.
Can I cook brown rice in a Dutch oven the same way?
Yes, but brown rice takes longer—around 40–45 minutes—and requires more water (typically a 1:2.5 ratio). Patience is key.
Will my Dutch oven get damaged if I cook rice in it regularly?
No, as long as you clean and maintain it properly. Avoid harsh scrubbers and always dry thoroughly to prevent rust.
Can I cook rice in an enameled Dutch oven?
Absolutely! Enameled cast iron works just as well. Just note that enamel can chip if dropped, so handle with care.
Is it worth cooking rice in a Dutch oven instead of using a rice cooker?
It depends on your priorities. Dutch ovens offer more hands-on control and deeper flavor infusion, while rice cookers provide convenience and automation. Many people use both!
This is a comprehensive guide about can you cook rice in a cast iron dutch oven.
Key Takeaways
- Understanding can you cook rice in a cast iron dutch oven: Provides essential knowledge
Frequently Asked Questions
What is can you cook rice in a cast iron dutch oven?
can you cook rice in a cast iron dutch oven is an important topic with many practical applications.