
Yes, you can cook rice in a microwave oven, making it a convenient option for quick meals or when you don’t have access to a stovetop. With the right method, you can achieve fluffy, evenly cooked rice using just water, a microwave-safe dish, and a little timing magic. Whether you’re cooking basmati, jasmine, or brown rice, this method saves time without sacrificing taste or texture.
Key Takeaways
- Rice can be cooked in a microwave: It’s a fast, energy-efficient way to prepare rice without needing a stovetop or dedicated rice cooker.
- Proper water-to-rice ratio is key: Use 1½ to 2 cups of water per 1 cup of uncooked rice for most varieties to ensure perfect texture.
- Covering helps retain moisture: A tightly sealed lid or vented plastic wrap traps steam, promoting even cooking and preventing dry spots.
- Let it rest after cooking: Standing covered for 5–10 minutes allows steam to finish cooking the rice gently and fluff it naturally.
- Experiment with seasonings: Add salt, butter, or herbs before cooking to infuse flavor directly into the grains.
- Different rice types need different times: White rice cooks faster than brown or wild rice, so adjust timing accordingly.
- Cleanup is easier: Microwaving reduces splatter compared to boiling, making cleanup a breeze.
Quick Answers to Common Questions
Can I cook rice in a microwave without a lid?
No, covering is essential. Without a lid or sealed cover, steam escapes, leading to uneven cooking and dry rice. Use a microwave-safe plate or plastic wrap with vents.
How much water should I use per cup of rice?
Use 1½ cups of water for white rice and 2 cups for brown or wild rice. Adjust based on your preferred texture—more water yields softer rice.
Do I need to soak rice before microwaving?
Soaking isn’t necessary for microwave cooking, unlike some traditional methods. Rinsing is more important to remove excess starch and improve texture.
Can I cook rice in a paper plate or cardboard container?
Never use paper plates or cardboard—they can melt or catch fire. Only microwave-safe glass, ceramic, or BPA-free plastic containers are safe.
How do I reheat leftover rice in the microwave?
Place rice in a covered dish, add 1–2 tablespoons of water, and heat in 30-second intervals until warmed through. Stir between bursts to avoid drying out.
📑 Table of Contents
- Can You Cook Rice in a Microwave Oven?
- Why Choose a Microwave to Cook Rice?
- The Science Behind Microwave Rice Cooking
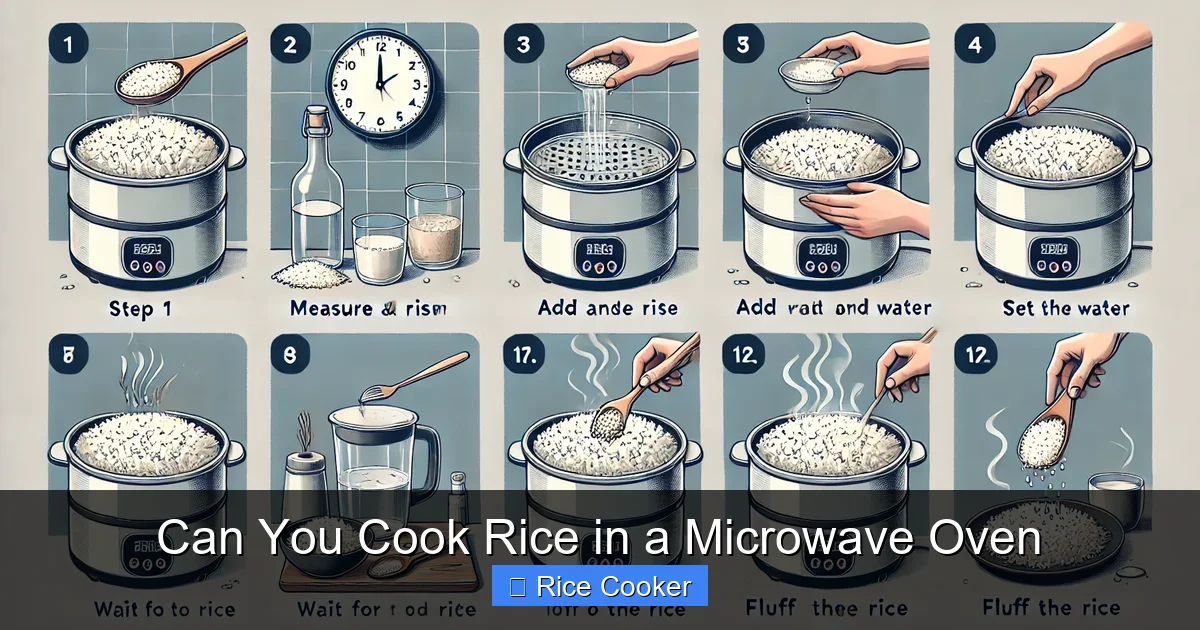
- Step-by-Step Guide: How to Cook Rice in a Microwave
- Types of Rice and Their Microwave Requirements
- Troubleshooting Common Microwave Rice Problems
- Enhancing Flavor and Texture in Microwave Rice
- Comparing Microwave vs. Traditional Methods
Can You Cook Rice in a Microwave Oven?
Have you ever been craving a warm bowl of perfectly fluffy rice but realized your stove is out of commission? Or maybe you’re in a dorm room with only a microwave and no rice cooker? If so, you’re not alone—and the good news is: yes, you absolutely can cook rice in a microwave oven. In fact, microwaving rice has become one of the most popular alternative methods for preparing rice quickly and efficiently, especially when traditional tools aren’t available.
Unlike boiling or steaming, microwaving rice relies on trapped steam to cook the grains from the inside out. This method works best when you use the right vessel, maintain the correct water ratio, and follow precise timing. With a little practice, you’ll be flipping through microwave-cooked rice like a pro—fluffy, aromatic, and ready to pair with your favorite stir-fry, curry, or grilled chicken.
In this guide, we’ll walk you through everything you need to know about cooking rice in a microwave. From choosing the right type of rice to troubleshooting common issues, you’ll learn how to make consistently great results every time. So grab your favorite rice variety and let’s get started!
Why Choose a Microwave to Cook Rice?
Visual guide about Can You Cook Rice in a Microwave Oven
Image source: expertreviewsbestricecooker.com
Microwave ovens are known for reheating leftovers and melting cheese, but they’re also surprisingly effective at cooking rice. Here’s why many people prefer this method:
Saves Time and Energy
Unlike stovetop cooking, which can take 20–30 minutes, microwave rice often cooks in as little as 10–15 minutes. Plus, microwaves use less energy than gas or electric burners, making them an eco-friendly option—especially for small batches.
No Constant Stirring Required
One of the biggest hassles of cooking rice on the stove is watching it constantly to prevent sticking or burning. With the microwave method, once you seal the dish, there’s minimal hands-on effort involved.
Less Mess and Fewer Cleanups
Boiling rice can lead to splatters and overflow if the pot isn’t monitored. Microwaving keeps everything contained in a single dish, reducing spills and making cleanup much simpler.
Great for Small Portions
If you’re cooking for one or two, the microwave is ideal. You don’t need a large pot—just a microwave-safe bowl or container that fits in your oven.
Consistent Results with Practice
Once you master the basics, microwave rice becomes predictable. The key is consistency in water ratios, covering, and resting time. After a few tries, you’ll develop a reliable routine.
Of course, there are some limitations. For example, large quantities may not heat evenly, and certain rice types (like sticky sushi rice) might require more attention. But for everyday meals, the microwave delivers excellent results with minimal fuss.
The Science Behind Microwave Rice Cooking
Visual guide about Can You Cook Rice in a Microwave Oven
Image source: i.ytimg.com
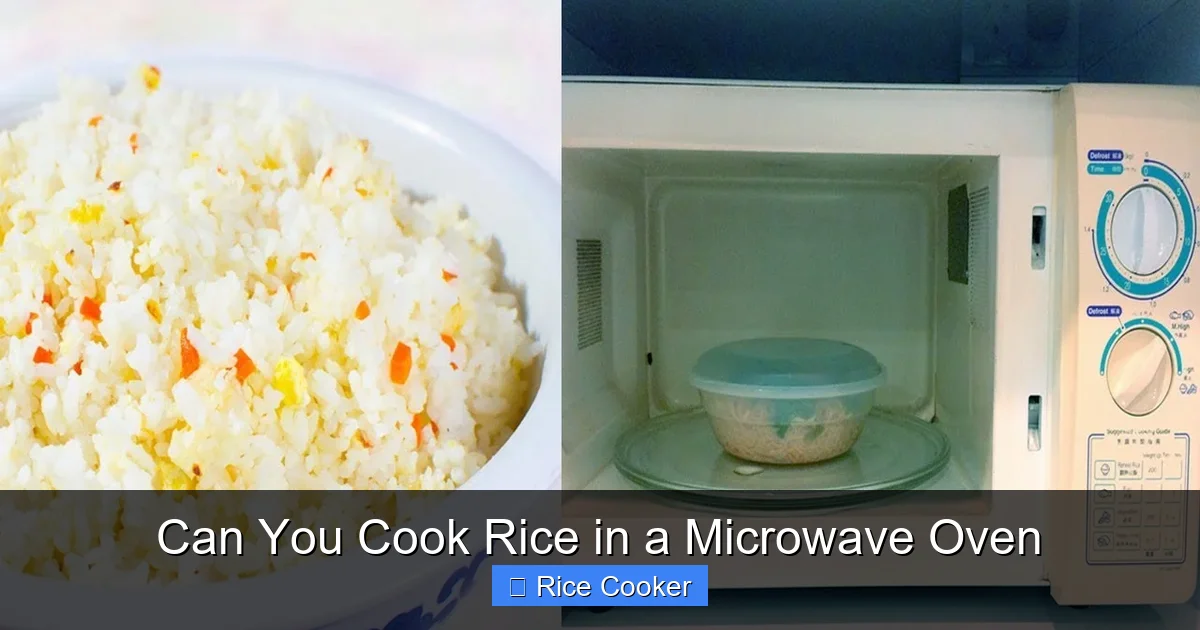
You might wonder: how does microwaving actually cook rice? Unlike boiling, where water surrounds the grains and transfers heat through convection, microwaving uses electromagnetic waves to agitate water molecules inside the rice and its liquid. This creates friction, generating heat that cooks the rice from within.
When you place rice and water in a covered container, the steam builds up and circulates, penetrating each grain. The starch in the rice absorbs this moisture and gelatinizes, turning raw kernels into soft, edible grains. Because the process is enclosed, heat remains concentrated, leading to even cooking and fewer cold spots.
However, microwaves don’t penetrate deeply into large containers. That’s why using a wide, shallow dish helps distribute heat more evenly. Also, uncovered rice won’t steam properly—leading to undercooked centers and dry edges. Covering is essential for trapping moisture and ensuring complete hydration.
Understanding these principles helps explain why technique matters. Even small changes—like adding a pinch of salt or letting the rice rest—can significantly impact the final outcome.
Step-by-Step Guide: How to Cook Rice in a Microwave
Ready to try it yourself? Follow this foolproof method for perfect microwave rice every time.
What You’ll Need
- 1 cup uncooked rice (white, jasmine, basmati, etc.)
- 1½ to 2 cups water (adjust based on rice type)
- Microwave-safe bowl or dish (wide and shallow works best)
- Tight-fitting lid or microwave-safe plastic wrap
- Fork or rice paddle
Step 1: Rinse the Rice (Optional but Recommended)
Rinsing removes excess starch, which can make rice gummy. Place rice in a fine-mesh strainer and rinse under cool running water until the water runs clear. Drain well.
Step 2: Combine Rice and Water
Add rinsed rice and water to your microwave-safe dish. For white rice, use 1½ cups water per cup of rice. For brown rice, increase to 2 cups due to its higher fiber content.
Step 3: Cover the Dish
Seal the dish with a lid or cover it tightly with plastic wrap. Poke a few small holes in the plastic if using it—this allows excess steam to escape while keeping moisture in.
Step 4: Microwave on High
Cook on high power. Timing varies by rice type:
- White rice: 12–15 minutes
- Brown rice: 18–22 minutes
- Jasmine or basmati: 14–16 minutes
- Wild or black rice: 20–25 minutes
Pause halfway through to stir gently—this redistributes heat and prevents clumping.
Step 5: Let It Rest
Once done, remove the dish carefully (it will be hot!). Keep it covered and let sit for 5–10 minutes. This resting period allows residual heat to finish cooking the rice and makes it easier to fluff.
Step 6: Fluff and Serve
Use a fork to gently fluff the rice, separating any clumps. Serve immediately with your favorite dishes.
Pro Tips for Success
- Use a glass or ceramic bowl—avoid metal containers.
- If rice is still slightly firm, return to microwave for 1–2 more minutes.
- Add a teaspoon of oil or butter to prevent sticking and add richness.
- For extra flavor, sauté onions or garlic in the dish before adding rice and water.
With this method, you’ll avoid mushy or undercooked rice and enjoy restaurant-quality results at home.
Types of Rice and Their Microwave Requirements
Not all rice is created equal—and neither are their cooking needs. Here’s how different varieties behave in the microwave.
White Rice (Long-Grain)
This is the most common type found in pantries. It’s light, fluffy, and pairs well with almost anything. Use a 1½:1 water-to-rice ratio and cook for 12–15 minutes. Brands like Jasmine or Texmati work well.
Basmati Rice
Known for its fragrant aroma and distinct texture, basmati expands significantly when cooked. Use 1¾ cups water per cup of rice and cook for 14–16 minutes. Rinse thoroughly before cooking to reduce stickiness.
Brown Rice
Higher in fiber and nutrients, brown rice takes longer to cook because the bran layer slows water absorption. Use 2 cups water per cup of rice and cook for 18–22 minutes. Don’t skip rinsing—it improves texture.
Jasmine Rice
Popular in Southeast Asian cuisine, jasmine has a slightly sticky texture and floral scent. Use 1½ cups water and cook for 14–16 minutes. Avoid overcooking to maintain tenderness.
Wild Rice
Technically a grass seed, wild rice has a chewy, nutty flavor. It requires up to 25 minutes and 2 cups water per cup. Due to its irregular shape, stirring halfway helps ensure even cooking.
Instant or Parboiled Rice
These pre-cooked varieties only need reheating. Add rice to a bowl with ¼ cup water, cover, and microwave for 2–3 minutes. Be careful not to overheat—they can turn mushy.
Each type benefits from slight adjustments in water and time. Experiment to find what works best for your taste and recipe.
Troubleshooting Common Microwave Rice Problems
Even experienced cooks run into issues now and then. Here’s how to fix the most common microwave rice mistakes.
Problem: Rice Is Too Dry or Crunchy
This usually means too little water or insufficient cooking time. Next time, add an extra ¼ cup of water and extend cooking by 2–3 minutes. Also, ensure your dish was fully covered during cooking.
Problem: Rice Sticks Together
Excess starch causes clumping. Always rinse your rice before cooking. Also, avoid over-stirring after cooking—gentle fluffing is enough.
Problem: Unevenly Cooked Grains
Some parts are soft while others remain hard. This happens when heat doesn’t distribute evenly. Use a wider dish, stir halfway through, and consider cooking in shorter intervals (e.g., 6 minutes, then stir, then continue).
Problem: Burnt or Burned Bottom Layer
This occurs if the dish touches the microwave turntable or walls. Always leave space around the edges. Using a ceramic or glass bowl instead of paper plates helps too.
Problem: Mushy or Gummy Texture
Too much water or overcooking causes this. Measure carefully and don’t peek too often—each time you open the door, steam escapes and affects timing.
Problem: Rice Doesn’t Fluff Well
After resting, use a fork to separate grains. Don’t mash—just lift and turn gently. Adding a pat of butter or a splash of warm broth can also revive fluffiness.
Most issues are fixable with minor tweaks. Keep notes on what worked (or didn’t) so you can refine your method over time.
Enhancing Flavor and Texture in Microwave Rice
Plain white rice is delicious, but adding flavor makes it extraordinary. Here are creative ways to elevate your microwave rice.
Infuse with Aromatics
Before adding water, toast spices like cumin, coriander, or bay leaves in a bit of oil. Then add rice and water. The flavors meld beautifully during steaming.
Add Dairy or Fat
A teaspoon of butter or coconut oil adds richness and prevents sticking. For creamier rice, stir in milk or half-and-half after cooking.
Season Before Cooking
Salt enhances natural sweetness in rice. Add ½ teaspoon per cup of rice and mix well with water. Herbs like thyme or parsley can also be mixed in.
Try Broth Instead of Water
Replace half the water with vegetable, chicken, or beef broth for deeper flavor. This is especially great for risotto-style dishes or one-pot meals.
Mix in Veggies or Protein
Add diced carrots, peas, or cooked sausage before sealing. Just remember to increase cooking time by 2–3 minutes to account for added moisture.
Dress After Cooking
For maximum control, cook plain rice and then top with olive oil, lemon juice, or sesame seeds. This keeps the base simple while allowing customization.
These techniques transform basic rice into gourmet sides or complete meals. Try combinations like garlic-parmesan rice or coconut-jasmine for variety.
Comparing Microwave vs. Traditional Methods
How does microwave rice stack up against stove-top or electric rice cookers?
| Method | Pros | Cons |
|—————–|——————————————-|—————————————|
| **Microwave** | Fast, low mess, energy-efficient, great for small batches | Less consistent for large quantities, requires attention to timing |
| **Stovetop** | Full control, good for big batches, versatile | Needs constant monitoring, risk of burning |
| **Electric Rice Cooker** | Automated, foolproof, fluffy results every time | Requires extra appliance, higher upfront cost |
For daily use, an electric rice cooker is hard to beat—but when it’s broken or unavailable, the microwave shines. It’s also ideal for college students, travelers, or anyone living off-grid.
Ultimately, the best method depends on your situation. If you only need a quick side dish for dinner, the microwave is perfect. But if you cook rice regularly, investing in a rice cooker might save time and stress long-term.
Frequently Asked Questions
Is it safe to cook rice in a microwave?
Yes, it’s completely safe as long as you use a microwave-safe container and follow proper guidelines. Just avoid metal and non-microwave-safe plastics.
Why is my microwave rice always sticky?
Sticky rice usually results from too much starch or insufficient rinsing. Always rinse white or jasmine rice before cooking to remove surface starch.
Can I cook instant rice in the microwave?
Yes, instant rice only needs reheating. Add it to a bowl with a small amount of water, cover, and microwave for 2–3 minutes until heated through.
How long does cooked rice last in the fridge?
Cooked rice should be refrigerated within 2 hours and consumed within 4–6 days for food safety. Store in an airtight container.
Can I freeze microwave-cooked rice?
Absolutely. Let cooled rice cool completely, portion into freezer bags, and freeze for up to 3 months. Thaw overnight in the fridge before reheating.
What’s the best container for microwave rice?
A wide, shallow glass or ceramic bowl works best. Avoid deep containers—they trap steam unevenly. Ensure the lid seals well to retain moisture.