
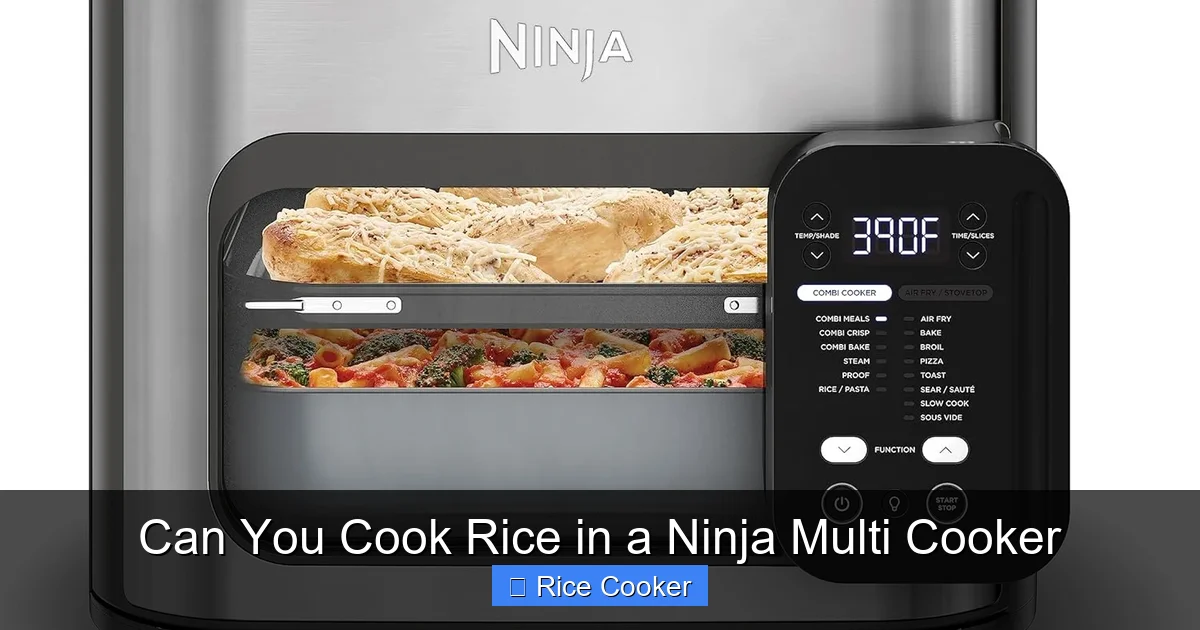
Can you cook rice in a Ninja Multi Cooker? Absolutely! This versatile kitchen appliance handles rice beautifully when you use the right settings, water-to-rice ratio, and prep steps. Whether you’re making white, brown, or even specialty grains like quinoa, your Ninja Multi Cooker delivers consistent, fluffy results with minimal effort. With its multiple cooking modes and programmable features, it’s a game-changer for busy weeknights and meal prep alike.
Key Takeaways
- Yes, you can cook rice in a Ninja Multi Cooker: It works great using the Steam & Brown, Pressure Cook, or Slow Cook settings.
- Use the right ratio: Typically 1 cup of uncooked rice to 1.5–2 cups of water, depending on grain type and desired texture.
- Prep matters: Rinsing rice removes excess starch and prevents clumping; soaking brown rice improves texture.
- Timing varies: White rice takes 20–30 minutes under pressure; brown rice needs longer due to its bran layer.
- Fluff and rest: Let rice sit for 5–10 minutes after cooking to finish steaming and achieve fluffiness.
- Experiment safely: Start with small batches to perfect your technique before scaling up.
- Clean-up is easy: Most Ninja models have removable parts that go into the dishwasher.
[FEATURED_IMAGE_PLACEHOLDER]
Introduction: Why Use a Ninja Multi Cooker for Rice?
Have you ever wanted perfectly cooked rice without standing over the stove? Or maybe you don’t own a dedicated rice cooker but still crave fluffy, restaurant-quality grains? Enter the Ninja Multi Cooker—a powerhouse appliance that does everything from slow-cooking stews to sautéing veggies and yes, even cooking rice. With so many functions packed into one machine, it’s no wonder home cooks are turning to their Ninja for everyday meals.
But here’s the real question: can you actually cook rice in a Ninja Multi Cooker? The short answer is a confident yes—but not all methods work equally well. Depending on your Ninja model and the type of rice you’re using, you might need to adjust timing, liquid ratios, or cooking techniques. In this guide, we’ll walk you through everything you need to know to make foolproof rice every single time.
Whether you’re a beginner who just unboxed their Ninja or a seasoned cook looking to expand your repertoire, this article will turn you into a rice-cooking pro—without needing another gadget cluttering your countertop.
Understanding Your Ninja Multi Cooker
Before diving into rice recipes, let’s quickly cover what makes your Ninja tick. These multi-cookers typically come with several preset modes like Sauté, Pressure Cook, Slow Cook, Steam & Brown, Bake, Broil, and Keep Warm. Some models also include a Delay Start timer and automatic shut-off for safety.
The key to success lies in choosing the right function for your rice. Not all cooking methods produce the same result—just like how boiling pasta isn’t the same as roasting it. For rice, the best options are usually those that apply steady heat and moisture control, which mimics how a traditional rice cooker works.
Common Ninja Models and Their Rice-Friendly Functions
Different Ninja models offer slightly different features, but most can handle rice effectively:
- Ninja Foodi OP300/OP302: Offers Steam & Brown and Pressure Cook settings—ideal for rice.
- Ninja Foodi XL Pro: Includes additional presets like Air Crisp and Dehydrate, but also has reliable Pressure Cook.
- Ninja Foodi SpeedBlend: While more focused on blending, its pressure cook function still works for quick-cooking rice types.
If your model lacks a specific rice setting (most don’t), don’t panic! You can adapt other functions like Steam & Brown or Pressure Cook to get excellent results.
Types of Rice and How They Cook Differently
Not all rice behaves the same way in a Ninja Multi Cooker. Understanding these differences helps you choose the best method and timing.
White Rice (Jasmine, Basmati, Long-Grain)
White rice cooks faster than brown rice because the outer husk has been removed. It absorbs water quickly and becomes tender within 20–30 minutes under pressure. Jasmine rice, in particular, releases aromatic compounds when cooked with the right moisture, making it perfect for stir-fries or fried rice.
Brown Rice
Brown rice retains its nutrient-rich bran layer, which slows down absorption and extends cooking time. It requires more water (about 2:1 ratio) and longer pressure cooking—usually 30–40 minutes—to reach tenderness. Without enough time or liquid, it can turn gummy or undercooked.
Wild Rice and Other Specialty Grains
Wild rice is technically a grass seed, not true rice. It takes even longer to cook—up to 50 minutes under pressure—and often needs pre-soaking. Quinoa and barley also benefit from longer cook times and extra water.
Instant/Packaged Rice Mixes
These are already pre-cooked and dried. They only need reheating in the Ninja—not full cooking. Just add hot water, stir, and let sit for 5 minutes. Overcooking can make them mushy.
Perfecting the Water-to-Rice Ratio
This is arguably the most important factor in successful rice cooking. Too little water = dry, chalky rice. Too much = soggy, sticky mess.
General Guidelines by Rice Type
- White Rice: 1 cup rice : 1.5 cups water
- Brown Rice: 1 cup rice : 2 cups water
- Wild Rice: 1 cup rice : 3 cups water
- Quinoa: 1 cup rice : 2 cups water (note: quinoa doesn’t need rinsing)
For the most accurate results, always measure both rice and water by volume (not weight). A standard measuring cup holds about 6 fluid ounces.
Tips for Adjusting Ratios
- If you prefer softer rice, increase water by ¼ cup.
- For firmer grains (like in risotto-style dishes), reduce water slightly and use the Slow Cook function instead.
- In humid climates, rice may absorb less water—start with the lower end of the range.
Cooking Methods That Work Best
Your Ninja offers multiple ways to cook rice. Here are the top three methods ranked by reliability and ease.
Method #1: Steam & Brown Setting (Recommended)
This is often the closest analog to a traditional rice cooker. The Steam & Brown function gently heats the pot while circulating steam—perfect for absorbing moisture evenly.
Steps:
- Rinse 1 cup of rice under cold water until the water runs clear.
- Add rice and 1.5 cups water to the inner pot.
- Select “Steam & Brown” and set timer for 20–25 minutes (white rice).
- Let natural release for 5 minutes after cooking.
- Fluff with a fork and serve.
Pro Tip: Cover the lid loosely with a kitchen towel if you notice too much evaporation during long cooks.
Method #2: Pressure Cook Function
Great for speed and efficiency. This method uses high pressure to rapidly cook rice while locking in flavor.
Steps:
- Combine rice and water in the pot.
- Close the lid securely and lock it.
- Press “Pressure Cook” and set to HIGH pressure for:
- White rice: 20 minutes
- Brown rice: 35–40 minutes
- Allow 10-minute natural release, then quick-release remaining pressure.
- Open carefully, fluff, and enjoy!
Caution: Never force-open the lid before pressure fully drops—this is a safety feature!
Method #3: Slow Cook (for Creamy or One-Pot Meals)
Ideal for dishes like jambalaya, paella, or creamy risotto. This method yields tender, moist grains over several hours.
Steps:
- Toast rice in the Sauté function for 1–2 minutes (optional but adds depth).
- Add broth or water and switch to “Slow Cook” on LOW for 2–3 hours.
- Check consistency halfway through; add more liquid if needed.
Best For: Hearty meals where rice absorbs surrounding flavors.
Troubleshooting Common Rice Problems
Even experienced cooks run into issues sometimes. Here’s how to fix the most frequent rice disasters.
Gummy or Sticky Rice
Cause: Too much water or insufficient draining after rinsing.
Fix: Rinse rice thoroughly before cooking. Reduce water by ¼ cup next time. Don’t lift the lid during cooking—it lets steam escape.
Dry or Undercooked Rice
Cause: Insufficient liquid or too short cook time.
Fix: Double-check your ratio. Brown rice especially needs patience—don’t rush it. Let it rest longer after cooking to finish hydrating.
Mushy or Crushed Grains
Cause: Over-stirring or using low-quality rice.
Fix: Avoid poking or stirring once cooking begins. Use short-grain varieties sparingly—they’re stickier by nature.
Off-Flavor or Bitter Taste
Cause: Old rice or mineral-heavy water.
Fix: Store rice in an airtight container away from light and heat. Use filtered water if possible.
Enhancing Flavor and Texture
Plain rice is fine, but a few tricks elevate it to restaurant quality.
Add Aromatics During Cooking
Toss in a bay leaf, crushed garlic clove, or a splash of broth instead of water for deeper flavor. Remove solids before serving.
Try the “Tight Seal” Technique
After adding rice and water, press down gently with a spoon to remove air pockets. This ensures even cooking throughout.
Finish with Butter or Oil
Just before serving, stir in a pat of butter or a drizzle of olive oil for richness and shine.
Double-Cook for Extra Fluffiness
Cook rice once, fluff, then return it to the Ninja with a splash of water and 2 minutes on Steam. This refreshes the texture without overcooking.
Cleaning and Maintaining Your Ninja After Cooking Rice
Keeping your Ninja clean ensures longevity and better performance—especially since rice residue can attract odors or affect future recipes.
Immediate Steps Post-Use
- Turn off and unplug the unit.
- Let the inner pot cool completely before washing.
- Remove any stuck-on bits with a non-abrasive sponge.
- Wash with warm, soapy water—dishwasher-safe parts go in top rack.
Deep Cleaning Tips
- For burnt-on residue, fill the pot with equal parts water and baking soda. Boil for 10 minutes, then scrub.
- Clean the sealing ring regularly—old food particles can cause leaks or smells.
- Wipe the exterior with a damp cloth; avoid submerging the main body.
Storage Advice
Store leftover cooked rice in an airtight container in the fridge for up to 4 days. Reheat in the Ninja using the Steam function for 2–3 minutes, adding a bit of water if needed.
Creative Ways to Use Your Ninja Beyond Plain Rice
Once you master basic rice, unlock endless possibilities.
Rice-Based Breakfast Bowls
Cook steel-cut oats or quinoa in the Ninja for overnight oatmeal or grain bowls topped with fruit and nuts.
One-Pot Dinners
Combine rice with beans, tomatoes, and spices for Mexican rice or with chicken and broccoli for Asian-inspired fried rice.
Rice Pudding
Simmer rice with milk, cinnamon, and sugar on Low Slow Cook for 3+ hours. Top with nuts or berries.
Stuffed Peppers or Veggies
Fill bell peppers with seasoned rice and bake in the Ninja using the Bake function.
Final Thoughts: Is Your Ninja Worth It for Rice?
If you eat rice regularly, investing time to learn how to cook it in your Ninja Multi Cooker pays off big time. You gain consistency, control, and convenience—all without buying another appliance. Plus, the same machine that cooks your rice can sear steaks, steam vegetables, or whip up soups. That’s efficiency!
Remember, practice makes perfect. Start with small batches, track your ratios and times, and soon you’ll have foolproof rice every time—whether it’s fluffy basmati for curry night or chewy brown rice for a wholesome salad.
So go ahead: fire up your Ninja, measure that first cup of rice, and embrace the magic of multi-functional cooking. Your taste buds (and busy schedule) will thank you.
FAQs
Can you cook rice in any Ninja Multi Cooker model?
Most Ninja Multi Cookers with Pressure Cook or Steam & Brown functions can cook rice effectively. Even some older models work well—just check your manual for compatible settings.
Do I need to rinse the rice before cooking?
Yes! Rinsing removes excess starch, which prevents sticky or clumpy rice. Rinse until the water runs mostly clear, especially for white rice.
How do I prevent my rice from being too wet or dry?
Stick to the recommended water ratios and avoid lifting the lid during cooking. If it’s too wet, drain excess liquid; if dry, add a splash of water and steam for 2 more minutes.
Can I cook frozen rice in my Ninja?
It’s not recommended. Frozen rice expands and may damage the inner pot or create uneven cooking. Always use fresh, dry rice.
Is it safe to leave rice cooking unattended?
Yes—once programmed, your Ninja operates automatically. However, monitor the first few times to ensure it doesn’t overflow or burn.
Can I cook other grains like farro or millet in my Ninja?
Absolutely! Use similar ratios and increase cook time slightly. Farro needs 40+ minutes under pressure; millet is quicker—try 20 minutes.
This is a comprehensive guide about can you cook rice in a ninja multi cooker.
Key Takeaways
- Understanding can you cook rice in a ninja multi cooker: Provides essential knowledge
Frequently Asked Questions
What is can you cook rice in a ninja multi cooker?
can you cook rice in a ninja multi cooker is an important topic with many practical applications.