
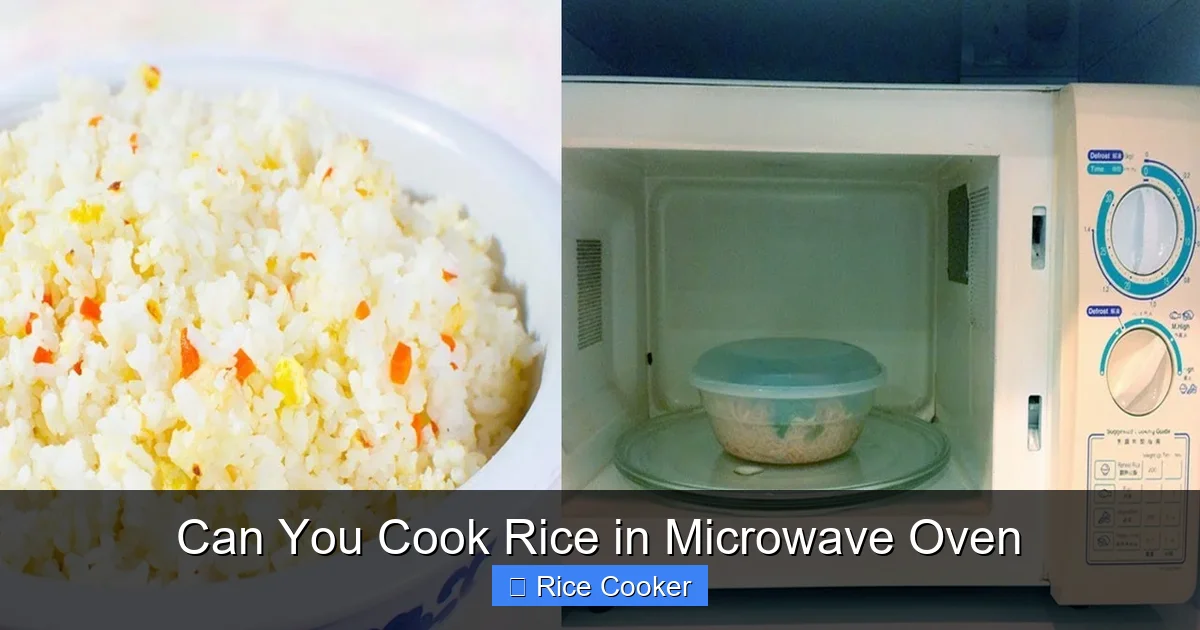
You absolutely can cook rice in a microwave oven, and it’s one of the quickest ways to prepare a staple meal. With the right technique and timing, your microwave can produce fluffy, evenly cooked rice without the need for a dedicated rice cooker. Whether you’re cooking white rice, brown rice, or even instant varieties, this method saves time and energy while delivering consistent results every time.
Key Takeaways
- Microwave cooking is fast and convenient: You can cook rice in as little as 10–15 minutes depending on the type, making it ideal for busy lifestyles.
- Proper water-to-rice ratio is essential: Using too much or too little liquid leads to mushy or undercooked rice—stick to tested ratios like 1:1.5 or 1:2.
- Covering the dish traps steam: Covering prevents evaporation and ensures even heat distribution for uniform cooking.
- Resting after cooking helps: Letting rice sit for 5 minutes allows moisture to redistribute, resulting in fluffier grains.
- Different rice types require different settings: White rice cooks faster than brown or wild rice, so adjust time and power level accordingly.
- No rice cooker? No problem: This microwave method is perfect for dorm rooms, small kitchens, or when your rice cooker is broken.
- Cleanup is easier with microwave-safe containers: Use glass or ceramic dishes that are labeled safe for microwave use to avoid melting or cracking.
📑 Table of Contents
- Can You Cook Rice in Microwave Oven? Absolutely—and It’s Easier Than You Think!
- The Science Behind Microwave Cooking
- Choosing the Right Rice for Microwave Cooking
- Essential Tools and Ingredients
- Step-by-Step Guide: How to Cook Rice in the Microwave
- Common Mistakes and How to Fix Them
- Advanced Tips for Perfect Microwave Rice
- Cleaning and Maintenance Tips
- Final Thoughts: Is Microwave Rice Worth It?
Can You Cook Rice in Microwave Oven? Absolutely—and It’s Easier Than You Think!
Have you ever been craving a warm bowl of rice but realized your rice cooker was out of commission? Or maybe you’re just too tired to stand over the stove for 30 minutes? If so, you’re not alone. Life gets busy, and sometimes we need quick solutions that still deliver great flavor and texture. The good news? Yes, you can absolutely cook rice in a microwave oven, and doing so doesn’t mean sacrificing quality. In fact, microwaving rice has become a surprisingly reliable method—especially for those who want convenience without compromise.
Unlike traditional stovetop cooking, which requires constant monitoring and stirring, microwave rice preparation is hands-off once you set it up correctly. All you need is a microwave-safe dish, the right amount of water, and a few simple steps. Whether you’re preparing plain steamed rice for sushi, fluffy jasmine rice for stir-fries, or even savory dishes like rice pilaf, the microwave can handle it all. Best of all, this method works with both instant and long-grain varieties, giving you flexibility based on what’s in your pantry.
In this article, we’ll walk through everything you need to know about cooking rice in the microwave—from choosing the best container to mastering timing and texture. You’ll also learn pro tips to avoid common pitfalls like soggy rice or uneven cooking. So grab your favorite grain, fire up that microwave, and let’s get started!
The Science Behind Microwave Cooking
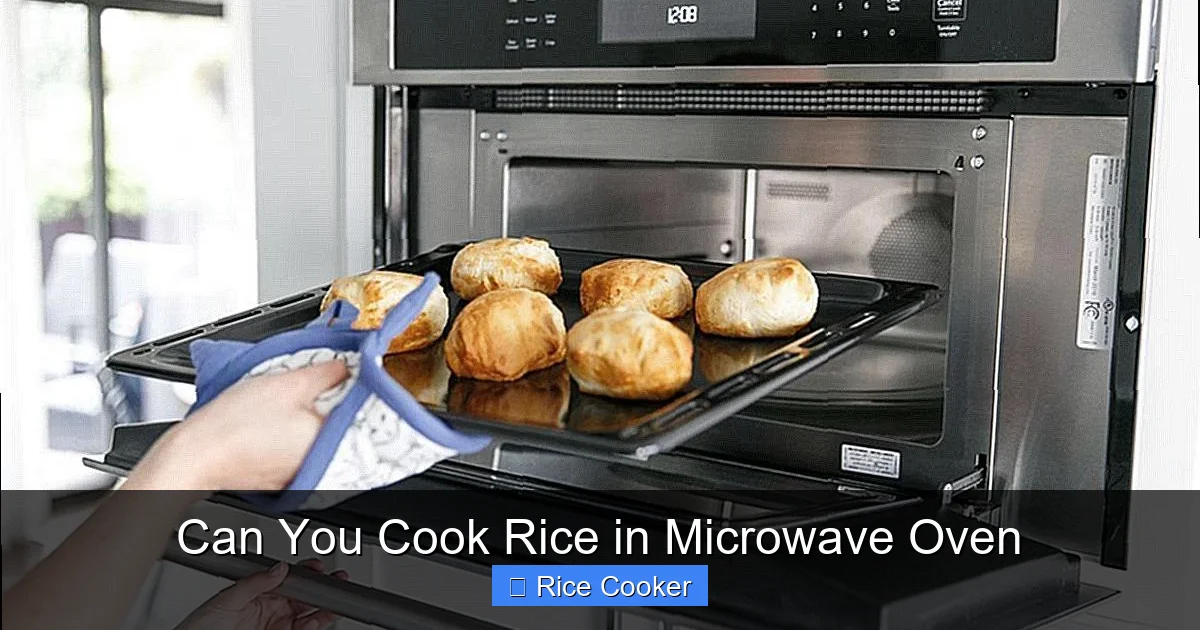
Visual guide about Can You Cook Rice in Microwave Oven
Image source: pastimebarandgrill.com
Before diving into recipes, it’s helpful to understand how microwaves actually cook food. Unlike conventional ovens that rely on radiant heat, microwaves work by agitating water molecules inside the food. This agitation generates friction and heat from within—hence why placing your hand near an active microwave feels warm! When you cook rice in the microwave, the absorbed energy heats the water, which then cooks the starch granules in the rice kernels.
However, because microwaves don’t always distribute heat evenly (some spots get hotter than others), it’s important to stir or rotate the dish during cooking if possible. That’s why covering your rice helps create a steamy environment that promotes uniform heating. Steam keeps moisture trapped, preventing dry patches while ensuring each grain absorbs enough liquid to cook thoroughly.
Another advantage of microwaving rice is speed. Since there’s no need to preheat a pot or monitor boiling levels, total preparation time drops significantly. For example, cooking 1 cup of uncooked white rice in the microwave typically takes only 10–12 minutes—compared to 20–30 minutes on the stovetop. This efficiency makes it perfect for weeknight dinners, last-minute meals, or anyone living in a studio apartment where space is limited.
Choosing the Right Rice for Microwave Cooking
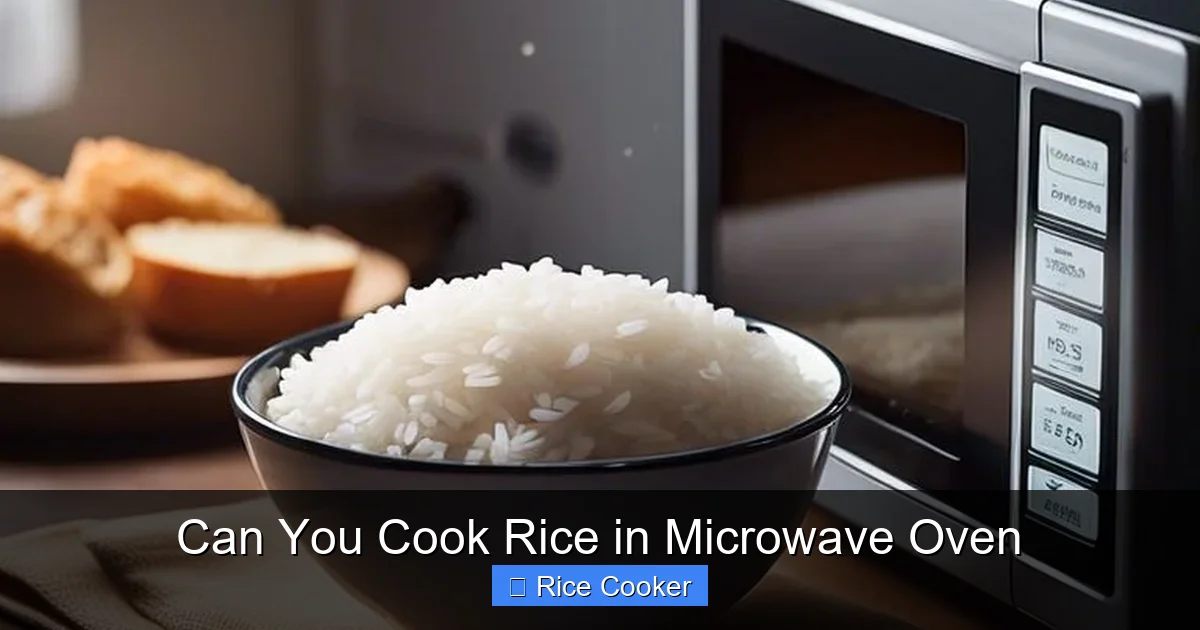
Visual guide about Can You Cook Rice in Microwave Oven
Image source: meatcheftools.com
Not all rice is created equal—and neither is its microwave performance. Different types respond differently to heat and moisture, so selecting the right variety matters. Here are the most common kinds and their characteristics:
White Rice
White rice—such as jasmine, basmati, or regular short-grain—is the most forgiving for beginners. Its refined starch structure allows it to absorb water quickly and cook evenly. Because it loses some bran and germ layers during processing, it tends to be softer and more absorbent than whole grains. Most people find white rice easiest to cook successfully in the microwave, especially when following standard ratios like 1 cup rice to 1.5 cups water.
Brown Rice
Brown rice contains more fiber and nutrients due to its intact outer shell, but it also needs more time and water to soften fully. Typically, you’ll use a higher water ratio (around 1:2 or even 1:2.5) and allow longer cooking times—often 15–20 minutes in the microwave. While it may take slightly more effort, many home cooks appreciate the nuttier flavor and chewy texture of well-prepared brown rice.
Instant Rice
If you’re looking for maximum convenience, instant rice is designed specifically for quick preparation. Brands like Minute Rice often include pre-cooked grains that only need hot water or brief microwaving to rehydrate. These usually cook in under 5 minutes and require minimal attention. Just follow package instructions closely to avoid overcooking.
Wild Rice & Other Varieties
Wild rice isn’t technically true rice but rather a grass seed that grows in North American lakes. It has a distinct earthy taste and requires extended soaking (at least 30 minutes) before cooking. Similarly, red rice or black rice may need extra water and time due to their dense structure. Always check recommended ratios and adjust accordingly.
Essential Tools and Ingredients
To cook rice in the microwave safely and effectively, gather these items beforehand:
– **Microwave-safe container**: Choose a deep ceramic or glass dish with a lid or plastic wrap. Avoid metal pans—they cause sparks!
– **Measuring cup**: Precision matters; use a standard 180ml (or ¾ cup) measuring cup for accurate portions.
– **Water**: Filtered or bottled water reduces mineral buildup in your microwave over time.
– **Salt (optional)**: A pinch enhances flavor without affecting texture significantly.
– **Lid or vented cover**: Prevents splatters and allows steam to circulate.
Avoid using paper plates or waxed cardboard—they can melt or release harmful chemicals when heated. Also, never leave the microwave unattended during cooking, especially with high-water content foods like rice.
Step-by-Step Guide: How to Cook Rice in the Microwave
Follow this foolproof method for perfectly cooked rice every time:
Step 1: Measure Your Rice and Water
Start by measuring your desired amount of uncooked rice using a dry measuring cup. Then add water according to the type:
– White rice: 1 cup rice + 1.5 cups water
– Brown rice: 1 cup rice + 2 cups water
– Instant rice: Follow package directions (usually 1 cup rice + 1.25 cups water)
Rinse white or brown rice briefly under cold water if you prefer less stickiness—though rinsing isn’t necessary for instant varieties.
Step 2: Transfer to Microwave-Safe Dish
Pour the rice and water into a microwave-safe container large enough to hold the mixture without overflowing. Leave about an inch of headspace at the top to accommodate expansion during cooking.
Step 3: Cover the Dish
Securely cover the dish with either a microwave-safe lid or plastic wrap. Poke several small holes in the plastic to allow steam to escape—this prevents pressure buildup and ensures gentle cooking.
Step 4: Cook on High Power
Microwave on HIGH (100% power) for the recommended time:
– White rice: 10–12 minutes
– Brown rice: 15–20 minutes
– Instant rice: 3–5 minutes
Pause halfway through to stir gently with a fork—this redistributes heat and prevents clumping.
Step 5: Let It Rest
Once done, remove the container carefully (it will be hot!) and let the rice sit covered for 5 minutes. This resting period lets residual steam finish cooking any remaining uncooked bits and equalizes moisture throughout.
Step 6: Fluff and Serve
Use a fork to fluff the rice gently before serving. Add salt, butter, or herbs if desired. Enjoy immediately!
Common Mistakes and How to Fix Them
Even experienced cooks run into hiccups now and then. Here’s how to troubleshoot frequent issues:
Mushy or Sticky Rice
This usually happens when too much water is used or cooking time is excessive. To fix it, scoop out excess liquid after draining (if applicable), then fluff thoroughly. For future batches, reduce water by ¼ cup and cut cooking time by 1–2 minutes.
Undercooked Grains
If some kernels remain hard after cooking, return the dish to the microwave for 1–2 minute intervals until tender. Stir between bursts to promote even heating.
Burnt Bottom Layer
Overheating causes scorching, especially in older microwaves with hotspots. Try rotating the dish halfway through or using a lower power setting (70%) for longer durations. Adding a splash of water before covering can also help prevent burning.
Uneven Texture
Stirring halfway through ensures better consistency. Alternatively, press down gently with a spoon after removing from heat to break up clumps.
Advanced Tips for Perfect Microwave Rice
Want to elevate your rice game? Try these expert tricks:
– **Add aromatics**: Toss in a bay leaf, garlic clove, or onion slice while cooking for subtle flavor infusion.
– **Use broth instead of water**: Chicken or vegetable broth adds richness and depth—just adjust seasoning afterward.
– **Try the two-stage method**: Cook on high for half the time, then switch to medium (50% power) for the remainder. This gentler approach reduces risk of burning.
– **Pre-soak brown rice**: Soaking for 20–30 minutes softens the hull and cuts cooking time by 25%.
– **Double-check container size**: Larger dishes spread heat thinner; smaller ones concentrate it. Match your vessel to your quantity.
Cleaning and Maintenance Tips
After enjoying your perfectly cooked rice, keep your microwave clean and functional:
– Wipe spills immediately to prevent residue hardening.
– Remove the turntable plate and wash it separately with soap and warm water.
– Place a bowl of water with lemon slices inside and microwave for 2 minutes to neutralize odors.
– Never run the microwave empty—it damages the magnetron over time.
Also, consider labeling your containers with “rice” or “dry goods” to avoid confusion with liquids or sauces next time.
Final Thoughts: Is Microwave Rice Worth It?
Cooking rice in the microwave is not just possible—it’s practical, efficient, and increasingly popular among home chefs. While purists might argue that stovetop or electric rice cookers offer superior control, the microwave delivers remarkable results with minimal fuss. Especially for single servings, dorm rooms, or quick meals, it’s a lifesaver.
The key lies in understanding your ingredients, respecting water ratios, and allowing proper rest time. Once you master these basics, you’ll find yourself reaching for the microwave more often—even when your rice cooker is working perfectly fine!
So next time hunger strikes and rice is calling your name, don’t hesitate. Grab a bowl, measure wisely, and let that microwave work its magic. Before you know it, you’ll have fluffy, fragrant grains ready to pair with anything from grilled chicken to spicy curries.
And who knows? You might just discover your new go-to method for hassle-free, delicious rice—microwave or not.
Frequently Asked Questions
How much water do I use per cup of rice in the microwave?
For white rice, use 1.5 cups of water per 1 cup of uncooked rice. Brown rice requires more—about 2 cups per 1 cup of grain. Always follow package guidelines for best results.
Can I cook rice in a microwave without a lid?
Yes, but covering helps retain steam and ensures even cooking. If you don’t have a lid, loosely cover the dish with microwave-safe plastic wrap and poke holes for ventilation.
Why is my microwave rice always sticky?
Sticky rice usually results from too much water or insufficient stirring. Reduce water by ¼ cup and stir halfway through cooking to improve texture.
Is it safe to reheat leftover rice in the microwave?
Absolutely! Reheat rice in short 30-second intervals, adding a splash of water to prevent drying. Ensure it reaches an internal temperature of 165°F (74°C) for safety.
Can I cook other grains like quinoa or barley in the microwave?
Yes! Adjust water ratios and times accordingly. Quinoa typically uses 2 cups water per 1 cup grain and cooks in 12–15 minutes; barley may need up to 25 minutes.
Do I need to rinse rice before microwaving?
Rinsing removes excess starch and dust, reducing stickiness. It’s optional but recommended for white rice. Skip rinsing for instant or pre-washed varieties.