You can definitely cook rice on a Blackstone griddle—no rice cooker needed! With the right technique and tools, you’ll get fluffy, evenly cooked grains that are great for meals, sides, or even breakfast bowls. This guide walks you through every step, from prep to cleanup.
Key Takeaways
- Blackstone griddles work well for rice: The large, flat surface allows even heat distribution, making it ideal for cooking grains like white rice, brown rice, or wild rice.
- Use a lid or foil tent: Covering the pan helps trap steam, which is essential for tender, fully cooked rice without burning.
- Preheat and season properly: Lightly oil the surface before adding rice to prevent sticking and ensure easy flipping.
- Adjust water ratios slightly: Since griddles don’t retain as much moisture as stovetop pots, use a bit more water than usual.
- Monitor closely during cooking: Unlike electric rice cookers, griddles require attention to avoid overcooking or scorching.
- Clean up is simple: Most residue comes off with hot soapy water; avoid metal scrapers to protect the non-stick surface.
📑 Table of Contents
- Can You Cook Rice on Blackstone? Absolutely—Here’s How!
- Why People Ask “Can You Cook Rice on Blackstone?”
- Choosing the Right Rice for Your Blackstone
- Essential Tools and Prep Steps
- Cooking Rice on Blackstone: Step-by-Step Guide
- Pro Tips for Perfect Griddle Rice Every Time
- Troubleshooting Common Issues
- Cleanup Made Easy
- Beyond Basic White Rice: Creative Recipes
- Final Thoughts: Why This Method Rocks
Can You Cook Rice on Blackstone? Absolutely—Here’s How!
Picture this: it’s a weekend morning, you’re at home with your Blackstone griddle fired up, and you suddenly crave fluffy jasmine rice alongside your grilled veggies and eggs. No problem! Whether you’re prepping for a family brunch or just want a side dish that complements your outdoor cookout, cooking rice on your Blackstone is totally doable—and surprisingly effective.
Many people assume that only dedicated appliances like rice cookers can deliver perfectly cooked grains. But here’s the secret: with a little know-how, your flat-top grill becomes a powerful tool for making rice that’s just as good—sometimes even better—than what you’d get from an electric machine. The key lies in understanding how heat behaves on a griddle versus a pot, and using simple tricks to mimic the moist, consistent environment rice needs.
In this complete guide, we’ll walk you through everything you need to know about cooking rice on a Blackstone. From choosing the right type of rice to mastering timing and cleanup, you’ll be whipping up restaurant-quality grains in no time. Let’s get started!
Why People Ask “Can You Cook Rice on Blackstone?”
It’s a fair question—especially if you’ve never tried it. After all, a Blackstone is designed for burgers, pancakes, stir-fries, and bacon, not delicate grains. But thanks to its massive, flat cooking surface and excellent heat retention, it actually makes an excellent platform for rice when used correctly.
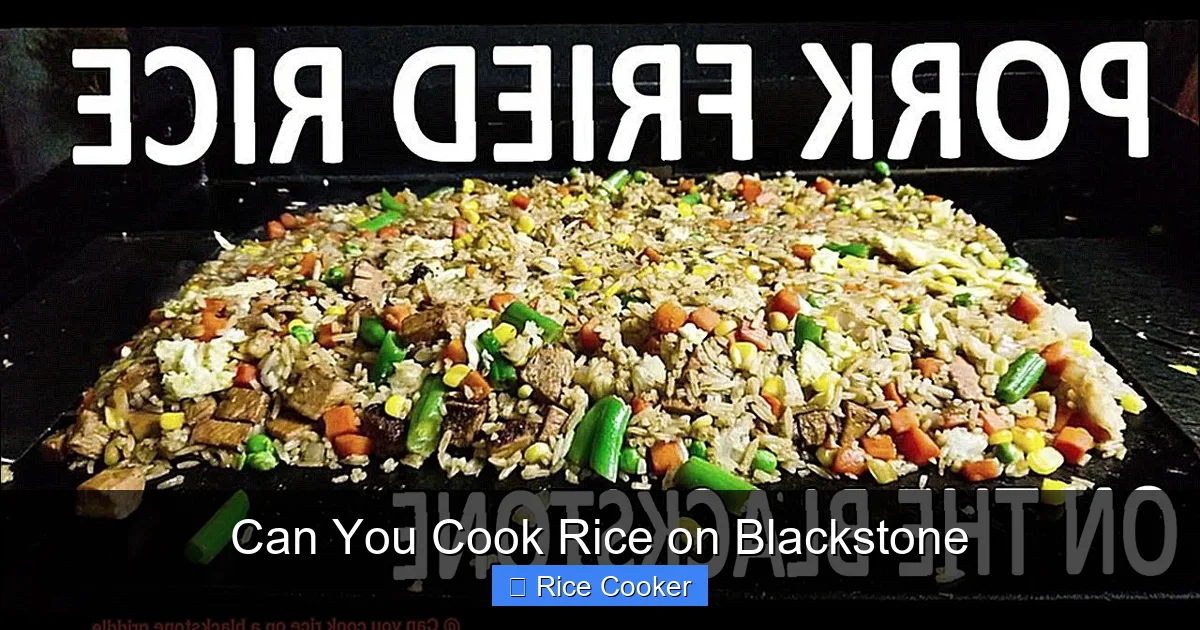
Visual guide about Can You Cook Rice on Blackstone
Image source: pastimebarandgrill.com
The Science Behind It
Rice cooks best in a controlled environment where moisture turns into steam, slowly gelatinizing the starch inside each grain. Traditional pots on the stove or rice cookers maintain that balance automatically. But a Blackstone doesn’t naturally trap steam—so you have to help it along. That’s why techniques like covering the pan with a lid or aluminum foil become crucial.
Common Misconceptions
Some folks worry that putting wet ingredients on a dry griddle will ruin the surface or create smoke. While it’s true that excess water can lead to splattering early on, once the rice absorbs most of the liquid and begins steaming, things settle down nicely. Plus, modern Blackstone surfaces are built tough—they handle moisture like pros.
Choosing the Right Rice for Your Blackstone
Not all rice is created equal when it comes to griddle cooking. Some varieties are stickier, others drier. Picking the right kind ensures foolproof results every time.
Best Types of Rice
- White rice (long-grain): The easiest to control. Jasmine and basmati work especially well because they stay separate and fluffy.
- Brown rice: Requires longer soaking and more water, but still achievable. Just be patient—it takes extra time.
- Wild rice: A fun challenge! Its texture is chewier, so adjust water and cook time accordingly.
- Avoid short-grain sushi rice unless you’re okay with a slightly stickier result. It’s not terrible, but not ideal for beginners.
What About Instant or Microwave Rice?
Skip those! They’re already partially cooked and meant for reheating. On a griddle, you want fresh, whole grains that absorb flavor and heat evenly.
Essential Tools and Prep Steps
Before you turn on your Blackstone, gather what you need. Preparation is half the battle.
Must-Have Supplies
- A heavy-duty aluminum or stainless steel pot (or a disposable aluminum pan)
- Chef’s knife and cutting board
- Measuring cup and spoon
- Tongs or spatula
- Aluminum foil or a tight-fitting lid (ideally glass, if you have one)
- Paper towels or clean cloths for cleanup
Step-by-Step Prep
- Soak brown rice (if using): Place it in water for 30–60 minutes. This softens the bran layer and speeds up cooking.
- Rinse long-grain rice: Put it in a strainer and run cool water until the water runs clear. This removes excess starch and prevents gumminess.
- Measure water carefully: As a rule of thumb, use 1.5 cups of water per 1 cup of uncooked rice. Add a pinch of salt for flavor.
- Preheat your Blackstone: Set it to medium heat (around 350°F) while you prep. Never start cold—you want steady, indirect heat.
Cooking Rice on Blackstone: Step-by-Step Guide
Now for the main event. Follow these steps exactly for best results.
Step 1: Heat and Oil the Surface
Once your Blackstone is preheated, lightly grease the area where you’ll place your pot. Use vegetable oil, canola, or even a spray bottle for even coverage. Don’t skip this—it stops rice from clumping onto the griddle.
Step 2: Add Rice and Water
Carefully pour your rinsed rice into the pot. Then add the measured water. Stir gently to distribute evenly.
Step 3: Cover Immediately
This is the most important trick. Place the lid or a sheet of foil over the pot. The goal is to create a sealed chamber where steam builds up and circulates around the rice. Without this, the rice will dry out or cook unevenly.
Step 4: Simmer and Steam
Let the rice simmer uncovered for about 5 minutes first—this lets any initial moisture evaporate. Then put the cover back on and reduce heat to low. Cook for 15–20 minutes (white rice) or up to 35 minutes (brown rice). Avoid lifting the lid too often—every peek releases precious steam!
Step 5: Rest and Fluff
When done, remove the pot from heat. Let it sit covered for 5 minutes. Then fluff with a fork to separate the grains. Serve immediately!
Pro Tips for Perfect Griddle Rice Every Time
Even seasoned chefs learn new tricks. Here are some insider secrets to elevate your game.
Use a Double-Layer Foil Tent
If you don’t have a lid, crumple two sheets of foil into a dome shape over the pot. Secure loosely with kitchen twine or tape. This DIY steamer works almost as well.
Add Flavor During Cooking
Toss in garlic cloves, bay leaves, or a sprig of thyme while the rice simmers. Remove them before fluffing, though—they’re purely for aroma and taste.
Check Doneness Like a Pro
Pierce a grain with a toothpick. If it slides out clean and the center isn’t mushy, it’s ready. For brown rice, make sure the outer husk is tender but not crumbly.
Keep a Backup Pot Ready
If you’re cooking for a crowd, prepare multiple batches. Clean the first pot while the second simmers—efficiency matters!
Troubleshooting Common Issues
No method is perfect 100% of the time. When things go wrong, here’s how to fix them.
Rice Sticks to the Pot
Usually caused by insufficient oil or cold-start cooking. Always preheat, oil first, and use a non-reactive metal pot.
Rice Is Too Dry
You probably didn’t seal the steam. Next time, double-check your lid/foil fit. Also, increase water by ¼ cup.
Rice Is Mushy or Soupy
Overcooked or too much water. Drain excess liquid gently with a colander after resting. Future batches should use less water and shorter cook times.
Smoke or Burning Smell
Too high heat or old oil. Lower the flame and consider replacing the cooking oil between uses.
Cleanup Made Easy
Nobody enjoys scrubbing burnt-on food. Make cleanup simple with these tips.
Act Fast
As soon as you’re done, rinse the pot under warm water while the rice is still hot. Residue loosens instantly.
Soak if Needed
For stubborn bits, fill the pot with hot soapy water and let it sit 10–15 minutes before washing.
Avoid Metal Scrapers
They scratch the non-stick coating. Use wooden spoons, silicone pads, or nylon brushes instead.
Wipe Down the Griddle
Remove any stray rice crumbs with a damp towel. Then give the surface a light oil coat to maintain seasoning.
Beyond Basic White Rice: Creative Recipes
Once you’ve nailed the basics, try these tasty variations.
Coconut Rice
Add ½ cup coconut milk and ½ cup water per cup of rice. Add a pinch of turmeric for color. Perfect with curry or grilled fish.
Saffron Rice
Dissolve ¼ tsp saffron threads in 2 tbsp warm water. Mix into rice before cooking. Elegant enough for guests!
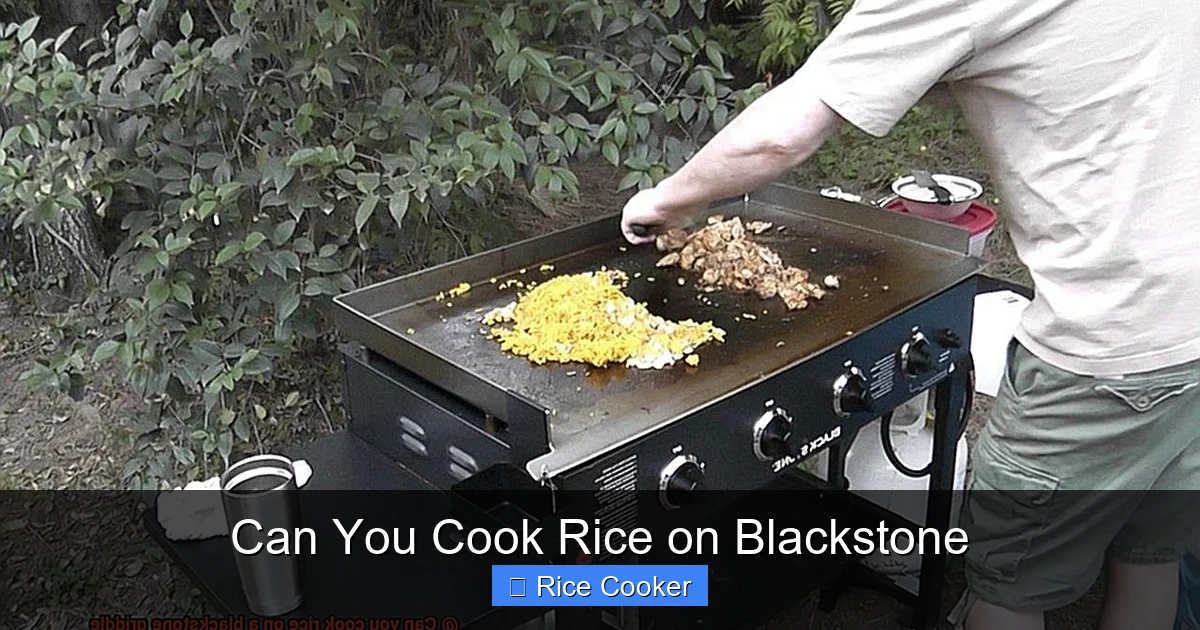
Fried Rice (Post-Cooking)
Cook rice as normal, cool completely, then sear in a bit of oil with soy sauce, peas, carrots, and scrambled eggs. Classic takeout-style!
Rice Porridge (Congee)
Use 2.5 cups water per cup of rice. Cook until creamy. Top with green onions, ginger, and a soft-boiled egg for breakfast.
Final Thoughts: Why This Method Rocks
Cooking rice on a Blackstone isn’t just a clever hack—it’s a gateway to more flexible, flavorful meals. You’re not tied to one appliance or one meal style. Imagine making a big batch of jasmine rice for tacos, then repurposing it into fried rice later in the week. Or serving coconut-infused rice with your favorite BBQ plate straight off the griddle.
Plus, there’s something deeply satisfying about preparing a full meal outdoors—rice, veggies, protein, all on the same surface. It brings people together, literally and figuratively.
Just remember: practice makes perfect. Your first few attempts might not be flawless, and that’s okay. Keep notes, tweak ratios, and soon you’ll be impressing friends with your griddle-grown grains.
So next time someone asks, “Can you cook rice on Blackstone?”—smile and say yes. With this guide, you’re ready to answer with confidence.
Frequently Asked Questions
How much water do I use for rice on a Blackstone?
Use 1.5 cups of water per 1 cup of uncooked rice. Since griddles lose moisture faster than pots, you may need to add a splash more if the rice seems dry after 20 minutes.
Do I need a special pot to cook rice on a Blackstone?
Any heavy-bottomed pot or aluminum pan works fine. Avoid thin pans—they heat unevenly. Stainless steel or cast aluminum are great choices.
Can I cook brown rice on a Blackstone?
Yes! But it requires longer soaking (30–60 mins) and more water (2:1 ratio). Expect 35–40 minutes of cooking time. Be patient and check frequently.
Will cooking rice damage my Blackstone surface?
No, if done properly. Always use oil, avoid metal utensils, and clean promptly. Moisture alone won’t harm the non-stick coating.
What’s the fastest way to cook rice on a Blackstone?
Use white long-grain rice, minimal water, and a tight lid. Cook on medium-low for 18–20 minutes. Skip rinsing if you prefer stickier results.
Can I cook rice overnight or ahead of time?
Only if kept warm under a lid or in a slow cooker. Never leave rice sitting at room temperature for more than 2 hours to avoid bacterial growth.