You absolutely can boil eggs in a rice cooker—and it’s easier than you think. This clever kitchen hack saves time, uses minimal equipment, and gives consistent results every time. Whether you’re meal prepping or just craving a quick snack, your rice cooker can do double duty as an egg boiler.
Key Takeaways
- Yes, boiling eggs in a rice cooker works—it uses steam and heat to cook eggs evenly without direct flame.
- It’s perfect for meal prep, allowing you to cook dozens of eggs at once while freeing up your stovetop.
- No special settings are needed; most rice cookers function like a slow cooker when set to “Cook” or “Keep Warm.”
- Results vary by rice cooker model, so timing may need adjustment based on your appliance.
- Using the right water level and container is key—too little water risks dry eggs; too much can overflow.
- Eggs stay fresh longer when stored properly after cooking, making them great for grab-and-go meals.
- You can customize doneness with simple timing tweaks: 10 minutes for soft, 12–15 for medium, 16–20 for hard.
📑 Table of Contents
- Can You Make Boiled Eggs in a Rice Cooker? The Surprising Kitchen Hack That Works
- Why People Are Using Rice Cookers to Boil Eggs
- What You’ll Need to Boil Eggs in a Rice Cooker
- Step-by-Step Guide: How to Boil Eggs in a Rice Cooker
- Common Mistakes to Avoid When Boiling Eggs in a Rice Cooker
- How Do Rice Cookers Compare to Traditional Boiling?
- Tips for Perfect Boiled Eggs Every Time
- Beyond Boiled Eggs: Other Rice Cooker Hacks
- Final Thoughts: Is Boiling Eggs in a Rice Cooker Worth It?
Can You Make Boiled Eggs in a Rice Cooker? The Surprising Kitchen Hack That Works
Ever been stuck with a rice cooker sitting idle while your stovetop is cluttered with pots and pans? Or maybe you’re prepping for the week and want to avoid constant babysitting on the burner? If so, you’re not alone. Enter: the humble boiled egg—a kitchen staple that suddenly feels inconvenient when you’re juggling multiple tasks. But here’s the good news: yes, you can absolutely make boiled eggs in a rice cooker. In fact, it might just become your new favorite kitchen trick.
This method isn’t just a gimmick—it’s a practical, efficient way to cook eggs using an appliance many already own. Whether you’re a college student, busy parent, or someone who simply loves meal-prepped snacks, learning how to boil eggs in a rice cooker adds convenience without sacrificing quality. And the best part? You don’t need fancy gadgets or extra tools. With just a few adjustments, your rice cooker transforms into a reliable egg boiler.
Why People Are Using Rice Cookers to Boil Eggs
In recent years, rice cookers have evolved far beyond their original purpose. Once considered a niche gadget for Asian cuisine, today’s rice cookers are versatile kitchen workhorses. From steaming vegetables to baking cakes, they handle a surprising range of tasks. One of the most popular—and surprisingly effective—uses? Cooking eggs.
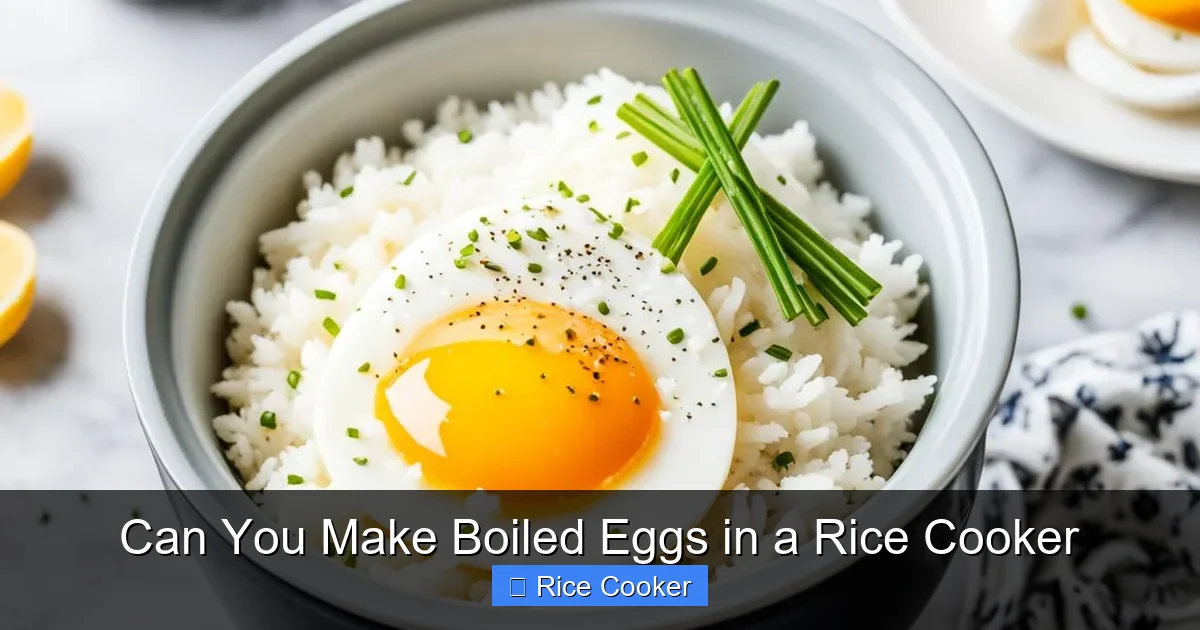
Visual guide about Can You Make Boiled Eggs in a Rice Cooker
Image source: ricecookerjunkie.com
There are several reasons why this method has caught on:
- Convenience: No need to monitor a pot on the stove. Just add water, place eggs in a safe container, and let the machine do the work.
- Energy efficiency: Rice cookers use less energy than boiling water on the stove, especially when making large batches.
- Consistency: The steady heat distribution ensures even cooking—no more overcooked whites or runny yolks.
- Hands-off cooking: Perfect for multitasking or when you want to relax while dinner simmers (or boils).
But before we dive into step-by-step instructions, let’s clear up a common misconception: not all rice cookers are created equal. While most modern electric rice cookers can handle egg boiling, older models or basic designs may lack the necessary insulation or temperature control. So, knowing your appliance matters.
What You’ll Need to Boil Eggs in a Rice Cooker
Ready to give it a try? You won’t need much more than what you probably already have in your kitchen. Here’s a quick shopping list:
- A standard electric rice cooker (preferably with a non-stick inner pot)
- Fresh eggs (the fresher, the better—they peel easier)
- A heat-safe container or egg holder (like a steamer basket or small oven-safe dish)
- Water (about 1–2 inches deep in the rice cooker base)
- A spoon or tongs for handling hot containers
- Optional: Ice bath (for easier peeling)
Pro Tip: Avoid using glass or metal containers directly in the rice cooker unless they’re specifically designed for high-heat cooking. A plastic container labeled “heat-resistant” or a silicone egg mold works best.
If you don’t have a dedicated egg holder, you can improvise with a small heatproof bowl placed inside a larger one (to catch any spills), but be cautious about steam escaping and affecting cooking time.
Step-by-Step Guide: How to Boil Eggs in a Rice Cooker
Now for the main event. Follow these simple steps, and you’ll have perfectly cooked eggs in under 20 minutes—no stove required.
1. Prepare Your Rice Cooker Base
Start by filling the inner pot of your rice cooker with about 1 to 2 inches of cold water. Don’t go too high—this water will turn into steam, which gently cooks the eggs above it. Too much water increases the risk of overflow when the rice cooker heats up.
2. Place Eggs in a Safe Container
Carefully arrange your eggs in a single layer inside a heat-resistant container or steamer basket. Make sure they aren’t touching each other or the sides of the pot, as this can cause cracking due to expansion during heating.
3. Set the Rice Cooker to “Cook”
Close the lid and select the “Cook” or “Boil” setting if available. If your model only has “Cook” or “Normal,” that’s fine—these modes provide enough heat for egg boiling. Avoid “Keep Warm” unless you’re reheating; it won’t generate enough steam.
4. Let It Run
The magic happens as the water heats up and turns into steam. Depending on how you like your eggs, cooking times vary:
- Soft-boiled (runny yolk): 10–12 minutes
- Medium-boiled (slightly firm yolk): 12–15 minutes
- Hard-boiled (fully set yolk): 16–20 minutes
Note: These times assume room-temperature eggs. For cold eggs straight from the fridge, add 2–3 extra minutes.
5. Shock in Ice Water (Optional but Recommended)
Once done, immediately transfer the eggs to an ice bath for 5–10 minutes. This stops the cooking process and makes peeling much easier. Fresh eggs peel smoother than older ones, anyway!
6. Peel and Enjoy
Gently tap the eggs on a hard surface, roll them to crack the shell, then peel under running water. Voilà—perfectly boiled eggs ready for salads, snacks, or deviled egg spreads!
Common Mistakes to Avoid When Boiling Eggs in a Rice Cooker
Even with the right setup, a few pitfalls can ruin your first attempt. Here’s how to sidestep them:
Mistake #1: Not Enough Water
If the water level is too low, there won’t be enough steam to cook the eggs properly. Aim for at least 1 inch of water in the base—ideally 1.5 inches for larger batches.
Mistake #2: Overcrowding the Container
Packing too many eggs into one container increases the chance of cracking. Cook in batches if needed, especially for hard-boiled eggs.
Mistake #3: Using the Wrong Container
Never place raw eggs directly into the rice cooker’s inner pot. Use a separate, heat-safe vessel. Glass jars or metal bowls can warp or shatter.
Mistake #4: Ignoring Timing Differences
Rice cookers vary in power. If your eggs turn out rubbery, reduce time slightly next time. Conversely, if they’re underdone, add a minute or two.
Mistake #5: Skipping the Ice Bath
This step isn’t glamorous, but it makes peeling a breeze—especially important if you’re making dozens for meal prep.
How Do Rice Cookers Compare to Traditional Boiling?
You might wonder: “Is this really better than just boiling eggs on the stove?” The answer depends on your priorities.
Speed: Both methods take roughly the same time—about 12–18 minutes for hard-boiled eggs. However, rice cookers require less active supervision.
Energy Use: Rice cookers typically use less electricity than keeping a pot of water at a rolling boil. They also retain heat well, so they cool down slowly after turning off.
Cooking Consistency: On the stove, uneven heat zones can lead to inconsistent results. Rice cookers offer uniform steam distribution, yielding more predictable outcomes.
Space Efficiency: If your stovetop is full, a rice cooker frees up valuable counter or cooktop real estate.
Cleanup: Fewer pots to wash = fewer dishes. That’s a win in my book!
That said, traditional boiling lets you control water volume precisely, which some prefer. But for most home cooks, the rice cooker method strikes a great balance between ease and effectiveness.
Tips for Perfect Boiled Eggs Every Time
Want to level up your egg-boiling game? Try these pro tips:
- Use older eggs for hard-boiling: Believe it or not, eggs that are a week or two old peel more easily than super-fresh ones.
- Room-temp eggs prevent cracking: Let eggs sit at room temperature for 10–15 minutes before cooking.
- Add vinegar to the water (optional): A splash in the rice cooker base can help seal cracks and make shells easier to remove.
- Label and store wisely: Cooked eggs last up to a week in the fridge. Store peeled or unpeeled in airtight containers.
- Experiment with flavors: Add herbs, garlic, or sea salt to the water for infused eggs—great for deviled egg variations!
Beyond Boiled Eggs: Other Rice Cooker Hacks
Once you’ve mastered boiled eggs, your rice cooker opens up to even more possibilities:
- Steamed dumplings: Place them on a bamboo steamer basket over the water.
- Poached eggs: Crack eggs directly into simmering water inside the rice cooker (use a wide container).
- Oatmeal or porridge: Swap rice for oats and enjoy warm breakfasts hands-free.
- Soups and stews: Many rice cookers have a “Slow Cook” mode ideal for hearty broths.
This versatility is why rice cookers remain popular across cultures and lifestyles. They’re not just for rice—they’re kitchen Swiss Army knives.
Final Thoughts: Is Boiling Eggs in a Rice Cooker Worth It?
After trying this method, you’ll likely agree: yes, it’s worth it. Whether you’re feeding a crowd, prepping lunches for the week, or just want a stress-free way to enjoy eggs, your rice cooker has your back. It’s affordable, energy-efficient, and delivers consistent results with minimal effort.
Plus, it’s a fantastic solution for apartment dwellers with limited stovetop space or anyone looking to simplify their cooking routine. No more juggling pots, watching the clock, or scrubbing burnt residue. Just set it and forget it—until mealtime.
So the next time you reach for a hard-boiled egg, consider skipping the pot. Grab your rice cooker instead. Your future self will thank you for the convenience, and your taste buds will love the perfectly cooked yolks.
Frequently Asked Questions
Can you really boil eggs in a rice cooker?
Yes, absolutely! By using steam generated from boiling water in the rice cooker’s base, you can cook eggs evenly and efficiently without needing a stovetop. Most modern rice cookers work well for this method.
How long does it take to boil eggs in a rice cooker?
It usually takes 10–20 minutes depending on desired doneness. Soft-boiled eggs take about 10–12 minutes, medium 12–15, and hard-boiled 16–20 minutes. Adjust based on your specific model and egg size.
Do I need a special container to boil eggs in a rice cooker?
Not necessarily. Use a heat-resistant container, steamer basket, or silicone egg mold. Avoid placing eggs directly in the rice cooker’s inner pot unless it’s designed for such use.
Are eggs boiled in a rice cooker as good as stove-boiled?
Yes, when done correctly. Rice cookers provide consistent heat and steam, resulting in uniformly cooked eggs. Many people find them just as tasty—if not more convenient—than stove-cooked versions.
Can I boil more than one egg at a time in a rice cooker?
Yes, but arrange them in a single layer in a safe container to prevent cracking. For best results, don’t overcrowd—cook in small batches if necessary.
Will boiling eggs in a rice cooker overflow the machine?
Only if too much water is added or if the container isn’t stable. Use 1–2 inches of water and ensure your egg container doesn’t tip over. Keep an eye during the first few minutes if you’re unsure.