
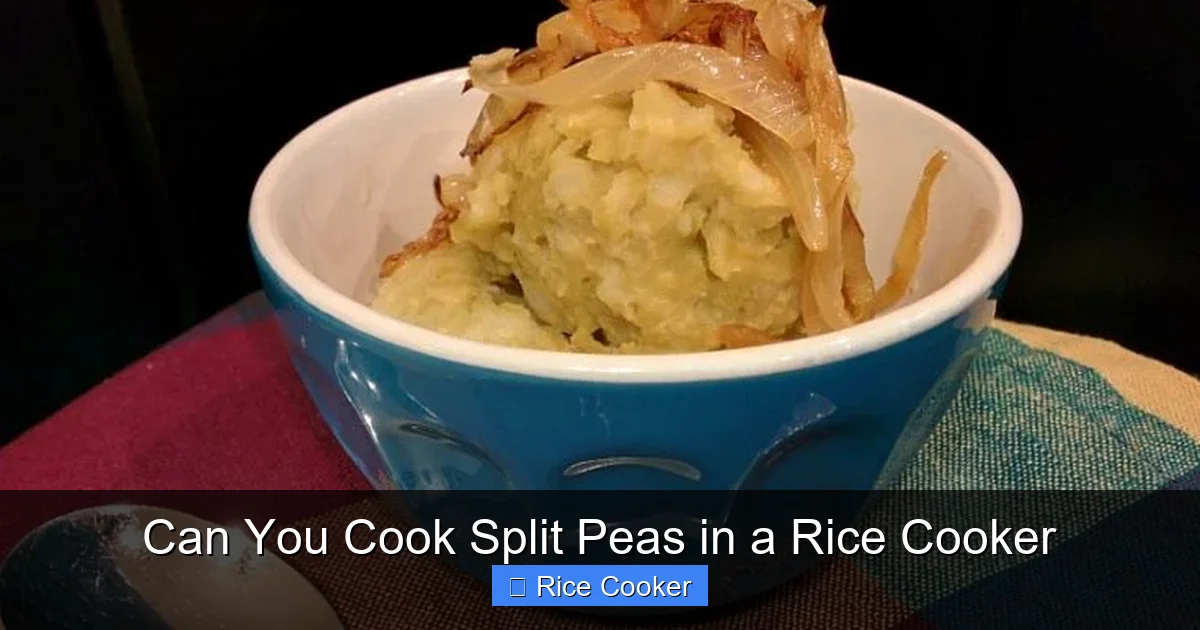
Yes, you can absolutely cook split peas in a rice cooker—it’s a simple, efficient method that delivers tender, flavorful results with minimal effort. Whether you’re making pea soup or a hearty side dish, your rice cooker handles it like a pro. With the right water-to-pea ratio and a few timing tweaks, you’ll get consistent, delicious outcomes without babysitting the pot.
Key Takeaways
- Yes, split peas cook well in a rice cooker—the appliance’s controlled heating and automatic shut-off make it ideal for legumes.
- Use a 3:1 water-to-split-peas ratio for most varieties, adjusting slightly based on texture preference (softer = more water).
- Rinse and soak dried split peas briefly to reduce cooking time and improve digestibility.
- Season after cooking—salt can toughen peas during long cook times; add herbs and spices later for best flavor.
- Experiment with flavors—try turmeric for golden dhal, smoked paprika for smoky soups, or coconut milk for curries.
- Store leftovers properly—cool quickly and refrigerate within 2 hours; freeze cooked peas for up to 6 months.
- Troubleshoot common issues—if peas are mushy, check water levels; if undercooked, extend time or use a slower setting.
📑 Table of Contents
- Introduction: Why Cook Split Peas in a Rice Cooker?
- The Science Behind Cooking Split Peas
- What You’ll Need: A Simple Setup
- Step-by-Step Guide: How to Cook Split Peas in Your Rice Cooker
- Flavor Variations: Beyond Plain Peas
- Common Mistakes & How to Fix Them
- Storing and Reheating Leftovers
- Are Rice Cookers Safe for Legumes? Debunking Myths
- Final Thoughts: Why Every Home Cook Should Try This
Introduction: Why Cook Split Peas in a Rice Cooker?
If you’ve ever stared at a pot of boiling split peas, wondering when they’ll finally be soft enough to mash, you’re not alone. Traditionally, split peas require long, slow simmering—sometimes over an hour—and constant attention to prevent scorching or overflow. But what if you could skip the stovetop hassle and still end up with perfectly cooked, creamy peas? Enter the humble rice cooker.
Modern rice cookers are more than just devices for fluffy white rice. With precise temperature control, programmable settings, and sealed cooking environments, they’re surprisingly versatile. And yes—split peas belong in that category. Whether you’re whipping up a vegan protein source, a comforting pea soup, or a spiced Indian dhal, your rice cooker can do the heavy lifting while you focus on other parts of dinner prep.
In this guide, we’ll walk you through everything you need to know about cooking split peas in a rice cooker. From ingredient prep to flavor customization, timing, and cleanup tips, you’ll learn how to turn a basic legume into a restaurant-quality dish—with zero stress.
The Science Behind Cooking Split Peas
Before diving into the how-to, let’s talk about why split peas behave the way they do—and why a rice cooker is such a great tool.
Split peas are essentially dried green or yellow marrowfat peas that have been split along their hilum (the small notch where the seed attaches to the plant). This splitting makes them cook faster than whole peas and gives them that signature creamy texture when fully hydrated.
When you add water and heat, the starches in split peas absorb moisture and begin to gelatinize—a process that softens the pea and releases natural gelling agents. In a regular pot, this happens unevenly because the top layers dry out while the bottom sticks to the pan. But in a rice cooker, the enclosed environment ensures even heat distribution and prevents evaporation loss. That means your peas stay moist and cook uniformly from edge to center.
Plus, rice cookers typically switch to “warm” mode once cooking completes. This gentle holding phase keeps the peas from overcooking, which is crucial since split peas can go from perfect to mushy in minutes if left unattended.
What You’ll Need: A Simple Setup
You don’t need fancy gadgets or specialty cookware. Just a standard rice cooker and a few basics:
– **Fresh or dried split peas** (yellow or green—both work)
– **Water** (preferably filtered or boiled first to kill bacteria)
– **Optional seasonings**: garlic, onion, bay leaf, cumin, turmeric, salt-free herbs
– **Measuring cup** (for accurate ratios)
– **Fine-mesh strainer** (for rinsing)
No pressure cooker? No problem. No immersion blender? We’ll cover alternatives too.
Pro tip: If your rice cooker has multiple settings (like “quick cook” or “porridge”), choose the one closest to “white rice” or “regular rice.” These modes usually mimic the standard cycle: heat, cook, then warm.
Step-by-Step Guide: How to Cook Split Peas in Your Rice Cooker
Ready to get started? Follow these steps for foolproof results every time.
Step 1: Measure and Rinse the Peas
Start by measuring your desired amount of split peas. A good rule of thumb: 1 cup of dry split peas yields about 2½ cups cooked. Rinse them thoroughly under cool running water using a fine-mesh strainer. This removes dust, debris, and any shriveled bits. Skipping this step may result in gritty texture.
Step 2: Add Water (The Right Ratio Matters)
For most rice cooker models, use a **3:1 ratio of water to split peas by volume**. So, for 1 cup of dry peas, add 3 cups of water. Adjust slightly depending on your preference:
– **Softer texture**: Use 3½ cups water
– **Firm bite**: Use 2¾ cups water
Note: Green split peas tend to hold shape better than yellow ones, so you might prefer slightly less water if using green varieties.
Step 3: Add Optional Ingredients
This is where creativity comes in! Toss in aromatics like minced onion, garlic cloves, or a bay leaf for depth. Avoid adding salt at this stage—salt can inhibit starch gelatinization and lead to uneven cooking. Instead, season after cooking.
For savory dishes, consider adding:
– A pinch of turmeric (gives beautiful color and anti-inflammatory benefits)
– Smoked paprika or curry powder (for global flavors)
– Fresh thyme or parsley (added near the end)
Step 4: Start Cooking
Close the lid securely and select the appropriate setting. Most rice cookers will automatically heat up, bring contents to a boil, then simmer gently. The total cook time usually ranges from **40 to 50 minutes**, though some models may take longer.
During cooking, you won’t need to stir—just keep an eye on the water level if your model has a viewing window. If it looks low, add a splash of hot water (but don’t open the lid too often—heat escapes!).
Step 5: Test for Doneness
Once the timer goes off, open the lid and test a few peas. They should be completely soft and easily mashed between your fingers. If they’re still firm, close the lid and cook for another 10 minutes. Repeat until tender.
Step 6: Season and Serve
Now comes the fun part—flavor! Transfer cooked peas to a bowl or pot and stir in:
– Kosher salt to taste
– Freshly ground black pepper
– Lemon juice or vinegar for brightness
– Chopped herbs (parsley, cilantro, chives)
– A drizzle of olive oil or butter (optional)
Mix well and serve immediately as a side dish, base for soups, or blended into dhal.
Flavor Variations: Beyond Plain Peas
One of the best things about cooking split peas in a rice cooker is how easy it is to customize. Here are five delicious ways to elevate your dish:
1. Classic Pea Soup Base
After cooking plain peas, blend half of them with vegetable broth, onion, carrot, and celery. Simmer briefly, then purée until smooth. Finish with cream or dairy-free alternative and garnish with croutons.
2. Golden Indian Dhal
Cook 1 cup yellow split peas with 1 chopped onion, 2 minced garlic cloves, 1-inch ginger, and 1 tsp turmeric. Once done, mash lightly, stir in 1 cup coconut milk, and season with garam masala. Serve with basmati rice.
3. Smoky Southern Stew
Add smoked paprika, diced tomatoes, and chopped collard greens during cooking. Finish with a swirl of sour cream and a squeeze of lime.
4. Mediterranean Hummus Alternative
Blend cooked split peas with tahini, lemon juice, garlic, and olive oil for a protein-rich dip or sandwich spread.
5. Spiced Lentil-Free Dahl
Skip lentils and use split peas instead for a quicker, equally nutritious version of classic dal. Add cumin, coriander, and a touch of cinnamon for warmth.
Common Mistakes & How to Fix Them
Even seasoned cooks make errors—here’s how to avoid them:
Mistake #1: Using Too Much Salt Early
Problem: Salt draws out moisture and can make peas tough.
Fix: Always salt after cooking. Add acid (lemon, vinegar) to enhance flavor without affecting texture.
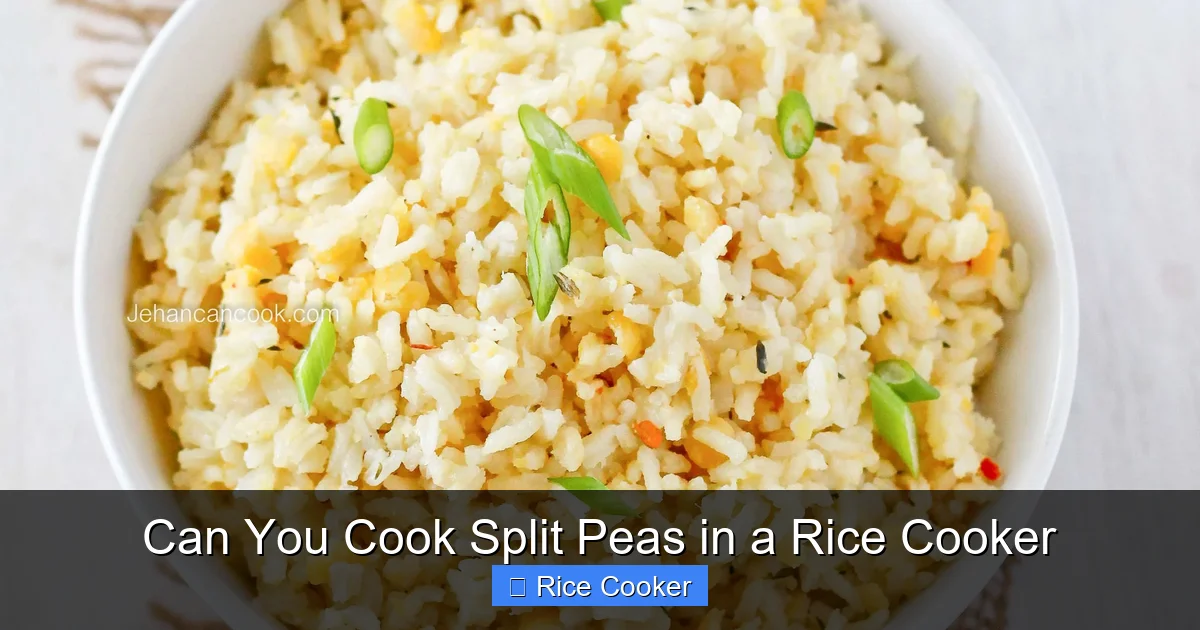
Visual guide about Can You Cook Split Peas in a Rice Cooker
Image source: jehancancook.com
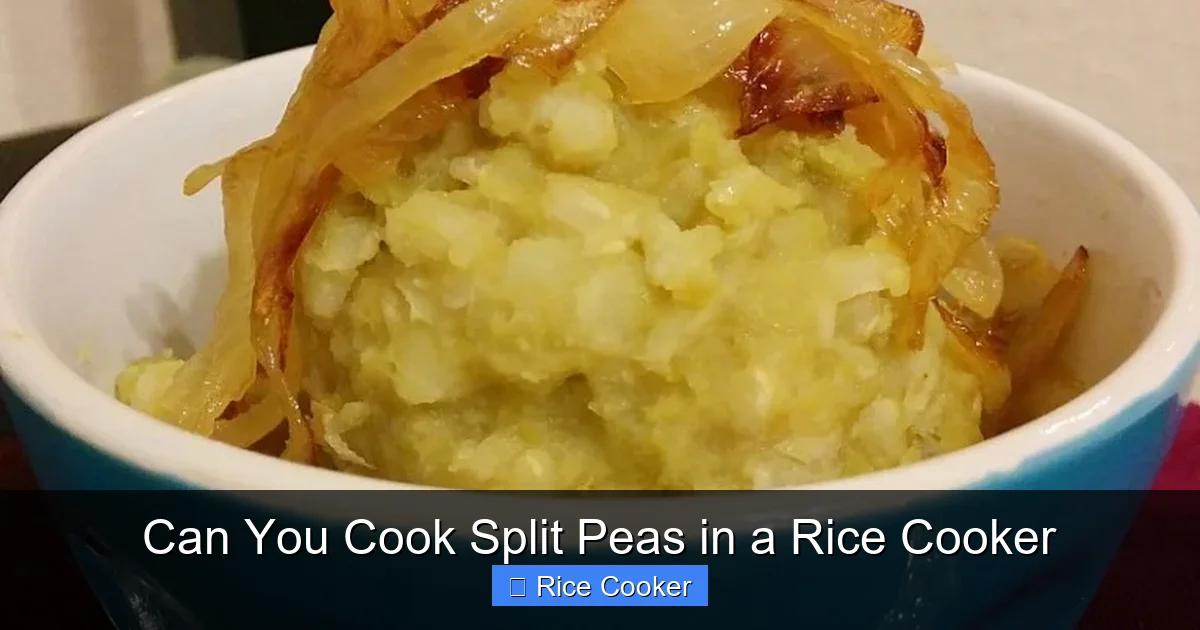
Visual guide about Can You Cook Split Peas in a Rice Cooker
Image source: 5dollardinners.com
Mistake #2: Not Rinsing the Peas
Problem: Gritty, unpleasant mouthfeel.
Fix: Rinse under cold water until runoff is clear. Do this every single time.
Mistake #3: Overfilling the Cooker
Problem: Uneven cooking or overflow during boil stage.
Fix: Never fill beyond halfway. Leave room for expansion.
Mistake #4: Opening the Lid Frequently
Problem: Heat loss slows cooking; steam carries away flavor compounds.
Fix: Resist temptation! Only open when testing doneness.
Mistake #5: Using Cold Water Directly
Problem: Sudden temperature change can shock the appliance or delay startup.
Fix: Let cold water sit at room temp before adding to peas.
Storing and Reheating Leftovers
Cooked split peas keep beautifully in the fridge for up to **4 days** when stored in an airtight container. For longer storage, freeze portions in freezer-safe bags for up to **6 months**. Thaw overnight in the fridge before reheating.
To reheat, place peas in a saucepan with a splash of water or broth and warm over medium-low heat, stirring occasionally. Microwave works too—just add a tbsp of liquid per cup and cover with a damp paper towel to retain moisture.
Avoid reheating more than once—each cycle increases bacterial risk.
Are Rice Cookers Safe for Legumes? Debunking Myths
Some people worry that rice cookers aren’t designed for beans and legumes. But modern units handle them just fine—especially split peas, which cook relatively quickly compared to chickpeas or kidney beans.
Just remember: **never eat raw or undercooked legumes**, whether in a pot or rice cooker. While split peas are naturally low in toxins (unlike kidney beans), proper cooking still ensures safety and digestibility.
Also, clean your rice cooker after each use. Leftover starch can gum up the inner pot or sensor. Wash with warm, soapy water—no harsh abrasives on non-stick coatings.
Final Thoughts: Why Every Home Cook Should Try This
Cooking split peas in a rice cooker isn’t just convenient—it’s transformative. It frees up your stove, reduces cleanup, and guarantees consistent results. Plus, you get all the nutritional benefits of this affordable, protein-packed legume: fiber, folate, iron, and complex carbs—all without the guesswork.
Whether you’re meal-prepping for the week, feeding a crowd, or simply craving something warm and nourishing, this method fits the bill. And now that you know the secrets—like when to salt, how much water to use, and which spices shine—you’re ready to impress yourself (and maybe your guests) with a homemade pea dish that tastes like it came from a cozy café.
Give it a try tonight. Your future self will thank you for saving time and enjoying a healthier, tastier dinner.
Frequently Asked Questions
Can I use frozen split peas in my rice cooker?
Yes, but thaw them first. Frozen peas take longer to cook and may require extra water—start with a 4:1 water-to-peas ratio and check doneness carefully.
How long does it take to cook split peas in a rice cooker?
Typically 40–50 minutes on the standard “white rice” setting. Some models may take slightly longer depending on wattage and capacity.
Do I need to soak split peas before cooking?
Not required, but a quick soak (10 minutes in boiling water, then drained) speeds up cooking and improves digestibility. Skip if short on time.
Can I cook split peas and rice together?
Absolutely! Add rice to the pot with the split peas, using a higher water ratio (e.g., 3:1 water to peas + rice combined). Cook on the “mixed grain” or “rice” setting.
Why are my split peas mushy?
Usually caused by too much water or overcooking. Next time, reduce water by ¼ cup and test early. Also, avoid opening the lid frequently.
Is it safe to leave split peas in the rice cooker overnight?
Only if you used the “warm” function after cooking and kept the unit plugged in. However, USDA recommends discarding perishable foods left at room temp for over 2 hours. Better to reheat promptly.