

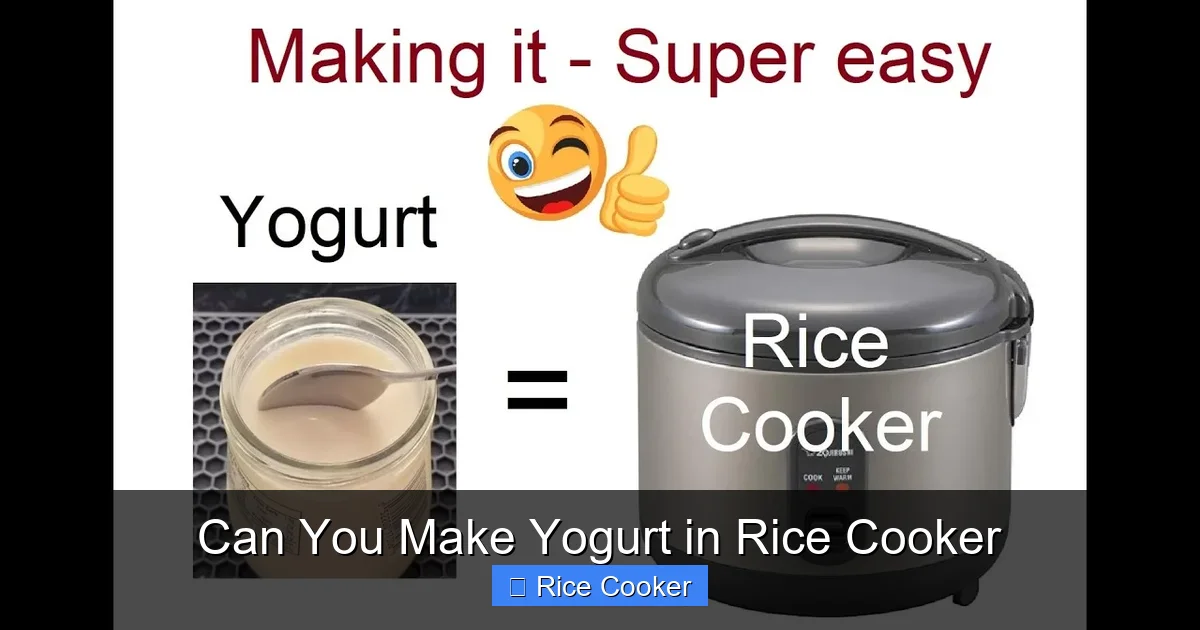
Making yogurt in a rice cooker is not only possible but also easier than you might think. With just milk, a starter culture, and the right temperature control, your rice cooker becomes a fermentation powerhouse. You’ll save money, avoid store-bought additives, and enjoy fresh probiotics daily.
Key Takeaways
- Yes, it works: A rice cooker can maintain the precise warmth needed for yogurt fermentation.
- No special ingredients: Use plain milk and a yogurt starter or store-bought live-culture yogurt.
- Temperature matters: The keep-warm setting (around 110°F–115°F) is ideal for culturing.
- Time-efficient: Most batches take 6–12 hours, depending on method and culture strength.
- Customizable: Add fruit, honey, or herbs after cooking for flavor variety.
- Saves money: Homemade yogurt costs significantly less than commercial versions.
- Eco-friendly: Reusable containers reduce packaging waste.
📑 Table of Contents
- Can You Make Yogurt in a Rice Cooker? Absolutely—Here’s How!
- The Science Behind Yogurt Making
- What You Need to Get Started
- Step-by-Step Guide: Making Yogurt in Your Rice Cooker
- Common Issues & How to Fix Them
- Creative Ways to Customize Your Yogurt
- Scaling Up: Batch Cooking Tips
- Cleaning & Maintenance
- Final Thoughts: Why Choose Homemade?
Can You Make Yogurt in a Rice Cooker? Absolutely—Here’s How!
You’ve probably heard that making yogurt at home saves money, reduces plastic waste, and gives you full control over ingredients. But if you’re like most people, you’re wondering: “Do I really need a fancy yogurt maker?” The short answer? No. Your trusty rice cooker—the kitchen appliance you use every day for fluffy rice, soups, and even steamed vegetables—can do double duty as a yogurt-making machine. In fact, countless home cooks swear by this method for its simplicity and reliability.
Before we dive into step-by-step instructions, let’s address the elephant in the room: Is it actually possible? Yes! While traditional yogurt makers offer consistent heat and timing, they’re not essential. Modern rice cookers come with advanced features like keep-warm functions, temperature control, and fermentation modes—many of which are perfect for dairy fermentation. Even older models with basic heating elements can work with a bit of ingenuity, such as wrapping them in towels or using a sous vide circulator.
In this guide, we’ll walk you through everything you need to know to turn your rice cooker into a yogurt factory. From choosing the right milk and starter to troubleshooting common issues, you’ll be churning out tangy, creamy homemade yogurt in no time. Plus, we’ll share pro tips to customize flavors, thicken textures, and even scale up production for families. So grab your pot, warm up some milk, and let’s get fermenting!
The Science Behind Yogurt Making
Why Fermentation Happens
Yogurt begins when beneficial bacteria—specifically Lactobacillus bulgaricus and Streptococcus thermophilus—consume lactose (milk sugar) and produce lactic acid. This acid lowers the pH of the milk, causing proteins to denature and coagulate, forming that signature thick, gel-like texture. Simultaneously, the acid gives yogurt its characteristic tangy flavor.
Visual guide about Can You Make Yogurt in Rice Cooker
Image source: i.ytimg.com
For optimal results, these microbes thrive between 108°F and 115°F (42°C–46°C). That’s why maintaining steady warmth is critical. Too cold, and the cultures won’t activate; too hot, and they’ll die. This is where your rice cooker shines—its ability to hold a stable temperature makes it ideal for this delicate process.
Why Milk Matters
Not all milks are created equal when it comes to yogurt. Whole fat milk produces the creamiest results due to fat’s insulating properties and role in texture. However, skim or low-fat milk works fine if you prefer lighter yogurt. Avoid ultra-pasteurized milk—it often kills off the very cultures needed for fermentation.
Dairy alternatives like almond or oat milk can be used, but they require added thickeners (like agar or tapioca starch) because plant-based liquids lack casein proteins. For beginners, sticking with whole or 2% cow’s milk is recommended.
What You Need to Get Started
Essential Equipment
- Rice cooker – Any model with a keep-warm function will do. Look for one labeled “ferment” or “slow cook” for best results.
- Glass or ceramic container – Heat-safe, non-reactive pots work best. Avoid metal unless stainless steel.
- Thermometer – A candy or dairy thermometer ensures accurate milk heating (target: 180°F/82°C).
- Whisk or spoon – For mixing and preventing scorching.
- Cheesecloth or coffee filter + rubber band – Optional, for straining Greek-style yogurt.
Ingredients Checklist
- Milk – 1 liter (about 4 cups) of pasteurized whole milk
- Starter culture – Either:
- A small amount of plain, unsweetened yogurt containing live active cultures (check labels!), OR
- Purchased powdered yogurt starter (available online or at health food stores)
- Optional add-ins – Vanilla extract, honey, fruit puree, or superfood powders
Step-by-Step Guide: Making Yogurt in Your Rice Cooker
Phase 1: Prepare the Milk
Start by heating your milk gently to around 180°F (82°C). This step, called “scalding,” kills unwanted bacteria while activating milk proteins for better thickening. Pour milk into a saucepan and heat slowly, stirring constantly to prevent burning. Once it reaches 180°F, remove from heat immediately.

Visual guide about Can You Make Yogurt in Rice Cooker
Image source: img.wonderhowto.com
Let the milk cool naturally down to 110°F–115°F (43°C–46°C). This cooling phase is crucial—too hot, and your starter dies; too cool, and fermentation stalls. Use an instant-read thermometer to monitor closely. If you’re impatient, place the pot in ice water while stirring to speed cooling.
Phase 2: Add the Starter
Once cooled, transfer the milk to your clean rice cooker inner pot. Whisk in 2 tablespoons of plain yogurt (with live cultures) or the contents of one packet of powdered starter. Mix thoroughly so the culture distributes evenly.
If using powdered starter, follow package instructions—usually 1 packet per quart of milk. Some brands recommend pre-diluting with a little warm milk first for better activation.
Phase 3: Set Up the Rice Cooker
Place the inner pot into the rice cooker base. Close the lid but do not press the button yet. Instead, set the cooker to “Keep Warm” mode and let it run for 6–12 hours. The goal is sustained warmth without boiling or overheating.
Pro tip: For older rice cookers without precise temp control, wrap the entire unit in a thick towel to buffer temperature swings. This mimics the insulation of dedicated yogurt makers.
Phase 4: Check and Strain (Optional)
After 6 hours, open the lid and check consistency. It should be slightly thickened and jiggle like pudding. If still runny, return to keep-warm for another 2–4 hours. Avoid opening frequently—cold drafts can disrupt fermentation.
For Greek-style yogurt, line a colander with cheesecloth over a bowl. Pour in the cultured milk and let drain for 2–6 hours in the fridge. This removes excess whey and yields a thicker texture.
Phase 5: Chill and Enjoy
Transfer your yogurt to airtight containers and refrigerate for at least 4 hours before eating. Cold temperatures halt fermentation and mellow the tang. Stir well before serving—layers may have formed during storage.
Common Issues & How to Fix Them
Too Thin? Try These Fixes
If your yogurt remains liquid after 12 hours, the most likely culprit is weak starter culture. Revive it by doubling the amount next batch, or use a more robust brand. Also ensure milk was heated properly—insufficient scalding means proteins didn’t fully denature.
Curdling or Separation
This happens when milk overheats during cooling or the rice cooker fluctuates too much. Always cool milk gradually. If separation occurs post-fermentation, simply stir vigorously—it’s normal and edible!
Off-Flavors or Smells
Rancid notes usually signal contamination. Always sanitize equipment with hot water (no soap—it kills cultures). Never reuse old yogurt as starter if it smells sour beyond normal tang.
Creative Ways to Customize Your Yogurt
Fruit Swirls & Toppings
Fold in mashed berries, banana slices, or apple compote after culturing. For jam-like swirls, blend fruit with a bit of sugar, cook until thickened, then mix into cooled yogurt.
Sweeteners
Raw honey or maple syrup enhance flavor without killing cultures. Avoid adding sugar directly to warm milk—it inhibits bacterial growth.
Superfood Boosts
Add chia seeds, flaxmeal, or protein powder for extra nutrition. Just blend thoroughly to avoid gritty textures.
Flavor Infusions
Steep fresh mint, ginger, or lavender in warm milk before cooling. Strain through cheesecloth before adding starter.
Scaling Up: Batch Cooking Tips
Want to make yogurt for a family? No problem. Use larger quantities—just maintain the same ratio (e.g., 1 cup starter per gallon of milk). Ensure your rice cooker pot fits comfortably. If making multiple batches, stagger start times so you always have fresh yogurt ready.
Store leftover starter in the fridge for up to a week—or freeze small portions in ice cube trays for future use.
Cleaning & Maintenance
After each use, wash the inner pot immediately with warm water (no detergent). Residue can harbor bacteria that affect future batches. Dry completely before storing. Never put the lid in the dishwasher—it can warp seals.
Final Thoughts: Why Choose Homemade?
Beyond the joy of creating something delicious from scratch, homemade yogurt offers real benefits. You eliminate preservatives, artificial sweeteners, and excessive packaging. Plus, you control portion sizes and tailor flavors exactly to your taste. And yes—using a rice cooker makes it accessible to everyone, regardless of kitchen gadgets on hand.
Whether you’re new to fermentation or a seasoned pro, this method proves that great yogurt doesn’t require specialty tools. With just a few minutes of prep and patience, you’ll have rich, probiotic-rich yogurt ready to enjoy straight from the pot—or stored for days to come.
So go ahead: unplug your rice cooker from its usual role and give it a new purpose. Your taste buds—and wallet—will thank you.
Frequently Asked Questions
Do I really need a special yogurt maker?
No! A rice cooker with a keep-warm function works perfectly. Many modern models even have fermentation settings designed specifically for yogurt.
Can I use any type of milk?
Whole cow’s milk works best for creaminess. Plant-based milks can be used but require added thickeners since they lack natural proteins.
How long does homemade yogurt last?
Unopened, it keeps 2–3 weeks in the fridge. Once opened, consume within 10 days for best quality.
Can I make kefir or kombucha in a rice cooker?
Kefir is similar to yogurt and can work, but kombucha needs airflow and longer fermentation—better suited to jars with cloth covers.
Will my rice cooker break from constant yogurt use?
No—as long as you clean it regularly and avoid harsh detergents, your rice cooker will last years doing double duty.
What if I don’t have plain yogurt?
Use a purchased powdered starter instead. Follow package instructions carefully for best activation.