Cooking rice doesn’t have to be complicated. With the right water-to-rice ratio, timing, and technique, you can make fluffy, delicious rice every time—whether on the stove or with a rice cooker. This guide walks you through step-by-step methods, common mistakes, and pro tips to elevate your grains.
Cooking rice is one of the most essential kitchen skills—and surprisingly, it’s not as hard as it seems. Whether you’re making a simple side dish or building a full meal around it, knowing how to cook rice properly sets the foundation for countless delicious meals. From fluffy jasmine to chewy brown rice, mastering the basics opens the door to culinary creativity. And with modern tools like rice cookers making the process foolproof, there’s no excuse for overcooked or mushy grains.
In this comprehensive guide, we’ll walk you through every step of cooking rice—whether you’re using a pot on the stovetop or a dedicated appliance. You’ll learn the science behind perfect grains, discover pro tips for different types of rice, and find answers to common questions that keep even seasoned cooks guessing. Let’s get started!
Key Takeaways
- Use the correct water-to-rice ratio: Most white rice needs 1:2 (rice to water), while brown rice requires slightly more water—about 1:2.5.
- Soak brown rice before cooking: Soaking improves texture and reduces cooking time by up to 30 minutes.
- Let rice rest after cooking: Covering and letting rice sit for 5–10 minutes ensures even steam distribution and fluffier results.
- A rice cooker simplifies the process: It automatically adjusts heat and timing, perfect for beginners or multitasking cooks.
- Flavor the water for extra taste: Add broth, herbs, or a pinch of salt to the cooking liquid for richer, more aromatic rice.
- Avoid lifting the lid while cooking: Doing so releases steam and can lead to unevenly cooked grains.
- Store leftover rice properly: Cool quickly and refrigerate in airtight containers to maintain freshness and prevent spoilage.
Quick Answers to Common Questions
Can I cook rice without a rice cooker?
Yes! You can absolutely cook rice on the stovetop using a heavy saucepan. Just follow the right water ratio, bring to a boil, then simmer covered until tender. Let it rest before fluffing.
Why does my rice turn out sticky?
Sticky rice usually results from too much starch not being rinsed away or insufficient water absorption. Always rinse thoroughly and use the correct water-to-rice ratio.
How do I fix overcooked rice?
If your rice is mushy, spread it on a baking sheet and dry it out in a 250°F (120°C) oven for 10–15 minutes. This removes excess moisture and restores some texture.
Should I soak brown rice before cooking?
Yes, soaking brown rice for 30 minutes to an hour improves texture and reduces cooking time. It also helps prevent cracking during boiling.
Is it safe to eat cold leftover rice?
Yes, but only if it was cooled and stored properly in the refrigerator within two hours of cooking. Cold rice is fine for salads or fried rice.
📑 Table of Contents
- The Basics: What Makes Rice Fluffy and Delicious
- How to Cook Rice on the Stovetop: Step-by-Step Guide
- Mastering the Rice Cooker Method
- Common Mistakes and How to Avoid Them
- Elevating Your Rice: Flavored and Specialty Varieties
- Storing and Reheating Leftover Rice Safely
- Choosing the Right Rice for Your Dish
- Final Tips for Perfect Every Time
The Basics: What Makes Rice Fluffy and Delicious
At its core, cooking rice is about controlling moisture, heat, and time. Rice absorbs water during cooking, and when done correctly, that water turns into steam, separating each grain. The starches inside the rice gelatinize under heat, giving it structure and chew—but too much water or prolonged cooking can break down those starches, leading to mushiness.
Different varieties of rice behave differently. For example, long-grain white rice (like jasmine or basmati) tends to stay separate and dry when cooked properly, while short-grain rice (like sushi rice) has more starch and sticks together slightly. Brown rice takes longer because the bran layer slows down water absorption.
Understanding these differences helps you adjust your method accordingly. But regardless of the type, following a few key principles—proper rinsing, correct water ratio, steady simmering, and resting—will bring out the best in every batch.
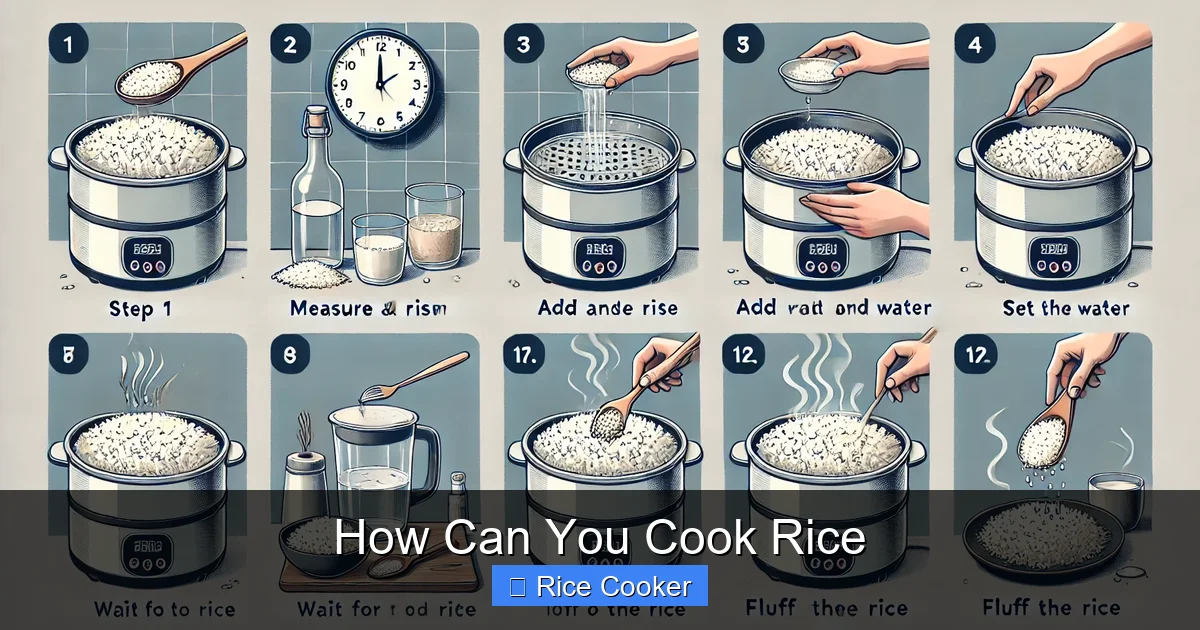
How to Cook Rice on the Stovetop: Step-by-Step Guide
Visual guide about How Can You Cook Rice
Image source: ediblenosh.com
Cooking rice on the stovetop gives you full control over the process, which is great if you prefer traditional methods or don’t own a rice cooker. Here’s how to do it perfectly every time:
Gather Your Ingredients and Tools
You’ll need:
– Long-grain, medium-grain, or brown rice (depending on your recipe)
– Water (or broth for added flavor)
– A heavy-bottomed saucepan with a tight-fitting lid
– Fine-mesh strainer (for rinsing)
– Measuring cup (preferably 180ml/¾ cup capacity)
Measure and Rinse the Rice
Start by measuring your rice accurately. Use a standard measuring cup—not volume cups meant for flour or sugar. Then place the rice in a fine-mesh strainer and rinse under cold running water until the water runs clear. Rinsing removes excess surface starch, preventing clumping and helping achieve fluffier grains.
Combine Rice and Water
For most white rices (like jasmine, basmati, or American long grain), use a 1:2 ratio—1 cup rice to 2 cups water. For brown rice, increase the water to 2½ cups per cup of rice. If you’re using broth instead of water, reduce added salt since broth already contains sodium.
Bring to a Boil, Then Simmer
Place the saucepan over high heat and bring the mixture to a rolling boil. Once boiling, immediately reduce the heat to low and cover tightly with a lid. Let it simmer undisturbed for the required time:
– White rice: 15–18 minutes
– Brown rice: 35–40 minutes
Avoid opening the lid during this phase—steam escaping means lost moisture and uneven cooking.
Rest and Fluff
After the timer goes off, turn off the heat but leave the covered rice sitting for at least 5–10 minutes. This allows residual steam to finish hydrating the grains evenly. Then gently fluff with a fork before serving.
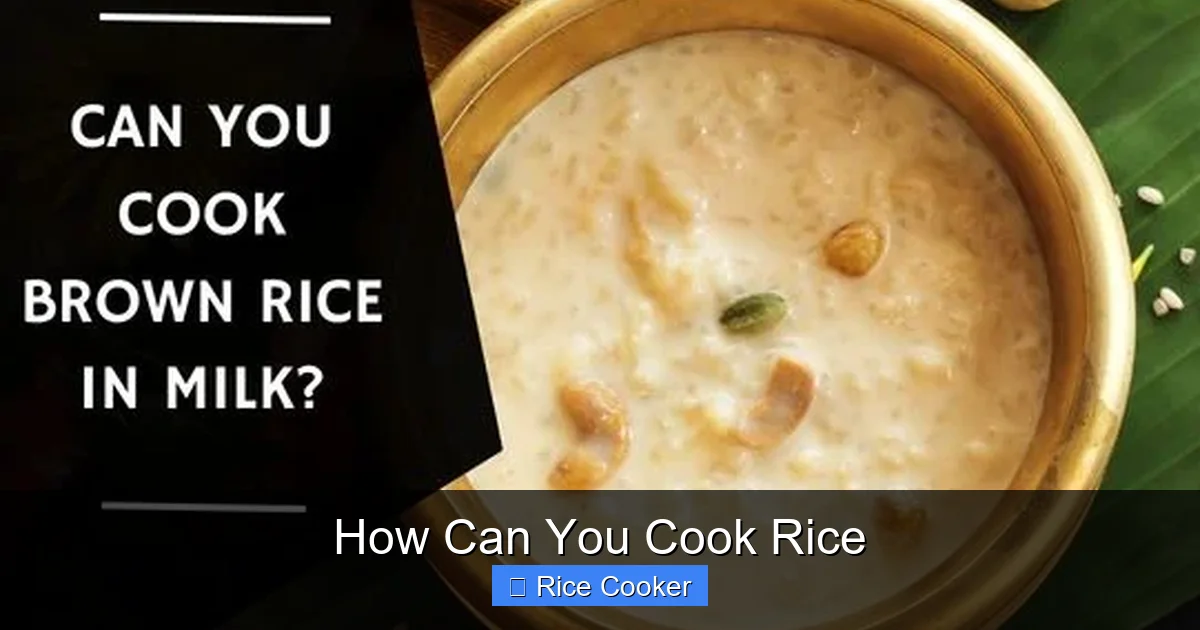
Mastering the Rice Cooker Method
Visual guide about How Can You Cook Rice
Image source: i.pinimg.com
If you have a rice cooker—or are thinking about buying one—you’re in luck. These appliances automate the entire process with consistent results. Here’s how to use yours effectively:
Prepare the Rice
Just like with stovetop cooking, rinse your rice first to remove excess starch. Then measure it accurately and add it to the inner pot of your rice cooker. No need to pre-soak unless you’re using brown rice and want softer texture.
Add Water or Broth
Fill with the appropriate amount of liquid based on your rice type. Most rice cookers come with markings inside the pot showing recommended levels. If using broth, add it instead of water for deeper flavor.
Close the Lid and Start Cooking
Secure the lid tightly and press the “Cook” button. The machine will heat the water, bring it to a boil, then switch to warm mode once done. Some advanced models offer settings for brown rice, sushi rice, or quick-cook options.
Wait and Rest
Do not open the lid during cooking! Once the cycle completes, let the rice rest for 5–10 minutes with the lid closed. Then simply lift the pot (using oven mitts if needed) and fluff gently with a fork.
Rice cookers are especially helpful for busy days—just throw everything in before heading out, and come home to perfectly cooked rice waiting for you.
Common Mistakes and How to Avoid Them
Even experienced cooks make these errors. Knowing what to avoid saves time, food, and frustration.
Not Rinsing the Rice
Skipping this step leads to gummy, sticky rice because excess starch isn’t washed away. Always rinse until water runs clear.
Using the Wrong Water Ratio
Too little water = undercooked, hard grains. Too much = mushy, soupy rice. Stick to tested ratios: 1:2 for white rice, 1:2.5 for brown.
Opening the Lid During Cooking
Every time you lift the lid, you lose precious steam. That’s why recipes say “do not peek.”
Fluffing Too Soon
Resist the urge to stir or fluff while still hot—this disrupts the structure. Wait until after resting.
Storing Rice Incorrectly
Leftover rice should cool within two hours and be stored in shallow containers in the fridge. Never leave it sitting out overnight.
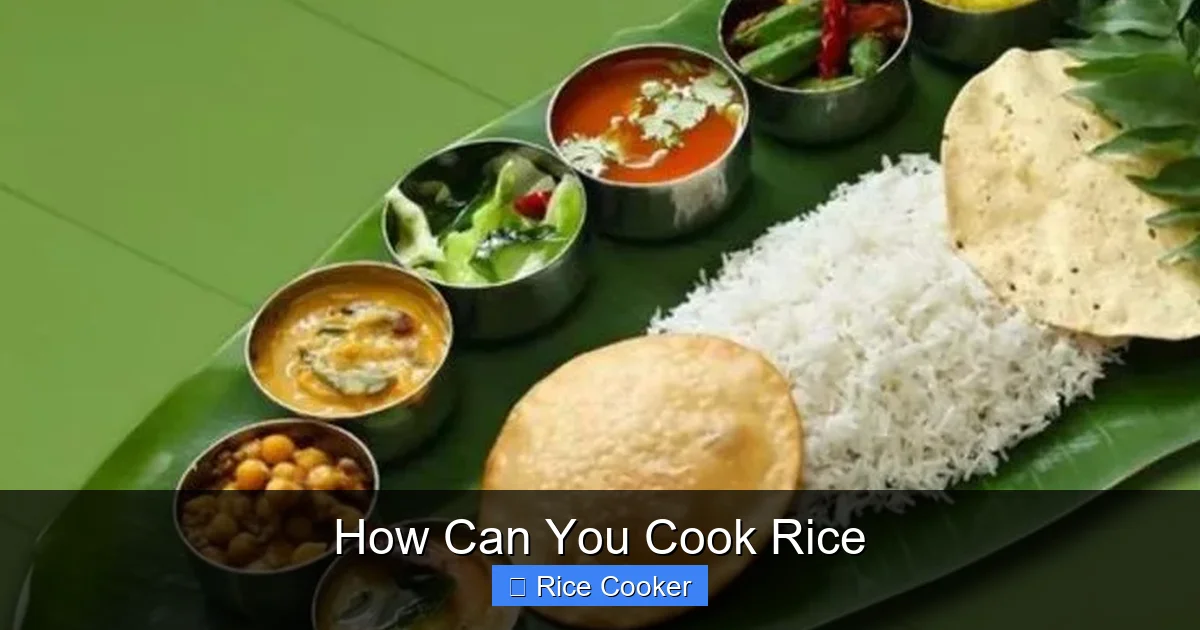
Elevating Your Rice: Flavored and Specialty Varieties
Once you’ve mastered plain white or brown rice, try experimenting with flavors and textures.
Vegetable or Chicken Broth Base
Replace half or all of the water with low-sodium broth. Add a bay leaf, garlic clove, or onion slice while cooking for subtle depth.
Saffron Jasmine Rice
Simmer a pinch of saffron threads in warm milk, then mix into finished jasmine rice along with diced carrots and peas for color and aroma.
Mexican Cilantro-Lime Rice
Cook rice in vegetable broth, then stir in chopped cilantro, lime zest, and a splash of lime juice after resting.
Biryani-Style Basmati
Layer parboiled basmati rice with marinated meat, yogurt, and spices, then bake slowly for fragrant, layered results.
These variations take minimal effort but deliver restaurant-quality dishes.
Storing and Reheating Leftover Rice Safely
Proper storage prevents foodborne illness and keeps rice tasting fresh.
Cool Quickly
Spread cooked rice thinly on a baking sheet or tray to cool within 90 minutes (ideally faster). Don’t let it sit at room temperature too long.
Refrigerate Promptly
Transfer cooled rice to airtight containers and store in the refrigerator for up to 5 days.
Reheat Properly
To reheat, add a tablespoon of water to the rice, cover, and microwave for 1–2 minutes. Or steam it briefly to restore moisture without drying it out.
Never reheat rice more than once, and always check for odd smells or textures before eating.
Choosing the Right Rice for Your Dish
Not all rice is created equal. Match the grain to your cuisine:
– **Jasmine or basmati**: Fragrant, light, ideal for Asian dishes, pilafs, or biryanis.
– **Long-grain white**: Versatile, stays separate—great for sides or fried rice.
– **Short-grain (sushi)**: Sticky, holds shape—perfect for sushi or desserts like mochi.
– **Arborio or carnaroli**: High starch content—used in risotto for creamy consistency.
– **Brown rice**: Nutty flavor, chewy texture, higher fiber—best for health-conscious meals.
Knowing which to pick makes a big difference in final outcome.
Final Tips for Perfect Every Time
– Use filtered water if available—it enhances flavor.
– Let your rice come to room temperature before cooking if using frozen leftovers.
– Keep a damp cloth near the stove to wipe condensation off the lid while simmering.
– Practice makes perfect—try different brands and types to find your favorite.
With patience and attention to detail, cooking rice becomes second nature. Whether you’re feeding a family or impressing guests, these skills ensure success every time.
Frequently Asked Questions
What is the best water-to-rice ratio?
For most white rices, use 1 cup rice to 2 cups water. Brown rice needs slightly more—about 2.5 cups water per cup of rice. Adjust based on desired texture.
How long does it take to cook brown rice?
Brown rice typically takes 35–40 minutes on the stovetop or 40–50 minutes in a rice cooker. Soaking beforehand can reduce this time.
Can I add salt to the cooking water?
Yes, adding a pinch of salt to the water seasons the rice from within. Avoid salting after cooking, as it won’t distribute evenly.
Why do some recipes call for rinsing rice?
Rinsing removes excess surface starch, which prevents grains from sticking together and results in fluffier, more separated rice.
How do I prevent rice from burning on the bottom?
Use a heavy-bottomed pot and ensure there’s enough liquid throughout cooking. Stir occasionally at the beginning if needed, but avoid constant stirring during simmering.
Can I freeze cooked rice?
Yes, cooked rice freezes well for up to 6 months. Thaw in the refrigerator and reheat with added moisture before serving.