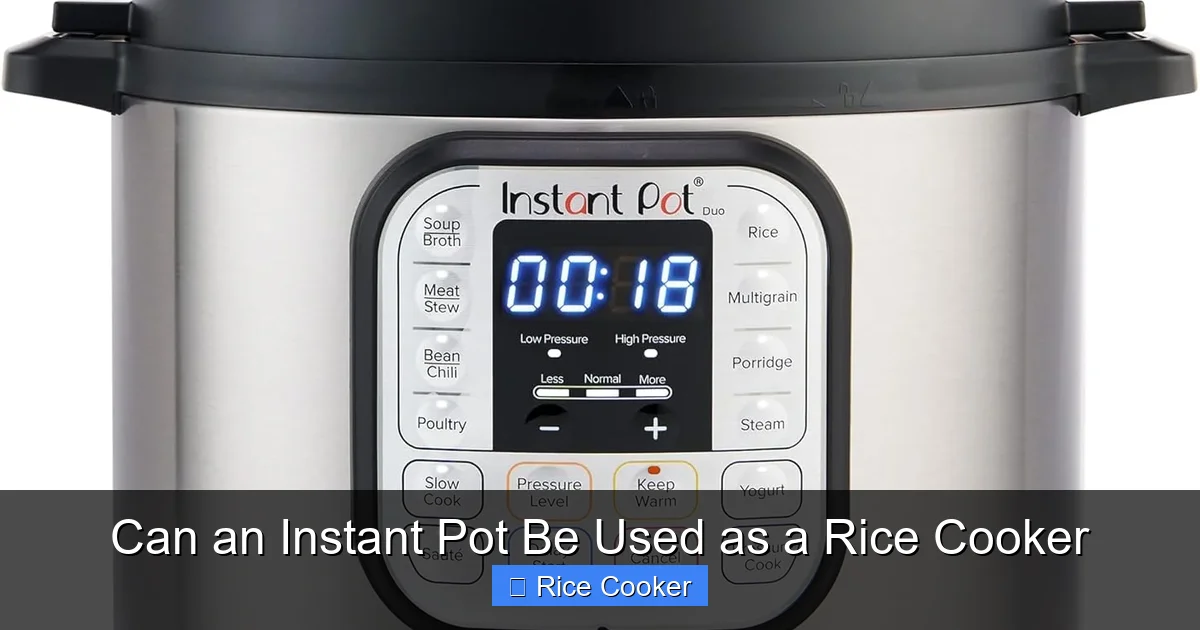
Can an Instant Pot be used as a rice cooker? Absolutely—and it’s one of the most convenient ways to cook fluffy, perfectly textured rice at home. With dedicated rice cooking modes and precise temperature control, the Instant Pot delivers consistent results without extra effort. Whether you’re using white, brown, or specialty grains, this all-in-one appliance takes the guesswork out of rice preparation.
Key Takeaways
- Instant Pots have built-in rice cooking functions: Most models include a “Rice” or “Manual” setting specifically designed for cooking various types of rice.
- It cooks rice more evenly than traditional methods: The pressure cooking process ensures heat distributes uniformly, reducing undercooked or burnt spots.
- You can customize cooking times and textures: Adjust settings for softer, firmer, or more liquid-rich rice depending on your preference.
- Cleanup is easier with fewer steps: No need for constant stirring or monitoring—just add water, press a button, and walk away.
- Versatility goes beyond just rice: While great for rice, the Instant Pot also steams vegetables, makes soups, yogurt, and more, making it a true kitchen multitool.
- Proper prep is key to success: Rinsing rice and measuring water carefully ensures better texture and prevents sticking.
- Not all Instant Pots are created equal: Newer models often have improved rice functions and smarter sensors than older versions.
📑 Table of Contents
- Introduction: The Rise of Multi-Functional Kitchen Gadgets
- Understanding the Instant Pot: More Than Just Pressure Cooking
- Step-by-Step Guide: How to Cook Perfect Rice in Your Instant Pot
- Common Mistakes to Avoid When Cooking Rice in an Instant Pot
- Tips for Customizing Your Rice Experience
- Comparing Instant Pot Rice to Traditional Methods
- Maintenance and Care for Long-Lasting Performance
- Real-Life Success Stories: What Home Cooks Say
- Conclusion: Why Your Instant Pot Is the Ultimate Rice Tool
Introduction: The Rise of Multi-Functional Kitchen Gadgets
In today’s fast-paced world, people are always looking for ways to save time in the kitchen without sacrificing flavor or quality. Enter the Instant Pot—a revolutionary kitchen appliance that has taken homes by storm since its debut. Originally marketed as a pressure cooker, it quickly evolved into a full-fledged “all-in-one” device capable of sautéing, steaming, slow cooking, yogurt making, and yes—cooking rice.
But here’s the big question on every beginner’s mind: can an instant pot be used as a rice cooker? The short answer is yes—in fact, many home cooks prefer using their Instant Pot over a traditional rice cooker because of its speed, consistency, and versatility. In this comprehensive guide, we’ll explore everything you need to know about using your Instant Pot to make perfect rice every single time.
Whether you’re a college student living in a dorm room, a busy parent juggling meals for the family, or someone who simply loves good-tasting rice, understanding how to use your Instant Pot for rice can transform your daily cooking routine. Let’s dive in!
Understanding the Instant Pot: More Than Just Pressure Cooking
What Is an Instant Pot?
The Instant Pot is a multifunctional electric pressure cooker developed in Canada and popularized in the U.S. It combines several kitchen functions—pressure cooking, slow cooking, rice cooking, steaming, yogurt making, and even warming—into one compact unit. Instead of buying separate appliances for each task, many households opt for the Instant Pot to save counter space and simplify meal prep.
Visual guide about Can an Instant Pot Be Used as a Rice Cooker
Image source: expertofhome.com
Originally launched as the “Electric Multicooker,” it gained massive popularity after being featured on cooking shows and reviewed favorably by food experts. Today, there are dozens of models available—from basic 6-quart models to advanced 8-quart versions with Wi-Fi connectivity and smartphone apps.
How Does the Rice Function Work?
Most modern Instant Pot models come with a preset “Rice” mode (sometimes labeled “White Rice” or “Brown Rice”). This function automatically adjusts pressure levels, cooking time, and heat cycles to mimic the traditional stovetop method but faster and with greater precision.
When you select the rice setting, the appliance typically follows this sequence:
– Preheats briefly
– Locks in steam and builds internal pressure
– Cooks under high pressure for a set duration
– Gradually releases pressure naturally (or manually)
– Switches to warm mode if needed
This cycle helps absorb excess moisture evenly and prevents scorching—something that often happens when boiling rice on the stove.
Types of Rice You Can Cook
One of the best things about using an Instant Pot for rice is its ability to handle different grain varieties. Here’s what you can expect:
- White Rice: Jasmine, basmati, long-grain, short-grain—all cook beautifully in an Instant Pot. The result is fluffy, separated grains with no mushiness.
- Brown Rice: Takes longer due to higher fiber content but still turns out tender and nutty-flavored when cooked properly.
- Wild Rice: A bit trickier because it expands significantly; adjust water ratios accordingly.
- Sushi Rice & Glutinous Rice: These sticky varieties require less water and shorter cook times for ideal texture.
- Couscous & Quinoa: Not technically rice, but they can be cooked using similar settings—often under “Pilaf” or “Manual” mode.
Step-by-Step Guide: How to Cook Perfect Rice in Your Instant Pot
Choosing the Right Amount of Water
Getting the water-to-rice ratio right is crucial. Too little water = dry, hard rice. Too much = soggy, gluey mess. Here’s a general rule:
- White Rice: 1 cup rice : 1 cup water
- Brown Rice: 1 cup rice : 1.5 cups water
- Wild Rice: 1 cup rice : 2.5–3 cups water
For most recipes, start with these measurements and adjust based on your taste. Some users like to add a pinch of salt or a teaspoon of oil for extra flavor and shine.
Rinsing the Rice (Why It Matters)
Before adding rice to your Instant Pot, rinse it under cold running water using a fine-mesh strainer until the water runs clear. This removes surface starch that can cause clumping during cooking.
Skipping this step leads to gummy, sticky rice—even with perfect timing. Think of rinsing like washing your face before applying makeup: it creates a clean base for better results.
Prepping Your Instant Pot
1. Add rinsed rice and water to the inner pot.
2. Stir gently once to ensure even distribution.
3. Close the lid securely and set the valve to “Sealing.”
4. Select “Rice” mode (or choose “White” or “Brown” sub-option if available).
5. Press “Start.”
If you don’t see a rice setting, switch to “Manual” mode and set the timer:
– White rice: ~3–4 minutes high pressure
– Brown rice: ~6–7 minutes high pressure
Natural vs. Quick Release
After cooking, most rice recipes recommend letting the pressure release naturally for 10–15 minutes before doing a quick release. This gives the rice time to finish absorbing moisture and prevents sudden temperature shock.
Avoid shaking or forcing the release valve—this can break apart delicate grains.
Fluffing and Serving
Once depressurized, open the lid away from yourself (safety first!), fluff the rice with a fork, and serve immediately. For best results, let it sit off-heat for 2–3 minutes before fluffing to allow steam to settle.
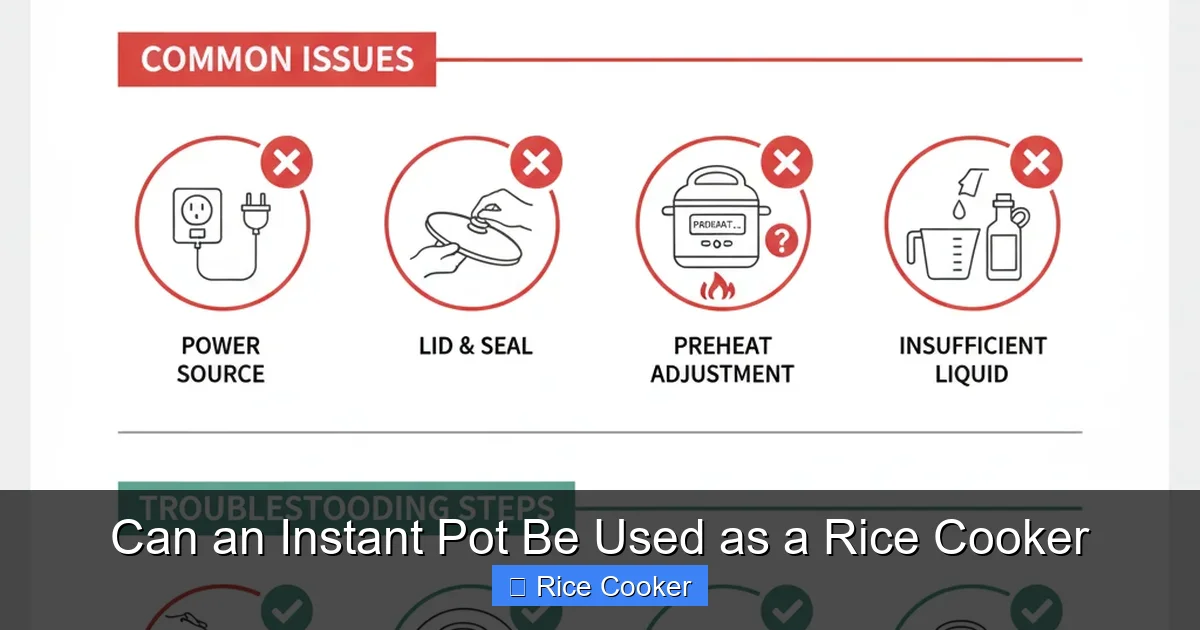
Common Mistakes to Avoid When Cooking Rice in an Instant Pot
Overfilling the Inner Pot
Never fill the inner pot beyond two-thirds full when cooking rice. Expansion during cooking means you’ll end up with overflow—and possibly a sticky mess inside your appliance. Stick to recommended serving sizes unless your model supports larger volumes.
Skipping the Rinse
As mentioned earlier, skipping the rinse is a common error that ruins otherwise perfect rice. Always take 2–3 minutes to rinse your grains—it’s worth the extra effort.
Using Cold Water Directly
If your Instant Pot doesn’t have a sauté function preheated to medium-high, start with slightly warm water. Cold water combined with rapid heating can create uneven textures.
Opening the Lid Too Soon
Resist the urge to peek while cooking! Every time you open the lid, heat escapes, disrupting the pressure cycle. Wait until natural release completes or do a quick release only when necessary.
Not Cleaning the Sealing Ring
The rubber sealing ring retains odors and residues from previous uses. Clean it regularly (by hand or dishwasher-safe models) to prevent cross-contamination between dishes—especially important if you cook fish or strong-smelling foods.
Tips for Customizing Your Rice Experience
Add Flavor Without Salt
Want richer rice? Swap plain water for broth (vegetable, chicken, or beef), coconut milk, or even wine. This adds depth without relying solely on salt. Just reduce added seasoning later since the broth contributes sodium.
Try the “Keep Warm” Feature
This low-heat setting maintains rice at serving temperature for hours without drying it out. Ideal for dinner parties or when guests arrive late!
Cooking Grains Beyond Rice
Use your Instant Pot for farro, barley, millet, or even oatmeal. Many of these grains benefit from pressure cooking—just adjust water ratios and cook times accordingly.
Batch Cooking Made Easy
Make large batches of rice ahead of time and store in airtight containers in the fridge for up to 5 days. Reheat in the microwave or on the stovetop with a splash of water to restore fluffiness.
Experiment with Texture Settings
Some models offer “More Tender,” “Less Tender,” or “Quick Release” options. Play around to find your preferred mouthfeel—some like their rice firmer, others softer.
Comparing Instant Pot Rice to Traditional Methods
So why choose an Instant Pot over a dedicated rice cooker or stovetop method?
- Speed: Pressure cooking reduces active time to under 10 minutes versus 20–30+ minutes on the stove.
- Consistency: Built-in sensors eliminate human error—no more watching the clock or adjusting heat mid-cook.
- Energy Efficiency: Uses less electricity than keeping a burner on for extended periods.
- Multifunctionality: One machine replaces multiple tools—ideal for small kitchens.
That said, traditional rice cookers excel at simple, hands-off operation for families who eat rice daily. They lack pressure features but are quieter and sometimes cheaper upfront.
The Instant Pot shines when you want speed, variety, and integration with other cooking styles—like making risotto in minutes or cooking rice alongside beans in the same pot.
Maintenance and Care for Long-Lasting Performance
Cleaning the Inner Pot
Always cool down the Instant Pot completely before washing the stainless steel inner pot. Hand wash with mild soap and non-abrasive sponge. Avoid steel wool or harsh scrubbers that could scratch the surface.
Storing Accessories Properly
Store the lid, sealing ring, and anti-block shield in a dry place. If the ring feels sticky, soak it in warm soapy water for 10 minutes, then rinse thoroughly.
Checking for Wear and Tear
Inspect the sealing ring annually for cracks or brittleness. Replace it every 12–18 months for optimal performance. Also check the float valve and pressure release mechanism to ensure they move freely.
Descaling (If Applicable)
Though newer models resist mineral buildup better, occasional descaling with vinegar or commercial solutions helps maintain efficiency—especially if you live in hard-water areas.
Real-Life Success Stories: What Home Cooks Say
Thousands of reviews online confirm that Instant Pot rice outperforms expectations. Maria from Texas writes: “I hated boiling rice on my stove—always stuck to the bottom. Now I get fluffy basmati every time.” Meanwhile, chef David Nguyen notes, “The pressure method really opens up the starches properly, giving rice a silkier mouthfeel—great for sushi!”
Even professional test kitchens praise the appliance for reliability across repeated trials. While personal preferences vary (some miss the old-school clay pot aroma), few deny the convenience factor.
Conclusion: Why Your Instant Pot Is the Ultimate Rice Tool
To answer the original question clearly: yes, an instant pot can be used as a rice cooker—and it does it exceptionally well. With thoughtful preparation, proper settings, and a few tried-and-true tricks, you can enjoy restaurant-quality rice at home in under 30 minutes. Whether you’re cooking for one or feeding a crowd, this versatile kitchen hero simplifies the process while delivering delicious results.
Beyond rice, remember that your Instant Pot opens doors to countless meals—from creamy polenta to fall-apart pulled pork. But when it comes to mastering one staple food, rice, it truly stands out as a top-tier performer.
So go ahead—grab your measuring cup, rinse those grains, and press that “Rice” button. Your future self will thank you for the time saved and the perfectly cooked meals ahead.
Frequently Asked Questions
Can an Instant Pot replace a dedicated rice cooker?
Yes, for most home cooks, an Instant Pot effectively replaces a standalone rice cooker thanks to its precise controls and multiple grain settings. While traditional rice cookers focus solely on rice, the Instant Pot offers added versatility—but both deliver excellent results when used correctly.
Does rice cooked in an Instant Pot taste different?
Some people notice a subtle difference in texture and aroma compared to stovetop or traditional rice cookers. Pressure cooking can make rice slightly more moist and tender, especially for brown or wild varieties. However, many find it equally satisfying once they master the technique.
How long does it take to cook rice in an Instant Pot?
White rice typically takes 3–4 minutes under high pressure, while brown rice needs 6–7 minutes. After cooking, allow 10–15 minutes for natural pressure release before opening. Total time from start to serving is usually under 20 minutes.
Can I cook frozen rice in my Instant Pot?
It’s not recommended. Frozen rice contains excess moisture and may not heat evenly, leading to inconsistent texture. Always use fresh, dry rice for best outcomes.
What if my rice comes out too soft or mushy?
This usually indicates too much water or insufficient draining after rinsing. Try reducing water by 1–2 tablespoons per cup of rice next time, and ensure you rinse thoroughly until the water runs clear.
Is it safe to leave rice in the Instant Pot overnight?
No. The “Keep Warm” function is designed for short-term holding (up to 12 hours max). Leaving rice unattended for extended periods increases bacterial growth risk. Cook fresh portions when possible.