Can an Instapot be used as a rice cooker? Absolutely! The Instant Pot (often called an Instapot) is more than just a pressure cooker—it’s a powerful kitchen tool that can cook rice quickly, evenly, and with minimal effort. With the right settings and techniques, you can prepare fluffy white rice, tender brown rice, or even sushi-grade sushi rice just like you would in a traditional rice cooker.
Whether you’re meal prepping for the week or cooking dinner for two, using your Instapot to make rice saves time and delivers consistent results. In this article, we’ll walk you through everything you need to know—from choosing the right pot size and rice type to troubleshooting common issues. You’ll learn why so many home cooks swear by their Instapot as their go-to rice maker.
Key Takeaways
- Instapots are fully capable of making perfect rice. With the right settings and technique, they outperform many traditional rice cookers in speed and convenience.
- Most models have a dedicated “Rice” setting. This setting automatically adjusts time, pressure, and heat to cook various rice types—white, brown, jasmine, basmati, and more.
- Using a trivet or steamer basket helps prevent sticking. Elevating the rice slightly improves airflow and prevents mushiness, especially when cooking brown rice.
- Water-to-rice ratios matter. While recipes vary by grain, the general rule is 1:1 for white rice and up to 1.5:1 for brown rice in an Instapot.
- Natural release works best for most rices. Letting the pressure release naturally avoids overcooking and keeps grains firm and separate.
- Cooking rice in batches is possible but not ideal. Overcrowding reduces efficiency and affects texture; use a larger pot if needed.
- Cleaning is simple—just rinse and wipe. Most Instapots have removable inner pots that are dishwasher-safe for easy cleanup.
📑 Table of Contents
- Can an Instapot Be Used as a Rice Cooker? Absolutely—Here’s How!
- How an Instapot Works Like a Rice Cooker
- Choosing the Right Instapot Model for Rice Cooking
- Step-by-Step Guide: Making Rice in Your Instapot
- Different Rice Types and Their Instapot Settings
- Common Mistakes to Avoid When Cooking Rice in an Instapot
- Instapot vs. Dedicated Rice Cooker: Which Is Better?
- Advanced Tips for Flawless Instapot Rice Every Time
- Conclusion: Why Every Kitchen Needs an Instapot for Rice
Can an Instapot Be Used as a Rice Cooker? Absolutely—Here’s How!
If you’ve ever stood over a stovetop pot, stirring constantly to avoid scorching while waiting for rice to boil down and steam, you know how frustrating it can be. Enter the Instant Pot, or as some affectionately call it, the Instapot—a multi-functional electric pressure cooker that promises fast, foolproof meals with minimal hands-on time. But here’s the real question on every home cook’s mind: can an Instapot be used as a rice cooker? The short answer? Yes—and in many ways, it’s better.
Unlike traditional rice cookers that rely solely on steaming or slow-cooking mechanisms, the Instapot combines high-pressure cooking with precise temperature control to deliver consistently fluffy, well-separated grains. Whether you’re making plain white rice for tacos, aromatic basmati for biryani, or chewy brown rice for salads, your Instapot can handle it all—no extra gadgets required.
In this comprehensive guide, we’ll explore exactly how to use your Instapot as a rice cooker, compare its performance to dedicated rice cookers, share pro tips for different rice varieties, and explain why so many kitchens now consider this versatile appliance their secret weapon for perfect rice every time.
How an Instapot Works Like a Rice Cooker
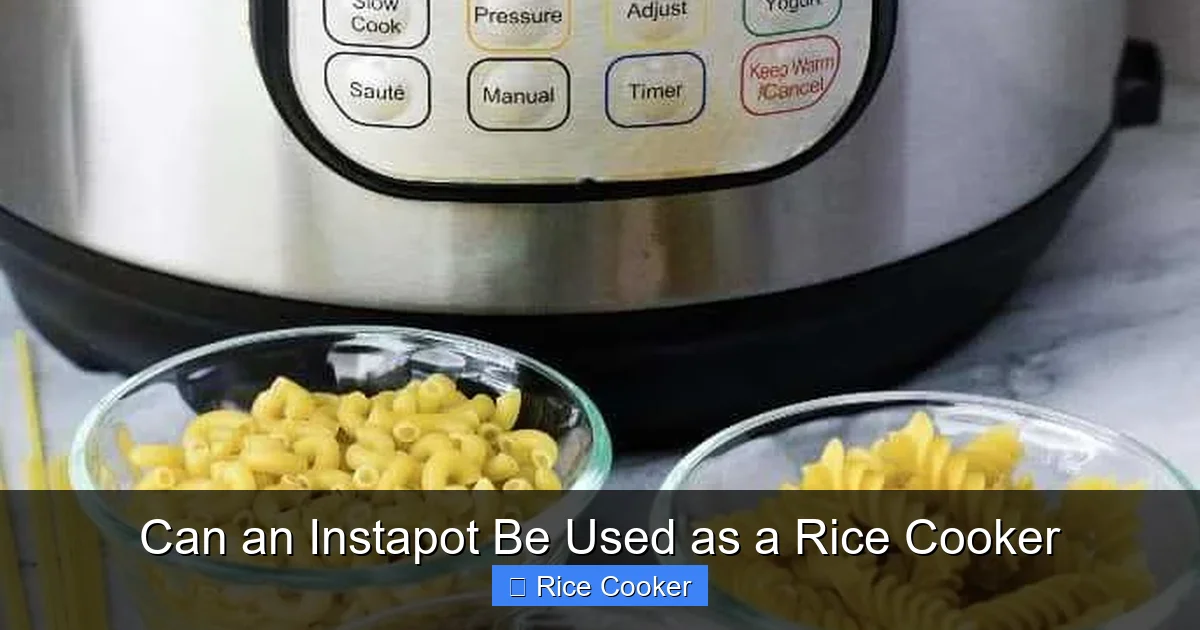
Visual guide about Can an Instapot Be Used as a Rice Cooker
Image source: i.pinimg.com
At its core, an Instapot uses electric pressure cooking to cook food faster than conventional methods. Inside the sealed pot, steam builds up under high pressure, raising the boiling point of water to around 250°F (121°C). This allows food to cook more efficiently—rice grains absorb moisture rapidly and cook through evenly without drying out or burning.
When you select the “Rice” function (available on most models), the machine automatically programs the correct cooking cycle: heating, pressurizing, cooking under pressure, and then releasing steam. Some newer models also offer a “Slow Cook” or “Steam” mode that mimics traditional rice cooker behavior.
The key difference between an Instapot and a standard rice cooker lies in the mechanism: while a rice cooker typically relies on thermal sensors and constant simmering, the Instapot uses pressure and timing to regulate heat precisely. This results in less evaporation, better moisture retention, and fewer chances for uneven cooking.
The Science Behind Perfect Pressure-Cooked Rice
Rice contains starch—amylose and amylopectin—that gelatinizes when heated with water. Traditional stovetop cooking often leads to uneven gelatinization because heat fluctuates. With the Instapot, the controlled environment ensures every grain gets the same amount of moisture and heat.
Additionally, the natural release method (letting the pressure drop on its own) prevents sudden temperature changes that can break delicate grains. This is especially important for long-grain varieties like jasmine or basmati, which are prized for their ability to stay firm and separate.
Choosing the Right Instapot Model for Rice Cooking
Not all Instapots are created equal—and while most modern models can cook rice effectively, certain features make a big difference:
Size Matters
– 6-quart or larger: Ideal for families or meal prep.
– 3–4 quart: Great for small households or single servings.
– Mini 3-quart: Best for one or two people but may require smaller batches.
Key Features to Look For
- Multiple rice settings: Models like the Instant Pot Duo Plus or Ultra have presets for white, brown, sushi, jasmine, and even quick-cooking options.
- Trivet or steamer basket included: Helps elevate rice during cooking to reduce sticking.
- Dishwasher-safe inner pot: Makes cleanup easier.
- Keep-warm function: Keeps rice at serving temperature after cooking.
Popular models known for excellent rice performance include:
– Instant Pot Duo Crisp + Air Fryer (dual functionality)
– Instant Pot Ultra 6 Quart (advanced controls)
– Instant Pot Pro 10-in-1 (precision timing)
Step-by-Step Guide: Making Rice in Your Instapot
Ready to try it yourself? Follow these simple steps for foolproof results:
Gather Your Ingredients
You’ll need:
– Rinsed rice (about 1 cup)
– Water (ratio depends on rice type)
– Optional: salt, butter, or oil
Measure Accurately
Use a measuring cup designed for dry ingredients—not liquid cups—to measure rice. Then add water based on the type:
| Rice Type | Water Ratio |
|——————|————-|
| White rice | 1:1 |
| Brown rice | 1.25:1 |
| Jasmine rice | 1:1 |
| Basmati rice | 1:1 |
| Wild rice | 2:1 |
Pro tip: Rinse rice under cold water until the water runs clear. This removes excess starch and prevents clumping.
Add Everything to the Inner Pot
Place rinsed rice and measured water into the Instapot’s inner pot. Stir gently once. If using a trivet, place it inside first—then add rice and water above it (never submerge the trivet).
Select the Right Setting
Press the “RICE” button. Your Instapot will cycle through options:
– White Rice: Fastest option, great for everyday meals.
– Brown Rice: Longer cook time, softer texture.
– Sushi Rice: Short-grain, sticky finish.
– Quick Rice: Cooks in under 10 minutes—ideal for leftover rice reheating.
For most rices, choose “Normal” puff level unless you prefer fluffier grains.
Start Cooking & Release Steam Safely
Once the cycle begins, the lid must remain sealed. When cooking ends, allow for a natural release (NR) of 10–15 minutes before manually venting any remaining pressure. This prevents rice from turning mushy.
Never force-release during the rice cycle unless your model specifies otherwise.
Fluff and Serve
After depressurizing, open the lid carefully (watch for steam!). Use a fork to gently fluff the rice. Add a pat of butter or splash of olive oil if desired.
Different Rice Types and Their Instapot Settings
Each rice variety has unique properties, so adjusting your approach ensures optimal results.
White Rice (Jasmine, Basmati, Long-Grain)
These work beautifully in an Instapot due to their low fiber content and high starch. They cook quickly and stay light and fluffy.
– **Best setting**: White Rice
– **Release method**: Natural (10 min), then quick release
– **Tip**: Add a pinch of salt and a teaspoon of oil for extra flavor and shine.
Brown Rice
Higher in fiber and harder to cook evenly, brown rice benefits from longer soaking and extra water.
– **Best setting**: Brown Rice
– **Soak time**: 30 minutes (optional but helpful)
– **Release method**: Full natural release (15–20 min)
– **Common issue**: Mushy texture? Reduce water slightly or shorten cook time by 2 minutes.
Sushi Rice
Short-grain sticky rice requires careful moisture control to avoid glue-like consistency.
– **Best setting**: Sushi Rice
– **Water ratio**: 1:1 (slightly less than white rice)
– **After cooking**: Rinse briefly under cool water to remove surface starch.
Wild Rice & Other Varieties
Wild rice takes the longest—up to 30 minutes under pressure. Quinoa and bulgur also work but may require adjustments.
– **Best setting**: Manual or Custom
– **Time**: 15–20 minutes for quinoa; 25–30 for wild rice
– **Water ratio**: 2:1 for wild rice
Common Mistakes to Avoid When Cooking Rice in an Instapot
Even experienced users run into hiccups. Here’s how to dodge them:
Mistake #1: Using Too Much or Too Little Water
Overfilling causes overflow; too little leads to dry, hard rice. Stick to tested ratios and double-check measurements.
Mistake #2: Skipping the Rinse
Unrinsed rice leaves behind starch, leading to gummy clumps. Always rinse until water clears.
Mistake #3: Forcing a Quick Release Too Early
Opening the valve before natural release completes can cause rice to splatter or become unevenly cooked.
Mistake #4: Not Cleaning the Sealing Ring
Food particles trapped in the rubber seal can create odors or affect sealing. Wash it weekly and replace every 6–12 months.
Mistake #5: Cooking Too Much at Once
Large volumes increase cook time and risk uneven heating. For >4 cups, consider using a larger pot or cooking in two batches.
Instapot vs. Dedicated Rice Cooker: Which Is Better?
It’s a fair question: should you buy a separate rice cooker when your Instapot already does the job?
Pros of Using an Instapot for Rice
- Multi-functionality: Also pressure cooks, slow cooks, steams veggies, makes soups, and more.
- Faster cooking: White rice in ~10 minutes vs. 30+ on stovetop.
- Energy efficient: Uses less electricity than keeping a pot on the stove.
- Consistent results: No more burnt bottoms or uneven batches.
Pros of a Dedicated Rice Cooker
- Purer rice texture: Some argue traditional rice cookers yield fluffier, more authentic results.
- Simpler operation: One-button cooking with automatic keep-warm.
- Larger capacity: Many Japanese rice cookers hold 10+ cups.
Verdict
For most home cooks, the Instapot offers unbeatable value. Unless you’re a sushi chef or frequently cook massive amounts of rice, your Instant Pot will likely satisfy all your needs—and save counter space.
Advanced Tips for Flawless Instapot Rice Every Time
Want restaurant-quality rice? Try these pro tricks:
1. Toast the Rice First
Sauté rice in oil for 1–2 minutes before adding water. This enhances aroma and creates nutty notes—perfect for pilafs or fried rice bases.
2. Use a Timer for Natural Release
Set a kitchen timer for 10 minutes after cooking ends. This ensures you don’t accidentally press the “Cancel” button while waiting.
3. Keep a Rice Journal
Note adjustments (water levels, soak times, settings) so you can replicate your favorite results.
4. Reheat Leftovers Safely
Add 1–2 tbsp water per cup of rice, cover, and use the “Steam” function for 3–5 minutes.
5. Upgrade Your Inner Pot
Consider a nonstick or ceramic-coated pot for easier cleaning and better heat distribution.
Conclusion: Why Every Kitchen Needs an Instapot for Rice
So, can an Instapot be used as a rice cooker? Without a doubt—yes, and it might just become your new favorite kitchen companion. With intuitive controls, reliable performance, and the ability to handle everything from simple white rice to complex grain blends, the Instant Pot proves that one appliance truly can do it all.
Whether you’re feeding a family, meal prepping for busy weekdays, or experimenting with global cuisines, mastering rice in your Instapot opens up endless possibilities. And the best part? No standing over a hot stove, no constant stirring, and no burnt batches.
Next time you reach for the rice cooker, ask yourself: why not just use what I already have? With the right knowledge and a few simple tweaks, your Instapot will deliver perfectly cooked rice—every single time.
Frequently Asked Questions
Can an Instapot make sushi rice?
Yes! Select the “Sushi Rice” setting on your Instapot. It uses a shorter cook time and lower water ratio to achieve the sticky, moist texture needed for sushi. After cooking, rinse briefly under cool water to remove excess starch.
Do I need to soak brown rice before cooking in an Instapot?
Soaking is optional but recommended. Soak brown rice for 30 minutes to reduce cook time and improve texture. It helps ensure even cooking and prevents a gummy result.
Why is my rice still hard after cooking in the Instapot?
Hard rice usually means insufficient water or incomplete cooking. Double-check your water-to-rice ratio, ensure the sealing ring is properly installed, and verify that you selected the correct rice type setting. Natural release also plays a key role—avoid quick release too early.
Can I cook more than 4 cups of rice in one batch?
Yes, but with caveats. Most 6-quart Instapots can handle up to 6–8 cups of uncooked rice. However, larger volumes increase cook time and may affect consistency. For best results, avoid exceeding half the pot’s capacity.
Is it safe to leave rice in the Instapot after cooking?
Yes, thanks to the built-in “Keep Warm” function. The Instapot maintains rice at a safe temperature (below 140°F / 60°C) for several hours without drying it out. Just don’t leave it beyond 12 hours to avoid bacterial growth.
What’s the difference between natural and quick release when cooking rice?
Natural release lets pressure drop slowly on its own (10–20 minutes), preserving texture. Quick release vents steam immediately, which can cause overcooking or splattering. For rice, always start with natural release, then finish with a quick release if needed.