
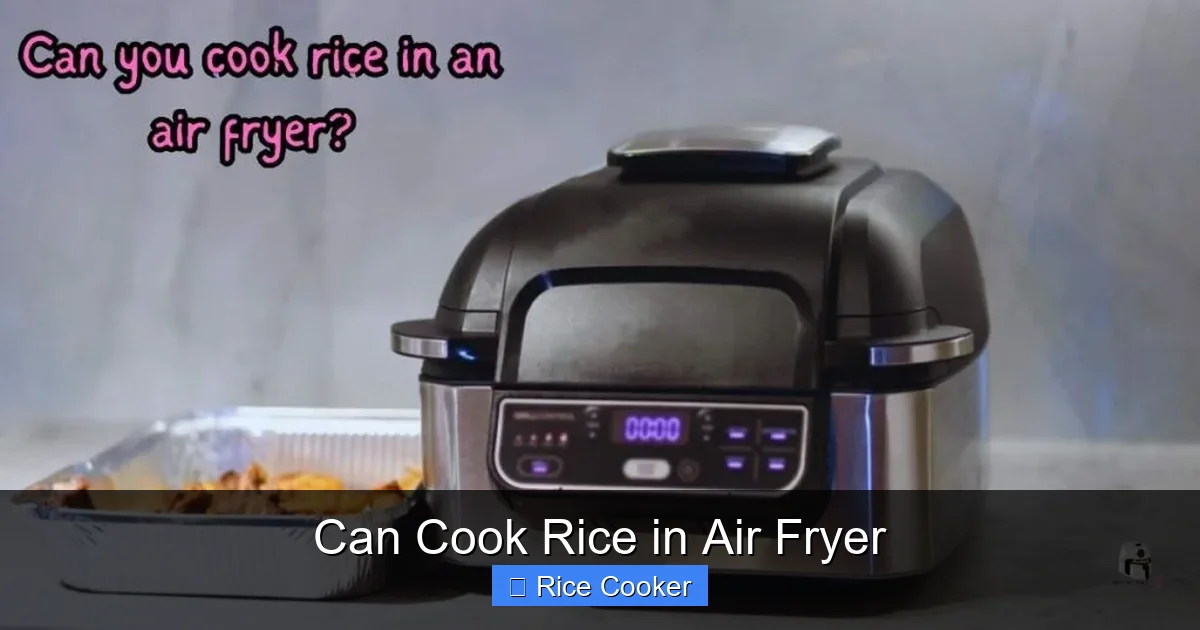
You can cook rice in an air fryer—no rice cooker needed! It’s faster than boiling, uses less water, and gives you perfectly fluffy rice with minimal effort. With the right technique, your air fryer becomes a versatile kitchen tool for more than just crispy snacks.
Key Takeaways
- Air fryers can cook rice effectively when using the right ratio of water to rice and proper timing.
- It’s a healthier alternative since no oil is needed, and it uses less energy than traditional stovetop methods.
- You get consistent results with even heat distribution, leading to fluffy, non-sticky grains.
- It works best with short- or medium-grain rice, such as jasmine, basmati, or sushi rice.
- Clean-up is easier because there’s no boiling water or messy pots involved.
- It’s a great backup plan when your rice cooker breaks or you’re in a rush.
- Experiment with flavors by adding broth, herbs, or spices during cooking for enhanced taste.
📑 Table of Contents
- Can You Cook Rice in an Air Fryer? Absolutely — Here’s How!
- Why Use an Air Fryer to Cook Rice?
- What Type of Rice Works Best?
- Step-by-Step Guide: How to Cook Rice in an Air Fryer
- Troubleshooting Common Issues
- Creative Ways to Serve Air-Fried Rice
- Air Fryer vs. Traditional Methods: A Comparison
- Frequently Asked Questions About Cooking Rice in an Air Fryer
- Final Thoughts: Should You Start Cooking Rice in Your Air Fryer?
Can You Cook Rice in an Air Fryer? Absolutely — Here’s How!
Have you ever found yourself staring at a pot of boiling rice, wondering if there’s a quicker, smarter way to get that perfect fluffy texture? Or maybe your trusty rice cooker just broke, and you need a solution fast? Well, here’s a game-changer: you can absolutely cook rice in an air fryer. Yes, that compact kitchen appliance known for its crispy fries and golden chicken wings can also make tender, evenly cooked rice with minimal effort. In fact, many home cooks are now discovering that air frying rice is not only possible but often preferable — thanks to faster cook times, reduced cleanup, and no risk of scorching.
Unlike traditional boiling methods that require constant attention and a large pot, cooking rice in an air fryer is hands-off once you set it up correctly. The convection airflow circulates hot air around the rice, ensuring even heating and moisture absorption without the need for oil. Whether you’re meal prepping, making a quick side dish, or just curious about what your air fryer can do beyond snacks, this method is worth trying. Plus, it’s a great alternative when you don’t have a rice cooker handy — which makes it especially useful during travel, power outages, or kitchen emergencies.
In this complete guide, we’ll walk you through everything you need to know about cooking rice in an air fryer: from choosing the right type of rice and measuring ingredients correctly to troubleshooting common mistakes. We’ll also share pro tips, flavor variations, and even how to adapt recipes for different types of grains. By the end, you’ll be confident enough to ditch the pot and embrace the convenience of air-fried rice.
Why Use an Air Fryer to Cook Rice?
At first glance, it might seem odd — after all, air fryers aren’t designed for liquid-based cooking like boiling rice. But modern air fryers come equipped with features that make them surprisingly capable of handling grains. Let’s break down the benefits:
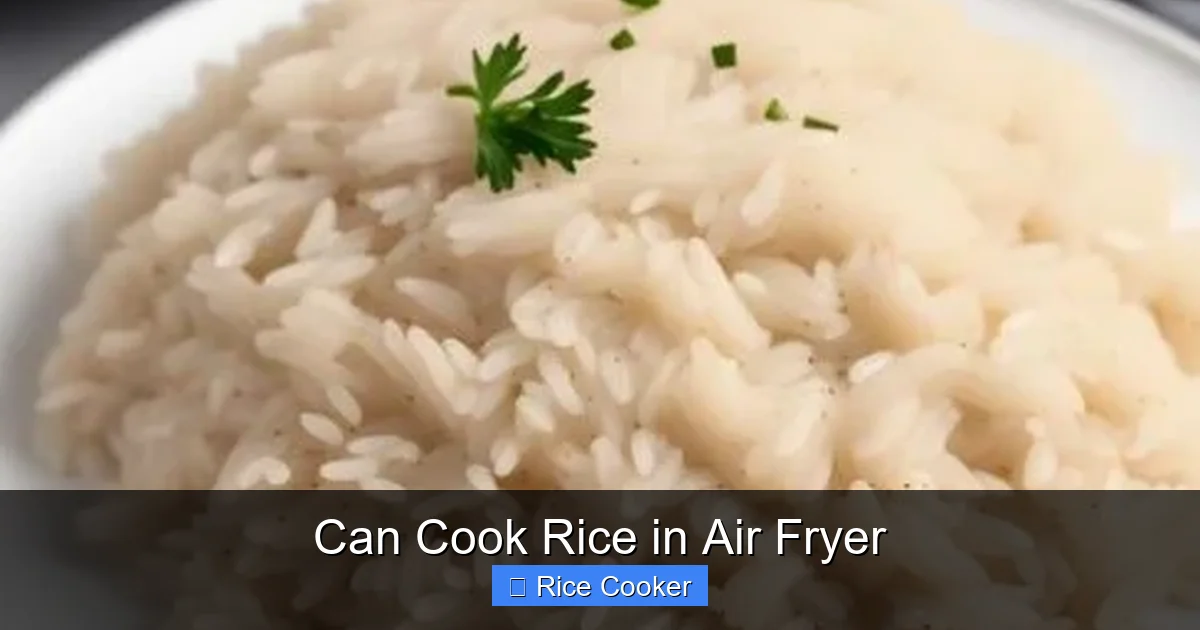
Visual guide about Can Cook Rice in Air Fryer
Image source: airfryeryummyrecipes.com
The Science Behind Air-Fried Rice
When rice is exposed to hot, circulating air, the moisture inside each grain gradually evaporates while the starches absorb surrounding liquid. Unlike stovetop methods that rely on direct flame (which can cause uneven heating), air fryers use convection — meaning hot air moves freely around the food. This leads to more uniform cooking and prevents the bottom layer from burning while the top remains undercooked.
Additionally, because air fryers don’t require submerging rice in water, the process is faster and more efficient. Most air fryers reach temperatures between 300°F and 400°F (150°C–200°C), which is ideal for activating the starches in rice and creating that desirable fluffy texture.
Energy Efficiency and Time Savings
Cooking rice on the stove typically takes 18–25 minutes, depending on the method. With an air fryer, you can reduce that time significantly — usually to just 15–20 minutes — while using less energy. Since air fryers heat up quickly and retain heat well, they’re more efficient than traditional burners or ovens.
Less Mess, Less Cleanup
Boiling rice often leads to splatters, overflow, and sticky residue on pots and stovetops. An air fryer eliminates most of these issues. Just line the basket with parchment paper or foil for easy disposal, and you’re done. No scrubbing, no stuck-on starch — just quick cleanup.
Healthier Cooking Option
Traditional rice preparation sometimes involves adding fats like butter or oil to prevent sticking or enhance flavor. With air frying, you don’t need any added oils, making it a leaner option. This is especially helpful if you’re watching your calorie intake or following a low-fat diet.
Versatility Beyond Plain White Rice
One of the biggest perks of air frying rice is its adaptability. You can easily infuse flavors using broth instead of water, add herbs like bay leaves or thyme, or even mix in vegetables for a one-pot meal. Some people even toast rice briefly in the air fryer before adding liquid to deepen its nutty aroma — similar to pilaf-style cooking.
What Type of Rice Works Best?
Not all rice is created equal when it comes to air frying. While any grain can technically be cooked this way, certain varieties perform better due to their starch content and texture. Here’s what to look for:
Short-Grain and Medium-Grain Rice
These include popular types like jasmine, sushi, and glutinous rice. They have higher amylopectin content, which means they stay tender and slightly sticky when cooked properly. Their small size also helps them cook evenly in an air fryer’s tight space.
Basmati Rice (Long-Grain)
Although slightly longer, basmati rice can still work well if rinsed thoroughly to remove excess starch. It tends to stay separate and fragrant when cooked correctly, making it ideal for biryanis or pilafs.
Avoid Instant or Pre-Cooked Rice
These are already partially processed and may become mushy or overcooked in an air fryer. Stick to raw, dry rice for the best results.
Rinsing Matters
Always rinse your rice before cooking. This removes surface starch that can cause clumping and affects texture. Simply place the rice in a fine-mesh strainer and run cool water until it runs clear.
Step-by-Step Guide: How to Cook Rice in an Air Fryer
Ready to try it? Follow this simple, foolproof method for perfectly cooked rice every time:
Ingredients & Tools Needed
- 1 cup uncooked rice (short or medium grain recommended)
- 1¼ cups water or broth (for extra flavor)
- Optional: pinch of salt, herb, or spice
- Air fryer-safe container (lined with parchment paper or silicone mat)
- Measuring cup
- Fine-mesh strainer
Preparation Steps
- Rinse the rice: Place rice in a strainer and rinse under cold water until water runs clear.
- Measure liquids: Use a standard 1:1.25 ratio (e.g., 1 cup rice to 1¼ cups water).
- Add flavorings (optional): Stir in a bay leaf, garlic clove, or a teaspoon of olive oil if desired.
- Line the air fryer basket: Use parchment paper or a silicone liner to prevent sticking.
- Transfer mixture: Pour rice and liquid into the lined basket. Do not cover — air must circulate.
Cooking Instructions
- Preheat (optional but recommended): Set air fryer to 350°F (175°C) and let it warm up for 3–5 minutes.
- Air fry for 15 minutes: Shake the basket halfway through to ensure even cooking.
- Check doneness: After 15 minutes, fluff the rice with a fork. If still firm, add 1–2 tablespoons of water and cook another 2–3 minutes.
- Let rest: Remove from air fryer and let sit covered for 5 minutes. This allows steam to finish softening any remaining grains.
Pro Tips for Success
- Don’t overcrowd: Cook only 1–2 cups at a time for best results.
- Use a lid or foil sparingly: Some models allow partial covering to trap steam, but too much can lead to soggy rice.
- Fluff immediately before serving: This separates the grains and improves texture.
- Store leftovers properly: Refrigerate within 2 hours and reheat in the air fryer at 325°F for 5 minutes.
Troubleshooting Common Issues
Even with the right technique, things don’t always go perfectly. Here’s how to fix common problems:
Rice Is Too Dry or Mushy
This usually happens if you used too little liquid or cooked for too long. To avoid this next time, stick strictly to the 1:1.25 ratio and check doneness early. If it’s too dry, add a splash of hot water and steam for 2 minutes.
Grains Are Stuck Together
Over-rinsed rice loses too much starch, causing clumping. Rinse just until water runs clear — not cloudy. Also, avoid pressing down on the rice during cooking.
Bottom Burns While Top Remains Undercooked
This suggests poor heat circulation. Try lining the basket with foil or parchment and placing it on a trivet or rack if your model allows. Alternatively, shake the basket every few minutes.
Water Evaporates Too Quickly
If your air fryer has very strong airflow, consider reducing temperature by 25°F (from 350°F to 325°F) and increasing liquid slightly.
Rice Doesn’t Fluff Up
Undercooked starches won’t expand properly. Always let rice rest after cooking, and never skip the resting phase. Fluffing releases trapped steam and rehydrates any dry spots.
Creative Ways to Serve Air-Fried Rice
Once you master the basics, the possibilities are endless. Air-fried rice isn’t just a side dish — it’s a blank canvas for creativity:
Fried Rice Variation
After cooking plain rice, let it cool completely. Then toss it in the air fryer with scrambled eggs, diced vegetables, soy sauce, and green onions. Cook at 375°F for 8–10 minutes, shaking occasionally, until heated through and slightly crispy at the edges.
Garlic Herb Rice
Add minced garlic and fresh parsley to the cooking liquid. For extra richness, stir in a tablespoon of butter after cooking and cover to melt.
Spicy Tomato Rice
Sauté diced tomatoes and red pepper flakes in a pan, then mix into cooked rice. Finish with lemon juice and cilantro.
Sweet Rice Options
Try coconut milk + brown sugar for a dessert-like version. Perfect for breakfast bowls or tropical-inspired meals.
One-Pot Meals
Combine cooked rice with beans, corn, blackened seasoning, and a fried egg for a hearty, no-cleanup dinner.
Air Fryer vs. Traditional Methods: A Comparison
Let’s compare the three main ways people cook rice — stovetop, rice cooker, and air fryer — across several key factors:
| Method | Time | Ease of Use | Cleanup | Texture Control |
|---|---|---|---|---|
| Stovetop | 18–25 min | Moderate (needs monitoring) | High (sticky residue) | Medium |
| Rice Cooker | 15–20 min | Very easy (set-and-forget) | Low (non-stick bowl) | High |
| Air Fryer | 15–20 min | Easy (minimal prep) | Very low | Medium-High |
As shown above, the air fryer strikes a balance between speed, simplicity, and cleanliness. While it doesn’t offer the exact automation of a rice cooker, it delivers comparable results with less mess — and it’s a fantastic backup option when other appliances fail.
Frequently Asked Questions About Cooking Rice in an Air Fryer
Can I cook brown rice in an air fryer?
Yes, but it requires more liquid and longer cooking time. Use a 1:1.5 ratio (rice to water) and cook at 325°F for 25–30 minutes, checking frequently. Brown rice takes longer to soften due to its bran layer.
Do I need to add oil to prevent sticking?
No, not if you use parchment paper or a silicone liner. However, a light spray of oil can help achieve a slightly chewy texture and enhance browning — optional but beneficial for some dishes.
Can I cook multiple types of rice at once?
Not recommended. Different grains have varying cook times and water needs. Cook separately for best results.
What if my air fryer model doesn’t have a basket?
Some newer models use trays or ovens. As long as you can create airflow and contain the liquid, you can adapt the method. Line the tray with foil and follow the same steps.
Is air-fried rice safe to eat regularly?
Absolutely. There’s no health risk associated with cooking rice in an air fryer. It’s simply a different cooking method — and many find it healthier due to no added fats.
How do I store and reheat leftover air-fried rice?
Store in an airtight container in the fridge for up to 5 days. Reheat in the air fryer at 325°F for 5–7 minutes, adding a splash of water if needed to restore moisture.
Final Thoughts: Should You Start Cooking Rice in Your Air Fryer?
After learning how simple and effective it is, there’s really no reason not to give it a try. Whether you’re looking to save time, reduce cleanup, or just explore new kitchen techniques, cooking rice in an air fryer ticks all the boxes. It’s practical, reliable, and surprisingly versatile — turning a humble staple into something you can customize for any meal.
And the best part? Once you’ve mastered the basics, you’ll likely find yourself reaching for your air fryer more often — not just for rice, but for other grains like quinoa, bulgur, or even oats for overnight oatmeal. The key is experimentation and patience. Don’t be afraid to tweak ratios, temperatures, or add-ins until you find your perfect recipe.
So go ahead — dust off that air fryer, grab a bag of rice, and see what happens. You might just discover your new favorite kitchen hack.
Frequently Asked Questions
Can I cook rice in any air fryer?
Most standard air fryers work well for cooking rice, as long as they generate sufficient heat and allow airflow. Compact models may require shorter cooking times or adjusted liquid amounts.
How much water do I use per cup of rice?
Use 1¼ cups of water (or broth) for every 1 cup of uncooked rice. This ratio ensures tender yet separated grains without being soggy.
Do I need to soak rice before air frying?
No soaking is necessary. Rinsing the rice is enough to remove excess starch and improve texture.
Can I cook frozen rice in an air fryer?
Yes, but increase cooking time by 2–3 minutes and add a bit more liquid. Thaw slightly if possible for even heating.
Will the rice stick to the air fryer basket?
Only if you don’t use a liner. Always line the basket with parchment paper or a silicone mat to prevent sticking and simplify cleanup.
How do I know when the rice is done?
After 15 minutes, fluff with a fork. If grains are still hard, add 1–2 tbsp water and cook 2–3 more minutes. Let it rest 5 minutes before confirming doneness.