
Can I cook regular rice in the microwave? Absolutely! It’s one of the fastest ways to prepare fluffy, delicious rice without needing a rice cooker. With just a few simple steps—rinse the rice, add water, cover it, and let the microwave do the work—you’ll have perfectly cooked grains in under 15 minutes. Whether you’re making a quick meal or saving time during hectic mornings, microwaving rice is a reliable, no-fuss solution that works great for most types of long-grain white rice.
Key Takeaways
- Microwave cooking is fast and convenient: You can prepare rice in as little as 10–15 minutes using just water and your microwave.
- It works best with rinsed, dry rice: For optimal texture, always rinse uncooked rice to remove excess starch before microwaving.
- Water-to-rice ratio matters: A general rule is 1 cup of raw rice to 2 cups of water, but adjustments may be needed based on your microwave’s power.
- Use a microwave-safe container: Choose a bowl or dish large enough to allow steam to escape and prevent overflow.
- Resting time improves texture: Let the cooked rice sit covered for 5 minutes after cooking to absorb any remaining moisture evenly.
- Not all rice types are ideal: While white long-grain rice works well, stick with short-grain or basmati if you prefer fluffier results.
- Cleanup is easier than expected: Most microwaved rice leaves minimal residue if you use the right container and cover.
Cooking rice in the microwave isn’t just a last-minute hack—it’s a practical, efficient method that many home cooks swear by. If you’ve ever wondered “can I cook regular rice in the microwave?”, the answer is a resounding yes! In fact, microwaving rice can be just as effective as using a stovetop pot or electric rice cooker, especially when you’re short on time or don’t want to wash extra dishes afterward. The process is surprisingly straightforward: you simply combine rice and water in a microwave-safe bowl, cover it securely, and let the appliance handle the rest. What makes this method so appealing is its speed and simplicity—no stirring, no babysitting, and no need for special equipment beyond your trusty microwave.
But before you grab that bag of jasmine rice from your pantry and start boiling water, there are a few important things to keep in mind. Not all rice behaves the same way in the microwave, and getting the ratios and timing right makes a big difference in texture and flavor. That’s why we’re diving deep into everything you need to know about microwaving regular rice—from choosing the right kind of rice to troubleshooting common issues like mushy or undercooked grains. By the end of this guide, you’ll feel confident preparing perfect, fluffy rice every single time, whether you’re feeding a crowd or whipping up dinner for two.
Key Takeaways
- Understanding can i cook regular rice in the microwave: Provides essential knowledge
📑 Table of Contents
The Basics of Microwaving Rice
So how exactly does microwaving rice work? Unlike traditional methods where heat is applied gradually over time, microwaves use electromagnetic waves to agitate water molecules inside the food, generating heat rapidly. When you place rice (which contains starch and water) in the microwave with just the right amount of additional water, the steam builds up quickly, cooking the grains evenly from the inside out. This rapid heating process helps break down the starches, giving rice its signature soft yet distinct grain structure.
One key advantage of microwaving rice is its energy efficiency. Because microwaves cook food from within rather than heating the surrounding air or container, less energy is wasted compared to gas stoves or ovens. Plus, since there’s no open flame or hot surface involved, it’s inherently safer for kitchens with children or pets. And let’s be honest—who doesn’t love the convenience of throwing ingredients into a bowl, hitting “start,” and walking away?
However, not all microwaves are created equal. Older models or those with lower wattage may require longer cooking times or more frequent stirring to ensure even heat distribution. Similarly, different brands and types of rice absorb moisture at varying rates, which affects both cooking time and final texture. That’s why it pays to understand your specific setup and adjust accordingly.
Choosing the Right Type of Rice
When asking yourself, “can I cook regular rice in the microwave?”, the first thing to consider is the type of rice you’re working with. Not every variety responds equally well to microwave cooking. Generally speaking, **long-grain white rice**—such as regular American long-grain or converted rice—is the most forgiving and reliable option for beginners. These varieties have low amylose content, meaning they don’t clump together easily and remain separate and tender when cooked properly.
Short-grain rice, often used in sushi or Japanese dishes, tends to be stickier due to higher starch levels. While it *can* be cooked in the microwave, it requires more careful attention to avoid gumminess. Basmati rice, another popular choice, has a fragrant aroma and slightly elongated grains; it usually turns out beautifully in the microwave if rinsed thoroughly beforehand.
Avoid using instant or pre-cooked rice in the microwave unless specifically labeled as such—these products are designed for different preparation methods and may become overly soft or soggy when reheated this way.
Preparing Your Rice Properly
Before you even think about adding water, it’s essential to rinse your raw rice. Why? Because uncooked rice contains a fine powder called starch that coats each grain. If left unchecked, this starch can make your finished dish gummy or clumpy. Rinsing removes excess starch while also washing away any dust or debris that might have accumulated during packaging.
To rinse effectively:
– Place the measured rice in a fine-mesh strainer.
– Rinse under cool running water, gently rubbing the grains with your fingers.
– Continue until the water runs clear—this usually takes about 30 seconds to a minute.
– Shake off excess water but don’t squeeze or drain completely dry.
Rinsed rice not only cooks more evenly but also produces fluffier, better-textured results in the microwave.
Step-by-Step Guide to Cooking Rice in the Microwave
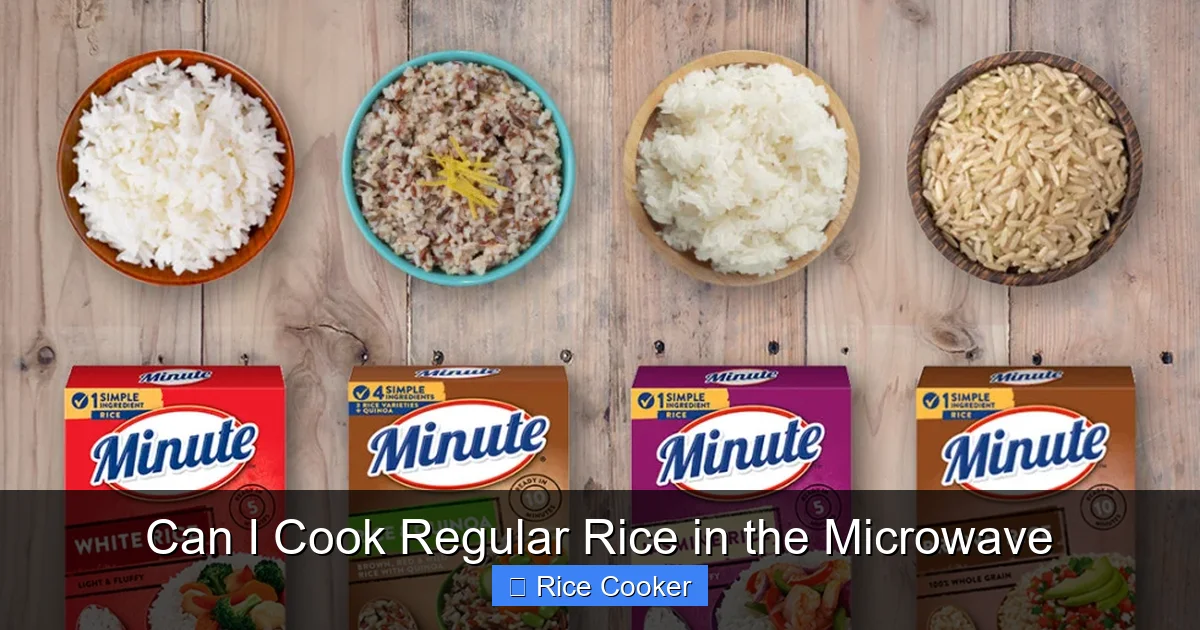
Visual guide about Can I Cook Regular Rice in the Microwave
Image source: minuterice.com
Now that you’ve got your rice prepped, it’s time to master the actual cooking process. Here’s a foolproof method that works for most standard recipes:
**Ingredients:**
– 1 cup long-grain white rice (rinsed)
– 2 cups water
– Optional: pinch of salt, teaspoon of oil or butter
**Equipment:**
– Microwave-safe bowl (large enough to hold 3 cups comfortably)
– Tight-fitting lid or microwave-safe plastic wrap
**Instructions:**
1. **Measure and rinse:** Start with 1 cup of raw rice. Rinse it thoroughly in a strainer until the water runs clear.
2. **Combine ingredients:** Transfer the rinsed rice to a microwave-safe bowl. Add 2 cups of cold water (and optional seasonings). Stir once gently to combine.
3. **Cover securely:** Use a lid that fits snugly or cover the bowl tightly with plastic wrap, leaving a small vent hole for steam to escape.
4. **Microwave on high:** Cook on high power for 10 minutes. After this initial blast, carefully remove the bowl (it will be very hot!) and stir the rice gently with a fork to redistribute any unmelted clumps and ensure even cooking.
5. **Continue microwaving:** Return the bowl to the microwave and cook for another 5–8 minutes, depending on your model’s wattage. Longer times may be needed for microwaves below 800 watts.
6. **Let it rest:** Once done, turn off the microwave and let the rice sit, still covered, for 5 minutes. This resting period allows residual heat to finish steaming the grains and equalizes moisture throughout.
7. **Fluff and serve:** Remove the cover, fluff the rice with a fork, and enjoy!
This basic recipe yields about 3 cups of cooked rice—perfect for small families or meal prep.
Adjusting for Different Quantities
Want to cook half a batch or double it? No problem! The ratio remains consistent: **1 part rice to 2 parts water**. So for ½ cup of rice, use 1 cup of water; for 2 cups of rice, use 4 cups of water. Always remember to increase cooking time slightly when scaling up, as larger volumes take longer to heat through evenly.
Also, consider using a larger container as you increase quantity—this prevents overflow and ensures proper airflow for steaming.
Troubleshooting Common Issues
Even with the best intentions, mistakes happen. Here’s how to fix some typical problems:
– **Mushy rice:** Overcooked or too much water. Reduce water slightly next time and avoid opening the cover during cooking.
– **Undercooked grains:** Insufficient water or low microwave power. Add another tablespoon of water and extend cooking time by 1–2 minutes.
– **Gummy texture:** Starchy residue or poor rinsing. Always rinse well and ensure the cover allows steam to escape.
– **Burnt bottom:** Uneven heating or dirty microwave turntable. Stir halfway through and clean your microwave regularly.
If your first attempt doesn’t come out perfectly, don’t worry—adjustments are part of the learning curve!
Tips for Perfect Microwaved Rice Every Time
Mastering microwave rice doesn’t happen overnight, but these expert tips will help you get consistently great results:
– **Use the right container:** Opt for a ceramic or glass bowl with a wide mouth. Avoid metal, non-microwave-safe plastics, or bowls with metallic rims.
– **Don’t skip the cover:** A tight seal traps steam, which is crucial for tender rice. If using plastic wrap, poke a few holes to prevent pressure buildup.
– **Stir wisely:** Only stir once—at the 10-minute mark—to mix without breaking apart the grains.
– **Account for altitude:** At higher elevations, water boils at lower temperatures, so you may need to add 1–2 extra minutes to compensate.
– **Experiment with flavors:** Add herbs, garlic, or a bay leaf to the water for infused rice, or stir in butter or olive oil after cooking for richness.
– **Store leftovers properly:** Cool cooked rice quickly, then refrigerate in an airtight container for up to 4 days. Reheat in the microwave with a splash of water to restore moisture.
These small tweaks make a noticeable difference in taste and texture, turning a simple side dish into something special.
Comparing Microwave vs. Other Methods
You might be wondering: Is microwaving rice really better than other methods? Let’s break it down:
| Method | Time Required | Effort Level | Texture Result | Cleanup Difficulty |
|——————|—————|————–|——————–|——————–|
| Microwave | 12–18 min | Very Low | Fluffy, even | Easy |
| Stovetop | 20–25 min | Medium | Tender, slightly sticky | Moderate |
| Electric Rice Cooker | 20–25 min | Very Low | Consistently perfect | Easy |
| Instant Pot | 15–20 min | Low | Creamy, moist | Easy |
As you can see, microwaving wins in speed and convenience, especially for solo diners or quick meals. However, stovetop and rice cooker methods offer more control over texture and are better suited for large batches or precise recipes. The electric rice cooker, in particular, is unmatched in consistency and automation—but it’s an investment.
For everyday use, though, the microwave strikes the ideal balance between simplicity and quality.
When to Choose Which Method
– **Choose the microwave when:** You’re in a hurry, cooking for one or two people, or don’t want to wash multiple pots.
– **Choose the stovetop when:** Making fried rice, pilafs, or recipes requiring sautéing aromatics first.
– **Choose the rice cooker when:** Preparing large quantities, hosting guests, or prioritizing hands-off cooking.
– **Choose the Instant Pot when:** You want tender, moist rice with minimal effort and already own the appliance.
Ultimately, knowing “can I cook regular rice in the microwave?” opens up a world of flexibility in your kitchen routine.
Safety Considerations
While microwaving rice is generally safe, there are a few precautions to observe:
– Never leave the microwave unattended while cooking—hot liquids can boil over unexpectedly.
– Always use oven mitts or a towel when removing the bowl—steam burns are real!
– Ensure your cover doesn’t trap too much pressure. If it pops off violently, reduce cooking time slightly next time.
– Clean your microwave regularly to prevent grease buildup, which can affect heating performance.
Following these guidelines keeps your kitchen safe and your rice tasting great.
Creative Uses for Microwaved Rice
Once you’ve mastered the basics, the possibilities expand! Microwaved rice serves as a versatile base for countless dishes:
– **Fried rice:** Sauté diced vegetables and protein in a pan, push to the side, scramble an egg in the center, then add leftover rice and toss everything together.
– **Risotto-style dishes:** Toast Arborio rice briefly in butter (in the microwave-safe bowl), add warm broth gradually while stirring frequently.
– **Pilafs:** Cook rice with onions, carrots, and spices, then finish with toasted pine nuts or raisins.
– **Rice bowls:** Layer cooked rice with roasted veggies, grilled chicken, and tahini dressing for a healthy, customizable meal.
– **Snacks:** Make crispy rice treats (like Rice Krispies squares) by melting marshmallows and butter, mixing with cooked rice, and pressing into a pan.
The humble microwave-transformed rice becomes a canvas for creativity!
Final Thoughts
So, can you cook regular rice in the microwave? Without a doubt—yes! It’s fast, easy, and delivers reliably good results when you follow the right steps. Whether you’re new to cooking or just looking for a smarter way to prepare staple ingredients, mastering microwave rice is a skill worth having. You’ll save time, reduce cleanup, and free up your stove for other tasks. Plus, once you get the hang of it, you’ll find yourself reaching for this method more often than not.
Remember: practice makes perfect. Don’t be discouraged if your first few attempts aren’t flawless. Adjust water amounts, experiment with timing, and pay attention to how your specific microwave performs. Soon enough, you’ll be impressing friends and family with your ability to whip up fluffy, aromatic rice in under 15 minutes—all from the comfort of your kitchen counter.
And who knows? You might just discover that microwaving rice isn’t just a shortcut—it’s actually your favorite way to cook it.
Frequently Asked Questions
Can I cook brown rice in the microwave?
Yes, but brown rice requires more water and longer cooking time—typically 1.5 cups of water per 1 cup of rice and 20–25 minutes total. Rinse it well first and check for doneness halfway through.
Do I need to soak rice before microwaving?
No soaking is necessary for white long-grain rice. However, soaking can reduce cooking time slightly and improve texture for some people, though it’s optional.
How do I prevent rice from sticking to the microwave bowl?
Use a microwave-safe bowl lined lightly with parchment paper or sprayed with non-stick cooking spray. Also, avoid overcrowding and ensure proper water ratio.
Can I reheat cooked rice in the microwave?
Absolutely! Place rice in a covered dish, add a tablespoon of water, and microwave in 30-second intervals until heated through. Stir between bursts for even warming.
What’s the best container for microwaving rice?
A glass or ceramic bowl with a lid works best. Avoid plastic containers not labeled “microwave safe,” as they may warp or leach chemicals when heated.
Why is my microwaved rice always mushy?
Most likely due to too much water or overcooking. Try reducing water by 1–2 tablespoons and avoid opening the cover during cooking. Resting time also helps firm up texture.