
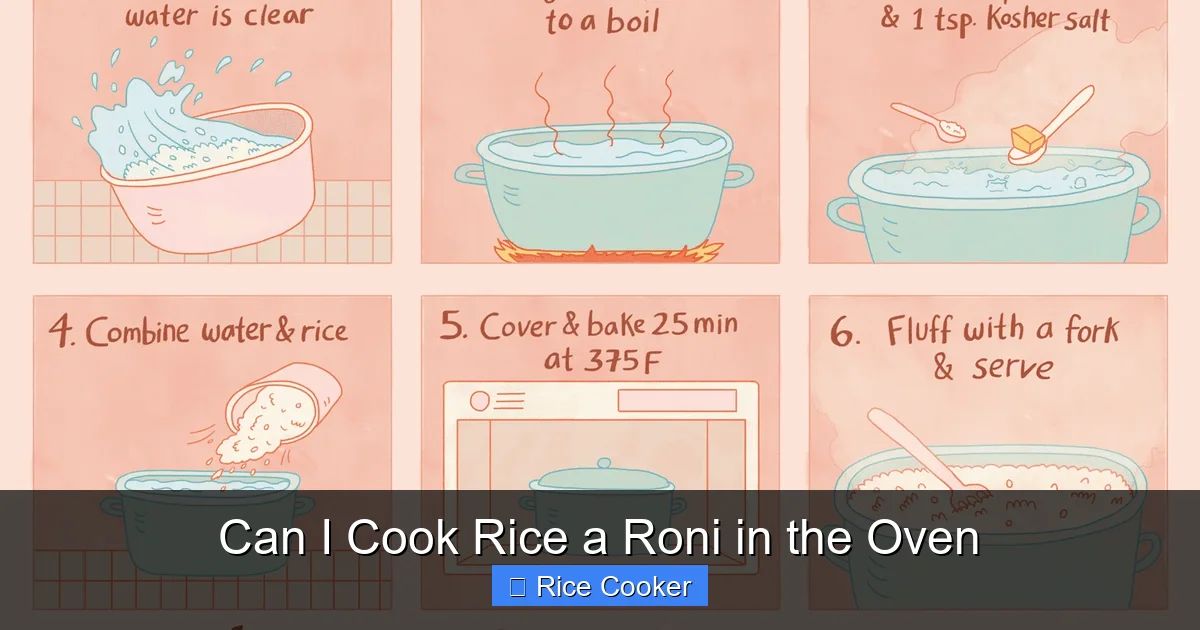
Can you cook Rice-A-Roni in the oven? Absolutely—baking it gives a slightly crispier texture and richer flavor than stovetop or microwave methods. This method works great for single servings or meal prep, and it’s perfect when you want to avoid the usual pot cleanup. With the right ingredients and timing, your Rice-A-Roni will be fluffy, tender, and delicious every time.
Key Takeaways
- Yes, it’s possible: You can bake Rice-A-Roni in the oven using simple household ingredients like broth, water, and butter.
- Texture difference: Oven-cooked Rice-A-Roni tends to be slightly crispier on top and more evenly cooked throughout compared to microwave versions.
- Flavor boost: Using chicken or vegetable broth instead of water enhances taste and keeps the dish moist.
- Even cooking: A well-seasoned baking dish with proper heat distribution helps prevent dry spots or undercooked grains.
- Meal versatility: This method works for most Rice-A-Roni varieties—including broccoli cheddar, pilaf, and jambalaya—not just the classic rice and pasta combo.
- Time savings: Baking allows multitasking; while the oven does the work, you can prepare sides or clean up other dishes.
- Cleanup ease: Use oven-safe ceramic or glass dishes with lids to minimize mess and make serving straightforward.
📑 Table of Contents
- Can I Cook Rice a Roni in the Oven? The Short Answer Is Yes!
- The Basics: Why Bake Instead of Microwave or Stovetop?
- How to Cook Rice-A-Roni in the Oven: Step-by-Step Guide
- Tips for Perfect Oven-Baked Rice-A-Roni
- Variations and Creative Twists
- Troubleshooting Common Issues
- Equipment You’ll Need
- Health and Nutrition Considerations
- Environmental and Cost Efficiency
- Frequently Asked Questions About Baking Rice-A-Roni
- Final Thoughts: Should You Try It?
Can I Cook Rice a Roni in the Oven? The Short Answer Is Yes!
So, you’re standing in your kitchen with a box of Rice-A-Roni, maybe craving that cheesy, savory comfort food but don’t feel like busting out the stove. Or perhaps you just want to try something different. That’s where the oven comes in—yes, really! Can you cook Rice-A-Roni in the oven? The answer is a solid yes, and it might just become your new favorite way to enjoy this convenient side dish.
Rice-A-Roni has been a pantry staple for generations, known for its simplicity: just add hot water, stir, and wait. But what if you want more control over texture, want to add extra flavor, or simply want to free up your stovetop? Baking offers a hands-off solution that delivers consistent results and can even improve the overall taste. Whether you’re making broccoli cheddar, pilaf, or classic rice and pasta, the oven can handle it—with a few smart tweaks.
In this guide, we’ll walk through everything you need to know about cooking Rice-A-Roni in the oven. From basic techniques to pro tips, flavor upgrades, and troubleshooting common issues, you’ll be ready to turn any box into a restaurant-quality meal. Let’s dive in!
The Basics: Why Bake Instead of Microwave or Stovetop?
Before we get into the how-to, let’s talk about why someone would choose the oven over the traditional methods. Most people reach for Rice-A-Roni because it’s fast and easy. But there are real benefits to baking it.
Visual guide about Can I Cook Rice a Roni in the Oven
Image source: m.media-amazon.com
Texture Control
Microwaving can sometimes leave uneven spots—dry patches where the liquid hasn’t fully absorbed, or soggy areas near the edges. The oven, especially when preheated properly, provides gentle, even heat that helps distribute moisture more uniformly. This leads to a fluffier, more balanced bite every time.
Enhanced Flavor Development
When you bake Rice-A-Roni, the slow, steady heat allows the flavors to meld better. The seasoning packet, when combined with broth or butter, creates a richer sauce. Plus, browning on top (especially if you sprinkle a bit of cheese) adds a satisfying crunch that microwaving can’t match.
Multitasking Friendly
If you’re cooking a full meal, the oven frees up your stove. While your Rice-A-Roni bakes, you can sauté veggies, boil potatoes, or even roast chicken. It’s a great way to streamline dinner prep without sacrificing quality.
Better for Meal Prep
Baked Rice-A-Roni holds up well in the fridge for a day or two and reheats nicely in the microwave or oven. This makes it ideal for batch cooking on weekends or packing lunches during busy weekdays.
How to Cook Rice-A-Roni in the Oven: Step-by-Step Guide
Ready to give it a try? Here’s a foolproof method for baking Rice-A-Roni perfectly every time.
Gather Your Ingredients
- 1 box Rice-A-Roni (any variety)
- 1½ cups liquid (water, broth, or a mix)
- 1 tablespoon butter (optional but recommended)
- Salt and pepper to taste
- Cheese, herbs, or spices (optional for extra flavor)
Choose the Right Dish
Use an oven-safe dish that’s 1.5–2 quarts in size—something shallow and wide works best for even heat distribution. Glass or ceramic casserole dishes are ideal because they retain heat well and are easy to clean.
Preheat and Prepare
Preheat your oven to 375°F (190°C). If your dish isn’t oven-safe, line it with foil or transfer everything to a suitable pan after mixing.
Mix and Season
In your baking dish, combine the Rice-A-Roni and liquid. Add the butter (if using), salt, pepper, and any extra seasonings. Stir gently to coat the grains. Don’t overmix—just enough to ensure even absorption.
Bake Covered
Cover the dish tightly with aluminum foil or a lid. Place it in the preheated oven and bake for 20–25 minutes, depending on the variety. Check halfway through and give it a quick stir to prevent sticking.
Uncover and Finish
Remove the foil and continue baking for another 10–15 minutes, or until the liquid is fully absorbed and the top looks lightly golden. If you’re adding cheese, sprinkle it now and return to the oven for 2–3 minutes to melt.
Rest Before Serving
Let the dish sit for 5 minutes after removing from the oven. This allows the grains to settle and finish absorbing any remaining moisture, resulting in better texture.
Tips for Perfect Oven-Baked Rice-A-Roni
Want to take your baked Rice-A-Roni to the next level? These expert tips will help you avoid common pitfalls and elevate every bowl.
Use Broth Instead of Water
Swap plain water for low-sodium chicken or vegetable broth. Not only does it add depth, but it also prevents the dish from drying out during baking. Herbs like thyme or rosemary can be added directly to the broth for extra aroma.
Add Protein or Veggies
Make it a complete meal by tossing in cooked chicken, diced ham, peas, corn, or sautéed mushrooms before baking. Just be sure to account for extra moisture—reduce liquid by ¼ cup if adding fresh veggies.
Don’t Skip the Butter
A pat of butter melts into the rice and pasta, creating a creamy, rich mouthfeel. It’s especially important if you’re not using broth, as it adds fat that mimics the flavor profile of traditional recipes.
Watch the Heat
Ovens vary in accuracy. If your Rice-A-Roni is still too wet after 30 minutes, reduce heat to 350°F and continue baking in 5-minute increments until done. Conversely, if it’s browning too quickly, tent it loosely with foil.
Try Cheese on Top
For broccoli cheddar or similar varieties, sprinkle shredded cheddar, Monterey Jack, or Parmesan over the top during the last few minutes. The cheese will melt into a golden crust and enhance the flavor.
Fluff Before Serving
Use a fork to gently fluff the grains after resting. This breaks up clumps and releases steam, giving you light, airy bites instead of dense mush.
Variations and Creative Twists
The beauty of baking Rice-A-Roni is its adaptability. Once you master the basics, you can customize it to suit your mood or dietary needs.
Spicy Southwest Version
Combine Rice-A-Roni with black beans, diced tomatoes, corn, and a dash of chili powder. Bake as directed, then top with avocado slices and a squeeze of lime juice before serving. Great for a Tex-Mex twist!
Italian-Inspired Pilaf
Use tomato basil broth, add sun-dried tomatoes, garlic, and a pinch of red pepper flakes. Finish with fresh basil and a sprinkle of mozzarella for a Mediterranean flair.
Vegan Option
Skip the butter and use vegetable broth. Add nutritional yeast for a cheesy flavor and toss in roasted bell peppers or zucchini for color and nutrition.
Mediterranean Bowl
Layer baked Rice-A-Roni with olives, cucumber, feta, and olive oil. Serve cold or warm—it makes a refreshing side or light lunch.
Dessert Rice Pudding Style
Yes, really! Try baking a dessert version using rice-only varieties (or plain white rice). Mix in cinnamon, raisins, milk, and a touch of sugar. Bake covered, then uncover to caramelize the top. Drizzle with honey before serving.
Troubleshooting Common Issues
Even with the best intentions, things can go wrong. Here’s how to fix the most common baking mishaps.
Too Dry After Baking?
This usually happens if too much liquid evaporates due to high oven temperature or uncovered baking. To fix it, add 2–3 tablespoons of warm broth or water to the dish, cover tightly, and return to the oven for 5 minutes. Stir gently before serving.
Rice-A-Roni Sticks to the Pan
Prevent sticking by greasing the baking dish lightly with oil or butter before adding the mixture. Also, avoid overfilling—leave at least half an inch of space around the edges.
Uneven Cooking
If some parts are dry while others are still soft, it may be due to poor heat circulation. Rotate the dish halfway through baking, or switch to a convection oven setting if available. Convection fans help distribute heat more evenly.
Pasta Doesn’t Cook Through
Some Rice-A-Roni mixes include long pasta that takes longer to soften. To ensure tenderness, increase baking time by 5–10 minutes or pre-soak the pasta in hot water for 5 minutes before mixing.
Too Salty?
It’s hard to undo excess salt once the dish is baked. To balance it, add a peeled potato to the dish while baking. Remove it after 15 minutes—it absorbs some of the sodium.
Smells Like Burnt Foil?
If the foil touches the Rice-A-Roni directly, it can scorch. Either pierce small holes in the foil or place parchment paper between the dish and lid to prevent contact.
Equipment You’ll Need
You don’t need fancy gadgets—just a few essentials to make the process smooth and successful.
- Oven-safe baking dish: Glass or ceramic, 1.5–2 quarts
- Lid or aluminum foil: For covering during initial baking
- Wooden spoon or spatula: For stirring
- Measuring cup: Accurate liquid measurement is key
- Timer: Don’t rely on guesswork—set alerts
Health and Nutrition Considerations
Rice-A-Roni is convenient, but it’s not always the healthiest option out there. Understanding its nutritional profile can help you make smarter choices.
Macronutrient Breakdown
A typical serving (about 1 cup cooked) contains roughly:
- Calories: 220–260
- Carbs: 45–50g
- Protein: 6–8g
- Fat: 6–9g (mostly from butter and seasoning)
- Fiber: 2–3g
These values vary slightly by flavor—cheese-based versions tend to have more fat and fewer carbs than pilaf styles.
How to Make It Healthier
- Reduce sodium: Use low-sodium broth and skip the full seasoning packet. Add your own herbs and spices instead.
- Cut back on fat: Use half the recommended butter or substitute with olive oil spray.
- Add fiber: Stir in spinach, kale, or cauliflower rice for extra nutrients.
- Boost protein: Mix in lentils, chickpeas, or grilled chicken breast.
Allergen Warnings
Always check labels—some Rice-A-Roni varieties contain wheat, dairy, or soy. Those with gluten sensitivities should look for certified gluten-free options. Nut-allergic individuals should avoid any products made in facilities that process tree nuts.
Environmental and Cost Efficiency
Beyond taste and nutrition, consider the practical side of baking Rice-A-Roni.
Energy Usage
Using the oven uses more energy than the microwave, but if you’re already cooking other dishes in the oven (like roasting veggies or baking bread), this becomes part of your total energy use rather than an additional expense. Plus, the longer bake time means less frequent opening of the door, which helps maintain temperature.
Cookware Longevity
Unlike disposable microwave containers, reusable glass or ceramic baking dishes last years. This reduces plastic waste and saves money over time.
Portion Control
Baking in a single dish makes it easier to serve appropriate portions—no risk of accidentally microwaving too much or too little.
Frequently Asked Questions About Baking Rice-A-Roni
Can I cook Rice-A-Roni in a slow cooker instead of the oven?
Yes, but it requires a different approach. Add all ingredients to the slow cooker, cover, and cook on low for 2–3 hours or high for 1 hour. Stir occasionally to prevent sticking. Keep in mind that slow cookers don’t brown the top, so texture may differ slightly.
Do I need to rinse Rice-A-Roni before baking?
No, rinsing isn’t necessary and may remove some of the pre-seasoned coating that helps with flavor. Just mix it directly with your liquid and proceed.
Can I freeze baked Rice-A-Roni?
Absolutely! Let it cool completely, portion into airtight containers, and freeze for up to 3 months. Reheat in the microwave or oven with a splash of broth to restore moisture.
Why does my Rice-A-Roni taste bland?
Blandness often comes from using plain water and skipping the butter or seasoning. Boost flavor by using broth, adding herbs, or finishing with cheese and fresh parsley.
Is baking healthier than microwaving?
Not necessarily. Both methods preserve nutrients similarly. However, baking allows better control over added fats and salts, making it easier to customize for dietary needs.
Can kids help make oven-baked Rice-A-Roni?
Yes! Kids can measure ingredients, stir the mixture, and sprinkle toppings. Just supervise them near the oven. It’s a fun, educational activity that teaches basic cooking skills.
Final Thoughts: Should You Try It?
So, can you cook Rice-A-Roni in the oven? Yes—and you should! It’s a simple, flexible method that yields delicious results with minimal effort. Whether you’re feeding a family, meal-prepping for the week, or just craving something comforting, this technique fits the bill. With the right ingredients and a little attention to timing, you’ll end up with a dish that’s tastier, more textured, and far more satisfying than the standard microwave version.
Give it a try tonight. Grab a box of Rice-A-Roni, preheat your oven, and follow the steps above. You might just discover your new go-to comfort food hack. And who knows? You could start experimenting with flavors, proteins, and veggies—turning a humble pantry staple into something truly special.
Happy baking—and happy eating!
Frequently Asked Questions
Can I cook Rice-A-Roni in a slow cooker instead of the oven?
Yes, but it requires a different approach. Add all ingredients to the slow cooker, cover, and cook on low for 2–3 hours or high for 1 hour. Stir occasionally to prevent sticking. Keep in mind that slow cookers don’t brown the top, so texture may differ slightly.
Do I need to rinse Rice-A-Roni before baking?
No, rinsing isn’t necessary and may remove some of the pre-seasoned coating that helps with flavor. Just mix it directly with your liquid and proceed.
Can I freeze baked Rice-A-Roni?
Absolutely! Let it cool completely, portion into airtight containers, and freeze for up to 3 months. Reheat in the microwave or oven with a splash of broth to restore moisture.
Why does my Rice-A-Roni taste bland?
Blandness often comes from using plain water and skipping the butter or seasoning. Boost flavor by using broth, adding herbs, or finishing with cheese and fresh parsley.
Is baking healthier than microwaving?
Not necessarily. Both methods preserve nutrients similarly. However, baking allows better control over added fats and salts, making it easier to customize for dietary needs.
Can kids help make oven-baked Rice-A-Roni?
Yes! Kids can measure ingredients, stir the mixture, and sprinkle toppings. Just supervise them near the oven. It’s a fun, educational activity that teaches basic cooking skills.