

Can I cook rice in a Dutch oven pot? Absolutely! A Dutch oven is one of the best tools for cooking rice because of its thick walls and excellent heat retention. Whether you’re making jasmine, basmati, or wild rice, this heavy-duty pot ensures even cooking without scorching. With the right technique, your rice will be tender, flavorful, and restaurant-quality—right at home.
Cooking rice in a Dutch oven might sound too good to be true, but trust us—it’s not only possible, it’s often better than using a standard pot. If you’ve ever had rice stick to the bottom of your pot or turned out mushy and undercooked, a Dutch oven could be the game-changer you’ve been looking for. With its heavy cast iron or enameled construction, this versatile kitchen workhorse brings consistent heat and superior moisture control—two things rice absolutely needs to turn out perfectly.
Whether you’re preparing a simple side dish for dinner or serving up a fragrant pilaf for guests, learning how to cook rice in a Dutch oven opens up a world of culinary possibilities. And the best part? It doesn’t require any fancy gadgets. Just your trusty Dutch oven, some rice, water, and a little patience. In this guide, we’ll walk you through everything from choosing the right rice to troubleshooting common issues, so you can cook rice like a pro—no rice cooker required.
Key Takeaways
- Understanding can i cook rice in a dutch oven pot: Provides essential knowledge
📑 Table of Contents
Why Choose a Dutch Oven for Rice?
If you’re still on the fence about whether you can cook rice in a Dutch oven, let’s talk about why this pot is such a standout choice. First and foremost, Dutch ovens are built for slow, steady cooking. That means they heat up slowly but retain heat incredibly well. This is especially important when cooking rice, which needs consistent warmth to absorb water evenly and cook through without burning.
Another big advantage is their ability to hold moisture. When you bring water to a boil and then reduce the heat, the Dutch oven’s thick walls keep the temperature stable, and the tight-fitting lid traps steam. This creates a convection-like environment inside the pot, helping the rice cook uniformly from top to bottom. As a result, you get fluffy grains with no gummy centers or dry edges.
Plus, Dutch ovens come in two main materials: cast iron and enamel-coated cast iron. Cast iron versions are prized for their heat retention and durability, though they require seasoning and careful handling. Enameled versions are easier to clean and less prone to rust, making them a great option for everyday cooking. Both work beautifully for rice.
The Science Behind Perfect Rice
Rice is more than just a starchy grain—it’s a science experiment in your kitchen. The goal is to hydrate the rice grains properly while avoiding overcooking or drying out. Most white rice contains about 25% starch, and when it absorbs water and heats up, that starch gelatinizes, turning the outer layer into a soft, edible texture.
The key is controlling the rate at which the water evaporates. Too much heat, and the surface dries out before the center cooks. Too little, and you end up with soggy rice. A Dutch oven strikes the perfect balance by allowing gentle simmering after boiling, ensuring even hydration.
When you cook rice in a regular pot, heat can escape quickly, causing fluctuations in temperature. But in a Dutch oven, the thick walls act as a thermal buffer, keeping things steady. This means your rice cooks more predictably, reducing the risk of scorching or uneven texture.
Types of Rice You Can Cook in a Dutch Oven
One of the best things about using a Dutch oven is its versatility across different rice varieties. Whether you’re cooking for a health-conscious crowd or someone who loves aromatic grains, your Dutch oven can handle it all.
- Long-grain rice (e.g., Basmati, Jasmine): Light, fluffy, and slightly separate after cooking—ideal for pilafs and stir-fries.
- Short-grain rice (e.g., Sushi rice): Stickier and chewier, perfect for rolls and desserts.
- Brown rice: Nutty, chewy, and higher in fiber. Requires more water and longer cooking times.
- Wild rice: Earthy and robust, often mixed with other grains for texture.
- Specialty rices (black, red, purple): Unique flavors and colors; cook similarly to long-grain white rice.
Each type has slightly different water-to-rice ratios and cooking times. For example, brown rice needs about 1½ cups of water per 1 cup of rice, while white rice typically uses 1¼ cups. Wild rice may take up to 50 minutes, so patience pays off.
Step-by-Step Guide: How to Cook Rice in a Dutch Oven
Ready to get started? Here’s a foolproof method to cook perfect rice in your Dutch oven every time.
Gather Your Ingredients and Tools
Before you begin, make sure you have everything ready. You’ll need:
- 1 cup of rinsed rice (any variety)
- Appropriate amount of water (see chart below)
- A fine-mesh strainer
- A wooden spoon or spatula
- Your Dutch oven with a tight-fitting lid
- A timer
Pro tip: Rinsing rice removes excess starch, which helps prevent clumping and results in fluffier grains. Just place the rice in a strainer and rinse under cold water until the water runs clear.
Measure Water Accurately
Water ratio is critical. Here’s a quick reference:
| Rice Type | Water Ratio (per 1 cup rice) |
|——————|——————————-|
| White rice | 1¼ cups |
| Brown rice | 1½ cups |
| Wild rice | 2–2¼ cups |
| Short-grain rice | 1¼ cups |
For most white long-grain rices like basmati or jasmine, 1¼ cups of water works perfectly. Adjust based on your desired consistency—slightly firmer rice holds up better in dishes, while softer rice is great for risottos.
Cooking Process
1. Heat the Dutch oven: Place it over medium-high heat. Add the rinsed rice and toast lightly for 1–2 minutes. This step enhances flavor and prevents sticking.
2. Add water: Pour in the measured water. Stir once to combine.
3. Bring to a boil: Once the water reaches a rolling boil, give the pot a quick stir.
4. Reduce heat and cover: Lower the heat to low or simmer. Immediately cover with the lid and let it cook undisturbed.
5. Set a timer: Cook for the recommended time (usually 15–20 minutes for white rice, 40–50 for brown).
6. Rest the rice: Turn off the heat and let it sit, covered, for 5–10 minutes. This allows residual steam to finish cooking the rice gently.
7. Fluff and serve: Use a fork to fluff the rice before serving.
Troubleshooting Common Issues
Even with the best technique, mistakes happen. Here’s how to fix them:
- Rice is too wet or mushy: You likely used too much water or didn’t let it rest. Next time, reduce water slightly and ensure full absorption before fluffing.
- Rice is dry or chalky: Undercooked or insufficient water. Increase water next time and extend cooking time slightly.
- Sticky or clumpy rice: Over-rinsing or too much steam trapped. Rinse just enough to remove surface starch, and avoid stirring during cooking.
- Burnt bottom: Heat too high or rice stuck. Always toast rice first, use medium-high heat initially, then reduce to low. A thin layer of water at the bottom helps prevent scorching.
Advanced Tips for Flavorful Rice
Want to elevate your rice from basic to gourmet? A Dutch oven makes it easy to infuse rich flavors directly into the grains.
Infuse with Aromatics
Instead of plain water, use broth or stock. Chicken, vegetable, or even coconut milk adds depth. For extra aroma, toss in garlic cloves, bay leaves, or a sprig of thyme before adding water.
Sauté Herbs and Spices
Toast your rice with onions, ginger, or shallots in a little oil before adding liquid. This builds a flavor foundation similar to pilaf-style cooking.
Try Coconut or Creamy Variations
For a tropical twist, cook rice in coconut milk with a pinch of salt. It turns out creamy, fragrant, and slightly sweet—perfect with curries or stir-fries.
Colorful Rice Dyes Naturally
Use natural ingredients like turmeric for golden rice or beet juice for pink hues. These also add subtle flavors and nutrients.
Make Fried Rice Directly in the Pot
After cooking rice, push it to one side of the Dutch oven, scramble an egg in the empty space, then mix everything together. No need to dirty another pan!
Cleaning and Maintaining Your Dutch Oven After Cooking Rice
Dutch ovens are known for their longevity, but proper care ensures they last for decades—even after cooking sticky rice.
Immediate Cleanup
Let the pot cool slightly before washing. Most enameled Dutch ovens can go straight into the dishwasher, but hand-washing preserves the finish longer. For cast iron, avoid soaking—dry immediately to prevent rust.
Remove Stubborn Residue
If rice sticks, fill the pot with warm water and a drop of dish soap. Let it soak for 15–20 minutes before scrubbing gently with a non-abrasive sponge. Avoid metal scouring pads.
Seasoning Cast Iron Models
If you have a raw cast iron Dutch oven, after cleaning, apply a thin layer of food-grade mineral oil and heat it in the oven at 250°F (120°C) for 30 minutes. This maintains the seasoning and prevents sticking.
Storage Tips
Store your Dutch oven with the lid slightly ajar to allow airflow and prevent moisture buildup. Keep it in a dry cabinet away from extreme temperatures.
Frequently Asked Questions About Cooking Rice in a Dutch Oven
Can I cook rice in a Dutch oven without a lid?
Technically yes, but the results won’t be ideal. Without a lid, steam escapes rapidly, leading to uneven cooking and drier rice. The lid is essential for trapping moisture and maintaining consistent heat.
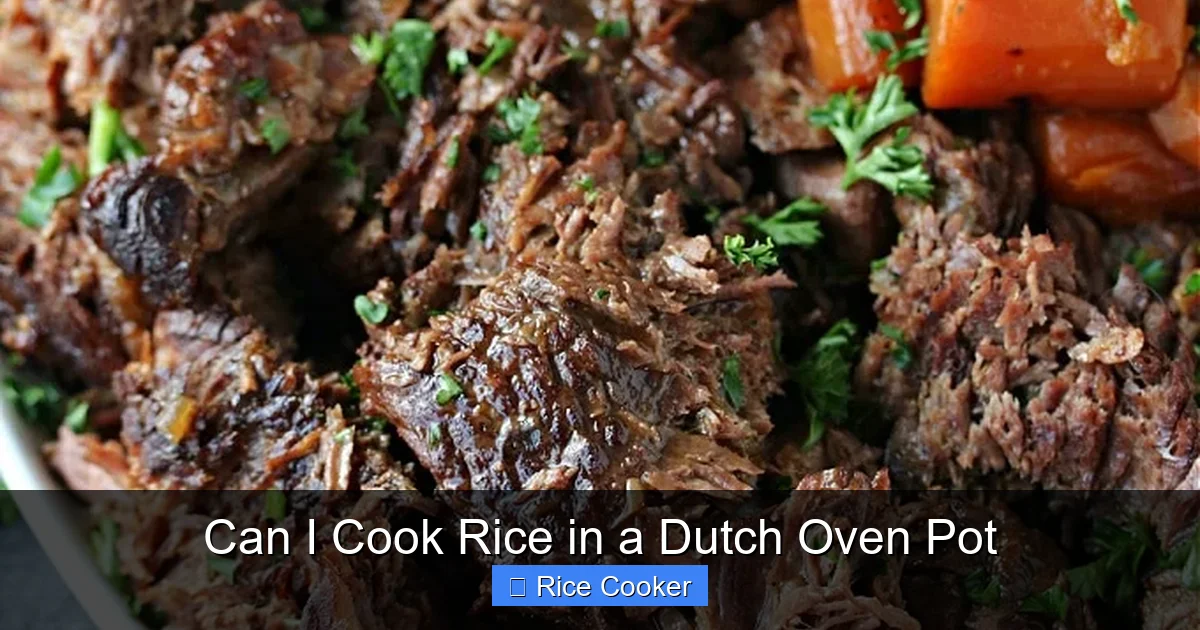
Visual guide about Can I Cook Rice in a Dutch Oven Pot
Image source: cravingsofalunatic.com
How do I prevent rice from sticking to the bottom?
Toasting the rice before adding water helps. Also, ensure you’re using the correct water ratio and avoid stirring once boiling begins. A thin layer of water at the bottom can also create a barrier.
Can I cook rice in a Dutch oven on a camping stove?
Absolutely! Dutch ovens work great on campfires, wood stoves, and portable camping stoves. Just be mindful of heat control—use a tripod or skillet trivet to distribute heat evenly.
Is a Dutch oven better than a rice cooker?
It depends on your priorities. A rice cooker automates timing and temperature, while a Dutch oven gives you more control and works for multiple dishes. Many home cooks prefer the Dutch oven for its versatility and rustic charm.
Can I cook rice in a Dutch oven in the oven?
Yes! Preheat your oven to 375°F (190°C), add rice and water to the Dutch oven, cover tightly, and bake for 30–40 minutes depending on the type. This method is great for hands-off cooking.
What if my Dutch oven doesn’t have a tight-fitting lid?
You can improvise with a sheet of foil or parchment paper tucked under the lid to seal gaps. Alternatively, use a second pot or aluminum foil dome to create a makeshift lid.
Conclusion: Master Rice Cooking with Confidence
Cooking rice in a Dutch oven isn’t just a clever trick—it’s a skill that transforms your kitchen into a place of possibility. From fluffy jasmine to hearty brown rice, this humble pot delivers consistent, delicious results with minimal effort. And the best part? Once you’ve mastered the basics, the sky’s the limit. Want to make biryani? Try the Dutch oven. Need a creamy risotto? You’ve got this.
With its ability to retain heat, trap steam, and cook evenly, a Dutch oven proves that sometimes the simplest tools yield the best results. So next time you reach for your rice cooker, consider giving your Dutch oven a try. You might just discover your new favorite way to cook rice—simple, reliable, and deeply satisfying.
Remember: practice makes perfect. Don’t be discouraged if your first batch isn’t flawless. Each attempt teaches you something new—about your rice, your pot, and yourself. Soon enough, you’ll be impressing friends and family with restaurant-quality rice, all made in one beautiful, timeless kitchen companion.
Frequently Asked Questions
Can I cook rice in a Dutch oven without a lid?
Technically yes, but the results won’t be ideal. Without a lid, steam escapes rapidly, leading to uneven cooking and drier rice. The lid is essential for trapping moisture and maintaining consistent heat.
How do I prevent rice from sticking to the bottom?
Toasting the rice before adding water helps. Also, ensure you’re using the correct water ratio and avoid stirring once boiling begins. A thin layer of water at the bottom can also create a barrier.
Can I cook rice in a Dutch oven on a camping stove?
Absolutely! Dutch ovens work great on campfires, wood stoves, and portable camping stoves. Just be mindful of heat control—use a tripod or skillet trivet to distribute heat evenly.
Is a Dutch oven better than a rice cooker?
It depends on your priorities. A rice cooker automates timing and temperature, while a Dutch oven gives you more control and works for multiple dishes. Many home cooks prefer the Dutch oven for its versatility and rustic charm.
Can I cook rice in a Dutch oven in the oven?
Yes! Preheat your oven to 375°F (190°C), add rice and water to the Dutch oven, cover tightly, and bake for 30–40 minutes depending on the type. This method is great for hands-off cooking.
What if my Dutch oven doesn’t have a tight-fitting lid?
You can improvise with a sheet of foil or parchment paper tucked under the lid to seal gaps. Alternatively, use a second pot or aluminum foil dome to create a makeshift lid.