
Can I cook rice in a Ninja Air Fryer? Absolutely! While it’s not the traditional method, your Ninja Air Fryer can produce fluffy, evenly cooked rice with the right technique. With just a few adjustments—like using the right water ratio and preheating—you can enjoy restaurant-quality rice at home in under 30 minutes.
Key Takeaways
- Yes, it works: Your Ninja Air Fryer can cook rice successfully, though it requires different timing and moisture control than a rice cooker.
- Use the right vessel: A heat-resistant glass or ceramic container is ideal to prevent cracking and ensure even cooking.
- Water-to-rice ratio matters: Start with 1:1.5 (rice to water) for most grains, but adjust based on type—jasmine needs more water, basmati less.
- Preheat and cover: Preheat the air fryer basket briefly, then cover the container with foil to trap steam and mimic a rice cooker’s sealed environment.
- Rest after cooking: Let the rice sit covered for 5–10 minutes off-heat to finish steaming and achieve perfect texture.
- Clean-up tip: Use parchment paper or silicone liners to protect the air fryer basket from sticking and simplify clean-up.
📑 Table of Contents
- Can I Cook Rice in a Ninja Air Fryer? The Ultimate Guide to Fluffy, Foolproof Results
- Why People Ask: Is Cooking Rice in an Air Fryer Even Possible?
- What You’ll Need: Essential Tools and Ingredients
- Step-by-Step: How to Cook Perfect Rice in a Ninja Air Fryer
- Troubleshooting Common Issues
- Tips for Best Results Every Time
- Air Fryer vs. Traditional Methods: Which Is Better?
- Final Thoughts: Should You Cook Rice in Your Ninja Air Fryer?
Can I Cook Rice in a Ninja Air Fryer? The Ultimate Guide to Fluffy, Foolproof Results
If you’re like most people who own a Ninja Air Fryer, you probably love it for its speed and versatility. From crispy chicken wings to golden fries, this kitchen gadget has revolutionized how we prepare meals fast. But here’s a question that pops up more often than you’d think: Can I cook rice in a Ninja Air Fryer?
The short answer? Yes! You absolutely can cook rice in your Ninja Air Fryer, and when done right, it turns out surprisingly fluffy and delicious. However, it’s not as simple as tossing rice and water into the basket and hitting start. The air fryer circulates hot air, which dries things out—something rice doesn’t need more of. So, to get it right, you’ll need a little finesse. In this complete guide, we’ll walk you through everything you need to know about making perfect rice in your Ninja Air Fryer, step by step.
Why People Ask: Is Cooking Rice in an Air Fryer Even Possible?
At first glance, it might seem counterintuitive. After all, rice is typically steamed or boiled in a sealed pot or rice cooker—conditions that lock in moisture. An air fryer, on the other hand, excels at crisping and roasting by circulating dry, hot air. So why would anyone want to cook rice in one?
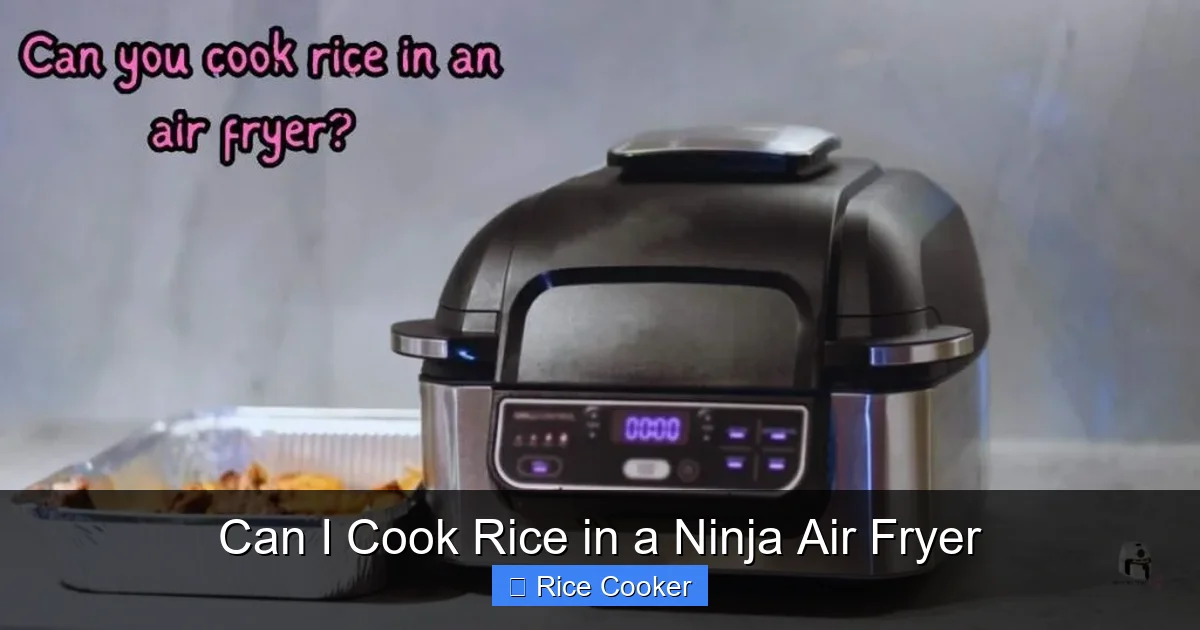
Visual guide about Can I Cook Rice in a Ninja Air Fryer
Image source: airfryeruniverse.com
The truth is, modern air fryers like the Ninja models are incredibly versatile. They’re great for reheating leftovers, making snacks, and even baking small dishes. And since they use convection heating, they can reach high temperatures quickly. That makes them a tempting option for multitasking in the kitchen—especially when you’re already using your stovetop for something else. Plus, if you don’t have a rice cooker or prefer not to use the stove, your Ninja Air Fryer becomes a powerful alternative.
That said, cooking rice in an air fryer isn’t exactly the same as using a dedicated rice cooker. There’s no automatic shut-off or precise temperature control built into the air fryer for rice. So instead of relying on technology, you’ll need to manage the process manually—but that also means you can customize it exactly how you like it.
What You’ll Need: Essential Tools and Ingredients
Before we dive into the method, let’s talk supplies. Getting the right tools makes all the difference when cooking rice in an air fryer. Here’s what you should gather:
A Heat-Resistant Container
This is non-negotiable. You can’t just throw rice and water into the air fryer basket—it won’t hold the shape, and the rice may stick or burn. Instead, use a small oven-safe dish, ramekin, or even a stainless steel steamer insert that fits inside the air fryer basket. Glass or ceramic containers work best because they distribute heat evenly and are less likely to crack under sudden temperature changes.
Measuring Cups and Spoons
Precision matters when it comes to rice. Too much water leads to mushy rice; too little leaves it undercooked. Use standard measuring cups—not volume cups meant for flour or sugar—to measure both rice and water accurately.
A Lid or Foil Cover
Since air fryers aren’t sealed, you need to create your own steam trap. Tinfoil or a tight-fitting lid helps retain moisture during cooking. Just make sure there’s a tiny vent for steam to escape—otherwise, pressure buildup could cause spills or affect texture.
Your Favorite Rice Variety
Not all rice types behave the same way in an air fryer. Short-grain varieties like sushi rice or arborio (used in risotto) tend to clump more, so they’re trickier. Medium- to long-grain rice like jasmine, basmati, or American long grain work better because they stay separate and fluffier. Brown rice also cooks well but requires longer soaking and slightly more water.
Optional: Parchment Paper or Silicone Liner
These help prevent sticking and make cleanup easier. Simply line the bottom of your container before adding rice and water. It also protects the air fryer basket from scratches.
Step-by-Step: How to Cook Perfect Rice in a Ninja Air Fryer
Now for the main event. Follow these steps closely, and you’ll end up with tender, flavorful rice every time.
Step 1: Rinse the Rice (If Using Long-Grain)
Unless you’re using instant rice, rinse your rice under cold running water until the water runs clear. This removes excess starch, which prevents the grains from becoming sticky. For brown rice, soak it for 20–30 minutes beforehand to soften the bran layer and reduce cooking time.
Step 2: Measure Rice and Water
For every 1 cup of uncooked rice, use 1.5 cups of water (a 1:1.5 ratio). If you prefer softer rice, go up to 1.75 cups. For firmer rice, try 1.25 cups. Adjust based on personal preference and rice type—jasmine usually needs a bit more water, while basmati absorbs less.
Step 3: Add Rice and Water to Container
Place your rinsed (or soaked) rice into the heat-resistant container. Pour in the measured water. Stir gently once to ensure even distribution.
Step 4: Preheat the Air Fryer (Optional but Recommended)
Set your Ninja Air Fryer to 350°F (175°C) and run it empty for 3–5 minutes. This helps stabilize the internal temperature, giving your rice a consistent start. Skip this step if you’re in a hurry, but preheating improves results.
Step 5: Cover and Place in Air Fryer
Loosely cover the container with aluminum foil, leaving a small gap for steam to escape. Alternatively, use a lid if it fits securely. Place the container in the center of the air fryer basket. Don’t overcrowd—make sure there’s space around the sides for air circulation.
Step 6: Cook for 20–25 Minutes
Set the timer for 20 minutes. After 15 minutes, check the rice by poking it with a fork. If it looks dry or the top is browning too much, add a tablespoon of water and cover again. Continue cooking until the rice is tender and the water is fully absorbed. Total time varies from 20 to 30 minutes depending on quantity and rice type.
Step 7: Rest and Fluff
Once done, turn off the air fryer and let the rice rest, still covered, for 5–10 minutes. This allows residual steam to finish cooking the grains evenly. Then, fluff with a fork before serving.
Troubleshooting Common Issues
Even with the best intentions, things can go wrong. Here’s how to fix the most common problems:
Rice Sticks to the Container
This usually happens when the container isn’t non-stick or when oil isn’t used. Lightly grease the bottom of your container with butter or oil before adding rice. You can also use parchment paper as a barrier.
Rice Is Undercooked or Gummy
Undercooked rice means you didn’t use enough heat or didn’t cover it properly. Make sure your air fryer is fully preheated and the container is tightly covered. Gummy rice often results from too much starch or insufficient rinsing. Always rinse long-grain rice thoroughly.
Rice Is Dry or Crumbly
This points to overcooking or too little water. Reduce the water ratio next time, and avoid opening the door frequently during cooking. Each time you open it, heat escapes and disrupts the process.
Steam Builds Up Too Much
If you see water pooling underneath the container, your cover isn’t vented enough. Poke a small hole in the foil or lift the edge slightly to allow excess steam to escape.
Tips for Best Results Every Time
Want to take your air-fried rice game to the next level? Try these pro tips:
- Use a Timer: Set multiple alarms so you don’t forget to check the rice halfway through.
- Add Flavor: Cook rice in broth instead of water for extra taste. Chicken, vegetable, or mushroom broth works beautifully.
- Try Saffron or Turmeric: Infuse your rice with color and subtle flavor by steeping saffron threads or turmeric in warm milk or water before mixing it in.
- Double Up on Portions: Cook larger batches and store leftovers in the fridge for up to 5 days. Reheat in the microwave with a splash of water to revive moisture.
- Experiment with Mix-Ins: Add frozen peas, carrots, or corn during the last 5 minutes of cooking for a quick pilaf-style dish.
Air Fryer vs. Traditional Methods: Which Is Better?
So, should you ditch your rice cooker and rely solely on your Ninja Air Fryer? Not necessarily. Each method has pros and cons.
Rice Cooker Pros
- Automated process—just add rice and water, press a button, and walk away
- Consistent results every time
- Often includes keep-warm functions
- Less hands-on effort
Ninja Air Fryer Pros
- Faster for small batches (under 1 cup)
- Multitask-friendly—you can air fry other foods while rice cooks
- Great for reheating and repurposing leftovers
- No need for a separate appliance if you already own an air fryer
In reality, both tools have their place. Keep your rice cooker for big meals or when you want total convenience. Use your Ninja Air Fryer for quick side dishes, meal prep, or when you’re cooking solo and don’t need a full pot of rice.
Final Thoughts: Should You Cook Rice in Your Ninja Air Fryer?
Absolutely—if you’re willing to put in a little extra attention. While it’s not as automated as a rice cooker, your Ninja Air Fryer offers flexibility and speed that’s hard to beat. With the right setup, you can make fluffy, aromatic rice in under 30 minutes without ever touching the stove.
And honestly, once you master the technique, you’ll find yourself reaching for your air fryer more often. It’s perfect for busy weeknights, dorm rooms, or anyone who wants to cut down on kitchen clutter. Plus, knowing you can cook rice in multiple ways builds confidence in the kitchen.
Just remember: patience and precision are key. Don’t rush the rinsing, the covering, or the resting phases. Treat your air fryer like a mini rice cooker—and it will reward you with delicious results.
So go ahead—grab that bag of jasmine rice, fire up your Ninja, and give it a try. Before long, you’ll be telling everyone: “You *can* cook rice in a Ninja Air Fryer!”
Frequently Asked Questions
Can I cook rice directly in the Ninja Air Fryer basket?
No, you shouldn’t cook rice directly in the air fryer basket. The metal surface can cause sticking, uneven cooking, or even damage the basket. Always use a heat-resistant container or liner to protect both the rice and your appliance.
How much water do I use for rice in an air fryer?
Use a 1:1.5 ratio—one part rice to 1.5 parts water. For example, 1 cup of rice needs 1.5 cups of water. Adjust slightly based on rice type and personal preference (softer or firmer).
Do I need to pre-soak rice before air frying?
Only if you’re using brown rice or instant rice. White long-grain rice like basmati or jasmine doesn’t require soaking—just rinse it first to remove excess starch.
Can I cook rice in the Ninja Foodi Grill instead?
Yes! The Ninja Foodi Grill has a similar air fryer function. Just follow the same steps: use a covered container, maintain proper water ratios, and monitor closely. Some models even have a dedicated rice setting.
Is air-fried rice healthier than boiled rice?
Both methods yield nutritionally similar results. Air frying doesn’t add extra fat or calories if you skip greasing. The main benefit is convenience and reduced need for added oils during preparation.
How do I store and reheat leftover air-fried rice?
Store cooled rice in an airtight container in the fridge for up to 5 days. To reheat, add a tablespoon of water, cover, and microwave for 1–2 minutes or place back in the air fryer at 300°F (150°C) for 3–5 minutes until warmed through.