
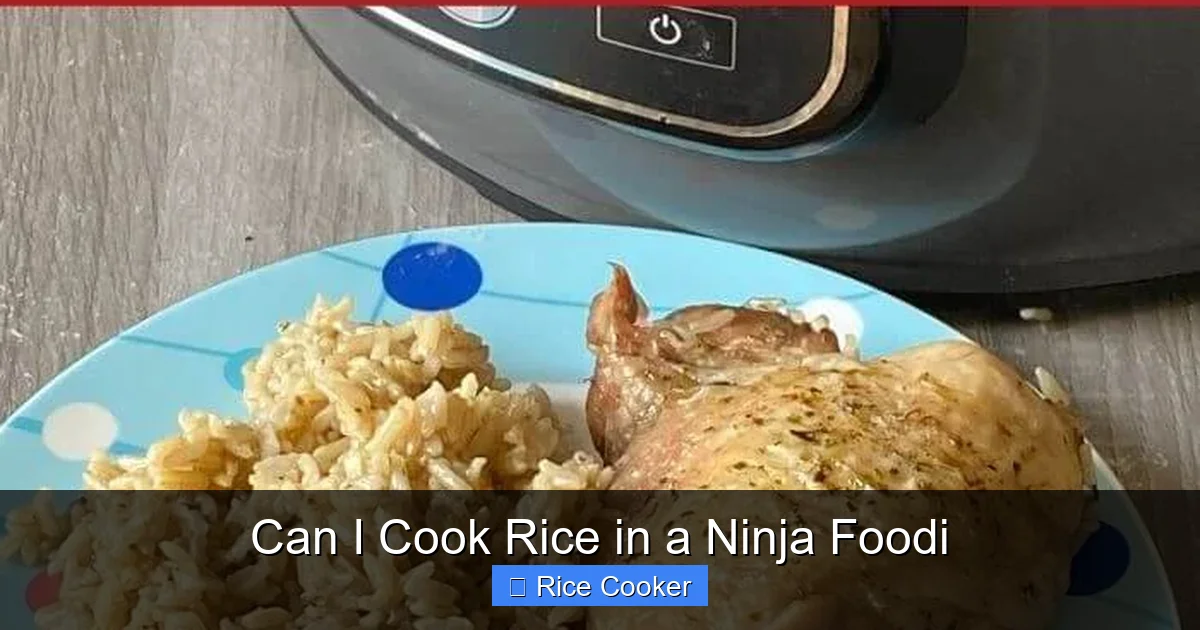
Can I cook rice in a Ninja Foodi? Absolutely! The Ninja Foodi’s pressure cooking and air frying functions make it surprisingly effective at preparing fluffy, well-cooked rice. With the right technique, you can achieve restaurant-quality results without extra equipment.
Key Takeaways
- Yes, it works: The Ninja Foodi can cook rice perfectly using both its pressure cooker and air fryer settings.
- Time-saving: You can cook rice in under 30 minutes—much faster than traditional stovetop methods.
- Customizable: Adjust water ratios and cooking times based on the type of rice (white, brown, jasmine, etc.).
- Easy cleanup: Most Ninja Foodi models have non-stick pots, making post-meal cleanup simple.
- Multi-use appliance: After cooking rice, use the same pot for steaming veggies, slow cooking, or even reheating leftovers.
- Consistent results: Using the pressure cook setting helps ensure even cooking and prevents burnt bottom layers.
📑 Table of Contents
- Can I Cook Rice in a Ninja Foodi? Yes, and It’s Surprisingly Easy!
- Understanding Your Ninja Foodi: Cooking Modes Explained
- Step-by-Step Guide: How to Cook Rice in a Ninja Foodi
- Tips for Perfect Rice Every Time
- Troubleshooting Common Rice Issues in the Ninja Foodi
- Beyond Basic White Rice: Cooking Different Types in the Ninja Foodi
- Ninja Foodi vs. Traditional Rice Cooker: Pros and Cons
- Maintenance and Care for Optimal Performance
- Conclusion: Why the Ninja Foodi Is Worth It for Rice Lovers
Can I Cook Rice in a Ninja Foodi? Yes, and It’s Surprisingly Easy!
If you’ve ever wondered whether your Ninja Foodi can replace a dedicated rice cooker, the answer is a confident yes. The Ninja Foodi isn’t just one kitchen gadget—it’s a multi-functional powerhouse that combines pressure cooking, air frying, slow cooking, and more. And guess what? One of its most reliable uses is cooking rice. Whether you’re prepping a quick weeknight dinner or meal-prepping for the week, the Ninja Foodi delivers consistent, fluffy results without the hassle of a separate appliance.
But before you start tossing rice into your Foodi, it’s important to understand how the different cooking modes affect the outcome. Not all rice is created equal—brown rice takes longer than white, and jasmine needs a different texture than basmati. The good news? With a few simple adjustments, your Ninja Foodi can handle them all like a pro. In this guide, we’ll walk you through everything you need to know: which modes work best, how much water to use, and tips to avoid mushy or undercooked grains. Let’s get started!
Understanding Your Ninja Foodi: Cooking Modes Explained
The Ninja Foodi comes in several models, but most include at least three key cooking functions: Pressure Cook, Air Fry, and Steam. Each mode impacts how your rice turns out differently. Understanding these modes will help you pick the best one for your rice type.
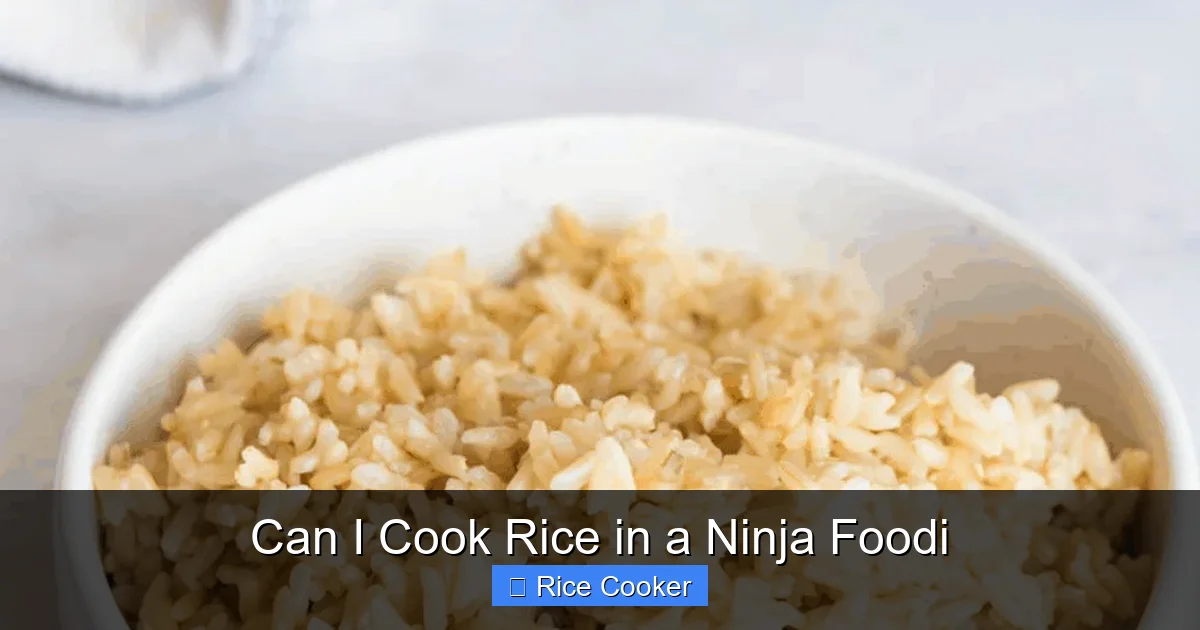
Visual guide about Can I Cook Rice in a Ninja Foodi
Image source: randaderkson.com
Pressure Cook Mode: The Best for Rice
If there’s one mode you should use for cooking rice in your Ninja Foodi, it’s Pressure Cook. This function mimics the behavior of a traditional rice cooker by applying high heat and steam under pressure, ensuring even cooking from top to bottom. The sealed environment allows moisture to circulate evenly, preventing dry spots or burnt grains.
Most experts recommend using pressure cook mode for rice because it gives you control over timing and liquid ratios—exactly what you need for perfect grains. Plus, the Foodi’s smart sensors help prevent overcooking, so you don’t have to babysit the pot like you would on the stove.
Air Fry Mode: A Fun Alternative (But Not Ideal)
You might be tempted to use the Air Fry function for rice—after all, it’s great for crispy foods. However, air frying rice usually leads to uneven results. The dry, hot airflow doesn’t provide enough moisture to cook starchy grains properly, often leaving some uncooked while others turn hard or chewy.
That said, air fry mode can work in a pinch if you’re making something like rice salad or fried rice later. Just remember: for plain cooked rice, skip this mode unless you’re adding extra oil and spices to create a finished dish.
Steam Mode: Great for Finishing Touches
Once your rice is cooked using pressure cook, you can switch to Steam mode to fluff it up and keep it warm. This is especially helpful if you’re cooking a large batch and want to maintain temperature without overcooking. Steam helps separate the grains slightly, giving you that light, airy texture you love.
Step-by-Step Guide: How to Cook Rice in a Ninja Foodi
Ready to make your first pot of rice in the Ninja Foodi? Follow these easy steps for foolproof results every time.
Gather Your Ingredients and Tools
- 1 cup of rice (adjustable for servings)
- Water (amount varies by rice type)
- A measuring cup (not the ones inside the Foodi—use a standard kitchen cup)
- A fork or rice paddle for fluffing
Tip: Use a timer or the Foodi’s built-in countdown feature to avoid overcooking. Most models also have preset programs—check your manual for “Rice” settings, though they may not always be optimized for your specific grain.
Choose the Right Water-to-Rice Ratio
This is where many beginners go wrong. Too little water = dry rice. Too much = mushy mess. Here’s a quick cheat sheet:
- White rice: 1:1.5 ratio (1 cup rice, 1.5 cups water)
- Brown rice: 1:2 ratio (1 cup rice, 2 cups water)
- Jasmine or basmati: 1:1.25 ratio (slightly less water for fluffier grains)
Pro tip: For extra flavor, try swapping half the water with broth or coconut milk. It adds subtle richness without changing the texture too much.
Prep the Foodi Pot
Make sure the cooking pot is clean and dry. Add the rinsed rice and water directly into the inner pot. Rinsing removes excess starch, which helps prevent clumping. Gently swirl the pot to distribute the rice evenly—this ensures consistent cooking.
Select the Correct Setting
For best results:
- Press Pressure Cook
- Set to Manual High Pressure
- Cook time: 4 minutes for white rice, 8–10 minutes for brown rice
- Allow natural release for 5–10 minutes before quick-release to finish cooking gently
Note: Always follow safety guidelines—never force the lid open during pressure release, and ensure the float valve has dropped completely.
Fluff and Serve
Once the cycle ends, open the lid carefully. Use a fork to gently fluff the rice—don’t mash it! Then transfer to a serving bowl or keep warm using the Steam or Keep Warm function.
Tips for Perfect Rice Every Time
Even with the right method, small tweaks can elevate your rice game. Try these expert-approved tips.
Rinse Before Cooking
Skipping this step leads to gummy, sticky rice. Rinse until the water runs clear for white rice, or just remove surface starch for brown rice. This improves texture significantly.
Don’t Overfill the Pot
The Ninja Foodi’s pot holds about 6 quarts, but rice expands during cooking. Never fill beyond two-thirds capacity. Overcrowding causes uneven cooking and increases the risk of overflow.
Use a Timer for Precision
While the Foodi has preset timers, cooking times can vary based on altitude, water temperature, and rice brand. Start with shorter times and check doneness early. You can always cook a little longer, but you can’t undo overcooked rice.
Keep It Warm (But Don’t Overdo It)
The Keep Warm function works well for short periods (up to 2 hours), but prolonged warmth turns rice sticky. If you’re not serving immediately, hold off on using Keep Warm and reheat gently in the pressure cooker with a splash of water.
Add Flavor Without Compromising Texture
Salt, butter, or herbs are fine—just add them after cooking. Adding fat or seasonings before pressure cooking can interfere with steam release and affect safety. Wait until the rice is done, then stir in your favorite touches.
Troubleshooting Common Rice Issues in the Ninja Foodi
Even seasoned Foodi users run into hiccups. Here’s how to fix the most common problems.
Mushy Rice
This usually happens when there’s too much water or the pressure release is too fast. To fix it:
- Reduce water next time (especially for brown rice)
- Let rice rest under pressure longer before releasing steam
- Avoid stirring too much after cooking—gentle fluffing is enough
Undercooked or Hard Grains
Causes include insufficient water, incorrect cook time, or low heat. Solutions:
- Increase water by ¼ cup
- Extend pressure cook time by 1–2 minutes
- Ensure the float valve rises fully before starting
Burnt Bottom Layer
This suggests scorching at the bottom of the pot. Prevention tips:
- Use the trivet or add ½ inch of water beneath the rice (for pressure cook)
- Stir once halfway through cooking (only if safe for your model)
- Clean the heating element regularly—food residue builds up over time
Rice Sticking to the Pot
Non-stick pots are designed to resist sticking, but old pots lose their coating. Fix this by:
- Using a wooden spoon instead of metal utensils
- Adding a tablespoon of oil or butter before cooking (optional, but effective)
- Replacing the pot if scratches are deep or peeling
Beyond Basic White Rice: Cooking Different Types in the Ninja Foodi
Your Ninja Foodi isn’t limited to plain white rice. With slight adjustments, you can make fragrant jasmine, nutty brown rice, or even sushi-grade basmati—all with the same appliance.
Jasmine and Basmati Rice
These long-grain varieties thrive on lower moisture levels. Use a 1:1.25 water ratio and cook under medium-high pressure for 3–4 minutes. Jasmine benefits from a short rest after cooking to allow steam to redistribute evenly.
Brown Rice
Because it contains more fiber and bran, brown rice absorbs more water and takes longer to cook. Stick to a 1:2 ratio and cook for 8–10 minutes. Some people prefer soaking brown rice for 30 minutes beforehand—it shortens cook time and improves texture.
Wild Rice Blend
Wild rice needs extra time due to its tough outer shell. Combine it with regular rice (e.g., ½ wild, ½ white) and increase water to 2.5 cups per 1 cup total rice. Cook for 12–15 minutes on high pressure.
Glutinous or Sticky Rice
Not ideal for pressure cooking—the high pressure can make it overly dense. Instead, try steaming it in the Foodi’s steam basket for 20–25 minutes. Cover with a towel to trap moisture.
Ninja Foodi vs. Traditional Rice Cooker: Pros and Cons
So why choose the Ninja Foodi over a standalone rice cooker? Let’s compare.
Pros of Using the Ninja Foodi
- Multi-functionality: Cook rice, steam vegetables, slow cook chili, air fry chicken—all in one device.
- Space-saving: No need to store another bulky appliance.
- Large capacity: Many models hold 6+ quarts, ideal for families or meal prep.
- Faster than stovetop: Pressure cooking cuts time in half compared to boiling on the stove.
Pros of Dedicated Rice Cookers
- Optimized design: Built specifically for rice—better temperature control and sensors.
- Easier operation: One-button cooking for multiple rice types.
- Smaller footprint: Takes up less counter space.
When to Stick with a Rice Cooker
If you eat rice multiple times a day or prioritize convenience above all else, a dedicated rice cooker might still win out. But for occasional use or versatility, the Ninja Foodi is a fantastic alternative.
Maintenance and Care for Optimal Performance
To keep your Ninja Foodi cooking rice perfectly year after year, follow these care tips.
- Clean the inner pot weekly: Hand wash with warm, soapy water. Avoid abrasive scrubbers that damage non-stick coating.
- Check seals and valves: Replace silicone rings if cracked or deformed. Ensure float valve moves freely.
- Descale monthly: Use vinegar solution to remove mineral buildup, especially if you use hard water.
- Store properly: Keep the lid off to prevent mold. Place the pot upside down to dry completely.
Conclusion: Why the Ninja Foodi Is Worth It for Rice Lovers
Cooking rice in your Ninja Foodi isn’t just possible—it’s practical, efficient, and delivers delicious results. Whether you’re whipping up a side for tacos, building a grain bowl, or feeding a hungry family, this versatile appliance handles it all. With the right technique, you’ll never look back from your old rice cooker.
Remember: the key is using the pressure cook setting with proper water ratios and letting the natural release do its job. Experiment with different rice types, flavors, and textures until you find your favorites. And don’t forget—once the rice is done, the Foodi is ready for the next recipe. That’s real kitchen magic.
So go ahead—grab your rice, fill that pot, and let your Ninja Foodi do the heavy lifting. Your future self will thank you.
Frequently Asked Questions
Can I cook rice in any Ninja Foodi model?
Yes, as long as your model has a pressure cook function. Models like the OP300, OP302, and DT201 are ideal. Check your manual to confirm pressure cooking capability.
How much water do I use for 2 cups of rice in a Ninja Foodi?
For white rice, use 3 cups of water (1:1.5 ratio). For brown rice, use 4 cups (1:2 ratio). Adjust slightly based on desired texture.
Do I need to soak the rice before cooking?
Not necessarily. Soaking can reduce cook time and improve texture, especially for brown rice, but it’s optional. Rinsed rice works fine without soaking.
Why is my rice sticky in the Ninja Foodi?
Too much water, over-stirring, or rapid pressure release can cause stickiness. Reduce water slightly and let rice rest under pressure before opening.
Can I cook frozen rice in the Ninja Foodi?
No, not recommended. Frozen rice should be thawed first. Cooking frozen grains can lead to uneven heating and safety risks.
Is it safe to leave rice in the Foodi overnight?
No. The Keep Warm function is not meant for extended periods (max 2 hours). Bacteria grow quickly in cooked rice left at room temperature too long.