
Can I cook rice with a microwave? Absolutely! With the right technique and timing, your microwave can produce fluffy, delicious rice in under 10 minutes. While not as consistent as a dedicated rice cooker, it’s a fast, convenient option for small batches or when you’re short on kitchen space.
Key Takeaways
- Microwave cooking is possible: You can successfully cook rice in a microwave using water, salt, and precise timing.
- Water-to-rice ratio matters: The standard ratio is 1:2 (one cup rice to two cups water), but adjustments are needed for different types of rice.
- Use a microwave-safe container: Always choose a heatproof, covered dish to prevent spills and ensure even cooking.
- Stirring helps: Stirring once halfway through improves texture and prevents clumping, especially for long-grain rice.
- Let it rest: After microwaving, let the rice sit for 3–5 minutes to finish steaming and absorb excess moisture.
- Not ideal for large batches: Microwaves struggle with volume; use them for 1–2 cups of rice at a time.
- Safety first: Use oven mitts and be cautious of hot steam when removing lids.
📑 Table of Contents
- Can I Cook Rice with Microwave? The Quick Answer
- The Basics: Can Your Microwave Handle Rice?
- Choosing the Right Rice for Microwave Cooking
- Step-by-Step Guide: How to Cook Rice in the Microwave
- Troubleshooting Common Microwave Rice Problems
- Tips for Perfect Microwave Rice Every Time
- Microwave vs. Rice Cooker: Which Is Better?
- Safety Tips When Cooking Rice in the Microwave
- Creative Ways to Use Microwave-Cooked Rice
- Conclusion: Yes, You Can Cook Rice in the Microwave—and It’s Easy!
Can I Cook Rice with Microwave? The Quick Answer
If you’re standing in your kitchen, hungry and out of time, you might wonder: Can I cook rice with microwave? The short answer is yes—you absolutely can. In fact, many people rely on their microwaves to make quick meals every day. But while it’s doable, there are important details that make the difference between mushy, uneven rice and fluffy, delicious grains.
This guide will walk you through everything you need to know about cooking rice in a microwave. From choosing the right rice type to mastering the timing and technique, we’ll help you get consistent results without needing a fancy rice cooker. Whether you’re cooking jasmine, basmati, brown rice, or even wild rice, we’ve got you covered.
The Basics: Can Your Microwave Handle Rice?
Before diving into recipes, let’s address the big question: Does your microwave have what it takes to cook rice? Most standard microwave ovens—whether countertop, over-the-range, or compact—can cook rice just fine. However, there are a few things to keep in mind.
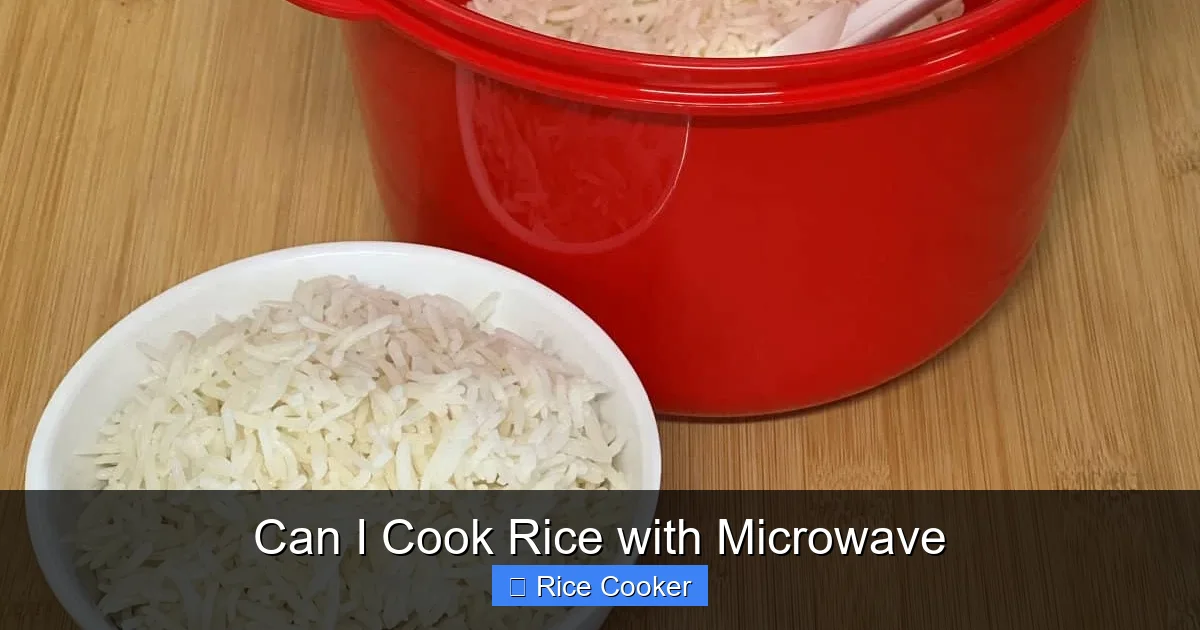
Visual guide about Can I Cook Rice with Microwave
Image source: ovenspot.com
Microwave Power Levels Matter
Most home microwaves operate between 600 and 1200 watts. Higher wattage means faster cooking times, so if yours is on the lower end, expect slightly longer durations. For example, 700-watt microwaves may take 8–10 minutes, while 1000-watt models might finish in 6–7 minutes.
To check your microwave’s wattage, look at the label inside the door or consult the manual. If you’re unsure, start with the lower end of the recommended time and adjust upward.
Container Requirements
You’ll need a microwave-safe container with a lid. A glass or ceramic bowl works well, but avoid plastic unless it’s labeled microwave-safe and thick enough to handle heat. Covering the dish prevents splatters and helps trap steam, which is essential for cooking rice evenly.
A tight-fitting lid or microwave-safe plate works best. Avoid metal containers—they can cause sparks and damage your appliance.
Choosing the Right Rice for Microwave Cooking
Not all rice is created equal when it comes to microwave cooking. Some types respond better than others due to grain structure, starch content, and cooking time.
Long-Grain White Rice
This is the most common type used in microwave cooking. Jasmine and basmati are excellent choices because they remain separate and fluffy when cooked properly. They require a higher water ratio and benefit from stirring.
Short-Grain or Sushi Rice
These sticky varieties can be tricky. They absorb more water and tend to clump. To reduce stickiness, rinse thoroughly before cooking and use slightly less water than usual.
Brown Rice
Brown rice takes longer to cook and requires more water due to its bran layer. It’s denser, so patience is key. Brown rice often needs 10–15 minutes in the microwave and should be checked frequently.
Wild or Black Rice
These specialty rices have unique textures and flavors. Wild rice, for instance, resembles tiny grains of wheat and takes the longest to cook. Always follow package instructions as ratios and times vary widely.
Pro tip: When in doubt, start with white long-grain rice. It’s forgiving and gives reliable results.
Step-by-Step Guide: How to Cook Rice in the Microwave
Ready to try it yourself? Follow this simple process for foolproof microwave rice.
What You’ll Need
- 1 cup rice (any type)
- 2 cups water (adjust for rice type)
- Salt (optional, for flavor)
- Microwave-safe container with cover
- Fork or spoon
- Oven mitts
Step 1: Rinse the Rice
Rinsing removes excess starch and prevents gummy results. Place rice in a fine-mesh strainer and rinse under cold water until the water runs clear. This step is especially important for sushi or short-grain rice.
Step 2: Combine Rice and Water
Transfer rinsed rice to your microwave-safe container. Add water and a pinch of salt. For white rice, use a 1:2 ratio (1 cup rice, 2 cups water). For brown rice, increase water to 2.5 cups.
Step 3: Cover and Microwave
Cover the container tightly with a lid or microwave-safe plate. Microwave on high power. Times vary by rice type:
- White long-grain: 8–10 minutes
- Brown rice: 12–15 minutes
- Sushi rice: 7–9 minutes
Step 4: Let It Rest
After microwaving, let the rice stand, covered, for 3–5 minutes. This allows steam to distribute evenly and the grains to finish absorbing moisture.
Step 5: Fluff and Serve
Carefully remove the lid (watch for steam!), fluff the rice with a fork, and serve immediately. Enjoy!
Example: Want to cook 1 cup of jasmine rice in 9 minutes? Rinse, add 2 cups water, cover, microwave on high for 9 minutes, rest 4 minutes, then fluff. Voilà—perfect rice!
Troubleshooting Common Microwave Rice Problems
Even with the best technique, things can go wrong. Here’s how to fix common issues.
Mushy or Sticky Rice
This usually happens from too much water or overcooking. Next time, reduce water by ¼ cup and check after 7 minutes. Also, avoid covering too tightly—ventilation helps prevent steaming instead of cooking.
Dry or Undercooked Grains
If rice is still hard in the center, drain excess water and microwave in 1-minute increments, checking each time. Don’t open the lid during cooking to avoid losing heat.
Uneven Texture
Stirring halfway through cooking solves this. Pause the microwave, uncover carefully, stir gently, re-cover, and continue. This redistributes heat and moisture.
Burnt Bottom
This occurs when the container overheats. Use a larger dish or rotate it halfway. Glass containers retain heat better than plastic, so switch materials if needed.
Remember: Microwave cooking isn’t always predictable. Keep notes on your results and adjust time/ratio accordingly.
Tips for Perfect Microwave Rice Every Time
Want restaurant-quality rice without leaving your kitchen? Try these expert tips.
Use a Lid with Vent
A vented lid or loosely placed plate lets steam escape slightly, preventing boiling over. Alternatively, tent the cover with a damp paper towel.
Don’t Rush the Resting Phase
The resting period is crucial. Skipping it leads to uneven texture and leftover moisture. Set a timer!
Experiment with Flavors
Add broth instead of water for richer rice. Try a bay leaf, garlic clove, or a teaspoon of butter before cooking. Remove solids after cooking.
Measure Accurately
Use measuring cups, not eyeballing. Consistency is key. A 1-cup measure ensures uniform results across batches.
Cook Small Batches
Microwaves heat unevenly. Stick to 1–2 cups of uncooked rice. Larger amounts risk undercooked centers.
Keep a Rice Journal
Note the rice type, water ratio, time, and outcome. Over time, you’ll develop a personal recipe that works perfectly.
Microwave vs. Rice Cooker: Which Is Better?
You might be wondering: Should I invest in a rice cooker instead? Both have pros and cons.
Microwave Advantages
- Fast and convenient
- No special appliance needed
- Great for small portions
- Energy efficient for single servings
Rice Cooker Advantages
- Consistent results every time
- Larger capacity
- Automated settings (brown rice, steam, keep warm)
- Better texture control
Bottom line: Use a microwave for speed and simplicity. Choose a rice cooker for reliability and bulk cooking. Many modern models even connect to apps and offer multiple functions.
Safety Tips When Cooking Rice in the Microwave
Microwave cooking is generally safe, but a few precautions keep you and your appliance protected.
Wear Oven Mitts
The container and lid will be extremely hot. Always use oven mitts or a towel to handle them.
Watch for Steam Burns
Opening the lid releases hot vapor. Step back and lift slowly to avoid burns.
Avoid Plastic Containers Unless Labeled Safe
Some plastics warp or release chemicals when heated. Opt for glass, ceramic, or microwave-safe BPA-free plastic.
Don’t Overfill
Leave room for expansion. Rice swells as it cooks. Too full a container can cause overflow and mess.
Clean Regularly
Residue from rice can attract pests and create odors. Wash containers immediately after use.
Creative Ways to Use Microwave-Cooked Rice
Fluffy rice isn’t just for side dishes. Get creative!
Rice Bowls and Grain Bowls
Top with grilled chicken, veggies, tahini, and sesame seeds. Add a fried egg for protein.
Sushi Rice
Perfect for homemade sushi rolls. Cook with rice vinegar, sugar, and salt for authentic flavor.
Risotto-Style Dishes
Make creamy mushroom or tomato risotto by adding warm broth gradually while stirring.
Pilafs and Stuffings
Combine with herbs, dried fruits, and nuts for holiday stuffing or festive pilafs.
Fried Rice
Cool cooked rice overnight, then stir-fry with eggs, soy sauce, and vegetables. Microwave rice works great here!
Conclusion: Yes, You Can Cook Rice in the Microwave—and It’s Easy!
So, can I cook rice with microwave? The answer is a confident yes. With the right technique, attention to detail, and a little practice, you can make fluffy, delicious rice right in your kitchen. Whether you’re in a hurry, don’t own a rice cooker, or just want a quick side dish, the microwave is a surprisingly capable tool.
While it may not replace a dedicated rice cooker for large families or frequent cooks, it shines in convenience and speed. Master the basics, troubleshoot like a pro, and soon you’ll be serving up perfect rice every time—no appliance required.
Next time you’re craving rice, skip the takeout and give microwave cooking a try. You might just discover your new favorite method.
Frequently Asked Questions
Can I cook rice in a microwave without a rice cooker?
Yes, you can cook rice in a microwave without a rice cooker. Use a microwave-safe container with a lid, follow the correct water-to-rice ratio, and cook on high power with occasional stirring for best results.
How much water do I use for 1 cup of rice in the microwave?
For 1 cup of white long-grain rice, use 2 cups of water. Adjust for other types: brown rice needs 2.5 cups, and sushi rice may use slightly less due to higher stickiness.
Do I need to soak rice before microwaving?
No soaking is necessary for most rice types, including white and brown rice. Rinsing is more important to remove excess starch and improve texture.
Can I reheat leftover rice in the microwave?
Yes, reheat leftover rice in the microwave by placing it in a covered dish with a splash of water. Heat in 30-second intervals, stirring between each, until warmed through.
Why is my microwave rice still hard in the middle?
This usually means it wasn’t cooked long enough or wasn’t stirred. Drain excess water, cover, and microwave in 1-minute increments until tender, checking frequently.
Is it safe to leave rice in the microwave after cooking?
Yes, it’s safe to let rice rest in the microwave after cooking. This helps distribute steam evenly and improves texture. Just ensure the container is microwave-safe and uncovered briefly if needed for ventilation.