
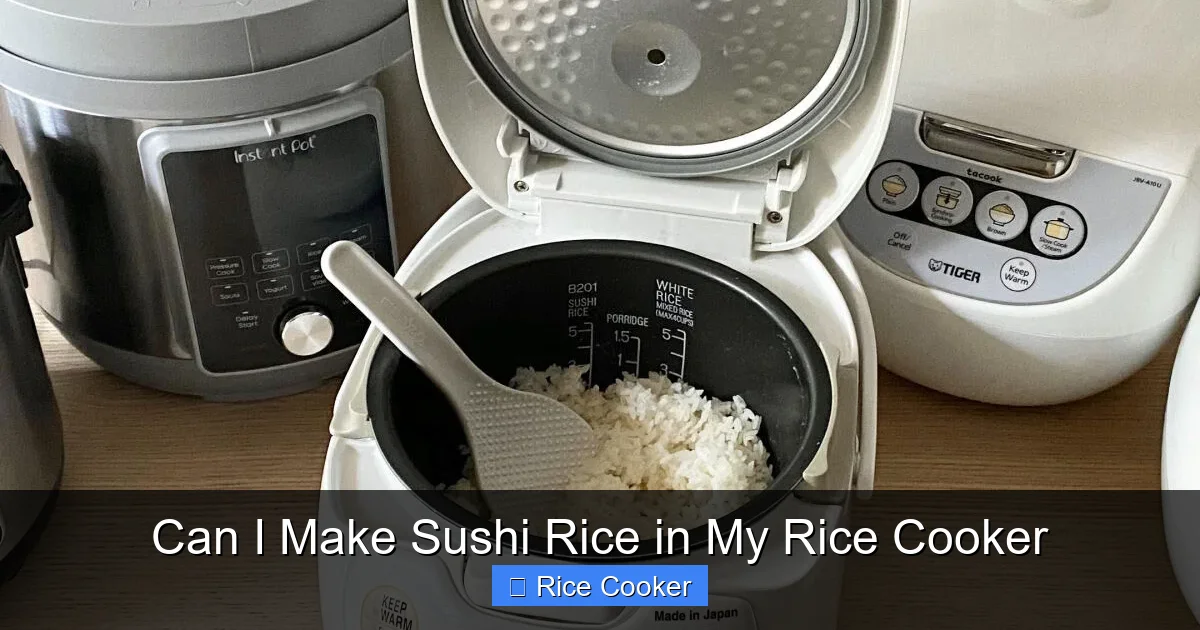
Making sushi rice in a rice cooker is not only possible—it’s easy and gives consistent results. With the right rice, water ratio, and technique, you can achieve the perfect sticky, slightly sweet texture that’s ideal for nigiri, maki rolls, or onigiri. No special equipment needed—just a good rice cooker and a little know-how.
Key Takeaways
- Understanding can i make sushi rice in my rice cooker: Provides essential knowledge
📑 Table of Contents
Can I Make Sushi Rice in My Rice Cooker?
If you’ve ever stared at a pile of raw sushi rice, wondering how chefs manage to shape it so perfectly, you’re not alone. The idea of making sushi rice at home might seem intimidating—after all, isn’t it a delicate art form? But here’s the good news: yes, you can absolutely make sushi rice in your rice cooker, and doing so is easier than you might think.
With just a few simple adjustments and a bit of practice, your rice cooker becomes a powerful tool for crafting restaurant-quality sushi rice right in your kitchen. Whether you’re preparing nigiri for two or rolling a dozen maki at once, this method delivers consistent, fluffy, and perfectly textured results every time. Plus, it saves time and reduces cleanup compared to traditional stovetop methods. In this guide, we’ll walk you through everything you need to know—from choosing the right rice to seasoning and storing your finished product—so you can enjoy fresh, authentic sushi rice with confidence.
The Basics of Sushi Rice
What Makes Sushi Rice Different?
Sushi rice isn’t just any cooked rice—it’s specifically prepared to be sticky, slightly sweet, and moldable. Unlike regular jasmine or basmati rice, sushi rice uses a short-grain variety (often labeled as “Japanese rice” or “sushi rice”) that contains more amylopectin, a type of starch that creates the signature cling when cooked. This stickiness allows sushi to hold its shape when rolled or formed by hand.
Visual guide about Can I Make Sushi Rice in My Rice Cooker
Image source: saigonsupper.com
In Japan, sushi rice is traditionally seasoned with a mixture of rice vinegar, sugar, and salt while still warm. This process, called shari preparation, enhances flavor and preserves texture. The key is to avoid overmixing, which can break apart the delicate grains. When done correctly, each grain remains intact yet cohesive enough to bind together without falling apart.
Why Use a Rice Cooker?
Many people assume that making sushi rice requires constant attention on the stove, stirring and monitoring heat levels. But modern rice cookers are designed to automate this process with precision. They maintain consistent temperatures during cooking and steaming phases, ensuring even hydration and texture. For beginners or busy cooks, this consistency is a game-changer.
Additionally, rice cookers often include settings like “sushi” or “glutinous” modes, though these aren’t always necessary. Most standard models can handle sushi rice if you adjust the water ratio slightly. The real secret lies in post-cooking handling—how you let the rice rest and season it afterward.
Choosing the Right Rice
Short-Grain vs. Medium-Grain
The foundation of great sushi rice starts with the grain itself. Short-grain rice (also called glutinous rice in some regions, though it’s not sweet) is preferred because of its high starch content and compact structure. It swells evenly when cooked and retains a soft, chewy mouthfeel. Medium-grain rice can work in a pinch, but it lacks the same level of stickiness and may result in looser rolls.
Look for brands labeled specifically for sushi or Japanese cuisine. Popular options include Calrose, Koshihikari, and Carolina Gold—all widely available online or at Asian grocery stores. Avoid pre-packaged “instant sushi rice,” which already includes vinegar and salt. While convenient, these often have inferior texture and lack control over flavor balance.
Freshness Matters
Even the best rice can go bad if stored improperly. Check the package for expiration dates and ensure it hasn’t been opened long ago. Stale rice absorbs moisture unevenly and can become either dry or overly sticky. If possible, buy rice in smaller quantities (1–2 pounds) to use within a month or two for optimal results.
Preparing the Rice Properly
Measuring Ingredients Accurately
The ratio of rice to water is critical. Too much water leads to mushy rice; too little leaves it hard and undercooked. For most rice cookers, aim for a 1:1.1 to 1:1.2 ratio—for example, 1 cup rice to 1.1 cups water. Some models recommend slightly less (like 1:1), especially if they have advanced sensors. Always consult your manual first.
Here’s a quick reference table:
| Rice Amount | Water Amount |
|---|---|
| 1 cup | 1.1 cups |
| 2 cups | 2.2 cups |
| 3 cups | 3.3 cups |
Note: These measurements are approximate. Your specific rice cooker may vary slightly. If your rice feels dry after cooking, reduce water next time. If it’s soupy, increase water slightly.
Rinsing and Soaking
Rinsing removes surface starch that can cause clumping. Place rice in a fine-mesh strainer and run cold water over it until the water runs clear—usually about 30 seconds to 1 minute. Avoid scrubbing or soaking for too long, as this washes away nutrients and affects texture.
Soaking isn’t always required but can help improve grain cohesion. Let rinsed rice sit in a bowl of water for 30 minutes before draining and cooking. This step is optional but recommended for beginners aiming for fluffier results.
Cooking Sushi Rice in the Rice Cooker
Setting Up Your Cooker
Start by rinsing and soaking your rice as described above. Drain thoroughly and transfer it to the inner pot of your rice cooker. Add the measured water gently, using a measuring cup with markings for accuracy. Swirl the pot lightly to distribute water evenly.
Close the lid securely and select the standard “white rice” or “basic” setting unless your model has a dedicated “sushi” mode. If available, use that—it often adjusts timing and temperature for shorter-grain varieties. Press start and wait patiently. Do not lift the lid during cooking, as this disrupts internal pressure and temperature.
Steaming and Resting Phase
Once the cooking cycle ends, most rice cookers automatically switch to a keep-warm or steaming mode. This is actually beneficial for sushi rice! Allow the rice to rest undisturbed for 10–15 minutes. This lets residual steam finish hydrating the grains and creates a more uniform texture.
After resting, gently fluff the rice with a rice paddle or wooden spatula in a folding motion—don’t stir aggressively. The goal is to separate grains without breaking them. At this point, the rice should look glossy, tender, and slightly moist.
Seasoning Your Sushi Rice
Making the Rice Vinegar Mixture
While rice is still warm (but not hot), prepare your seasoning. In a small saucepan, combine equal parts rice vinegar, sugar, and a pinch of salt. Heat gently until the sugar dissolves—about 30 seconds. Remove from heat and let cool slightly. You want it lukewarm, not cold, for even absorption.
A typical recipe:
- 1/4 cup rice vinegar
- 2 tablespoons granulated sugar
- 1 teaspoon sea salt
Adjust based on rice quantity—scale up proportionally.
Mixing Techniques
Transfer warm rice to a large wooden bowl or flat dish. Drizzle the vinegar mixture over the top, then fold it in using a cutting motion with a rice paddle. Lift the paddle and flip the rice upward repeatedly. Continue until every grain is coated but not crushed.
Tip: Work quickly but gently. Overmixing turns rice into paste. If it feels too wet, add a sprinkle of uncooked rice to soak up excess moisture.
Final Touches
Spread the seasoned rice thinly in a single layer and fan it with a piece of cardboard or fan-shaped utensil. This cools it slightly and evaporates excess moisture, enhancing stickiness. Wait 5–10 minutes before using.
Troubleshooting Common Issues
Rice Too Dry or Crumbly
This usually means insufficient water or over-rinsing. Try increasing water by 10% next time and reduce rinsing time. Also, avoid letting rice sit too long after cooking—serve or season immediately.
Rice Too Sticky or Gummy
Too much starch or excessive water causes this. Rinse more thoroughly and measure water precisely. Don’t skip the resting phase—it helps regulate moisture distribution.
Grains Breaking During Rolling
If your rice falls apart when forming sushi, it’s likely overseasoned or overworked. Reduce vinegar mixture by half and mix less vigorously. Ensure rice is neither too hot nor too cold when handling.
Storing and Reheating Sushi Rice
Short-Term Storage
Seasoned sushi rice is best used within 2 hours of preparation. Cover loosely with plastic wrap or a damp cloth to prevent drying. Never store covered tightly—this traps moisture and encourages bacterial growth.
Refrigeration and Freezing
For up to 1 day, store in an airtight container at room temperature. Refrigerate only if waiting longer than 2 hours—use within 24 hours. To reheat, place rice in a steamer basket over boiling water for 3–5 minutes, checking frequently to avoid overcooking.
Freezing is possible but tricky. Portion into ice cube trays, freeze solid, then transfer to bags. Thaw overnight in the fridge and steam briefly before use. Note: frozen sushi rice may lose some texture and stickiness.
Tips for Perfect Sushi Every Time
Keep Tools Clean and Cold
Use a wooden cutting board and bamboo mat for rolling. Wipe hands and tools with a lightly dampened towel to prevent sticking. Cold tools help maintain rice texture.
Practice Makes Perfect
Don’t expect flawless rolls on your first try. Shape practice pieces (onigiri or chirashi) to test consistency. Adjust seasoning gradually based on taste preferences.
Experiment with Flavors
Add a touch of mirin or sake to the vinegar mix for depth. Some chefs infuse rice with sesame oil or omit sugar entirely for savory styles like yakimeshi.
Conclusion
Making sushi rice in a rice cooker is not only doable—it’s one of the most reliable ways to achieve consistent, delicious results at home. By selecting the right rice, measuring ingredients accurately, and mastering the seasoning process, you unlock a world of possibilities for homemade sushi. No fancy equipment required, just attention to detail and a willingness to learn.
Whether you’re crafting simple nigiri, vibrant California rolls, or creative fusion dishes, having fresh sushi rice ready to go makes all the difference. And now, thanks to your trusty rice cooker, you can enjoy restaurant-quality meals anytime. So go ahead—grab that bowl, measure that vinegar, and start rolling!
Frequently Asked Questions
Can I use regular white rice instead of sushi rice?
Not really. Regular white rice lacks the high starch content needed for sushi’s characteristic stickiness. Even if you rinse and season it well, it won’t hold its shape when rolled or shaped.
Do I need a special rice cooker for sushi rice?
Nope. Any basic or advanced rice cooker works fine. Just pay attention to water ratios and follow the steps for rinsing, resting, and seasoning.
How long does sushi rice last after cooking?
Unseasoned cooked rice keeps for up to 1 week in the fridge. Seasoned rice should be used within 2 hours or stored in the fridge for no more than 1 day.
Can I make sushi rice ahead of time?
Yes, but season it just before use. Unseasoned rice can be cooled, stored in the fridge for up to 2 days, and reheated gently before seasoning.
Why is my sushi rice too sticky?
Usually due to too much water, insufficient rinsing, or over-seasoning. Try reducing water by 10%, rinsing longer, or using less vinegar mixture.
Is it okay to use brown rice for sushi?
Not ideal. Brown rice has bran layers that interfere with texture and stickiness. Stick to short-grain white rice for best results.