
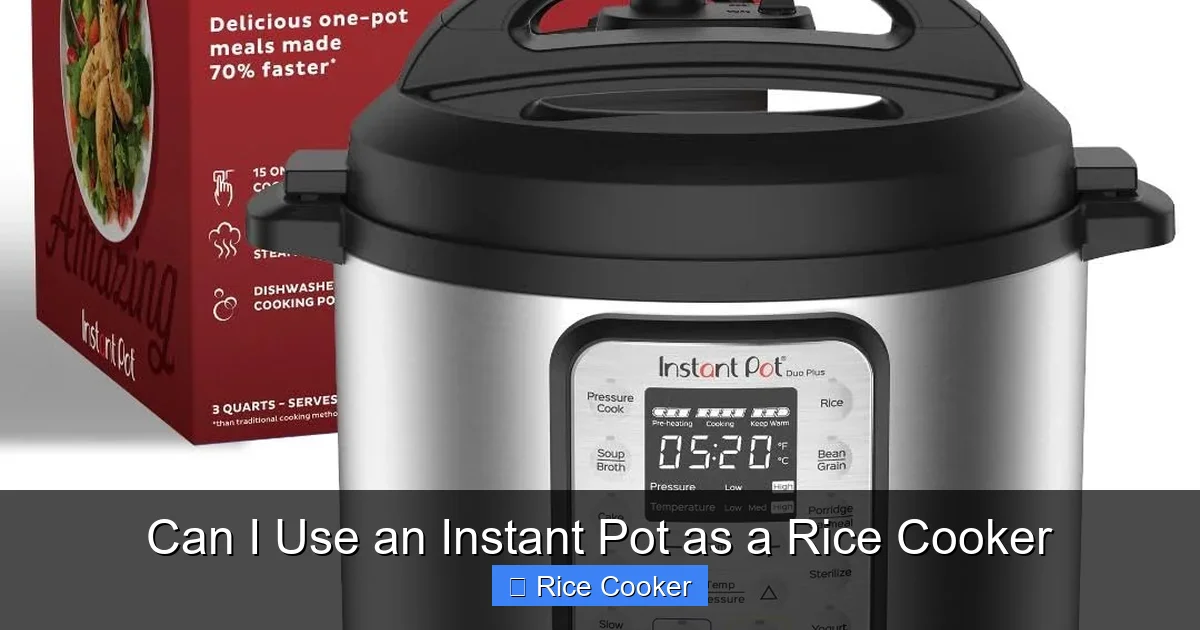
Absolutely, you can use an Instant Pot as a rice cooker. The multi-functional device is designed with a dedicated rice setting that delivers fluffy, evenly cooked grains—just like a traditional rice cooker. Whether you’re preparing white rice, brown rice, or even sushi rice, the Instant Pot handles it all with minimal effort.
Beyond basic cooking, it offers extra features like steaming vegetables, making rice cakes, and even reheating leftovers without drying them out. With the right settings and a few helpful tips, your Instant Pot becomes a reliable, time-saving alternative to a standalone rice cooker.
Have you ever stood in front of your kitchen counter, staring at two appliances—a bulky rice cooker and a sleek Instant Pot—wondering which one to use? You’re not alone. The modern kitchen is all about efficiency, and the Instant Pot has become a favorite for its versatility. But here’s the real question on everyone’s mind: Can I use an Instant Pot as a rice cooker? The short answer? Absolutely yes. In fact, many home cooks prefer using their Instant Pot for rice because it’s faster, more consistent, and packed with extra features.
Unlike older rice cookers that simply heat and wait, the Instant Pot uses pressure cooking technology to lock in flavor and moisture. This means your rice comes out perfectly fluffy every time—whether it’s a simple bowl of jasmine rice or a complex pilaf with herbs and spices. Plus, you don’t need to monitor it constantly. Just add rice and water, press a button, and let the magic happen. And if you’re tired of juggling multiple appliances, the Instant Pot is a game-changer. It’s not just a rice cooker—it’s a full kitchen assistant that can steam veggies, cook beans, make soups, and even bake desserts. But let’s focus on rice today. How do you get the best results, and what makes the Instant Pot stand out from traditional rice cookers?
Key Takeaways
- Instant Pots are fully capable of cooking rice: They come with preset modes for different types of rice, ensuring consistent results.
- It’s more than just a rice cooker: In addition to rice, you can steam, sauté, pressure cook, slow cook, and even make yogurt.
- You can cook various rice types: White, brown, jasmine, basmati, wild rice, and even instant rice—all in one appliance.
- Proper water ratios matter: Using the correct water-to-rice ratio prevents mushy or dry outcomes.
- Cleaning and maintenance are easy: Most models have a non-stick inner pot that’s dishwasher safe and removable for quick cleanup.
- Accessories improve functionality: A trivet, rice paddle, and measuring cup help streamline the process.
- Energy-efficient and space-saving: One appliance replaces multiple gadgets, saving counter space and electricity.
📑 Table of Contents
- Understanding the Instant Pot’s Rice Cooking Functionality
- Types of Rice You Can Cook in an Instant Pot
- Step-by-Step Guide: How to Cook Perfect Rice in an Instant Pot
- Common Mistakes and How to Fix Them
- Benefits of Using an Instant Pot Over a Traditional Rice Cooker
- Maintenance and Care Tips
- Frequently Asked Questions
Understanding the Instant Pot’s Rice Cooking Functionality
At first glance, the Instant Pot might seem intimidating. With buttons for pressure cook, slow cook, sauté, and yogurt, where does rice fit in? Well, it turns out that rice cooking is one of the most well-developed features in modern Instant Pots. Most models come with a dedicated “Rice” or “White Rice” setting, and some even offer presets for brown rice, wild rice, jasmine, and instant rice. These presets automatically adjust cooking time and pressure levels to deliver ideal texture and doneness.
The science behind it is pretty cool. When you select the rice setting, the Instant Pot heats up the inner pot to high temperature, then seals in steam under pressure. This rapid heating ensures even cooking from the inside out, preventing the common problem of undercooked centers or mushy exteriors. After the cooking cycle finishes, the pot switches to “Keep Warm” mode, which gently maintains the perfect temperature without overcooking the rice. Some models even have a “Cancel Keep Warm” option so you can serve fresh rice instead of reheating later.
Another advantage is the non-stick inner pot, usually made of stainless steel or ceramic-coated aluminum. This makes stirring and serving easier, and cleanup a breeze. Many users report that the rice never sticks, even without oil or butter. And since the pot is detachable and often dishwasher safe, washing up after dinner takes seconds.
The Difference Between Pressure Cooking and Traditional Rice Cookers
You might be wondering: isn’t pressure cooking different from how traditional rice cookers work? Yes—and that’s actually a good thing. Traditional rice cookers typically use a simple heating element and rely on convection (hot air) to cook the rice. They often lack precise temperature control, which can lead to inconsistent results. Some rice cookers even have a “warm” function that keeps rice hot for hours, but this can dry it out over time.
In contrast, the Instant Pot uses pressure cooking, a method that raises the boiling point of water to around 240°F (116°C). This higher temperature speeds up cooking and helps the rice absorb water more efficiently. As a result, grains become fluffier and less sticky. Additionally, the sealed environment locks in nutrients and flavors, making the rice taste fresher and more aromatic.
That said, not all rice types respond the same way to pressure cooking. For example, long-grain rice like basmati or jasmine works beautifully in an Instant Pot, while short-grain rice (like sushi rice) may benefit from slightly adjusted timing. We’ll cover these nuances shortly.
Types of Rice You Can Cook in an Instant Pot
One of the biggest perks of using an Instant Pot as a rice cooker is its ability to handle a wide variety of rice types. Whether you’re cooking for a diverse household or experimenting with international cuisines, the Instant Pot adapts. Here’s a breakdown of common rice varieties and how they perform:
White Rice
White rice is the most popular choice, and the Instant Pot excels at cooking it. Jasmine, basmati, and regular white rice all turn out light, separate, and tender. The preset “White Rice” mode usually takes 6–8 minutes under pressure, followed by a natural release. For best results, rinse the rice before cooking to remove excess starch.
Brown Rice
Brown rice requires longer cooking times due to its bran layer, which slows down absorption. Most Instant Pots have a “Brown Rice” setting that cooks it in about 22–25 minutes. Because brown rice takes longer to absorb water, it’s important not to rush the process. A natural release is recommended to prevent mushiness.
Wild Rice
Wild rice is trickier because it’s not actually a true grain—it’s a grass seed. It needs extra time and sometimes pre-soaking. If your Instant Pot has a “Wild Rice” setting, use it. Otherwise, treat it like brown rice with a longer cook time and more water.
Jasmine and Basmati Rice
These fragrant long-grains are perfect for stir-fries, curries, and Asian dishes. The Instant Pot preserves their delicate aroma better than conventional methods. Just remember to rinse them well and use the correct water ratio.
Instant Rice
If you’re using instant rice (like Minute Rice), you don’t need to soak it or cook it under pressure. Simply use the “White Rice” setting with reduced water and skip the pressure step. This mimics how you’d cook it on the stovetop.
Casserole and Brown & Wild Rice Mixes
Many brands sell pre-mixed rice blends for casseroles. These can be cooked directly in the Instant Pot using the “White Rice” or “Multi-Grain” setting. Just follow package instructions for water and seasoning.
Step-by-Step Guide: How to Cook Perfect Rice in an Instant Pot
Ready to try it yourself? Follow this simple guide to make restaurant-quality rice in minutes:
Step 1: Measure Your Ingredients
For every 1 cup of uncooked rice, use 1.5 cups of water for white rice, 1.75 cups for brown rice, and 2 cups for wild rice. If you’re adding salt, herbs, or broth, do so now. Avoid adding fat—the non-stick pot doesn’t require oil.
Step 2: Rinse the Rice (Optional but Recommended)
Place the rice in a fine-mesh strainer and rinse under cold water until the water runs clear. This removes excess starch, which can make rice gummy if overdone.
Step 3: Add to the Inner Pot
Pour rinsed rice into the Instant Pot’s inner pot along with the measured water. Stir lightly to distribute evenly.
Step 4: Select the Right Setting
Press the “Manual” or “Pressure Cook” button, then choose the appropriate rice type:
- White Rice → 6–8 minutes (natural release)
- Brown Rice → 22–25 minutes (natural release)
- Wild Rice → 30–35 minutes (natural release)
- Jasmine/Basmati → Use “White Rice” setting with 1.5:1 water ratio
Step 5: Start the Cycle
Close the lid, ensure the valve is sealed, and start cooking. Once done, allow for a natural release (letting pressure drop on its own) for 10–15 minutes. Then do a quick release if needed.
Step 6: Fluff and Serve
Open the lid carefully, fluff the rice with a fork, and serve immediately. Avoid letting it sit in “Keep Warm” mode for too long, as this can dry it out.
Pro Tips for Better Results
- Don’t open the lid during cooking—this releases pressure prematurely.
- If rice is too wet, simmer uncovered on “Sauté” mode to reduce liquid.
- If rice is too dry, add a splash of water and cover for 2–3 minutes.
- Use a trivet to keep the rice from sticking to the bottom.
Common Mistakes and How to Fix Them
Even experienced cooks can run into issues when using an Instant Pot for rice. Here are the most frequent problems—and how to solve them:
Mushy or Gummy Rice
This usually happens when there’s too much water or the rice isn’t rinsed. Try reducing water by ¼ cup and always rinse long-grain rice. Also, avoid using the “Keep Warm” function for extended periods.
Undercooked or Hard Center
This occurs with insufficient pressure or water. Make sure the lid seals properly and use the right water ratio. For brown rice, ensure it’s fully submerged.
Rice Sticks to the Bottom
Even with a non-stick pot, rice can stick if not stirred or if the temperature is too high. Add a tablespoon of oil or butter before cooking, or use a trivet to elevate the rice slightly.
Poor Flavor or Texture
Using cold water or stale rice can affect taste. Always use room-temperature water and fresh rice. For extra flavor, replace water with broth.
Lid Won’t Seal or Pressure Doesn’t Build
Check the sealing ring for wear or debris. Clean the float valve and vent nozzle. Ensure the lid is aligned correctly.
Too Much Steam or Mess
Always use the trivet and avoid overfilling the pot (max fill line is key). Place a clean towel over the vent during release to catch splatters.
Benefits of Using an Instant Pot Over a Traditional Rice Cooker
While traditional rice cookers have their place, the Instant Pot offers several advantages that make it a superior choice for many households:
1. Multi-Functionality
With an Instant Pot, you’re replacing five appliances: rice cooker, pressure cooker, slow cooker, steamer, and yogurt maker. This saves money, counter space, and energy.
2. Faster Cooking Times
Pressure cooking reduces rice cook time by up to 70% compared to stovetop methods. What used to take 20–30 minutes now takes 8–25 minutes.
3. Consistent Results
Presets eliminate guesswork. No more overcooked or undercooked batches.
4. Better Nutrient Retention
Because cooking happens quickly under pressure, vitamins and minerals are preserved better than in prolonged boiling.
5. Easier Cleanup
The non-stick inner pot and dishwasher-safe parts make post-meal cleanup effortless.
6. Advanced Features
Some models include smart controls, app connectivity, and guided recipes—features rarely found in basic rice cookers.
7. Larger Capacity Options
Instant Pots come in sizes from 3 quarts (great for singles) to 8 quarts (ideal for families). Most rice cookers max out at 6 cups.
Maintenance and Care Tips
To keep your Instant Pot performing like new, follow these care guidelines:
Clean the Inner Pot Regularly
Wash after each use. Most are dishwasher safe, but hand-washing preserves the coating longer.
Inspect the Sealing Ring
Replace the rubber seal every 6–12 months or if it shows cracks or discoloration.
Clean the Float Valve and Vent
Use a toothbrush to remove food particles. Never block the steam release.
Descale Periodically
If you use hard water, mineral buildup can occur. Run a cycle with vinegar and water monthly.
Store Properly
Keep the lid off to prevent odors. Store in a dry place away from direct sunlight.
Check Accessories
Ensure the trivet, anti-block shield, and measuring cup are intact and clean.
Frequently Asked Questions
Can I use an Instant Pot to cook sushi rice?
Yes, you can cook sushi rice in an Instant Pot. Use the “White Rice” setting with a 1.2:1 water ratio and rinse the rice thoroughly before cooking. Let it rest covered for 10 minutes after cooking for best texture.
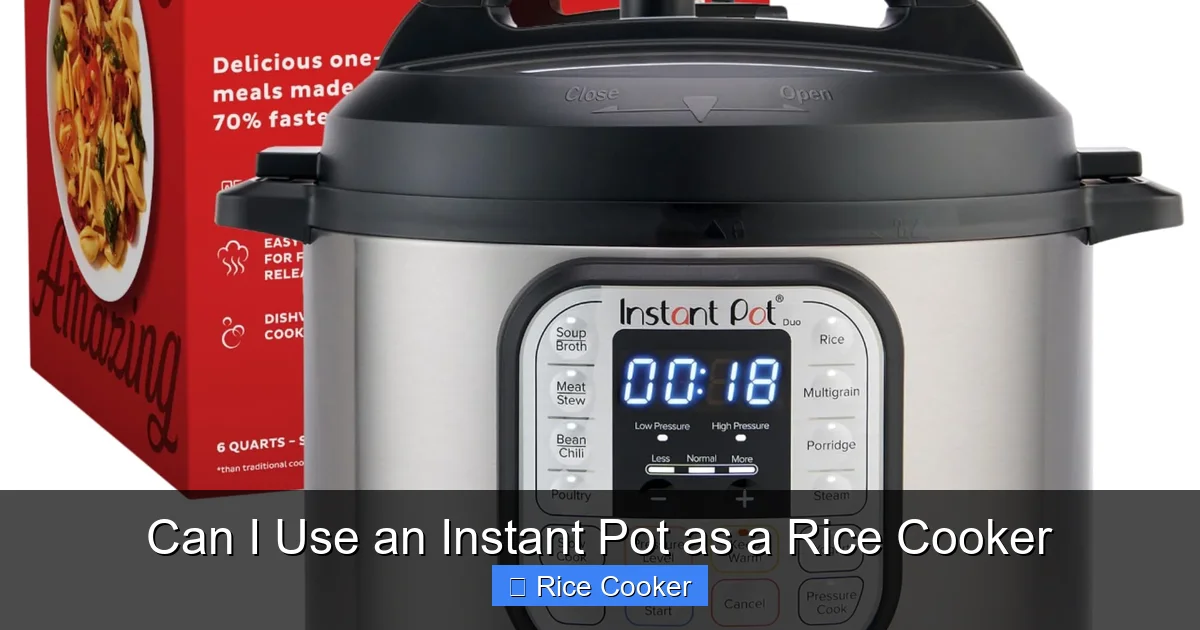
Visual guide about Can I Use an Instant Pot as a Rice Cooker
Image source: m.media-amazon.com
Do I need to soak rice before cooking in an Instant Pot?
No, soaking isn’t necessary. However, for certain types like brown or wild rice, a quick soak (10 minutes) can improve texture. Just drain well before adding water.
Can I cook rice in the Instant Pot without a trivet?
You don’t need a trivet for rice—unlike when pressure cooking foods with liquids that might foam. The rice will cook evenly on its own. However, using a trivet helps prevent splatter during release.
Is it safe to leave rice in the Instant Pot on “Keep Warm” all day?
Not recommended. While the “Keep Warm” function keeps rice at a safe temperature, prolonged exposure can dry it out or encourage bacterial growth. Serve within 1–2 hours for best quality.
Can I cook frozen rice in the Instant Pot?
Yes, but add 1–2 extra minutes to the cook time and increase water slightly. Frozen rice absorbs water faster than dry rice.
What should I do if my Instant Pot rice is still crunchy?
Let it sit covered for 5–10 minutes after natural release. If still crunchy, add a tablespoon of water, cover, and steam for 2 minutes on “Sauté” mode.
Frequently Asked Questions
Can I use an Instant Pot to cook sushi rice?
Yes, you can cook sushi rice in an Instant Pot. Use the “White Rice” setting with a 1.2:1 water ratio and rinse the rice thoroughly before cooking. Let it rest covered for 10 minutes after cooking for best texture.
Do I need to soak rice before cooking in an Instant Pot?
No, soaking isn’t necessary. However, for certain types like brown or wild rice, a quick soak (10 minutes) can improve texture. Just drain well before adding water.
Can I cook rice in the Instant Pot without a trivet?
You don’t need a trivet for rice—unlike when pressure cooking foods with liquids that might foam. The rice will cook evenly on its own. However, using a trivet helps prevent splatter during release.
Is it safe to leave rice in the Instant Pot on “Keep Warm” all day?
Not recommended. While the “Keep Warm” function keeps rice at a safe temperature, prolonged exposure can dry it out or encourage bacterial growth. Serve within 1–2 hours for best quality.
Can I cook frozen rice in the Instant Pot?
Yes, but add 1–2 extra minutes to the cook time and increase water slightly. Frozen rice absorbs water faster than dry rice.
What should I do if my Instant Pot rice is still crunchy?
Let it sit covered for 5–10 minutes after natural release. If still crunchy, add a tablespoon of water, cover, and steam for 2 minutes on “Sauté” mode.