
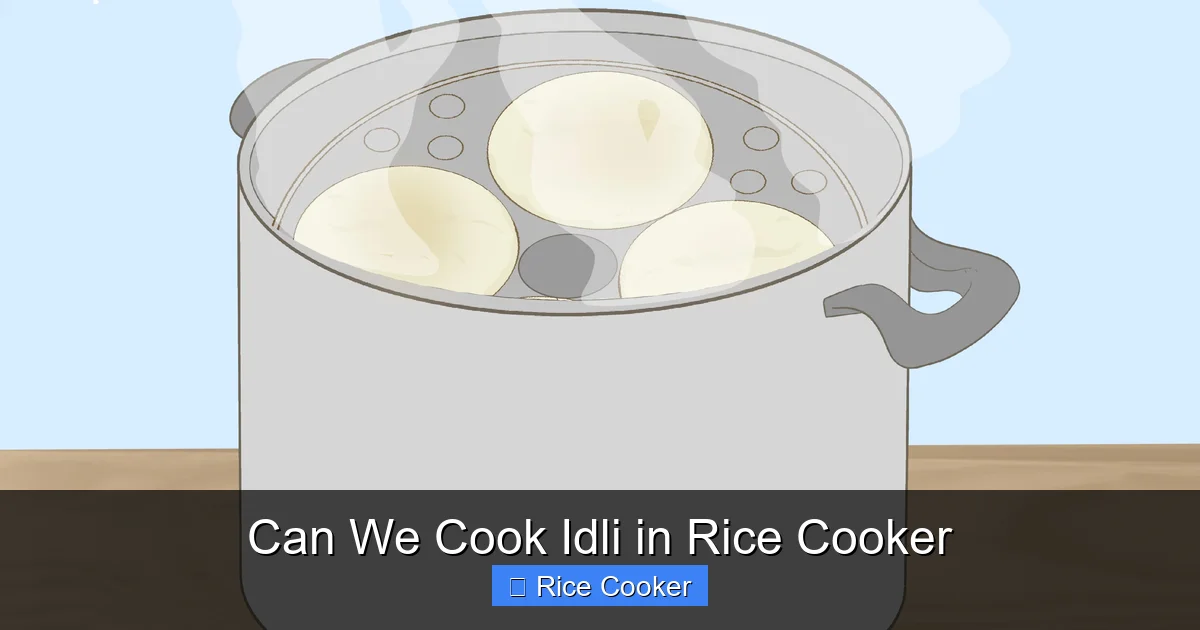
Can we cook idli in rice cooker? Yes, you can! A rice cooker makes it easy to prepare soft, fluffy idlis without needing a traditional idli steamer. With the right ingredients and technique, your rice cooker can deliver restaurant-quality results at home. In this guide, we’ll walk you through everything you need—from preparation to serving—so you can enjoy delicious idlis anytime.
Key Takeaways
- Yes, you can cook idli in a rice cooker – It’s a convenient and effective alternative to traditional steaming.
- Idli batter must be fermented – Proper fermentation is key to achieving the light, airy texture.
- Use a rice cooker with a steaming function – Not all models are suitable; look for ones with steam settings or manual timer options.
- Cooking time varies – Typically takes 15–20 minutes, but always check for doneness before removing.
- Proper batter consistency matters – Too thick or too thin affects rise and texture during cooking.
- Cleaning is essential – Idli batter can stick; clean your rice cooker promptly after use to prevent residue buildup.
- Experiment with flavors – Try adding vegetables, spices, or even jaggery to customize your idlis.
📑 Table of Contents
- Introduction: The Rise of Rice Cookers in Indian Kitchens
- Understanding Idli Basics: Why Batter Matters
- Step-by-Step Guide: Cooking Idli in Your Rice Cooker
- Common Mistakes & How to Fix Them
- Benefits of Using a Rice Cooker for Idlis
- Creative Variations & Serving Ideas
- Troubleshooting & Maintenance Tips
- Final Thoughts: Embrace the Convenience
Introduction: The Rise of Rice Cookers in Indian Kitchens
In recent years, rice cookers have become kitchen staples across India, transforming how we prepare everyday meals. Once considered a gadget for busy professionals, these versatile appliances now sit proudly on countertops in homes from Mumbai to Madras. But here’s the exciting part: can we cook idli in rice cooker? The answer is a resounding yes!
Idlis—those soft, pillowy South Indian steamed cakes made from fermented rice and urad dal batter—are beloved breakfast items across the country. Traditionally cooked in an idli steamer or bamboo utensil, making them at home used to require planning ahead: soaking, grinding, fermenting overnight, and then steaming for over an hour. Now, thanks to modern rice cookers with steam functions, you can skip the long wait and still get perfect results—fast.
This article dives deep into every aspect of cooking idli in a rice cooker. Whether you’re new to idlis or a seasoned cook looking to simplify your routine, you’ll find practical advice, troubleshooting tips, and creative ideas to elevate your dish. Let’s explore why this method works so well—and how you can master it.
Understanding Idli Basics: Why Batter Matters
The Science Behind Fluffy Idlis
Before jumping into cooking idlis in a rice cooker, it’s important to understand what makes them so special. Idlis owe their signature softness to the fermentation process. When rice and urad dal are soaked and ground into a smooth batter, natural bacteria (like lactobacilli) and yeast begin breaking down carbohydrates and proteins. This creates gas bubbles that expand during steaming, giving idlis their light, spongy structure.
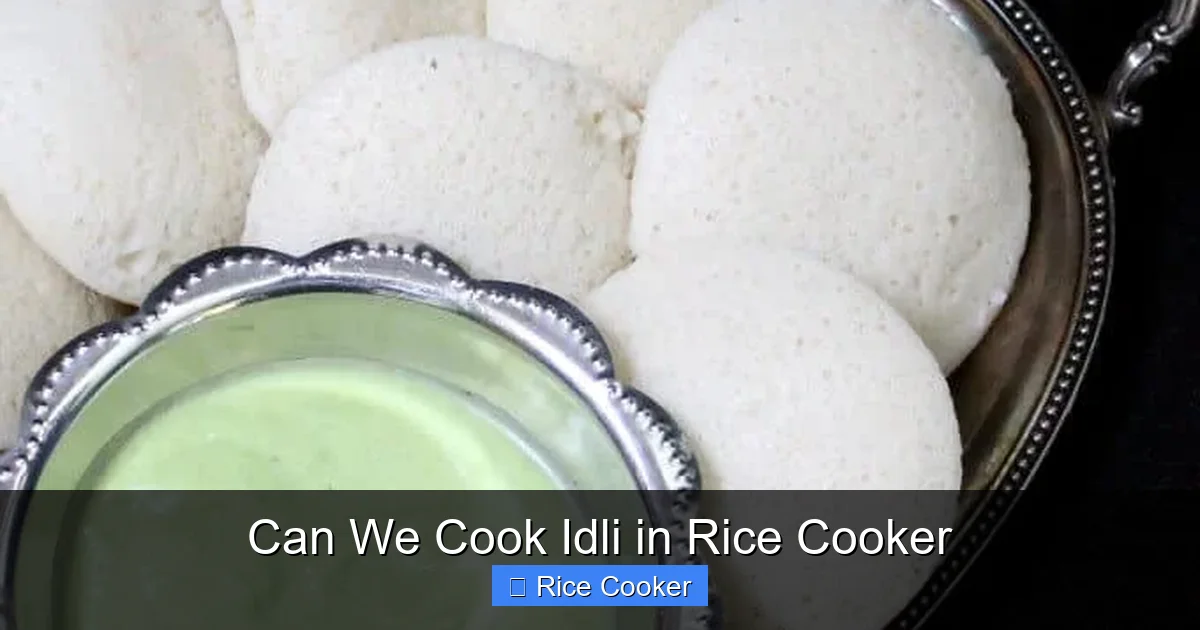
Visual guide about Can We Cook Idli in Rice Cooker
Image source: holycowvegan.net
If your batter isn’t fermented properly—either because it’s not left long enough or stored at the wrong temperature—the result will be dense, heavy idlis. So even though your rice cooker does most of the work, fermentation remains non-negotiable. Aim for 8–12 hours of fermentation at room temperature (around 25°C/77°F). In colder climates, place the bowl near a warm appliance or use a yogurt maker to maintain consistent heat.
Choosing the Right Rice Cooker
Not all rice cookers are created equal when it comes to idli-making. While basic models with just “cook” and “warm” settings won’t cut it, many modern ones come equipped with a steaming basket or dedicated “steam” mode. These features allow hot steam to circulate around the batter molds without direct water contact—just like a traditional steamer.
Look for these key features:
- A removable steaming tray or basket
- A clear lid so you can monitor progress
- Timer functionality (even 15-minute increments help)
- Non-stick inner pot (optional but helpful for cleanup)
If your rice cooker lacks a steam setting, don’t panic! You can still use it by placing the idli molds inside and pouring boiling water into the inner pot below—but this requires more attention and isn’t as foolproof. For beginners, investing in a model with built-in steaming is worth the cost.
Step-by-Step Guide: Cooking Idli in Your Rice Cooker
Gathering Ingredients & Tools
Making idlis in a rice cooker starts much like traditional preparation. You’ll need:

Visual guide about Can We Cook Idli in Rice Cooker
Image source: i.ytimg.com
- ½ cup parboiled rice (idli rice or medium-grain rice works best)
- ¼ cup split black gram (urad dal), skinned or unskinned
- Water (for soaking and grinding)
- Salt (optional; traditional recipes often omit it)
- Idli molds (aluminum or stainless steel recommended)
- Rice cooker with steaming capability
- Mixing bowls, blender/mixer grinder, spatula
Note: If you’re using pre-packaged idli mix, adjust quantities accordingly and skip soaking—but homemade batter always yields superior flavor and texture.
Soaking & Grinding the Batter
Start by washing rice and dal separately until water runs clear. Then soak them together in water (covering about 2 inches above the mixture) for 4–6 hours. Drain and rinse thoroughly.
Grind the soaked rice lightly—just enough to break down starch without turning it into paste. Urad dal should be ground finer than rice. Mix both together in a large bowl with 1½–2 cups fresh water and salt if desired. Whisk vigorously for 3–5 minutes until frothy (this incorporates air!). Cover and let ferment as noted earlier.
Preparing the Rice Cooker
Once fermented (it should double in volume and smell slightly sour), give the batter another whisk. Fill each idli mold cavity about ¾ full. Wipe any excess batter from the rim to ensure even rising.
Place molds upright in the steaming tray. Insert the tray into the rice cooker’s inner pot. Add about 1 inch of water to the pot—but never let it touch the bottom of the tray. Close the lid securely.
Cooking Process & Timing
Switch the rice cooker to “Steam” mode and set a timer. Most idlis take 15–20 minutes to cook fully. After the cycle ends, do not open the lid immediately—let them rest for 5 minutes to finish setting. Then gently pop them out with a spoon.
Pro tip: Test doneness by inserting a toothpick—if it comes out clean, they’re ready. Overcooked idlis turn rubbery; undercooked ones remain sticky inside.
Common Mistakes & How to Fix Them
Batter Too Thin or Thick?
Consistency is everything. If your batter is too runny (like pancake mix), add a bit more rice flour (or leftover dry batter) before filling molds. If it’s too thick, stir in small amounts of warm water—but go slowly!
Idlis Not Rising Properly
This usually means inadequate fermentation. Check if your kitchen is too cold—try fermenting near a heater or use a thermos filled with warm water. Also, avoid using chlorinated tap water; filtered or boiled-and-cooled water preserves beneficial microbes.
Dense or Gummy Texture
Caused by overmixing after grinding (which deflates air bubbles) or insufficient fermentation. Always mix gently post-grinding and ferment for at least 8 hours. Over-fermentation (beyond 14 hours) can also lead to off-flavors and collapsed structure.
Batter Sticking to Molds
Lightly grease molds with oil before filling—but not too much, or idlis won’t rise. Alternatively, use parchment paper liners for easy release. Clean molds immediately after use with warm, soapy water.
Benefits of Using a Rice Cooker for Idlis
Convenience & Time-Saving
No more standing over a stove or worrying about timing. Just set it and forget it—except for checking after 15 minutes. Perfect for busy mornings or meal prep!
Consistent Results Every Time
Unlike traditional steamers where heat distribution varies, rice cookers maintain steady temperatures. This means uniform cooking across all idlis, no soggy or burnt spots.
Energy Efficient
Rice cookers use less power than stovetop steamers and don’t require constant monitoring. Great for eco-conscious cooks.
Multi-Tasking Potential
While idlis cook, you can boil eggs, steam vegetables, or even make porridge in the same appliance. Maximize your kitchen space!
Creative Variations & Serving Ideas
Flavorful Filling Idlis
Try adding grated carrots, spinach, or finely chopped onions to half the batter for colorful, nutrient-packed idlis. For savory twists, mix in cumin seeds or curry leaves.
Sweet Idli Dosa
Make a hybrid version by mixing jaggery and coconut into part of the batter. These sweet idlis pair wonderfully with chutney or milk.
Breakfast Bowls & Snacks
Crumble cooked idlis and sauté with vegetables and spices for a quick dosa-like dish. Or blend them into smoothies for extra fiber and protein.
Pairing Suggestions
Serve hot idlis with coconut chutney, sambar, or tomato-onion pickle. For a fusion twist, try pairing with avocado toast or fruit compote.
Troubleshooting & Maintenance Tips
Keeping Your Rice Cooker Pristine
After each use, remove all parts and wash with mild soap and warm water. Dry thoroughly before reassembling. Avoid submerging electronic components. Regularly descale mineral deposits if you live in hard-water areas.
Storing Leftover Batter
Uncooked batter lasts 3–4 days refrigerated. Bring to room temp before using. Discard if mold appears or smell turns foul.
What If My Rice Cooker Doesn’t Have Steam Mode?
You can improvise! Place idli molds in a heat-safe container inside the rice cooker. Boil water in the inner pot, cover tightly with foil, and insert the container. Keep an eye on water levels—add more as needed. Total cook time may increase by 5–10 minutes.
Final Thoughts: Embrace the Convenience
So, can we cook idli in rice cooker? Absolutely. With a little practice, this method becomes second nature—offering the same comforting taste and texture as traditional idlis, but with far less effort. Whether you’re feeding a family or whipping up a quick snack, your rice cooker is now a powerful ally in the kitchen.
Remember: great idlis start with quality ingredients and patience during fermentation. Once you nail those basics, experimenting with flavors and techniques opens up endless possibilities. And honestly? Nothing beats the aroma of freshly cooked idlis wafting through your home—especially when you made them yourself, effortlessly.
Ready to try? Grab your rice cooker, gather your batter, and let the steaming begin. Your taste buds (and your schedule) will thank you.
Frequently Asked Questions
Can I use any type of rice to make idli in a rice cooker?
It’s best to use parboiled or idli-specific rice, as they have the right starch content for fluffy results. Brown rice or basmati won’t work as well due to differences in texture and binding properties.
How long should idli batter ferment?
Ferment for 8–12 hours at room temperature (around 25°C). Longer fermentation improves flavor but risks collapsing if too extended. Cold environments may require longer times or a warmer spot.
Do I need special idli molds for a rice cooker?
Standard aluminum or stainless steel molds fit most rice cooker trays. Ensure they’re clean and slightly greased before use to prevent sticking.
Why did my idlis turn out flat?
Flat idlis usually mean poor fermentation, incorrect batter consistency, or overmixing. Revive the process by ensuring proper soaking, gentle grinding, and adequate fermentation time.
Can I freeze idli batter?
Yes! Portion batter into containers and freeze for up to 3 months. Thaw overnight in the fridge before using. Note: freezing may slightly alter texture—best used within a week after thawing.
Is it safe to cook idlis in a non-stick rice cooker?
Yes, as long as the non-stick coating is intact. Avoid metal utensils that could scratch it. Hand-washing is recommended to preserve the surface.