
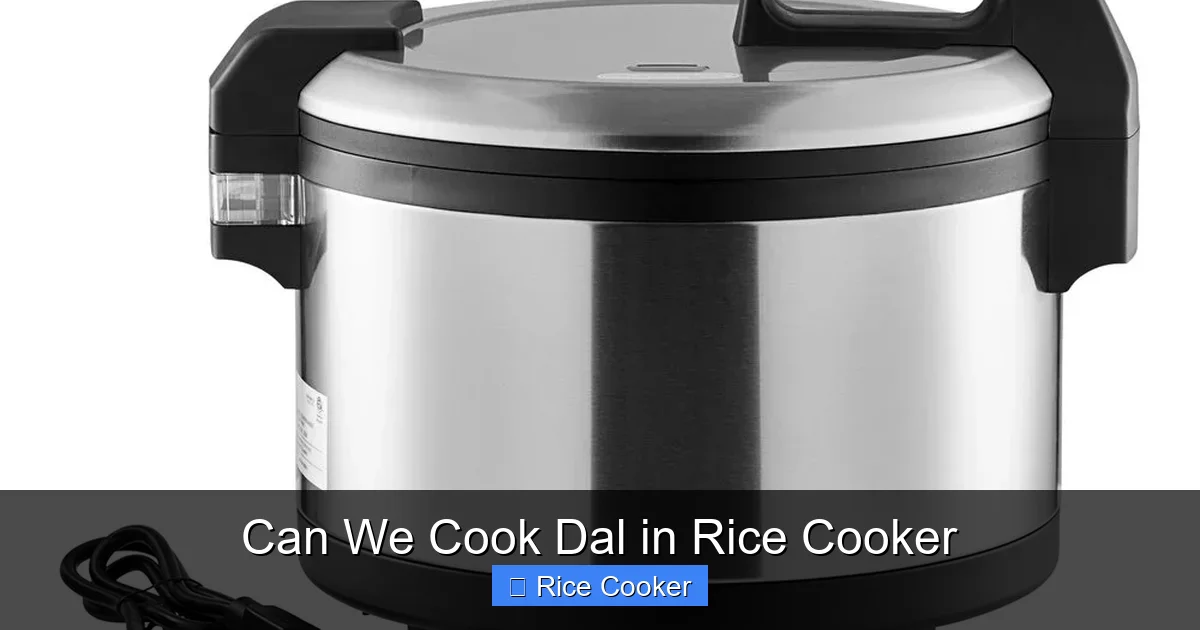
Can we cook dal in rice cooker? Absolutely! Cooking dal in a rice cooker is not only possible but often results in perfectly tender, evenly cooked lentils with minimal effort. This method saves time, uses less water, and requires no constant stirring. Whether you’re making red lentil dal, green moong dal, or masoor dal, your rice cooker can handle it like a pro.
Key Takeaways
- Yes, it works: Most rice cookers can cook various types of dal without any issues.
- No pre-soaking needed: Unlike traditional stovetop cooking, dal can usually be cooked directly in the rice cooker.
- Water ratio matters: Use about 3:1 water-to-dal ratio for best results (e.g., 1 cup dal, 3 cups water).
- Seasoning timing: Add tempering (tadka) ingredients at the end for best flavor and texture.
- Cooking time varies: Red lentils take 20–25 minutes; whole lentils may need 30–40 minutes.
- Cleaning tip: Rinse dal before cooking to remove excess starch and prevent clogging.
- Versatile use: Cook dal in rice cookers to make dals, soups, porridge, or even dal khichdi.
[FEATURED_IMAGE_PLACEHOLDER]
Can We Cook Dal in Rice Cooker? Yes—and Here’s How!
Have you ever wondered if you can cook dal in a rice cooker? The short answer is yes, and not just yes—it’s actually one of the easiest, most convenient ways to prepare lentils at home. If you’re tired of standing over the stove, constantly stirring to prevent sticking, or worrying about burning your dal, the rice cooker might just become your new best kitchen companion.
Whether you’re making a comforting bowl of masoor dal for dinner, a protein-rich moong dal soup, or even a simple dal ki chutney, your rice cooker can do it all. In fact, many people swear by this method because it delivers consistent, tender results every single time—no guesswork, no flipping pots, and absolutely no babysitting.
In this complete guide, we’ll walk you through everything you need to know about cooking dal in a rice cooker: which types of dal work best, how much water to use, whether you need to soak them, and how to add that delicious Indian tempering (tadka) at the end. Plus, we’ll share tips, troubleshooting advice, and even some creative recipe ideas to get you started.
So grab your rice cooker, pick up a handful of lentils, and let’s dive into the wonderful world of rice cooker dal!
Why Cook Dal in a Rice Cooker?
Before we jump into the “how,” let’s talk about the “why.” What makes cooking dal in a rice cooker such a great idea?
First, convenience. Modern rice cookers are designed to cook grains and legumes evenly and efficiently. They maintain a steady temperature, automatically switch to “keep warm” mode once done, and require almost zero attention. That means you can set it and forget it—perfect for busy mornings or lazy weekends.
Second, consistency. Unlike stovetop cooking, where heat distribution can vary and you risk scorching the bottom, rice cookers circulate heat gently and uniformly. This leads to perfectly cooked dal—no more undercooked beans or mushy, overdone lentils.
Third, energy efficiency. A rice cooker uses less electricity than a stove, especially an electric burner, and cooks dal faster than traditional methods for most varieties.
And lastly, versatility. You can use your rice cooker not just for plain dal, but also for soups, porridges, khichdi, and even baby food blends—all made from lentils.
The Science Behind It
When dal is heated in water, the starches inside begin to gelatinize—a process that softens the lentils and turns them into a creamy, comforting dish. Rice cookers are excellent at controlling this process because they don’t overheat. Instead, they gently bring the water to a simmer and maintain that temperature until the dal is fully cooked.
This is why rice cookers are so good at cooking rice too—they mimic the slow, steady heat needed to break down starches without boiling away moisture. The same principle applies to dal.
Which Types of Dal Work Best in a Rice Cooker?
Not all dals are created equal when it comes to rice cooker cooking. Some are naturally softer and cook faster, while others are denser and may need a little extra time. Here’s a quick breakdown:
Red Lentil Dal (Masoor Dal)
- Cooking time: 20–25 minutes
- Texture: Soft, slightly split, melts in your mouth
- Best for: Creamy dal, soups, porridge
- Tip: Don’t overcook—it can turn into mush
Yellow Moong Dal (Split Green Gram)
- Cooking time: 25–30 minutes
- Texture: Slightly firmer than red lentils
- Best for: Moong dal halwa, savory dals, sprouts
- Tip: Can be sprouted first for extra nutrition
Green Moong Dal (Whole Split Mung Beans)
- Cooking time: 30–40 minutes
- Texture: Firm, holds shape well
- Best for: Salads, stir-fries, dal with vegetables
- Tip: Soak for 2 hours to reduce cooking time
Toor Dal (Pigeon Pea)
- Cooking time: 35–45 minutes
- Texture: Dense, nutty flavor
- Best for: Classic Indian dals, sambar base
- Tip: Always soak overnight for best results
Chana Dal (Split Bengal Gram)
- Cooking time: 30–40 minutes
- Texture: Slightly grainy, nutty
- Best for: Chana dal khichdi, spicy dals
- Tip: Rinse thoroughly to remove bitterness
Urad Dal (Black Gram)
- Cooking time: 40–50 minutes
- Texture: Creamy when split, firm when whole
- Best for: Idli/dosa batter, rich dals
- Tip: Use split urad dal for smoother texture
Step-by-Step Guide: How to Cook Dal in a Rice Cooker
Ready to give it a try? Follow these simple steps for foolproof dal every time.
Step 1: Measure and Rinse the Dal
Use a clean measuring cup (not the one you used for flour!). For most dals, a 1:3 ratio of dal to water works well. For example:
- 1 cup red lentil dal → 3 cups water
- 1 cup toor dal → 3–4 cups water (soaked)
Rinse the dal under cold running water until the water runs clear. This removes dirt, debris, and excess starch, which can cause clumping.
Step 2: Add Water and Dal to the Inner Pot
Place the rinsed dal and water into the rice cooker’s inner pot. Don’t skip rinsing—it prevents gunk buildup and ensures even cooking.
Step 3: Close the Lid and Select the Right Mode
Most modern rice cookers have multiple settings:
- Rice mode: Works for most dals
- Porridge/soup mode: Great for creamy dals like masoor
- Manual/custom timer: For longer cooking times (e.g., toor dal)
If your rice cooker has only one button, just press it once. The machine will automatically detect the liquid content and adjust cooking time accordingly.
Step 4: Wait for the Cycle to Complete
Once you hear the “beep,” the rice cooker will switch to “keep warm” mode. Let it sit for 10–15 minutes. This allows the dal to finish cooking and absorb any remaining moisture—just like rice does.
Step 5: Fluff and Season
Open the lid and gently fluff the dal with a fork or spoon. Now’s the time to add flavor:
- Tempering (tadka): Heat oil or ghee, add cumin seeds, mustard seeds, garlic, onions, tomatoes, and spices.
- Salt: Add after cooking—never before, as it can toughen the dal.
- Greens: Stir in spinach, kale, or herbs at the end.
Step 6: Serve Hot
Pair your dal with steamed rice, roti, naan, or even a dollop of yogurt. It’s ready to enjoy!
Pro Tips for Perfect Rice Cooker Dal
Want to take your dal game to the next level? Try these expert tricks.
Don’t Skip the Soak (For Certain Dals)
While red lentils cook fine unsoaked, whole dals like toor or chana benefit from soaking. Soak them for 2–4 hours (or overnight) to reduce cooking time and improve digestibility.
Use a Pressure Cooker Setting (If Available)
Some high-end rice cookers come with a “pressure cook” function. This speeds up cooking significantly—especially useful for hardy dals like toor or urad.
Add a Pinch of Baking Soda (Optional)
For stubborn dals like toor or urad, adding a tiny pinch of baking soda (¼ tsp per cup of dal) can help soften them faster. But use sparingly—too much can give a soapy taste.
Layer Flavor with Aromatics
Before cooking, add a bay leaf, cinnamon stick, or a few cloves to the water. These infuse subtle flavors without needing to be strained out.
Adjust Consistency as Needed
If the dal is too thick, add warm water 1 tbsp at a time. If it’s too thin, let it simmer on “warm” mode for 5–10 minutes to reduce.
Store Leftovers Properly
Refrigerate in an airtight container for up to 4 days. Reheat with a splash of water and a dash of ghee or oil.
Common Mistakes and How to Fix Them
Even with the best tools, things can go wrong. Here’s how to avoid and fix common pitfalls.
Mistake: Dal Sticks to the Bottom
Cause: Not enough water or old, dry dal.
Fix: Use fresh dal, rinse well, and ensure proper water ratio. Stir once halfway through cooking.
Mistake: Dal Is Mushy or Overcooked
Cause: Too much water or long cooking time.
Fix: Stick to recommended ratios and cooking times. Test doneness by tasting a few pieces.
Mistake: Dal Won’t Cook Through
Cause: Hard water or low-quality dal.
Fix: Use filtered water. If using old dal, increase cooking time by 10 minutes.
Mistake: Bland Flavor
Cause: No seasoning added.
Fix: Always add salt after cooking and temper with spices at the end.
Mistake: Clogged Rice Cooker
Cause: Excess starch from unrinsed dal.
Fix: Rinse dal thoroughly before cooking. Clean the inner pot regularly with warm soapy water.
Creative Ways to Use Rice Cooker Dal
Dal doesn’t have to be boring! Here are fun ways to elevate your rice cooker creations.
Dal Khichdi
Combine cooked dal with basmati rice, turmeric, ginger, and cumin. Cook together in the rice cooker for a soothing, one-pot meal perfect for sick days or digestion.
Dal Soup or Porridge
Make a creamy, nutrient-packed breakfast porridge by cooking oats or quinoa with dal. Top with nuts, honey, or fresh fruit.
Dal-Based Baby Food
Puree cooked dal with carrots, sweet potatoes, and coconut milk for a wholesome, homemade baby meal.
Dal Salad
Cool cooked green moong dal, toss with cucumber, tomato, mint, lemon juice, and a pinch of chili powder for a refreshing side dish.
Dal Dips and Spreads
Blend cooked dal with roasted garlic, cilantro, and tahini for a vegan hummus-like dip.
Dal Pancakes or Fritters
Mix mashed dal with chickpea flour, onion, and spices. Pan-fry into crispy fritters or bake into pancakes.
Frequently Asked Questions (FAQs)
Can I cook dal without soaking it in a rice cooker?
Yes! Most rice cookers can handle unsoaked dal, especially softer varieties like red lentils. Whole dals like toor or chana may cook faster if soaked, but it’s not mandatory.
How much water should I use for cooking dal in a rice cooker?
A general rule is 3 cups of water per 1 cup of dal. Adjust based on desired consistency—more water = thinner dal, less = thicker.
Do I need to add oil or fat when cooking dal in a rice cooker?
Not during cooking. Oil is usually added later during tempering (tadka) for flavor. However, a small amount of oil in the water can prevent sticking.
Can I cook different types of dal together in the rice cooker?
It’s possible, but not ideal. Different dals cook at different rates. Stick to similar textures (e.g., two types of split dals) for best results.
How long does it take to cook dal in a rice cooker?
Red lentils: 20–25 min; yellow moong: 25–30 min; green moong/toor: 30–45 min. Check doneness by tasting.
Can I cook frozen dal in a rice cooker?
No—frozen dal should be thawed and cooked fresh. Frozen lentils can burst or create uneven textures.
Conclusion: Your Rice Cooker Just Got More Useful
So, can we cook dal in a rice cooker? The answer is a resounding yes—and it’s easier, faster, and tastier than you might think. Whether you’re preparing a quick dinner for one or feeding a hungry family, your rice cooker is now a powerful tool in your kitchen arsenal. From creamy red lentil dal to hearty toor dal with aromatic spices, the possibilities are endless.
What’s more, this method brings consistency, convenience, and confidence to every pot of dal you make. No more guessing games, no more burnt bottoms, and definitely no more standing over the stove. Just measure, rinse, press a button, and let science do the rest.
Next time you’re craving dal, skip the stove—fire up your rice cooker instead. And who knows? You might just discover your new favorite way to cook lentils. Happy cooking!
This is a comprehensive guide about can we cook dal in rice cooker.
Key Takeaways
- Understanding can we cook dal in rice cooker: Provides essential knowledge
Frequently Asked Questions
What is can we cook dal in rice cooker?
can we cook dal in rice cooker is an important topic with many practical applications.